Contents
Pour Over Coffee Guide: Beginner to Advanced
TL;DR: To make pour over coffee, grind 20–22g of medium-coarse coffee, bring water to 93–96°C (200–205°F), bloom with 40–45g of water for 30–45 seconds, then pour in slow controlled spirals to a total of 330–360g over 3–4 minutes. The result is a clean, bright, nuanced cup that drip machines can’t replicate.
What Is Pour Over Coffee and Why Does It Matter
Pour over is a manual brew method where hot water flows through a paper or metal filter loaded with ground coffee. You control every variable — grind, water temperature, pour rate, and timing — directly. That control is why specialty coffee shops default to it: no other common method extracts clarity of flavor with the same consistency.
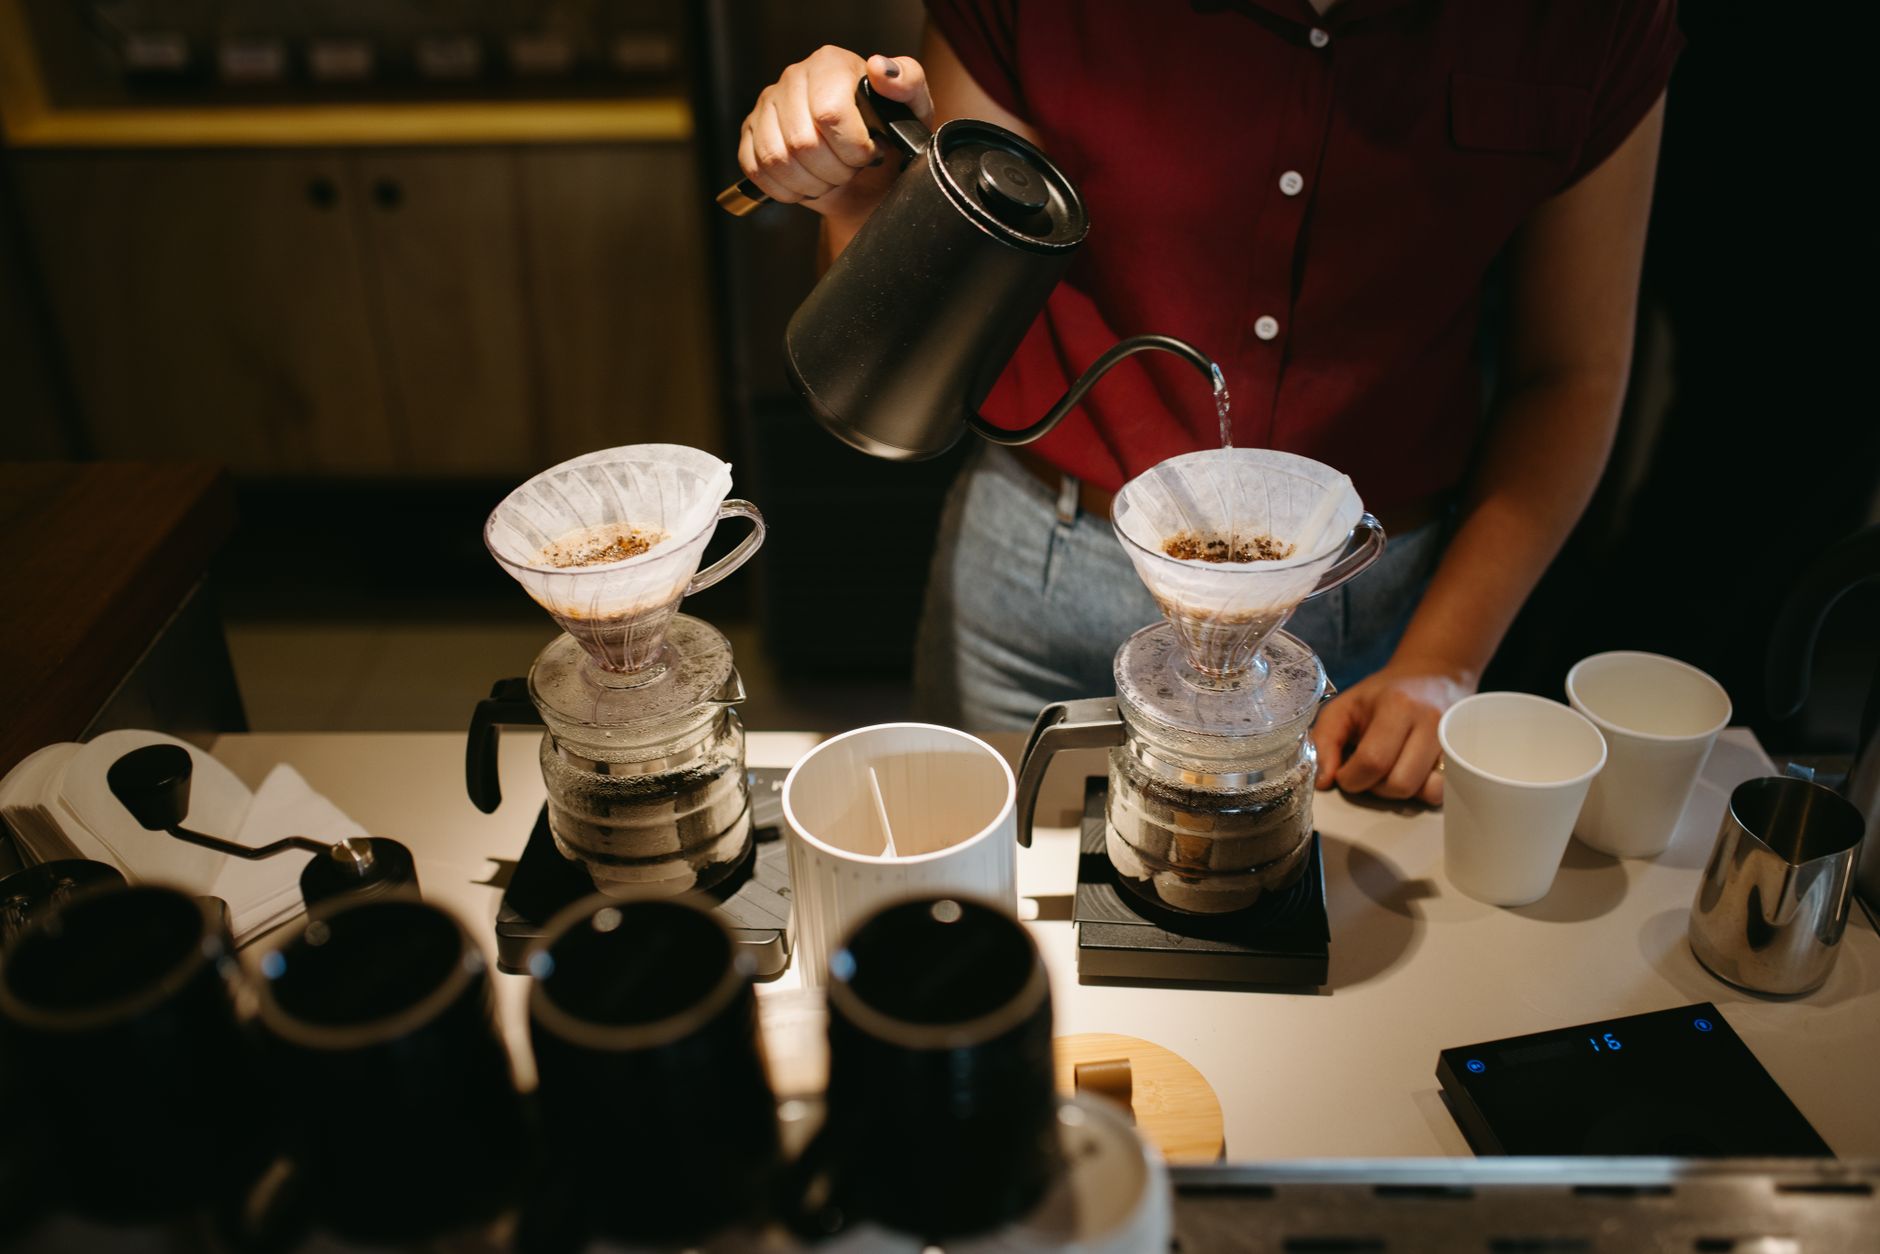 Photo: Jonathan Borba via Pexels
Pour over coffee covers a family of brewers: the Hario V60, Chemex, Kalita Wave, Origami, and others. Each has a different filter angle, flow rate, and resulting cup profile, but the core technique is the same. If you can dial in one, you can dial in all of them.
The method strips away everything automated. Water distribution is your job. Saturation is your job. The reward is a cup where a single-origin Ethiopian shows its blueberry and jasmine notes the way the roaster intended — not flattened by a drip machine’s burst-pour.
Equipment You Actually Need
You don’t need much to learn how to make pour over coffee well: a brewer, a scale, a kettle, and a grinder. The grinder matters most. A consistent grind is the single biggest variable separating a muddy pour over from a clean one.
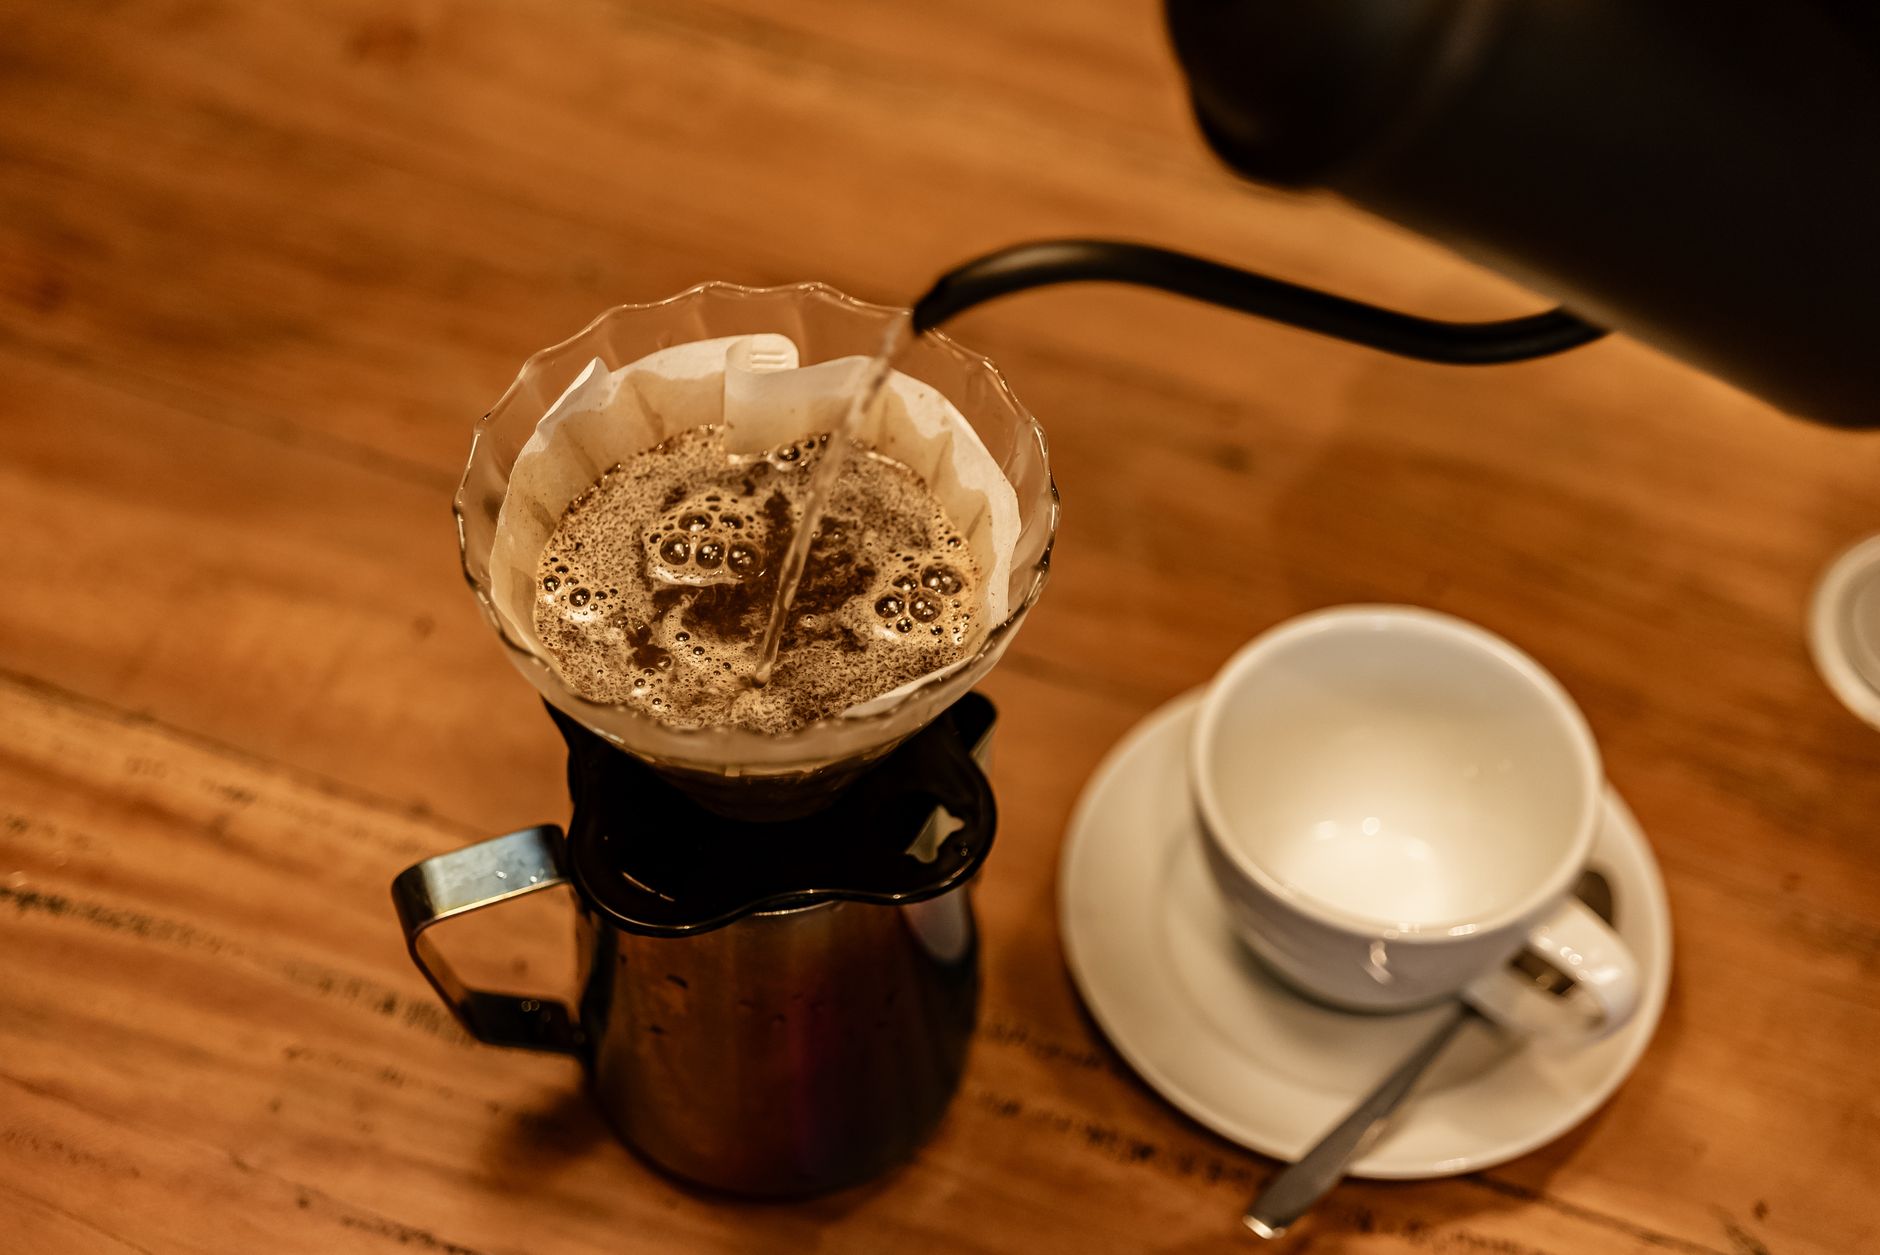 Photo: Vinícius Vieira ft via Pexels
| Item | Budget Pick | Mid-Range | High-End |
|---|---|---|---|
| Brewer | Hario V60 Plastic | Chemex 6-Cup | Origami Dripper |
| Grinder | Timemore C2 |
A gooseneck kettle is not optional once you’re past your first week. A standard kettle pours too fast and wide — you’ll over-saturate one side and under-saturate the other, causing channeling.
Choosing Your First Brewer
The Hario V60 is the right starting point. It’s forgiving enough for beginners but has no ceiling — competition baristas use the same brewer. The plastic version is lighter, cheaper, and retains heat slightly better than ceramic. The Chemex produces a cleaner, more filtered cup due to its thicker paper but has a steeper learning curve for even extraction.
For travel or camping, the Aeropress covers pour over-adjacent territory with more forgiveness on grind and temperature.
How to Make Pour Over Coffee: Step by Step
The full how to make pour over coffee process takes about 5 minutes active time. Nail the bloom, keep your pours slow and centered, and stay within the 3–4 minute total brew window. Everything else is refinement.
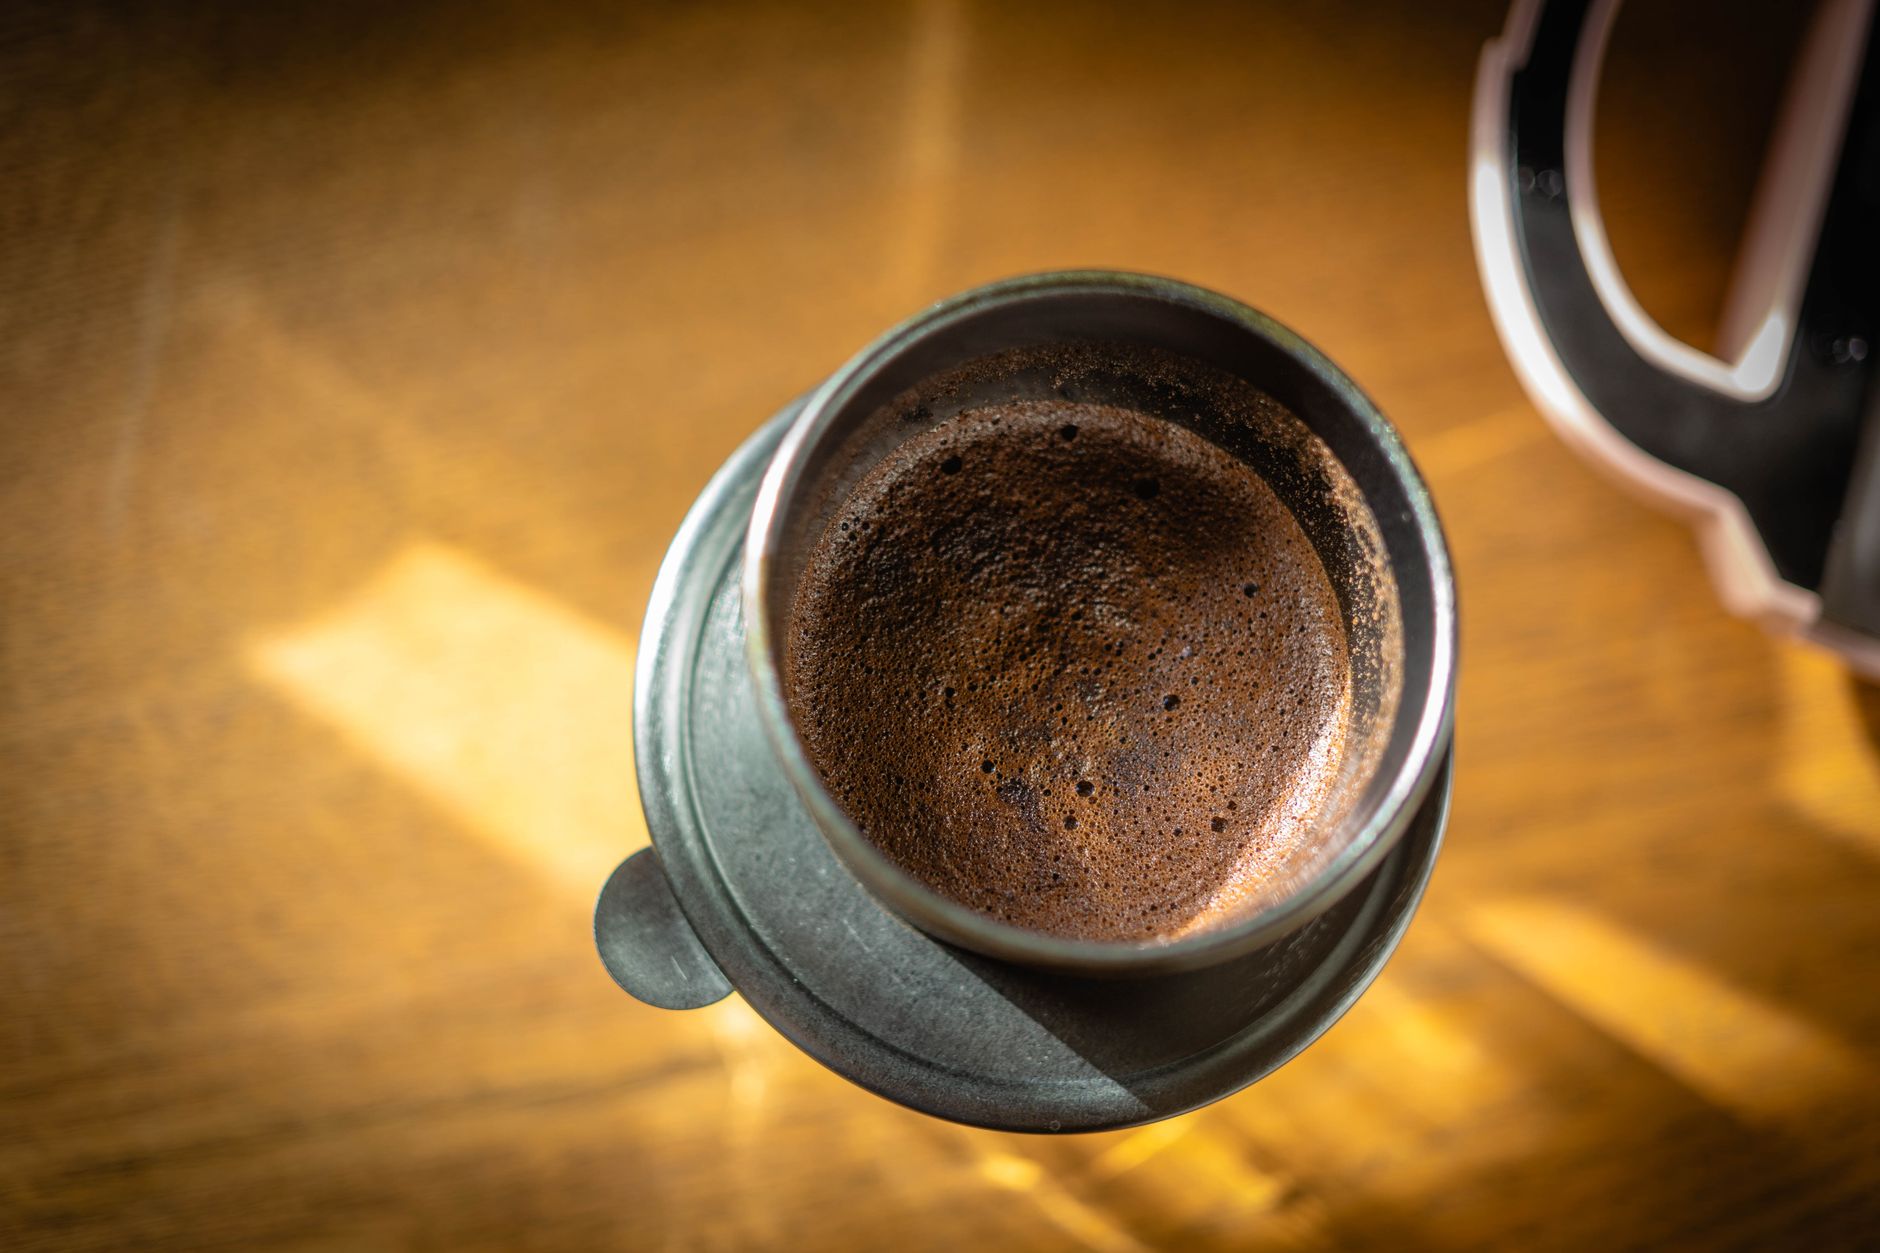 Photo: FOX ^.ᆽ.^= ∫ via Pexels
Before You Pour
- Rinse the filter — run hot water through it into the cup, then discard. This removes paper taste and preheats the vessel.
- Grind to order — grind 20–22g of coffee. Medium-coarse: roughly the texture of raw sugar or coarse sea salt. On a Comandante, that’s around 26–30 clicks.
- Zero your scale — place your brewer on the scale with the rinsed filter seated, add your coffee, tare to zero.
The Pour Sequence
Bloom (0:00–0:45): Pour 40–45g of water in a slow spiral starting from the center outward. This saturates all the grounds evenly and allows CO₂ to degas — fresh coffee will bubble and expand visibly. Stale coffee won’t bloom much, which is its own diagnostic.
First pour (0:45–1:15): Slowly pour to reach 150g total, moving in steady concentric circles. Don’t pour directly onto the filter walls — only onto the coffee bed.
Second pour (1:30–2:00): Pour to 250g. Maintain the gentle spiral. Let the water draw down slightly before each pour rather than keeping the bed flooded.
Final pour (2:15–2:45): Pour to your target weight — 330–360g for a single cup (1:15–1:16.5 ratio). By 3:30–4:00, the bed should be fully drained.
Coffee Module B — Brewing Guide
Extraction Parameters
| Parameter | Target | Notes |
|---|---|---|
| Dose | 20–22g | Scale up proportionally for larger batches |
| Yield | 320–360g | 1:15–1:16 ratio |
| Ratio | 1:15–1:16 | Stronger: 1:14; lighter: 1:17 |
| Brew Time | 3:00–4:00 min | Total including bloom |
| Temperature | 93–96°C / 200–205°F | Lighter roasts: upper end; darker: lower |
| Pressure | N/A (gravity-fed) | Flow rate is controlled by grind and pour rate |
Puck Prep (Grounds Bed Prep)
WDT equivalent — shake and settle: Gently tap the dripper on the counter after adding coffee to level the bed before the bloom pour. Some brewers use a chopstick to break up clumps.
Leveling: A flat, level coffee bed ensures even water distribution. Tilt the dripper gently and rotate — the coffee self-levels.
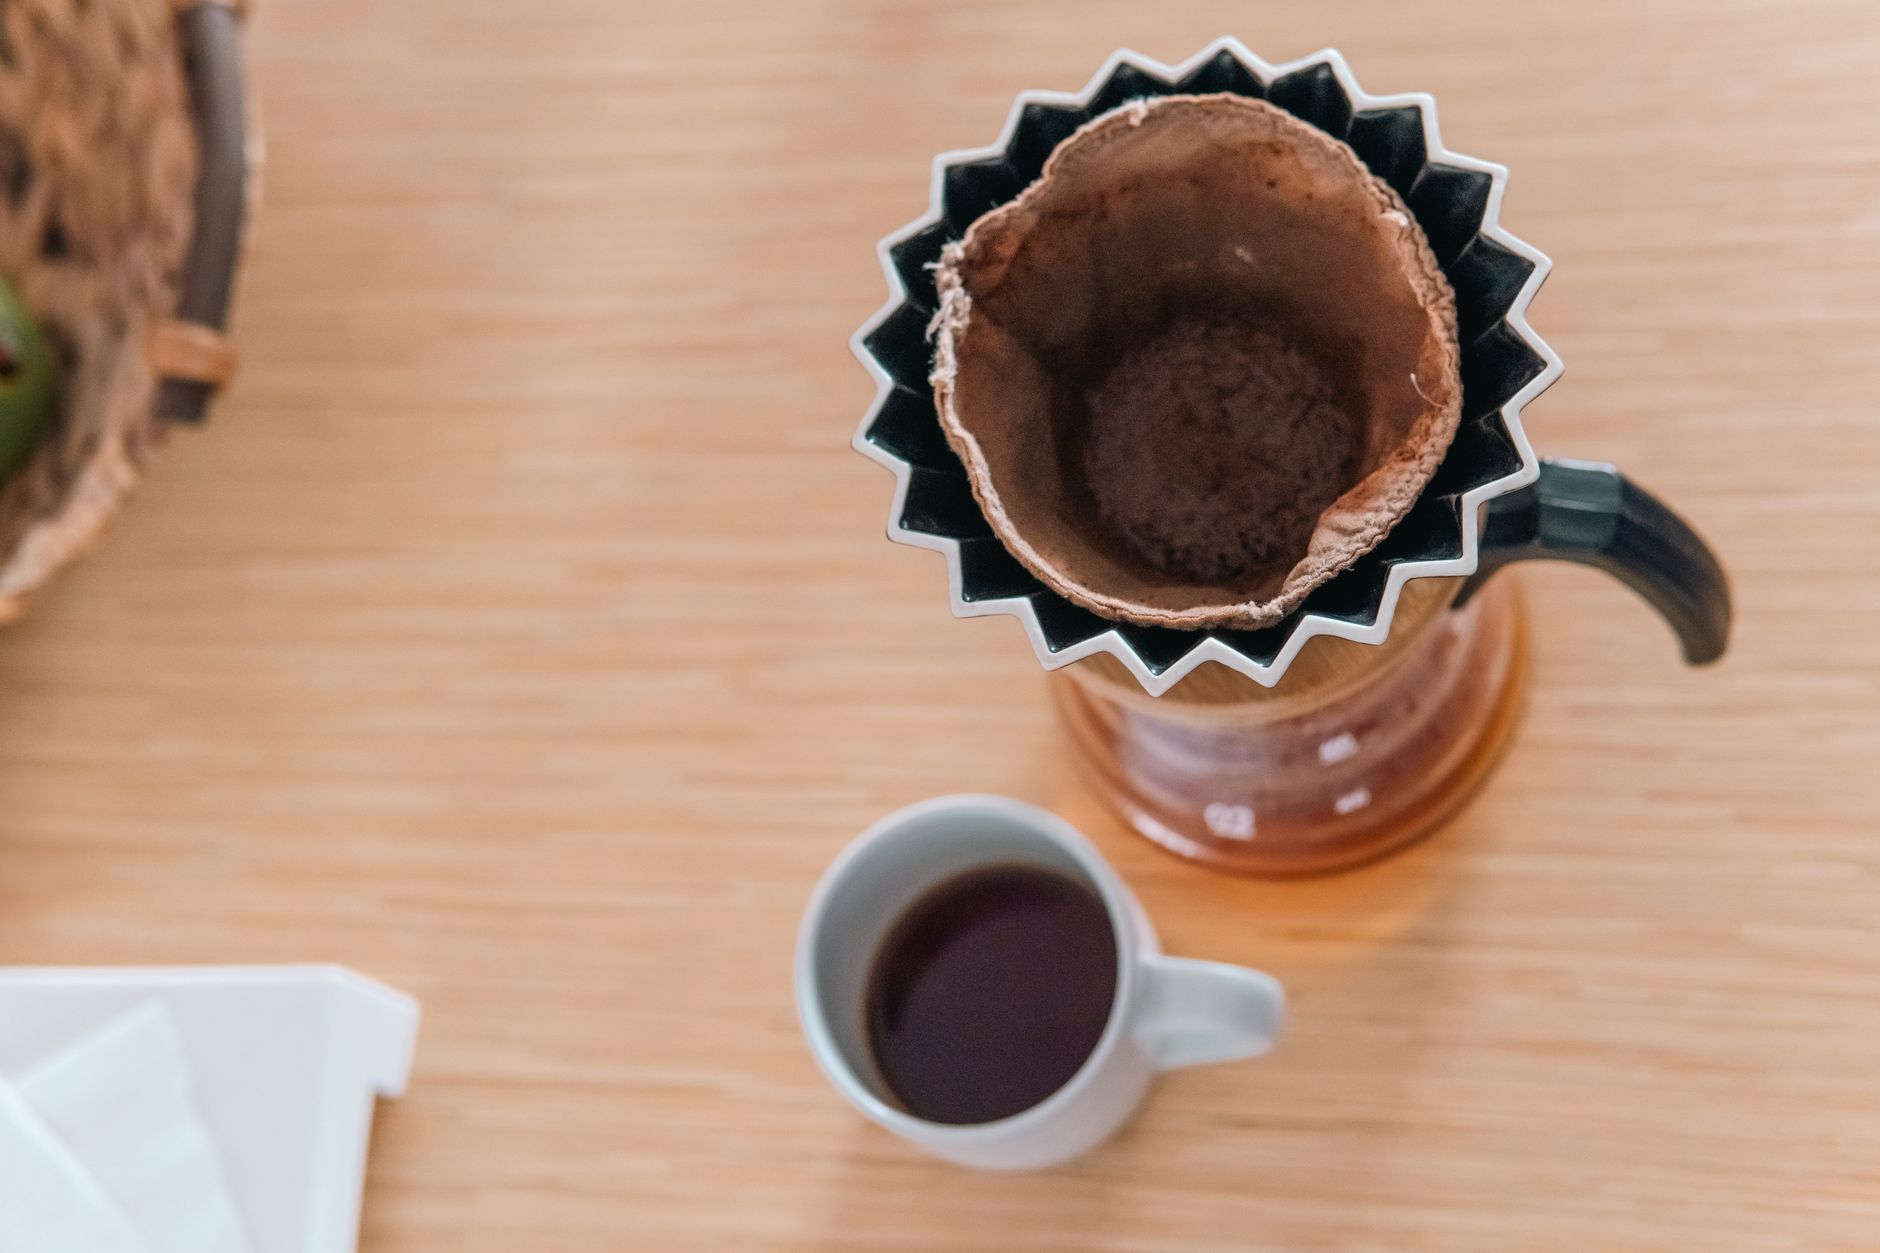
Channeling prevention: Pour slowly. Channeling in pour over happens when water cuts a path through the coffee bed rather than saturating it evenly. Signs: an uneven, concave, or cracked coffee bed at the end of the brew.
Pre-infusion (bloom): The bloom is pre-infusion. It allows even degassing before extraction starts in earnest. Skipping it leads to uneven extraction and flat flavor.
Troubleshooting Matrix
| Symptom | Likely Cause | Fix |
|---|---|---|
| Too sour / underdeveloped | Grind too coarse, water too cool, brew too fast | Go finer, raise temp, slow pour |
| Too bitter / harsh | Grind too fine, over-extracted, water too hot | Go coarser, lower temp |
| Weak / watery | Ratio too low, grind too coarse | More coffee or finer grind |
| Brew takes 6+ minutes | Grind too fine, paper clogged | Go coarser, fresh filter, ensure rinse |
| Brew finishes in under 2 min | Grind too coarse | Go finer |
| Channeling / uneven bed | Fast pour, poor distribution | Slow spirals, level bed before bloom |
| Paper taste | Filter not rinsed | Always rinse with hot water before brewing |
| Muddy / cloudy cup | Fines in cup, grind inconsistency | Upgrade grinder, use Aeropress metal filter |
Dialing In Grind Size
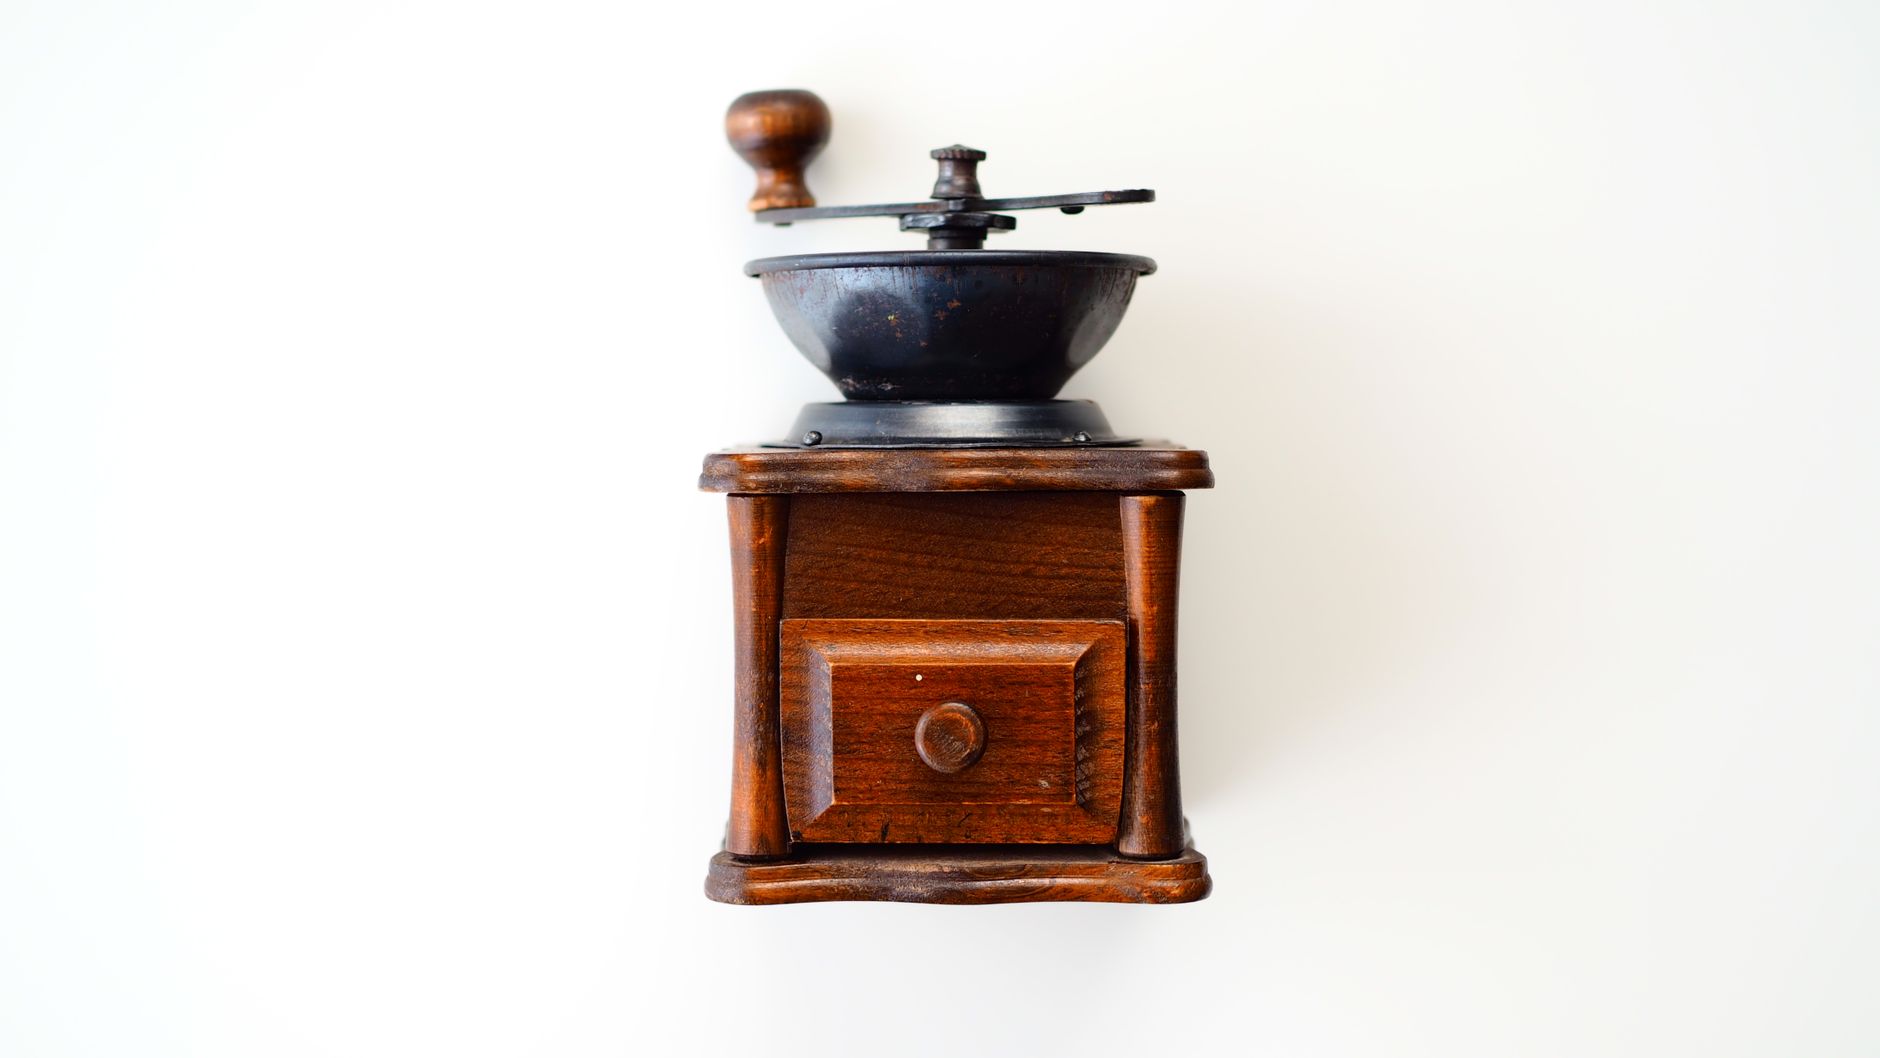 Photo: Mateusz Feliksik via Pexels
Grind size is the primary dial for pour over. Temperature and ratio are supporting adjustments — grind is where most of the extraction work happens.
Too coarse: Water rushes through. Brew time short. Cup tastes sour, thin, grain-forward.
Too fine: Water struggles to pass through. Brew time long. Cup tastes bitter, ashy, dry.
The correct grind produces a brew time of 3–4 minutes (including bloom) and a balanced cup: sweet, complex, with a clean finish. Start at medium-coarse and adjust by half-steps — small grinder adjustments have outsized impact on brew time.
Burr quality determines grind consistency. A blade grinder produces irregular particle sizes, which means some particles over-extract while others under-extract simultaneously. If you’re tasting both sourness and bitterness at once, your grinder is the likely culprit, not your technique.
Water Quality and Temperature
Water that tastes good from the tap usually brews good coffee. Filtered water is ideal — distilled water is actually too pure and produces flat, lifeless extraction because minerals (especially magnesium and calcium) aid extraction. Aim for total dissolved solids (TDS) around 75–150 ppm.
Temperature targets by roast:
- Light roast: 95–96°C (203–205°F) — high heat to fully extract denser, less developed beans
- Medium roast: 93–94°C (199–201°F) — standard range
- Dark roast: 88–92°C (190–198°F) — lower temps prevent ashy bitterness
Without a thermometer, bring water to boil and wait 30–45 seconds for a medium roast. It’s imprecise but functional. A temperature-controlled kettle removes this variable entirely.
→ See Also
- How to Brew Coffee at Home: Complete Method Guide
- French Press Coffee: Complete Brewing Guide (Ratios + Technique)
- French Press Coffee-to-Water Ratio Calculator
FAQ
How long should a pour over take? A properly brewed pour over takes 3–4 minutes from first pour to empty bed, including a 30–45 second bloom. If you’re consistently outside this window — faster or slower — adjust your grind before changing anything else. Brew time is the most reliable extraction signal.
What grind size is best for pour over coffee? Medium-coarse — roughly the texture of raw or demerara sugar. This is coarser than drip machine settings and finer than French press. The exact setting depends on your grinder; use brew time (3–4 minutes) as your calibration target rather than any fixed click number.
What ratio of coffee to water for pour over? 1:15 to 1:16 is the standard range for how to make pour over coffee: 20g coffee to 300–320g water for a standard cup, or 22g to 330–360g for a slightly fuller mug. Go 1:14 for a stronger extraction, 1:17 if you prefer something lighter. A kitchen scale is non-negotiable for dialing this in.
Can you use pre-ground coffee for pour over? Yes, but the results will be noticeably flatter. Pre-ground coffee has already begun to stale — CO₂ has off-gassed, aromatic compounds have oxidized. It will also bloom poorly. If pre-ground is your only option, use it fresh from the bag and accept a flatter cup.
Is pour over coffee stronger than drip? Not necessarily in caffeine, but noticeably different in flavor clarity. Pour over produces a cleaner, brighter cup with more distinct flavor notes because the paper filter removes most oils and fine particles. A standard 1:15 pour over and a standard drip are comparable in caffeine; the difference is in taste complexity, not strength.
Do you need a gooseneck kettle for pour over? You don’t need one to start, but it makes a measurable difference. A standard kettle pours in an uncontrolled stream that’s hard to direct precisely, making even saturation difficult. A gooseneck lets you pour in slow, deliberate spirals at 3–5g per second — the pace that produces even extraction. If you brew pour over more than a few times per week, it’s worth the upgrade.
Editorial methodology: Assessments are based on manufacturer specifications, published user reviews, and editorial research. Physical hands-on testing is noted explicitly where it occurred. Rankings reflect our editorial judgment and are not influenced by affiliate commission rates. Full editorial policy · Affiliate disclosure