Contents
How to Brew Coffee at Home: Complete Method Guide
TL;DR: The best way to brew coffee at home depends on what you own and what you want in the cup. This guide covers every major method — from French press to pour over to espresso — with exact parameters, technique, and troubleshooting for each. Master the ratio and grind size first; everything else follows.
Which Brewing Method Should You Use?
The short answer: match the method to your gear and your cup preference. Immersion methods (French press, AeroPress) are forgiving and full-bodied. Filter methods (pour over, drip) are cleaner and brighter. Espresso requires more investment but unlocks a different category of coffee entirely. Start with what you already own.
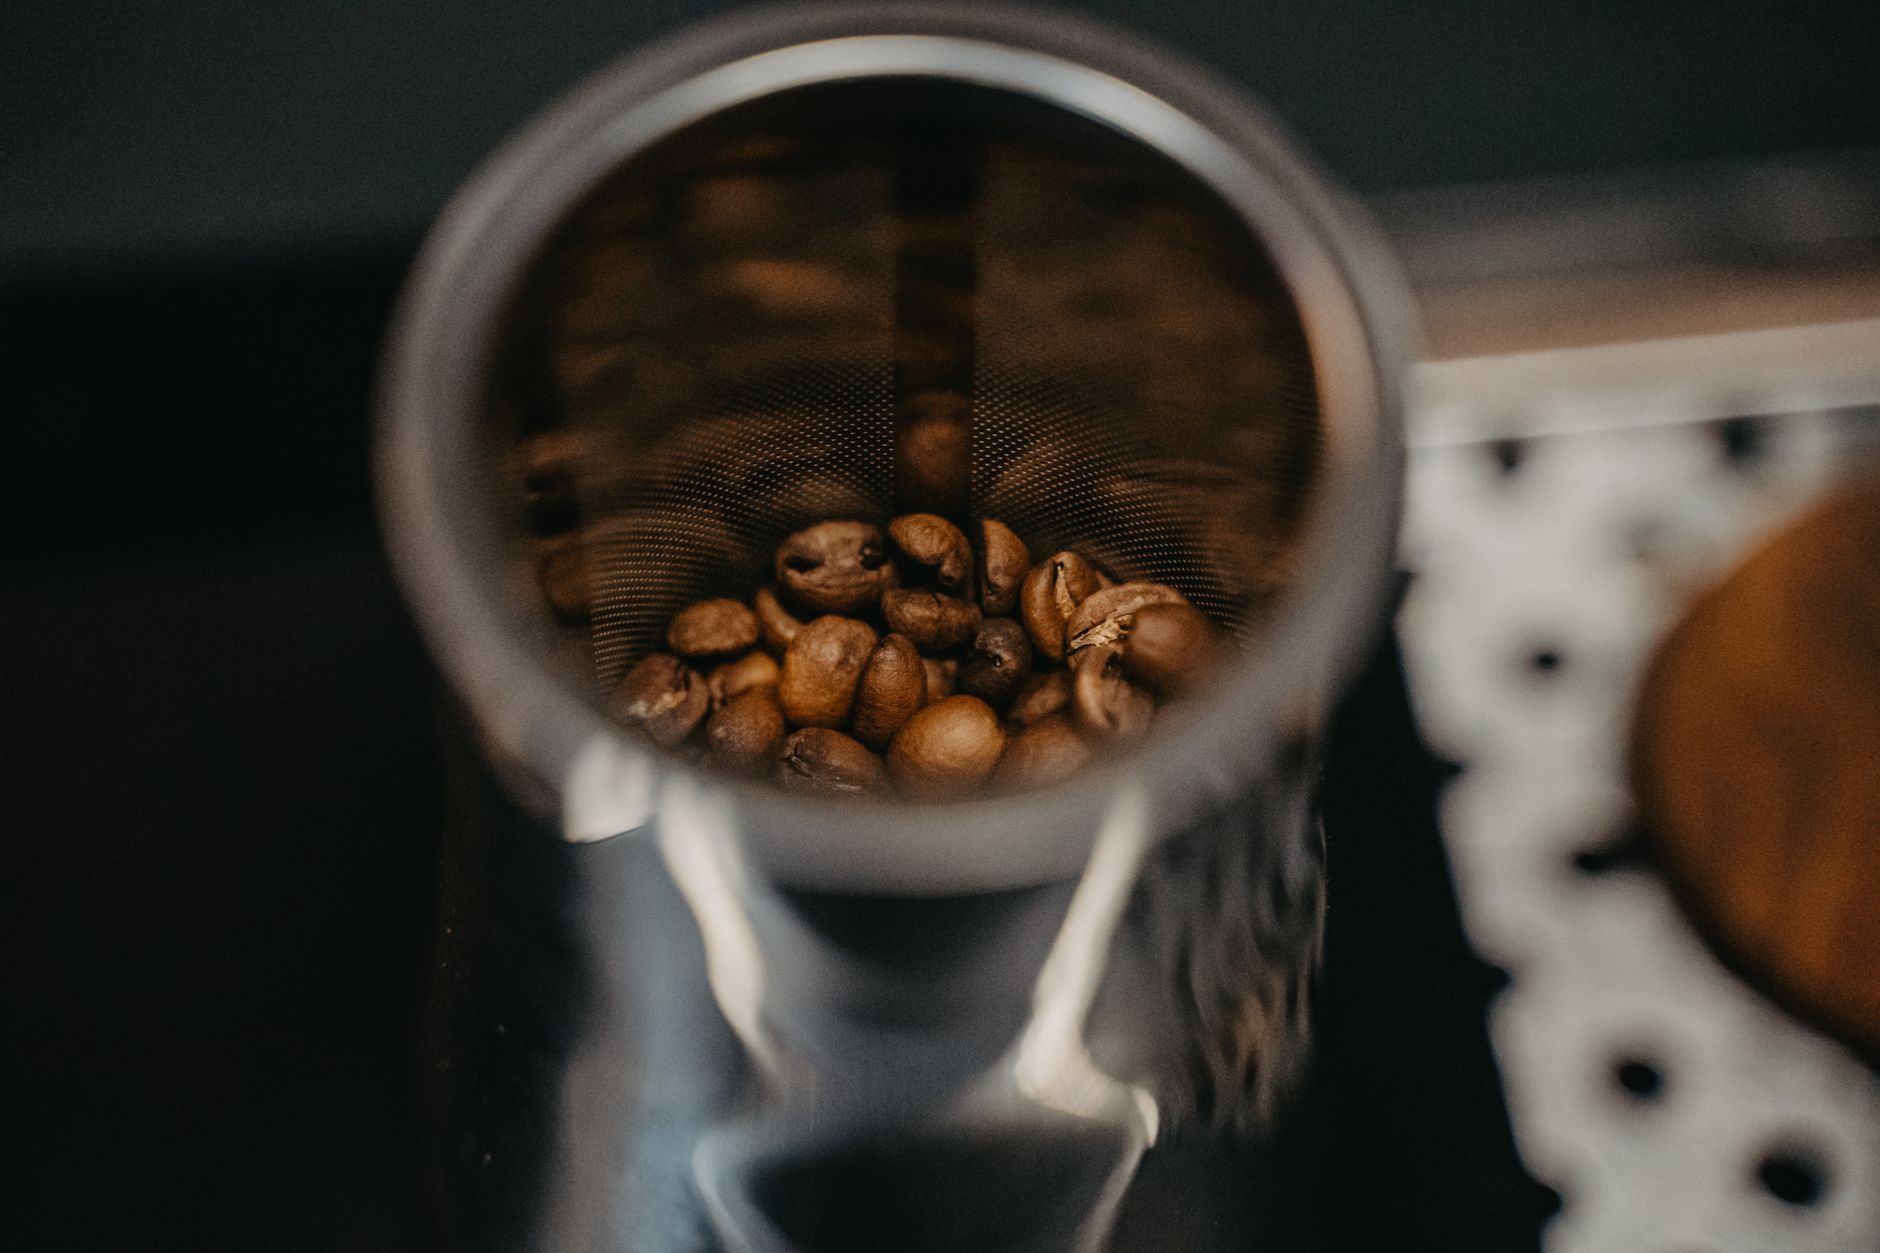
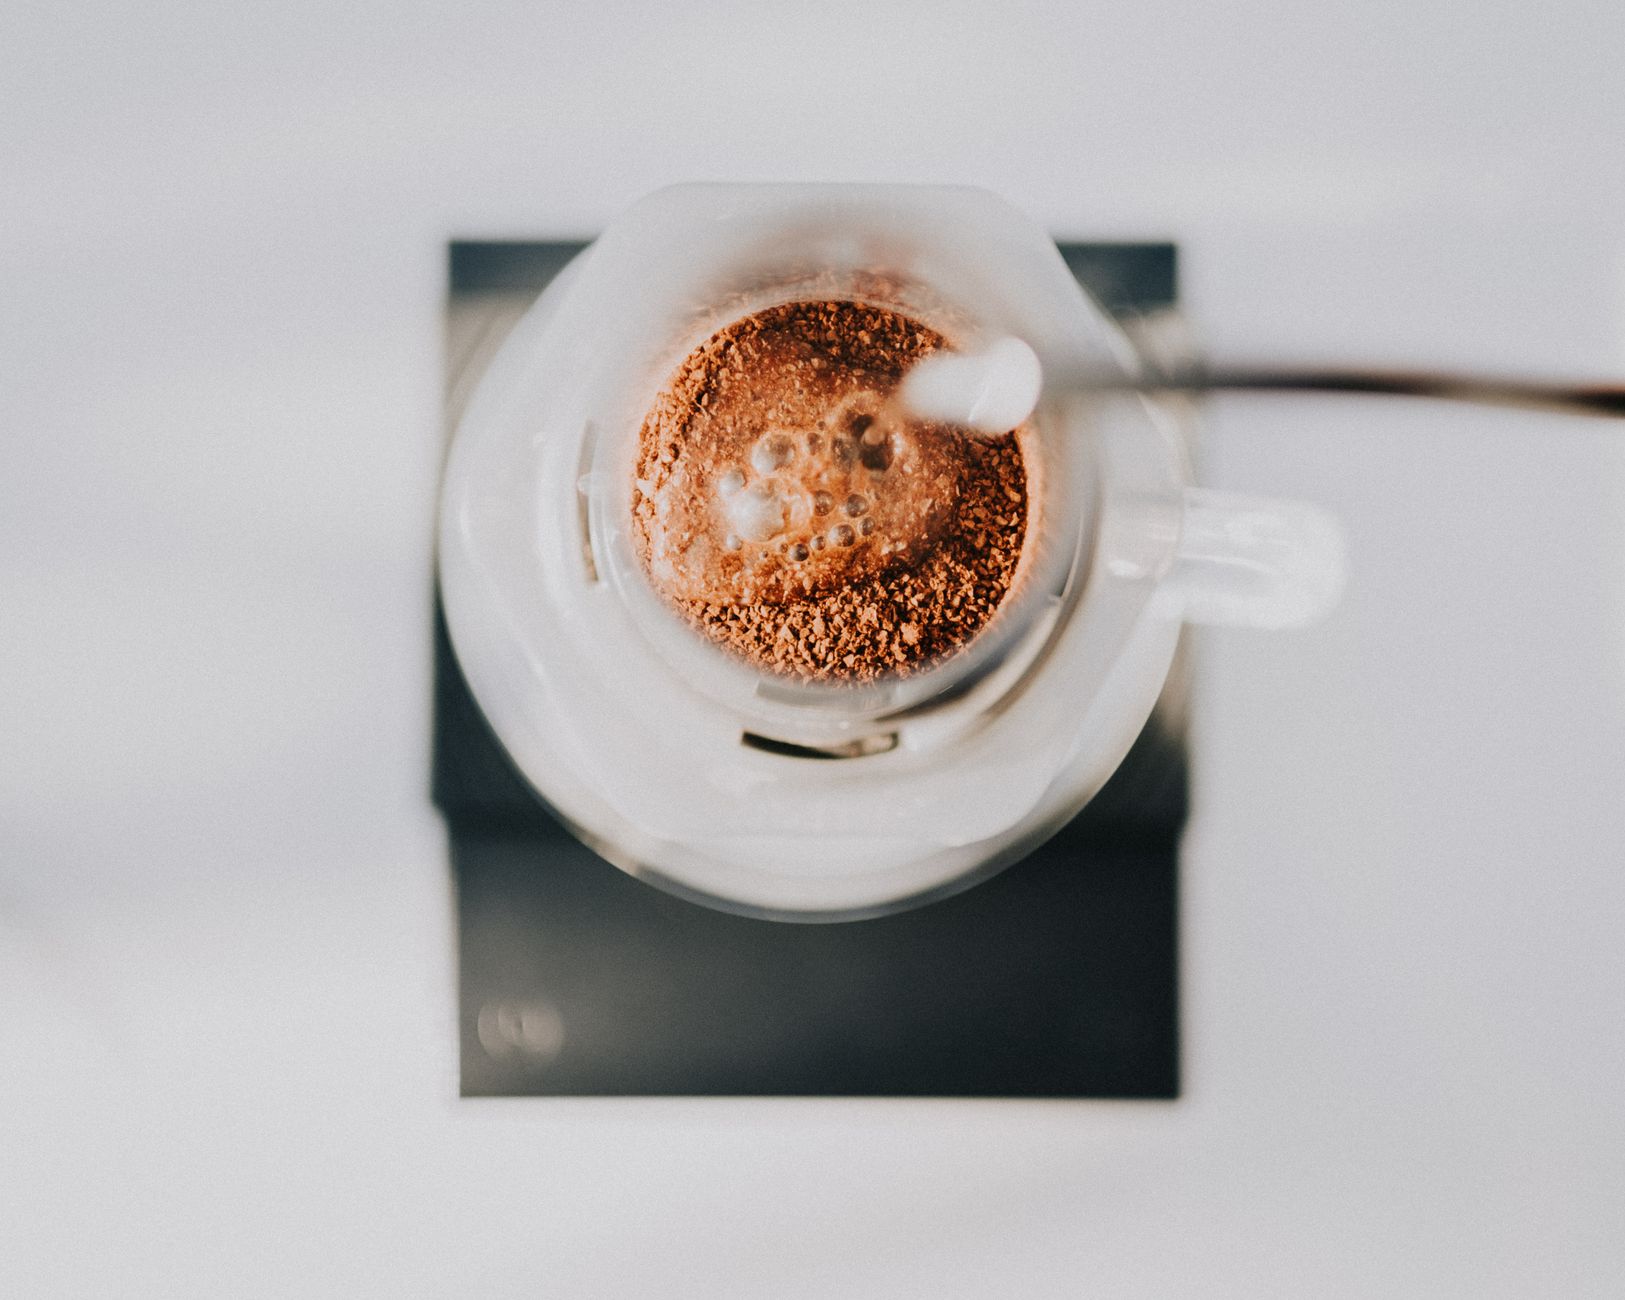 Photo: Onur Kaya via Pexels
| Method | Grind | Ratio (coffee:water) | Time | Difficulty | Best for |
|---|---|---|---|---|---|
| French Press | Coarse | 1:15–1:17 | 4 min | Easy | Rich, full-bodied |
| Pour Over | Medium-fine | 1:15–1:17 | 3–4 min | Medium | Clean, nuanced |
| AeroPress | Medium-fine | 1:12–1:16 | 1–2 min | Easy–Medium | Versatile, travel |
| Drip Machine | Medium | 1:15–1:17 | 5–8 min | Easy | Everyday volume |
| Moka Pot | Fine-medium | ~1:7 | 5–8 min | Medium | Strong, espresso-style |
| Cold Brew | Coarse | 1:5–1:8 | 12–24 hr | Easy | Smooth, low-acid |
| Espresso | Fine | 1:2 (dose:yield) | 25–30 sec | Hard | Concentrated, complex |
The Two Variables That Matter Most
Before method, before equipment — nail the ratio and the grind size. These two variables account for 80% of what’s wrong with a bad cup. Everything else is refinement.
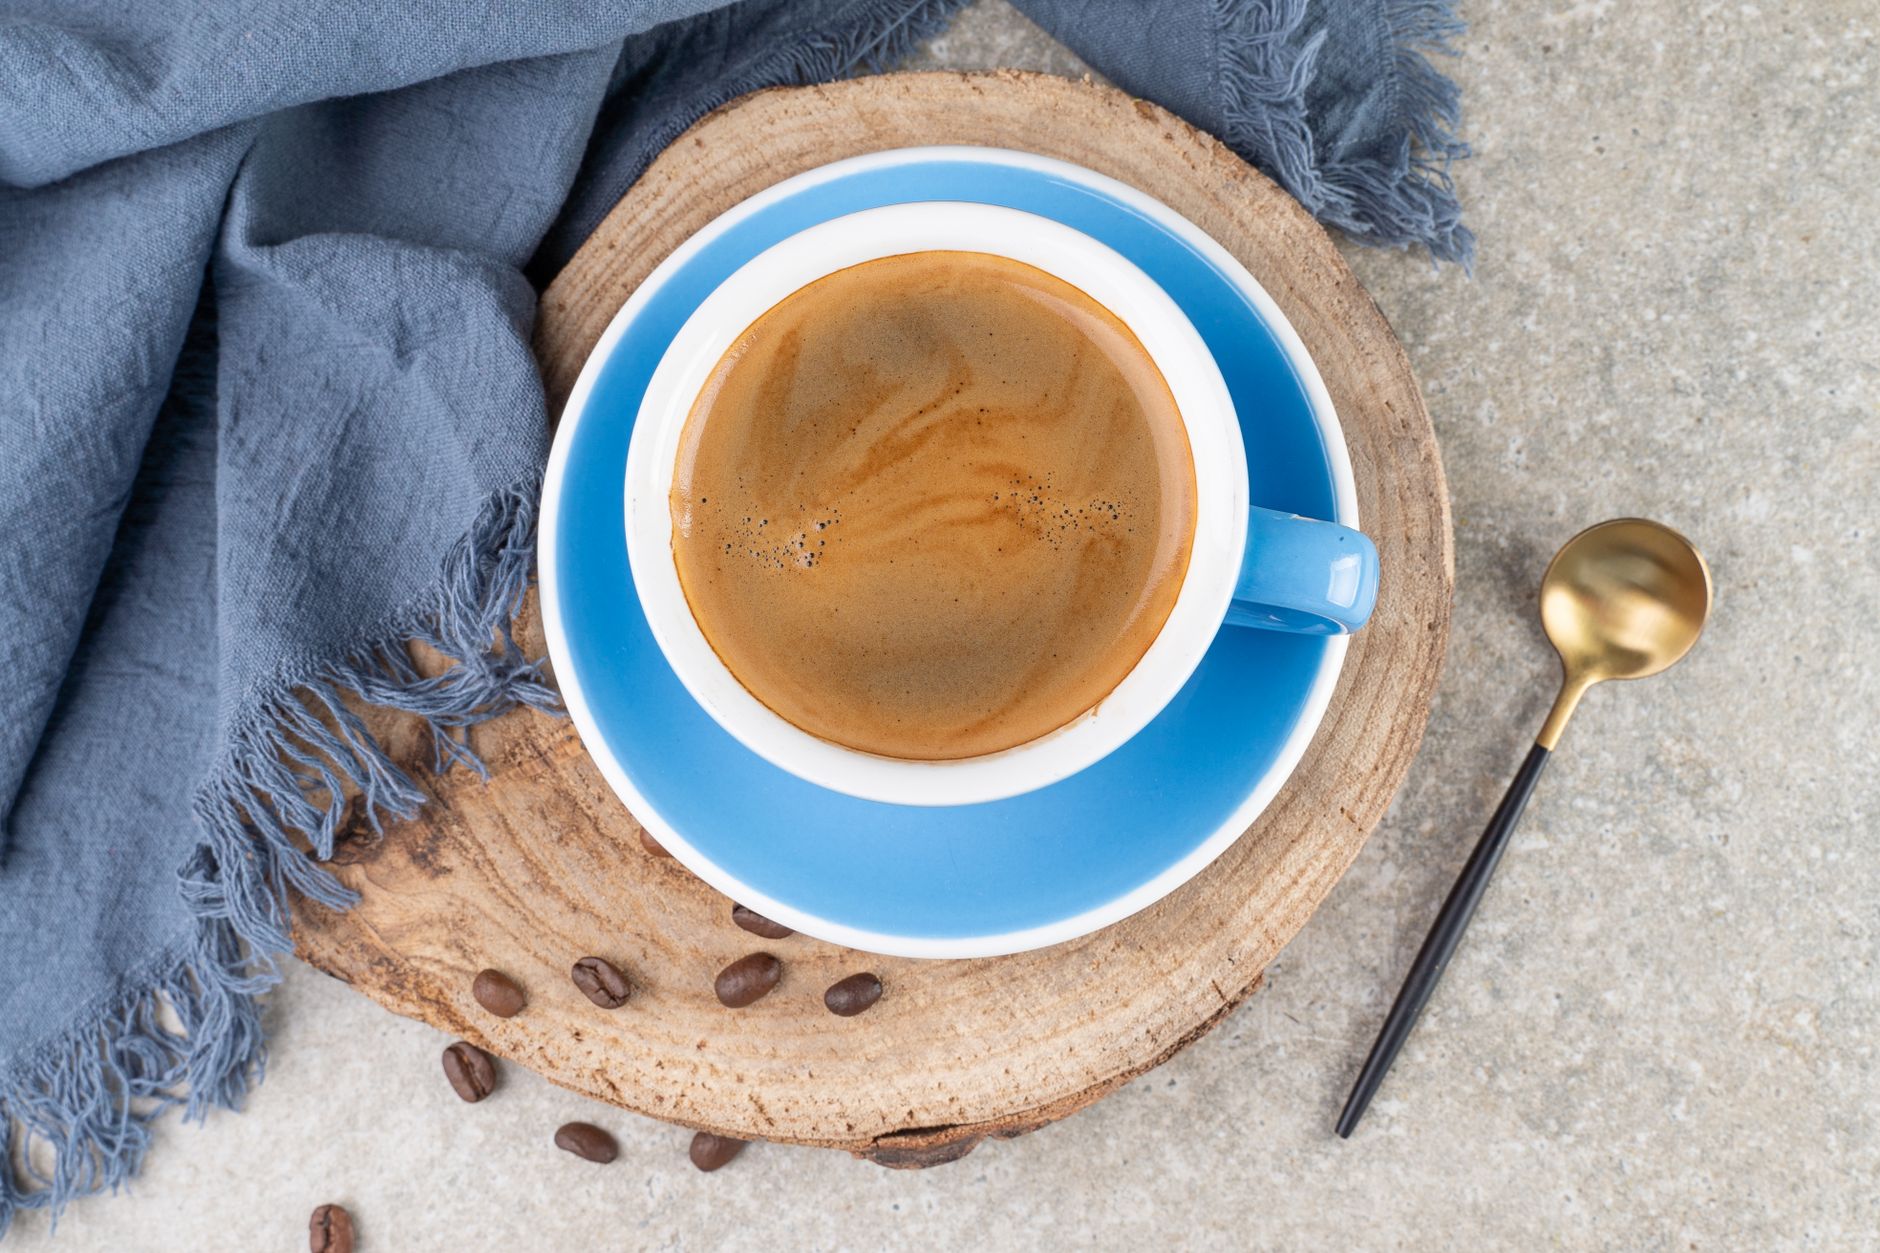
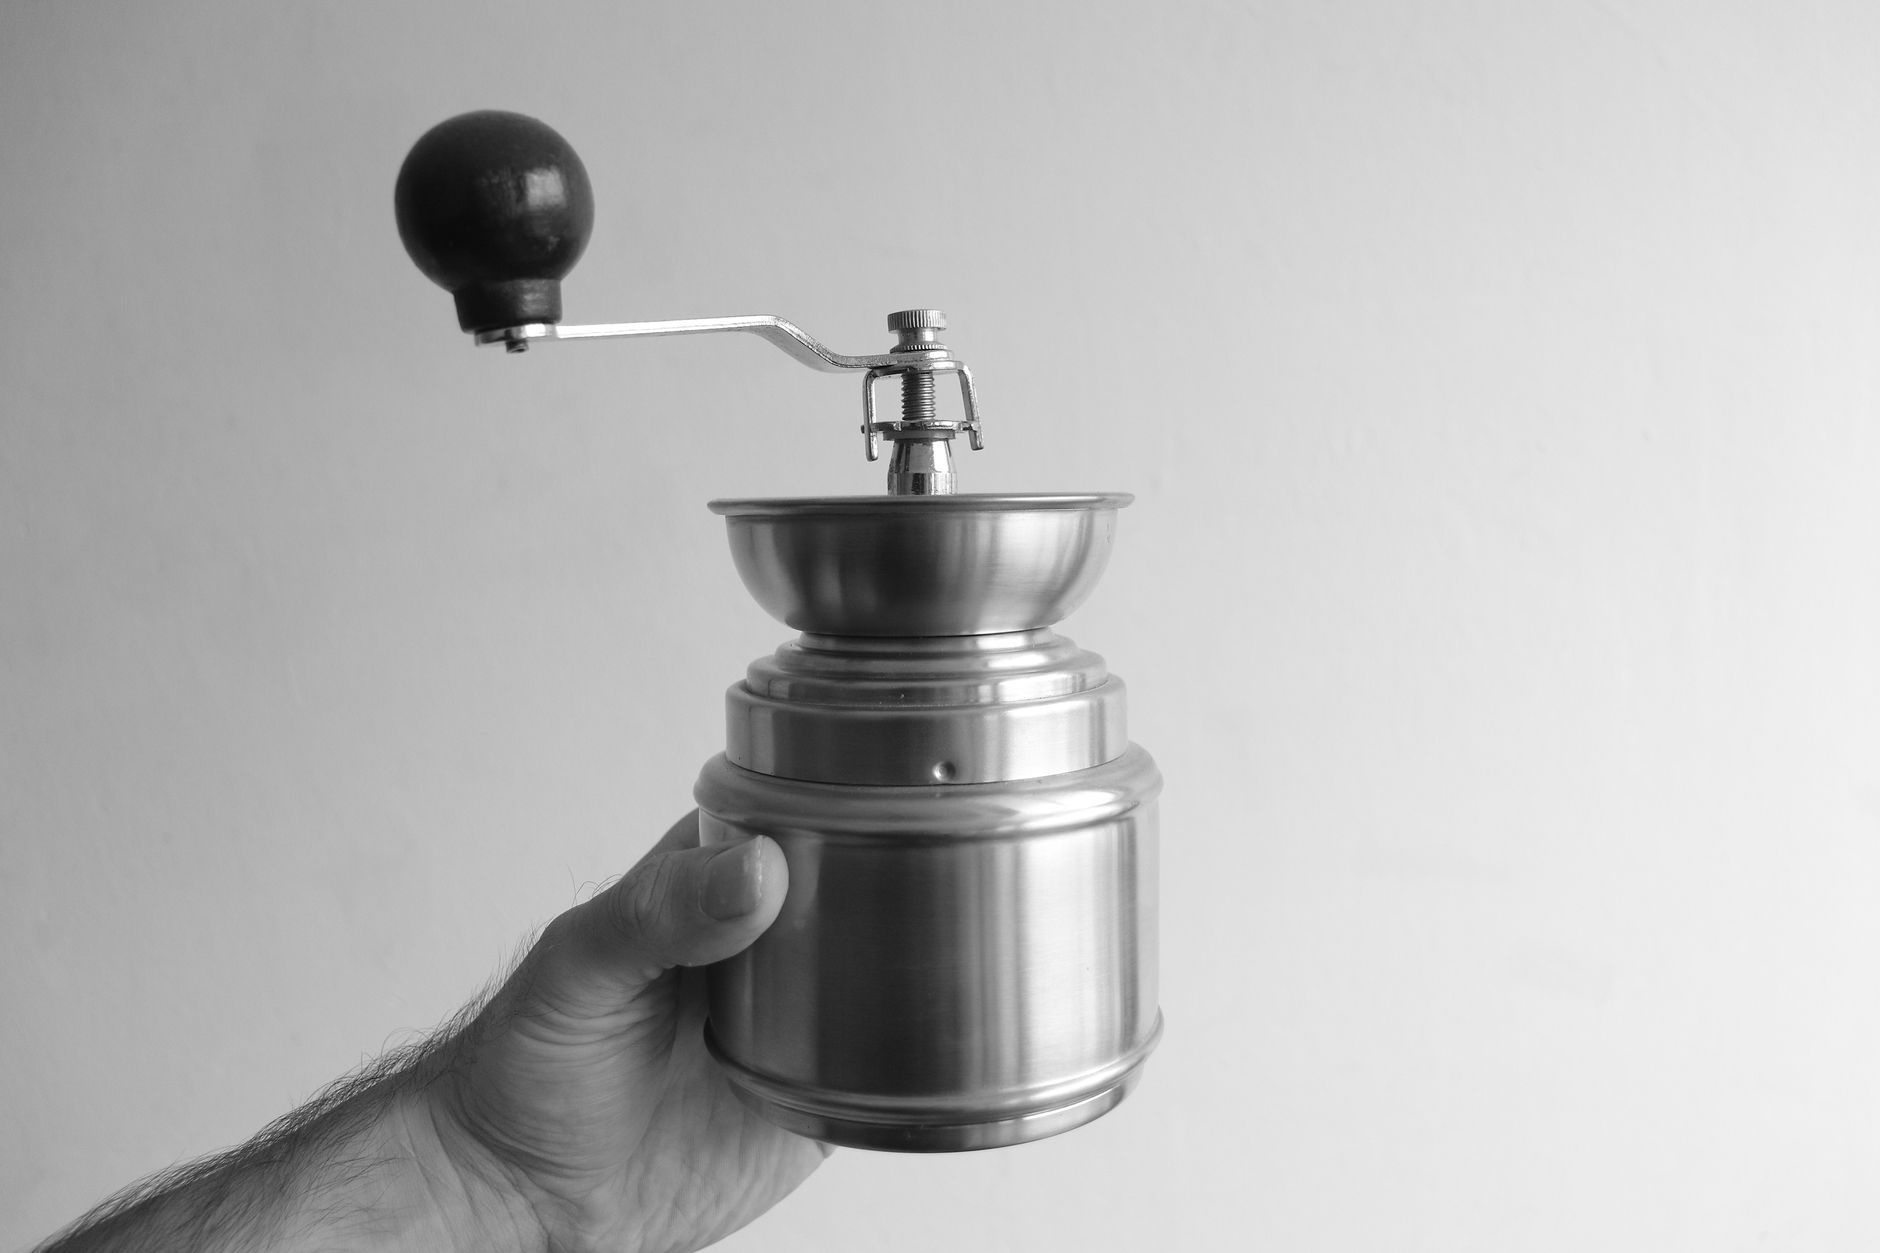 Photo: Jef K via Pexels
Coffee-to-Water Ratio
The industry standard is 1:15 to 1:17 by weight (1g coffee to 15–17g water) for most filter methods. That means:
- 20g coffee → 300–340g water (one strong mug)
- 30g coffee → 450–510g water (two cups)
Use a kitchen scale. Volume measurements (tablespoons, scoops) are inconsistent because grind size and bean density vary. A $15 digital scale changes everything.
For espresso, the ratio is inverted in your thinking: you’re measuring dose-to-yield. A 1:2 ratio means 18g in, 36g out. More on this in the espresso section.
Grind Size
Wrong grind size = wrong extraction. The table below maps each method to the grind you need:
| Method | Grind Size | Reference Point |
|---|---|---|
| Cold Brew | Extra coarse | Rough sea salt |
| French Press | Coarse | Kosher salt |
| Drip / Chemex | Medium | Table salt |
| Pour Over (V60) | Medium-fine | Fine table salt |
| AeroPress | Medium-fine | Fine table salt |
| Moka Pot | Fine-medium | Between sand and flour |
| Espresso | Fine | Powdered sugar |
Pre-ground coffee is almost always wrong for your method. A burr grinder — even a hand grinder at the $50–$70 price point — will improve your cup more than any other single upgrade.
The Baratza Encore
How to Brew French Press Coffee
French press is the most forgiving method for beginners. Coarse grind, add hot water, wait four minutes, press. The immersion brew extracts fully and evenly without special pouring technique. The result is full-bodied with natural oils that paper filters remove.
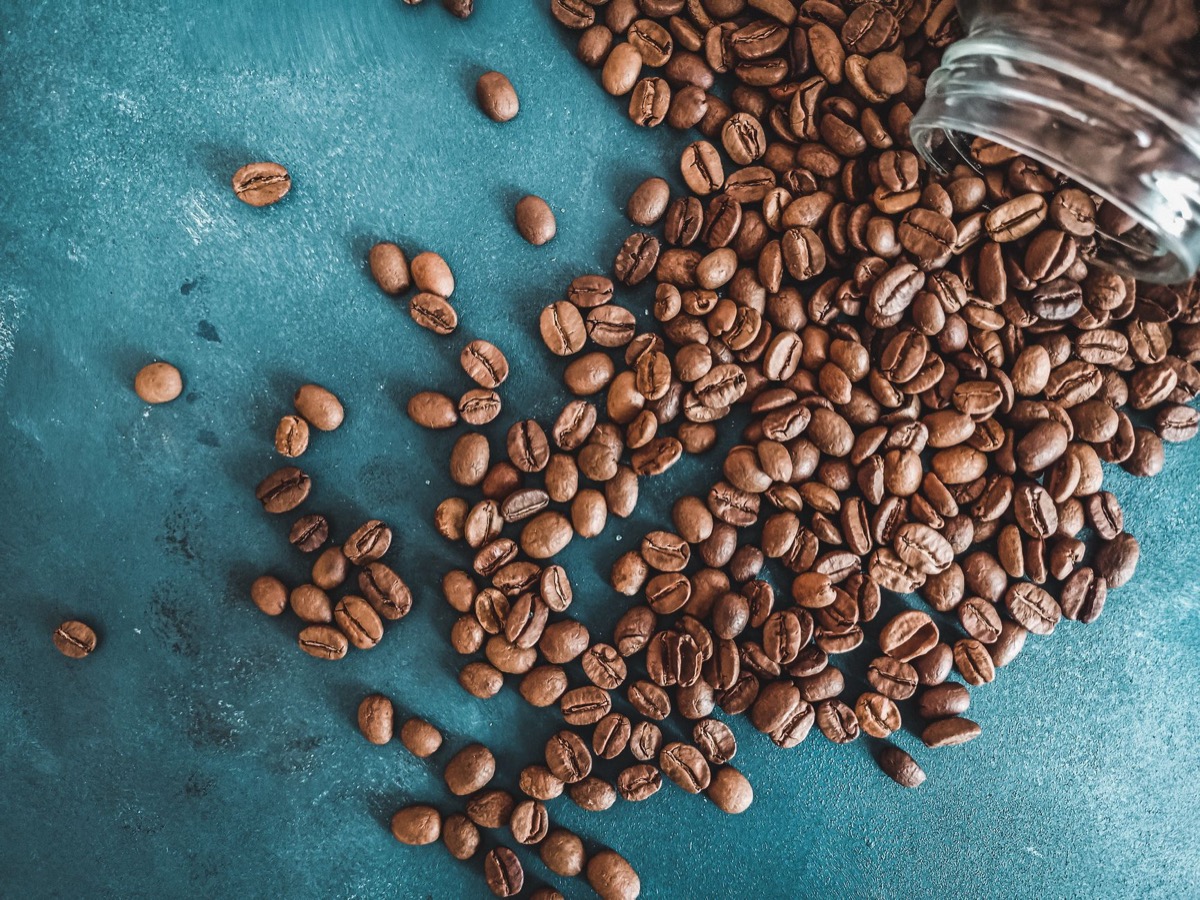
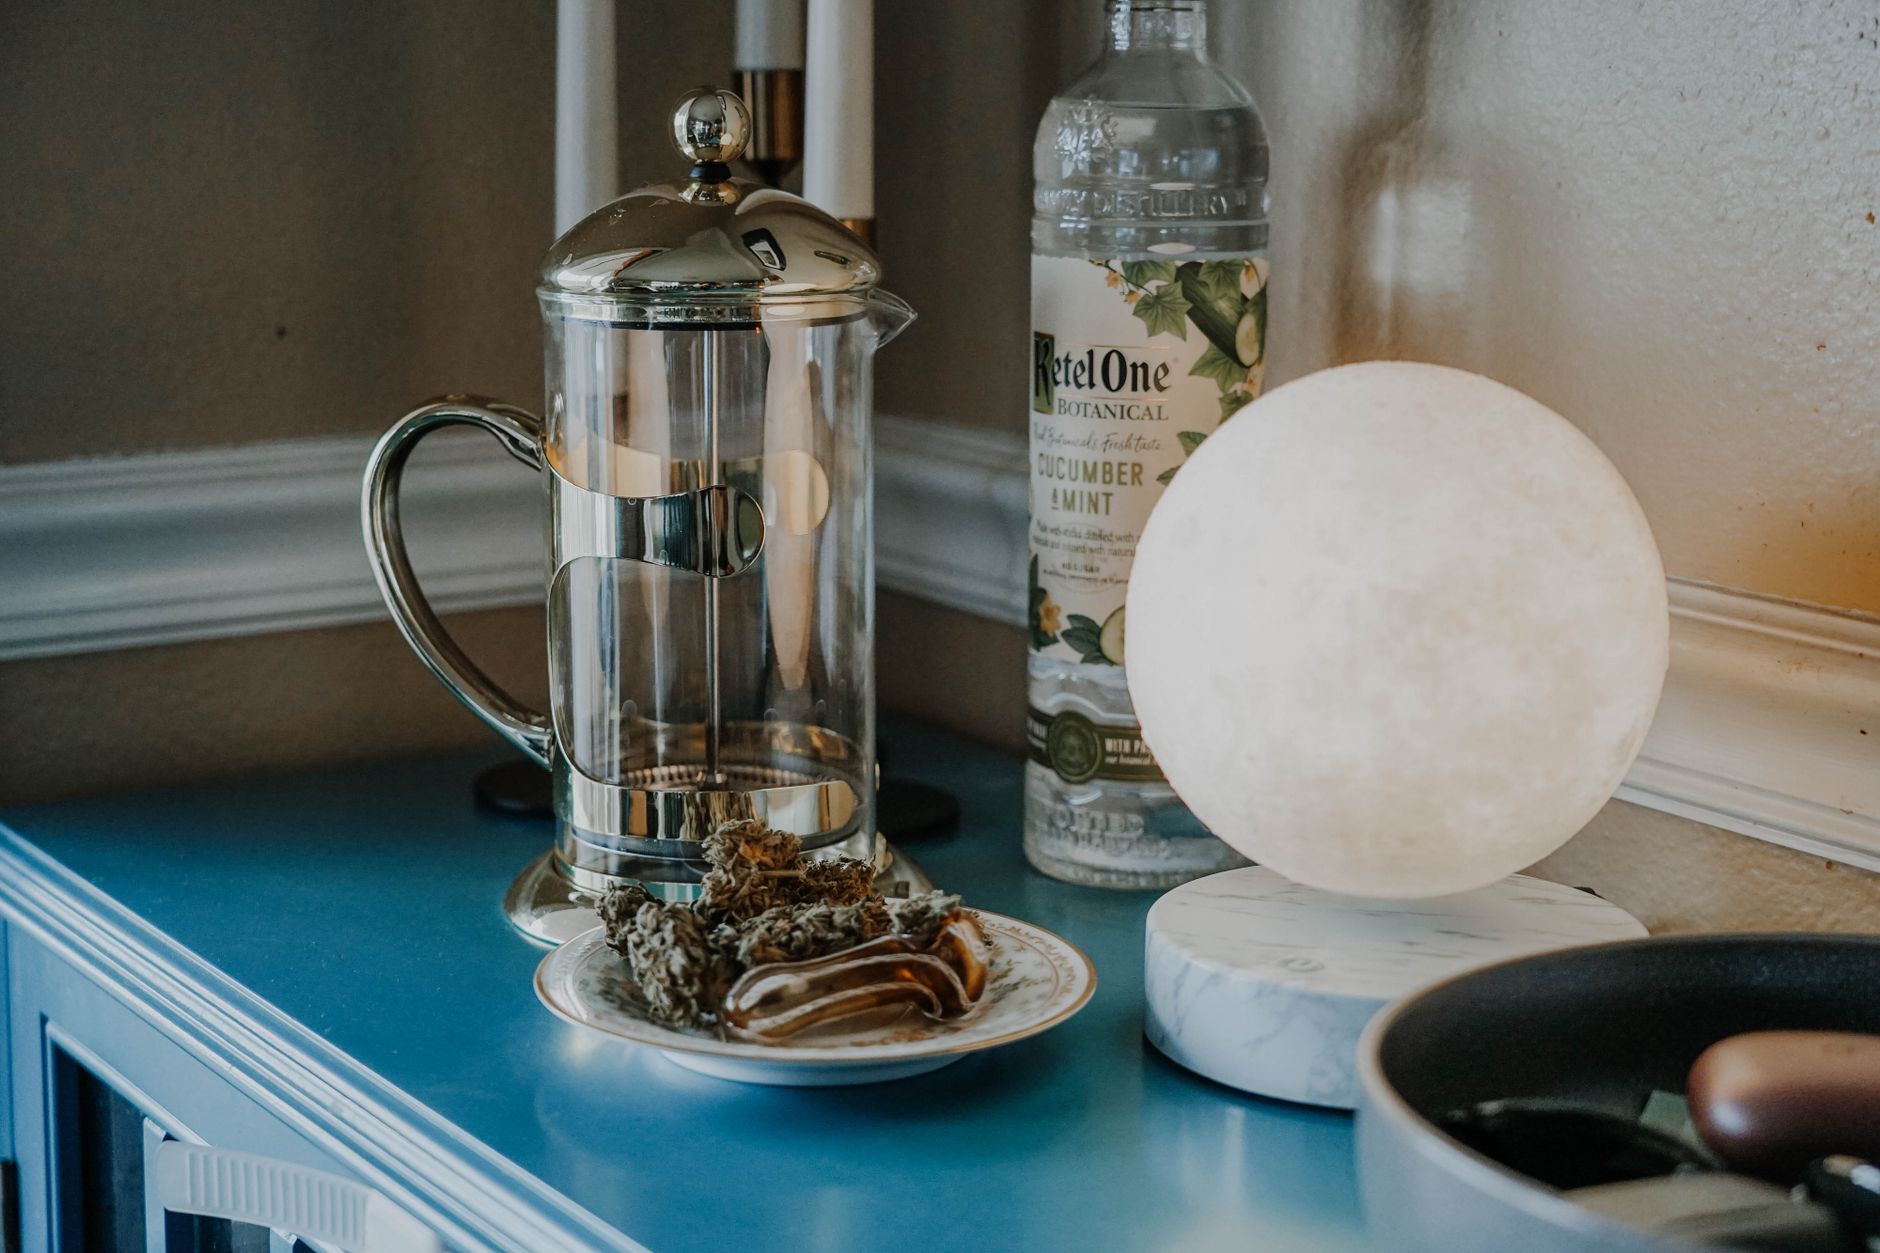 Photo: Elsa Olofsson via Pexels
Brewing Guide — French Press
Extraction Parameters
| Parameter | Value |
|---|---|
| Dose | 30g coffee |
| Yield | 450–500g (15–17oz) |
| Ratio | 1:15–1:17 |
| Time | 4 minutes |
| Temperature | 93–96°C (200–205°F) |
| Grind | Coarse |
Puck Prep (for French Press: Bloom + Steep)
- Preheat the press with hot water, discard
- Add 30g coarse-ground coffee
- Pour 60g of water (2× the coffee weight), start timer — this is the bloom
- At 0:30, pour remaining water to reach 450–500g total
- Give a gentle stir to saturate all grounds
- Place lid on without pressing, wait until 4:00
- Press slowly and steadily over 30 seconds
- Pour immediately — don’t let coffee sit on grounds
Troubleshooting
| Symptom | Likely Cause | Fix |
|---|---|---|
| Bitter, harsh cup | Over-extraction | Grind coarser, reduce steep time to 3:30 |
| Weak, watery | Under-extraction or low ratio | Grind finer, increase coffee dose |
| Gritty texture | Grind too fine | Grind coarser, replace worn burrs |
| Muddy, cloudy cup | Over-agitation | Stir less, skip the bloom stir |
| Grounds through press | Broken or warped filter | Replace the mesh filter |
For a full deep-dive with troubleshooting, video guides, and grind recommendations by bean origin: → French Press Coffee: Complete Brewing Guide
Want the exact ratio for your press size? → French Press Coffee-to-Water Ratio Calculator
How to Brew Pour Over Coffee
Pour over produces the cleanest, most nuanced cup of any manual method. The paper filter removes oils and fine particles; controlled pouring lets you dial in extraction precisely. The V60, Chemex, and Kalita Wave all follow the same core technique with minor differences in hardware.
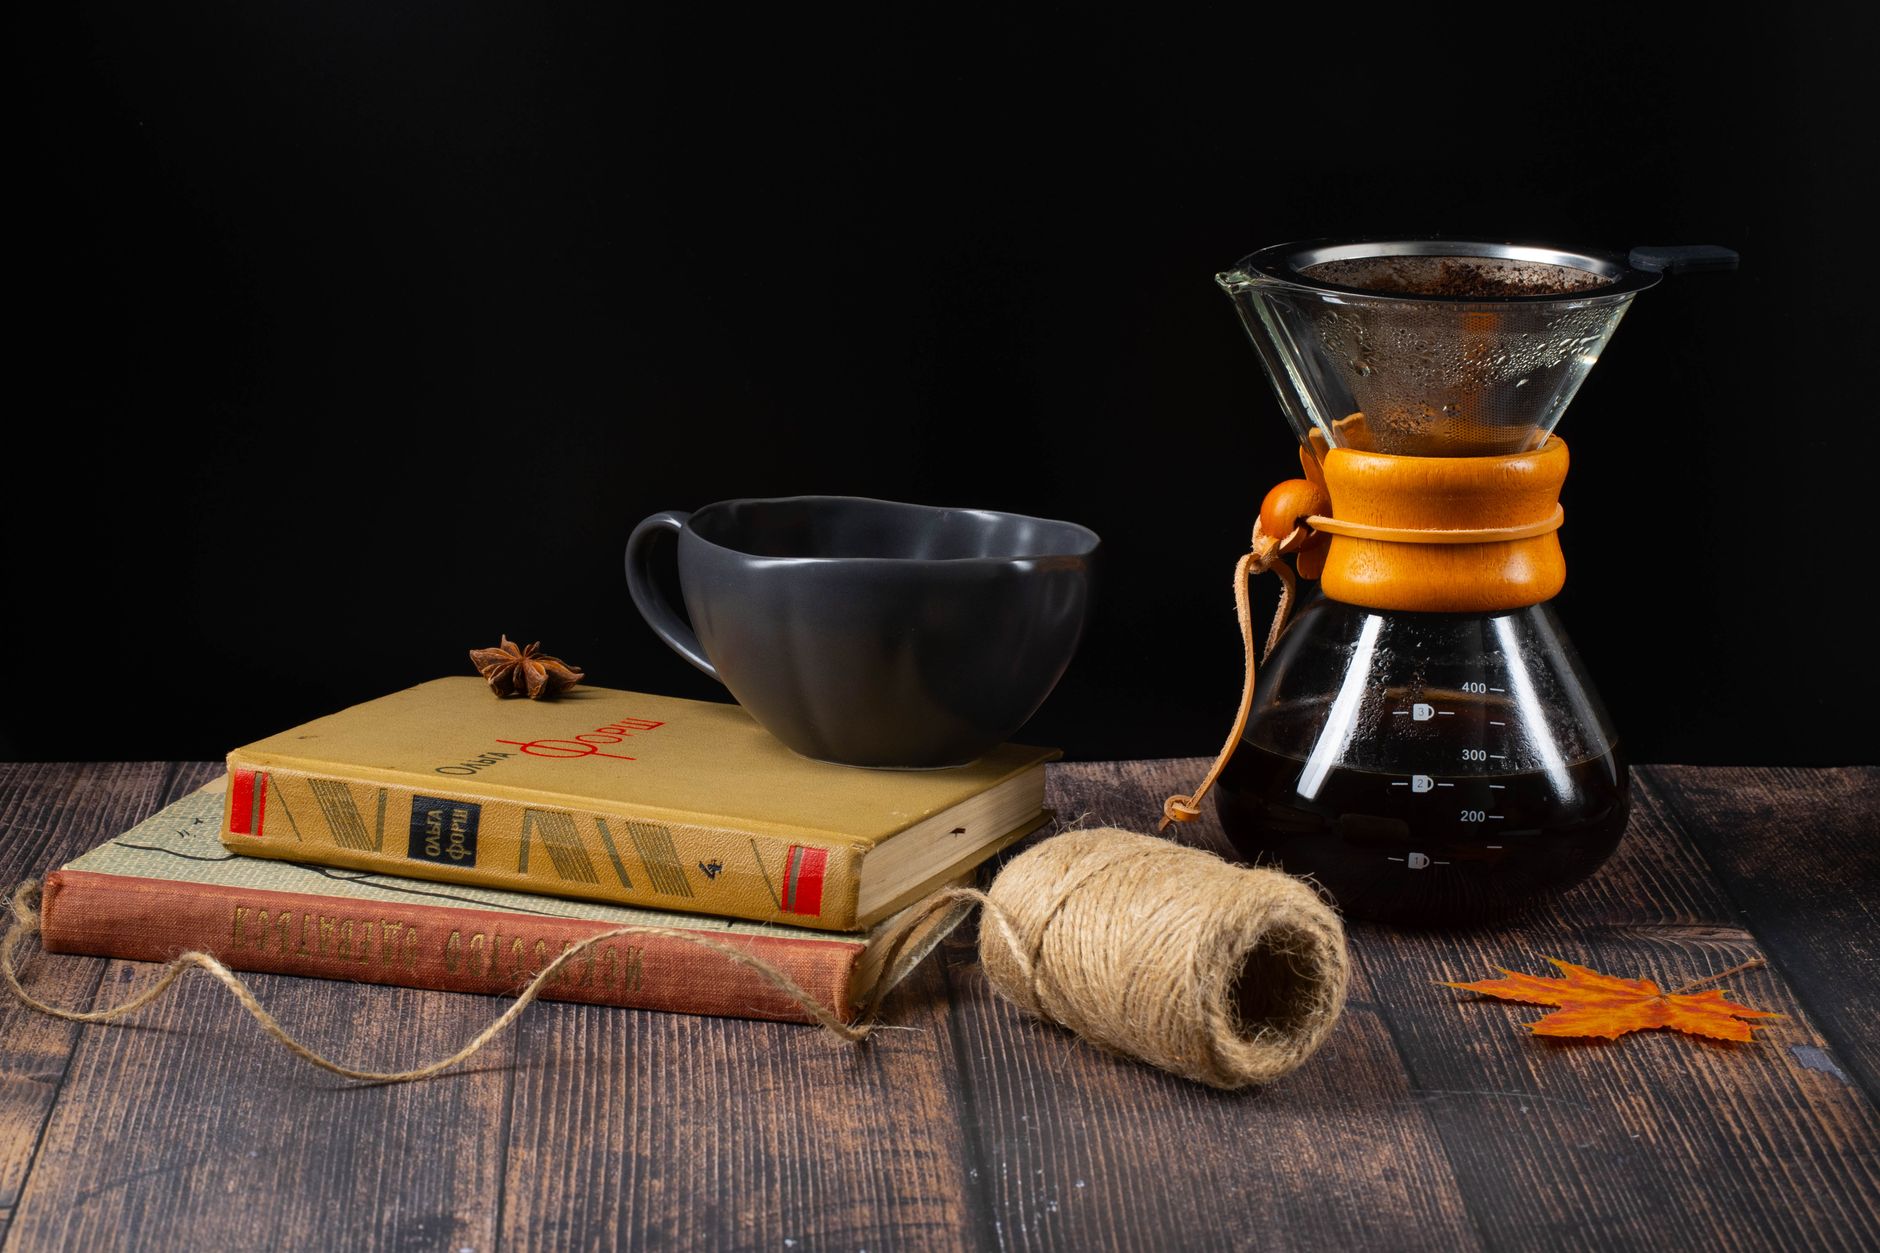
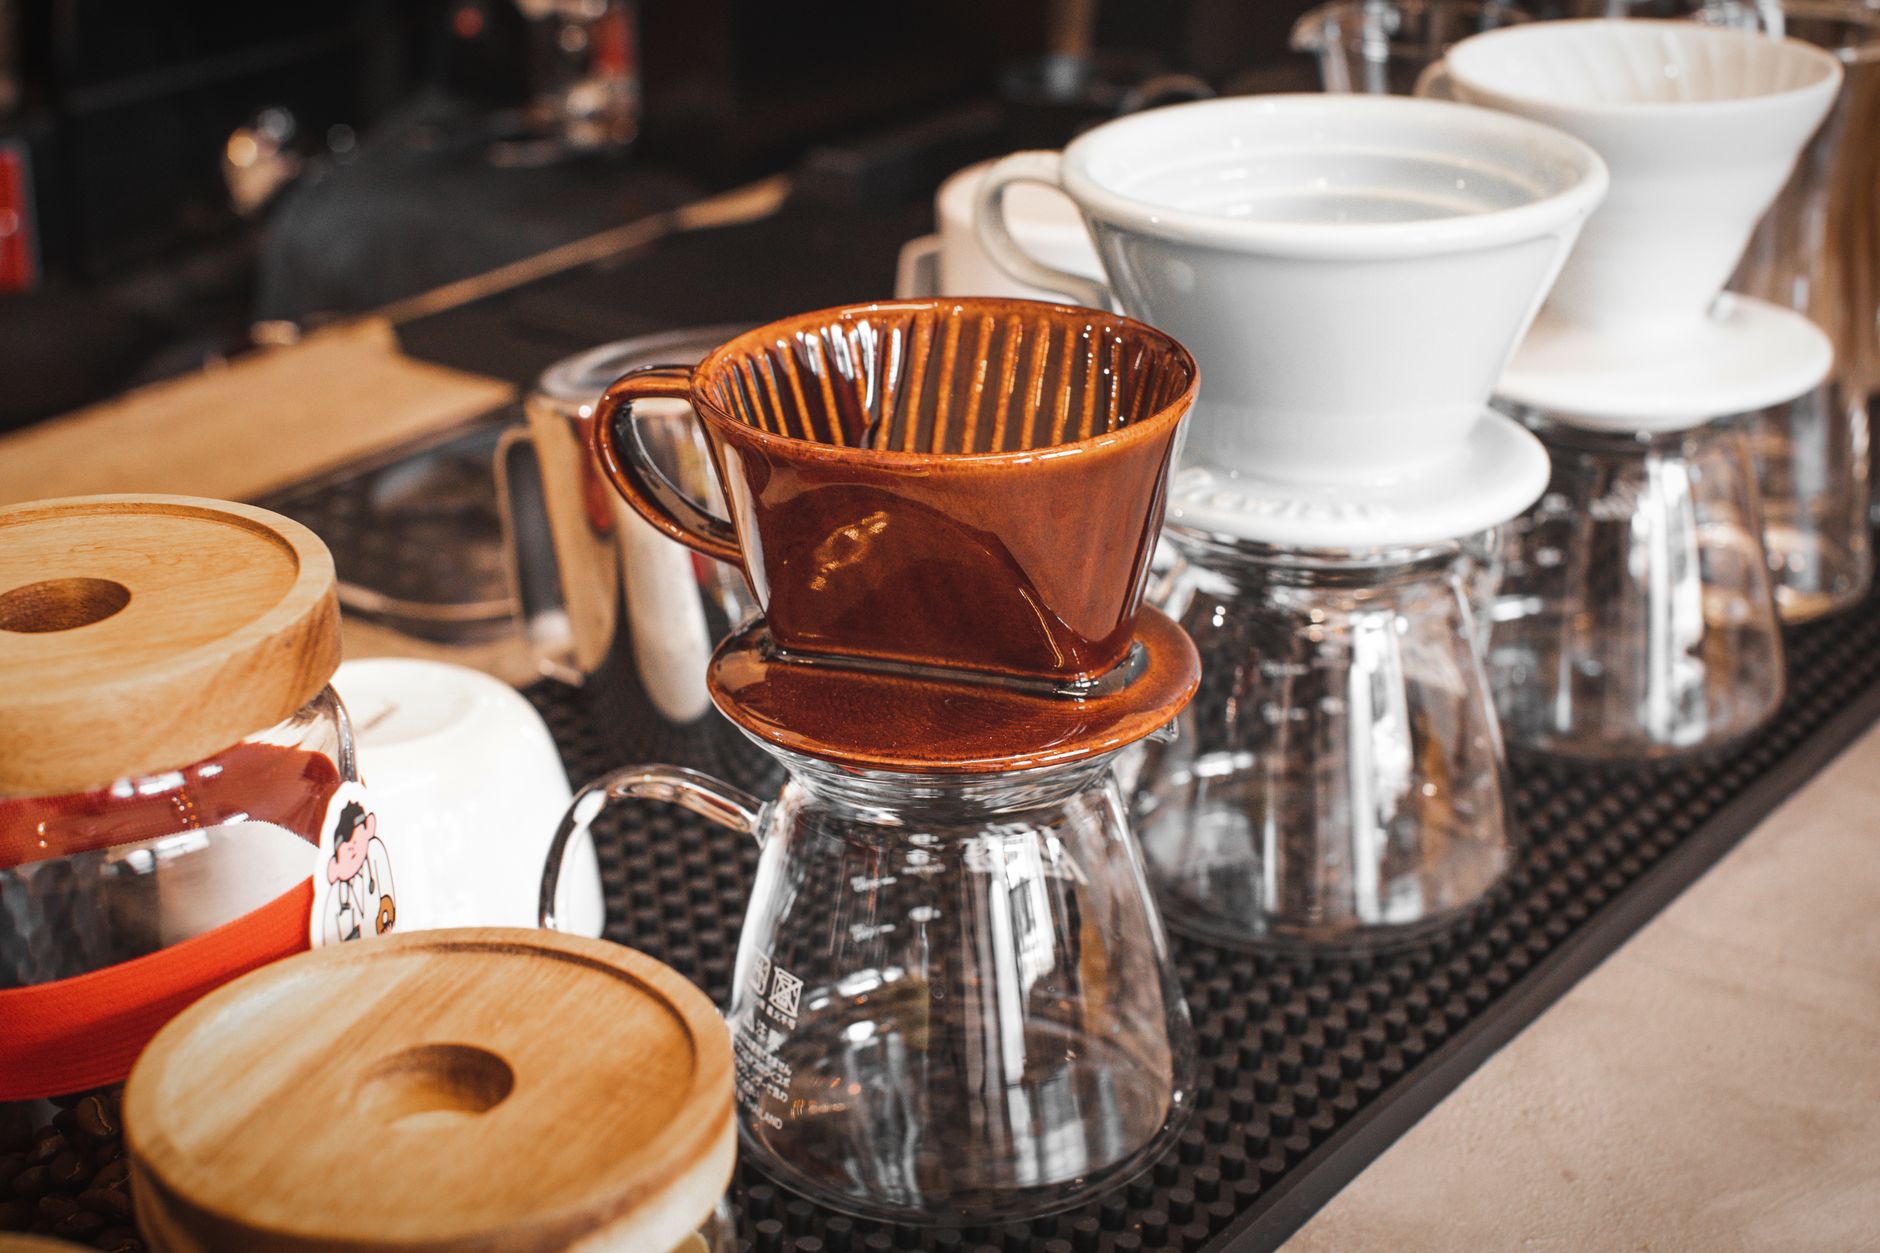 Photo: 琦 刘 via Pexels
The Three Most Common Pour Over Drippers
| Dripper | Filter | Flow Rate | Best for |
|---|---|---|---|
| Hario V60 | Cone, ribbed | Fast | Bright, delicate coffees |
| Chemex | Thick bonded paper | Slow | Very clean, sweet cups |
| Kalita Wave | Flat-bottom, 3-hole | Medium | Forgiving, even extraction |
Brewing Guide — Pour Over (V60)
Extraction Parameters
| Parameter | Value |
|---|---|
| Dose | 20g coffee |
| Yield | 300–320g |
| Ratio | 1:15–1:16 |
| Time | 3:00–3:30 |
| Temperature | 92–96°C (198–205°F) |
| Grind | Medium-fine |
Technique
- Rinse the paper filter with hot water — removes paper taste, preheats dripper
- Add 20g medium-fine ground coffee, level the bed
- Start timer, pour 40g water in a slow spiral from center out (the bloom)
- At 0:45, begin main pours in slow spirals, pausing as the bed drains
- Target: 150g at 1:30, 250g at 2:30, 300g at 3:00
- Total drawdown should complete by 3:30
Troubleshooting
| Symptom | Likely Cause | Fix |
|---|---|---|
| Too slow / channeling | Grind too fine or uneven bed | Grind coarser, level bed before pouring |
| Over 4 min drawdown | Grind too fine or pour too fast | Grind coarser |
| Under 2:30 drawdown | Grind too coarse | Grind finer |
| Flat, no brightness | Water too cool | Use 96°C for lighter roasts |
| Bitter finish | Over-extracted | Grind coarser, lower temperature |
How to Use an AeroPress
AeroPress is the most versatile brewer in coffee. You can pull a concentrated espresso-style shot or a clean filter-style cup from the same device in under two minutes. The inverted method gives more control; standard method is faster. Neither is wrong.
Brewing Guide — AeroPress (Standard Method)
Extraction Parameters
| Parameter | Value |
|---|---|
| Dose | 15–18g coffee |
| Yield | 200–250g |
| Ratio | 1:12–1:15 |
| Time | 1:30–2:00 |
| Temperature | 85–93°C (185–200°F) |
| Grind | Medium-fine |
Technique (Standard)
- Insert filter in cap, rinse with hot water
- Place AeroPress on mug, add 15g medium-fine coffee
- Pour 200g water at 88°C, start timer
- Stir 10 times
- At 1:00, attach cap and begin pressing — slow, steady, 30 seconds
- Stop when you hear hiss of air
Inverted Method — flip the AeroPress plunger-down, fill, steep, then flip onto your mug and press. Allows longer steeps without dripping. More control at the cost of a small awkward maneuver mid-brew.
How to Use a Drip Coffee Machine
A quality drip machine does what a pour over does — automatically. The variable most people miss is water temperature: cheap machines brew at 80°C or below, which under-extracts. If your drip machine doesn’t hit 92°C at the showerhead, that’s why your coffee tastes flat.
Look for machines with SCAA (Specialty Coffee Association) certification — the Technivorm Moccamaster and OXO Brew 9-Cup both reach proper brew temperature and maintain it correctly.
Standard Drip Parameters
| Parameter | Value |
|---|---|
| Dose | 60g per liter (6g/100ml) |
| Ratio | 1:15–1:17 |
| Temperature | 92–96°C at basket |
| Grind | Medium |
| Bloom | Present on good machines |
Tips for better drip:
- Use filtered water — tap mineral content affects extraction and machine longevity
- Grind fresh — pre-ground stales within 15 minutes of opening
- Don’t use the hot plate — pour into a thermal carafe immediately; a hot plate continues cooking the coffee and turns it bitter within 20 minutes
- Clean monthly with a descaling cycle; scale buildup drops water temperature
How to Use a Moka Pot
A moka pot doesn’t make espresso, despite what the packaging says. It brews at 1–2 bar — espresso needs 9 bar. What it makes is strong, thick, slightly bitter stovetop coffee that works well as a base for milk drinks or drunk black by those who prefer intensity over nuance.
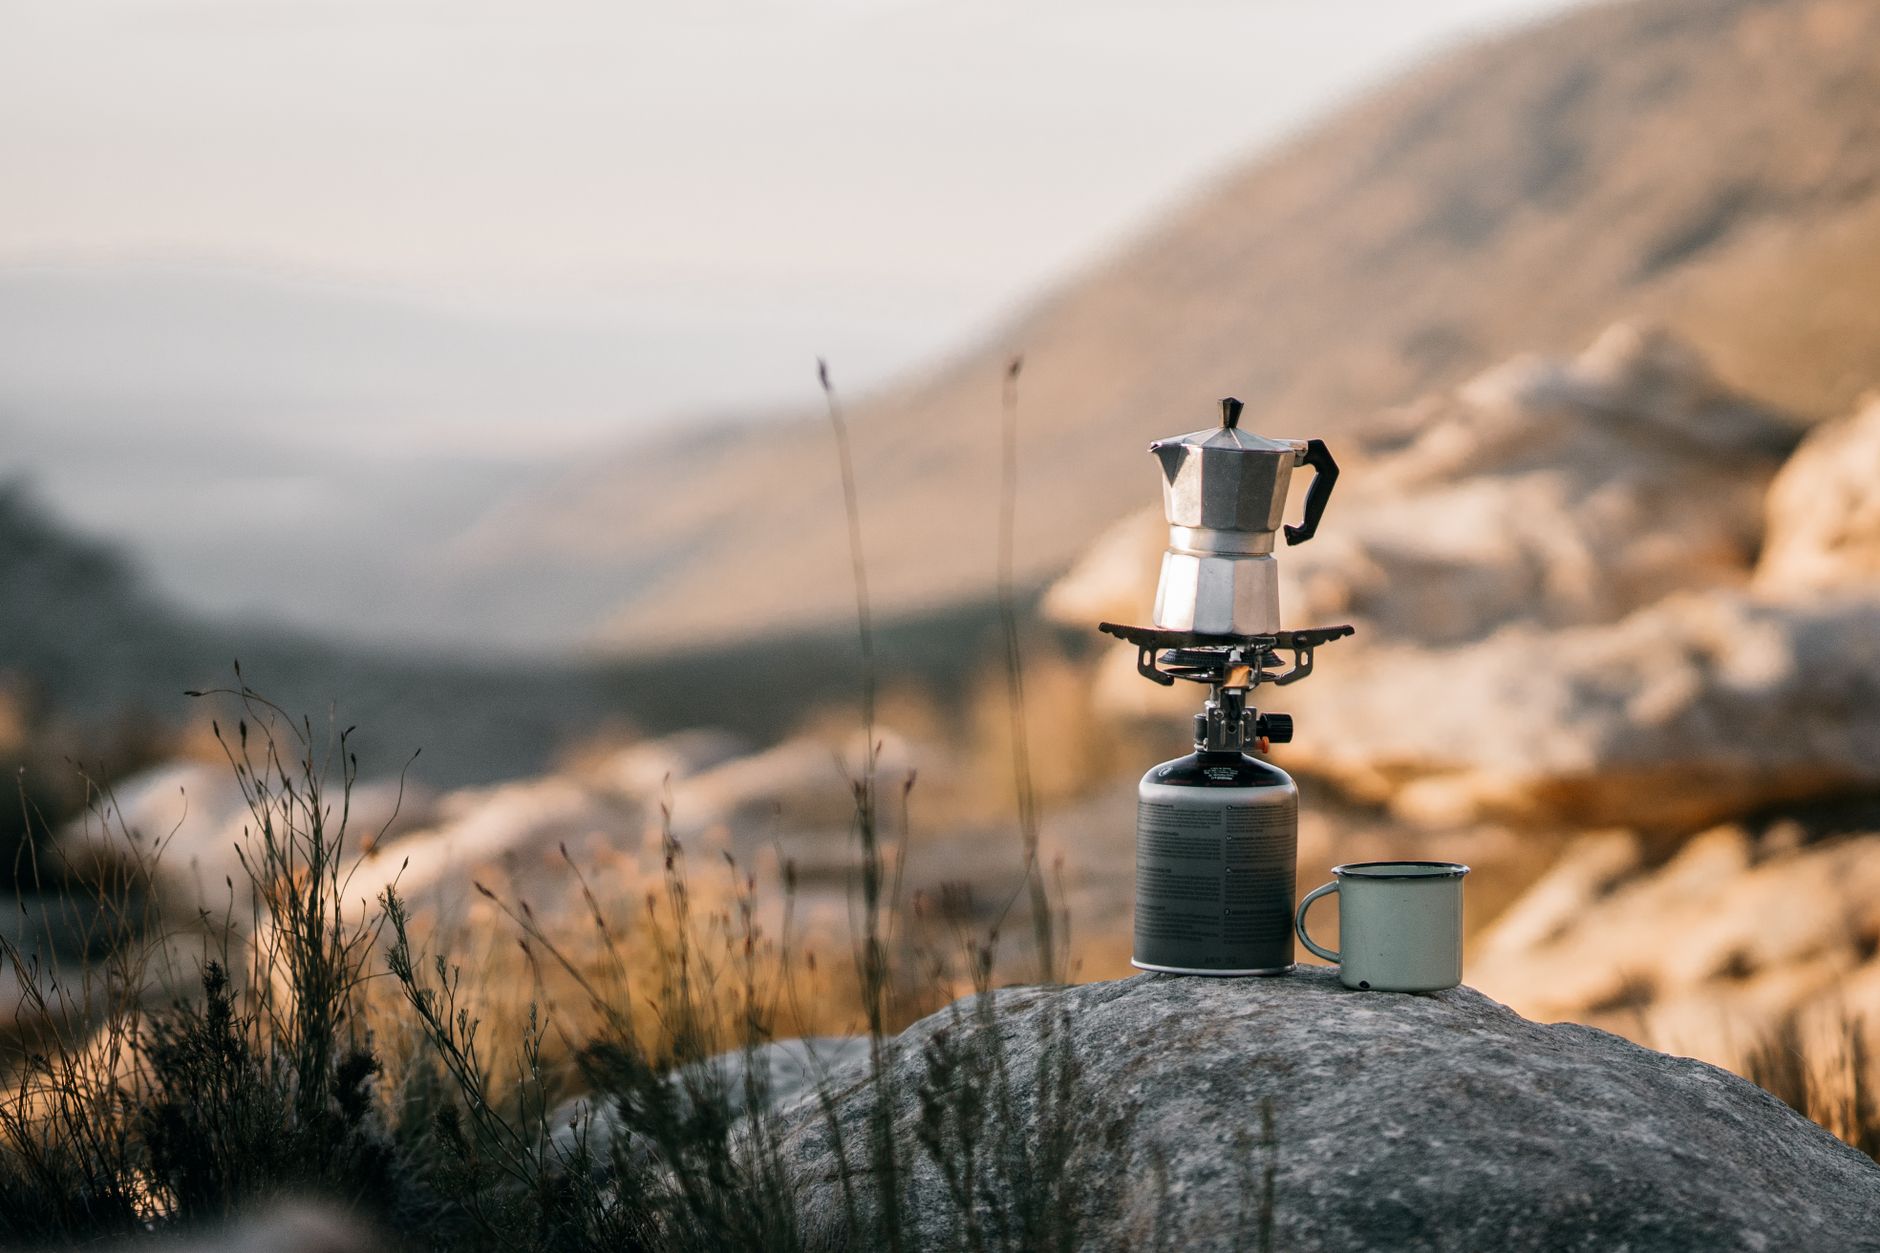 Photo: Taryn Elliott via Pexels
Brewing Guide — Moka Pot
Extraction Parameters
| Parameter | Value |
|---|---|
| Dose | Fill basket level (no tamping) |
| Yield | Volume of top chamber |
| Ratio | ~1:7 by weight |
| Time | 5–8 min total |
| Heat | Medium-low |
| Grind | Fine-medium |
Technique
- Fill bottom chamber to just below the safety valve with cold water
- Fill the filter basket level with fine-medium coffee — do not tamp
- Screw together tightly (use a towel — it will be hot)
- Place on medium-low heat, lid open
- When coffee begins filling top chamber (you’ll hear gurgling), reduce heat
- Remove from heat when you hear sputtering — that’s steam, not coffee
- Run base under cold water to stop extraction
Common Mistakes
- Tamping the basket — it clogs the flow and causes pressure buildup
- High heat — scorches coffee and produces burnt, harsh flavor
- Walking away — letting it sputter empties the water and burns the coffee
- Wrong grind — too fine clogs, too coarse is watery
How to Make Cold Brew Coffee
Cold brew extracts with cold water over 12–24 hours instead of hot water in minutes. The result is low-acid, naturally sweet, and very smooth — the chemistry is different, not just the temperature. It’s concentrate by default; dilute 1:1 before drinking.
Cold Brew Parameters
| Parameter | Value |
|---|---|
| Dose | 100g coffee |
| Water | 500–800g cold or room temp |
| Ratio | 1:5 (concentrate) to 1:8 (ready-to-drink) |
| Time | 12–24 hours |
| Temperature | Refrigerator (best) or room temp (faster) |
| Grind | Extra coarse |
Technique
- Combine extra-coarse ground coffee and cold water in a jar or cold brew maker
- Stir to wet all grounds
- Cover and refrigerate 12–18 hours (room temp: 10–12 hours)
- Filter through a fine mesh strainer, then through a paper filter for clarity
- Store concentrate in fridge up to 2 weeks
- Serve over ice, diluted 1:1 with water or milk
How to Make Espresso at Home
Espresso requires the most investment but offers the highest ceiling. You need: a machine capable of 9 bar pressure, a burr grinder with fine adjustment, and about 30 minutes of dialing in per new bag of coffee. Once dialed, shots are repeatable in 60 seconds. Milk drinks, americanos, and every coffee shop drink start here.
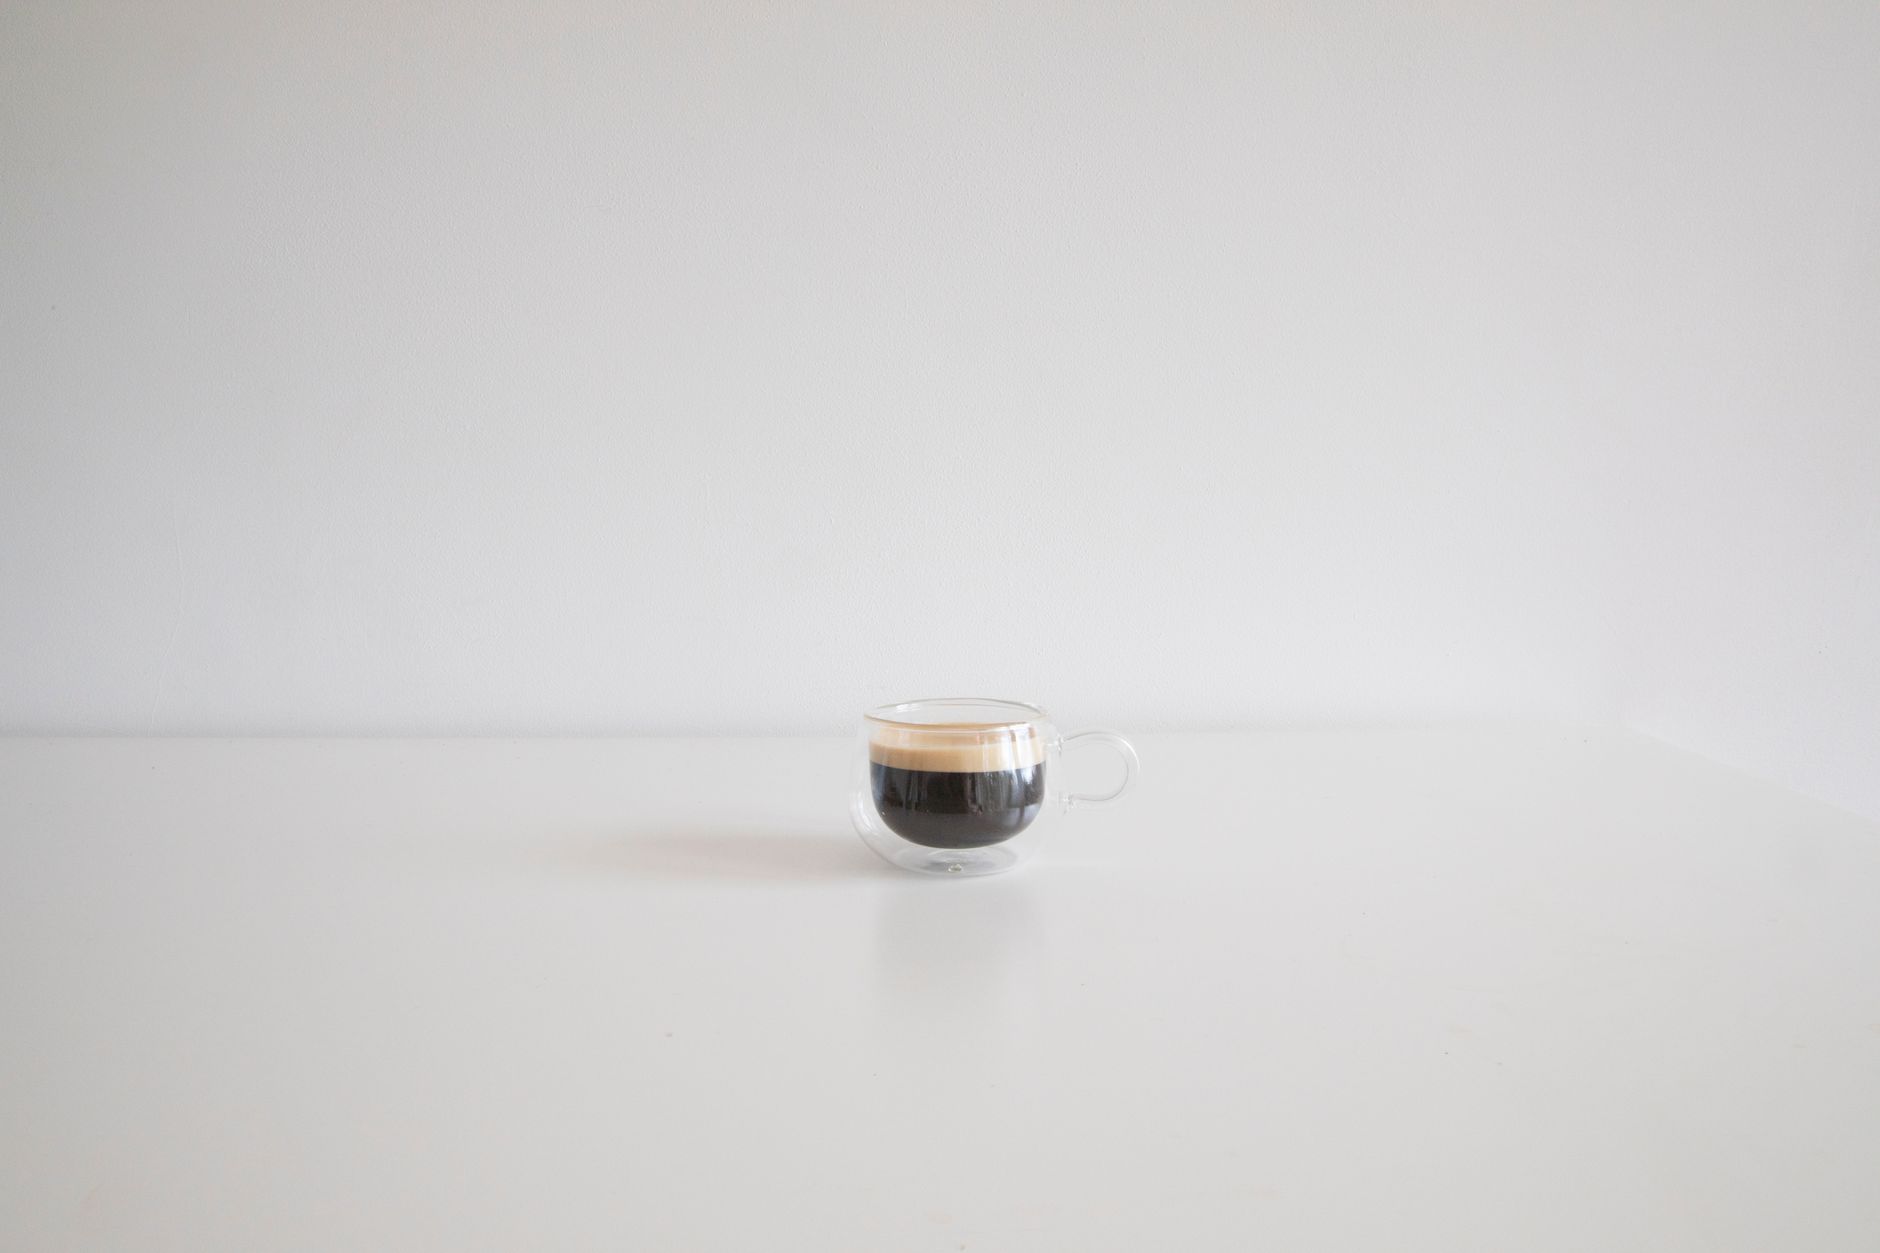 Photo: Jean-Paul Wright via Pexels
What Equipment You Actually Need
Entry-level espresso ($300–$600 range): The Breville Bambino Plus
The grinder ceiling: Most budget espresso machines are held back by the grinder. The Baratza Sette 270
Brewing Guide — Espresso
Extraction Parameters
| Parameter | Value |
|---|---|
| Dose | 18g (double basket) |
| Yield | 36–38g |
| Ratio | 1:2 to 1:2.2 |
| Time | 25–32 seconds |
| Temperature | 93–94°C |
| Pressure | 9 bar |
Puck Prep — This Is Where Consistency Lives
- Dose accurately — weigh every shot; +/−0.5g changes the result
- WDT (Weiss Distribution Technique) — stir the grounds in the portafilter with a thin needle tool to break up clumps before tamping
- Level the puck — tap the portafilter or use a distribution tool; uneven beds channel
- Tamp — apply 15–20kg of downward pressure, flat and level; a calibrated tamper removes the guesswork
- Pre-infusion — if your machine supports it, 3–5 seconds at low pressure saturates the puck before full pressure; reduces channeling on lighter roasts
Reading the Shot
| What You See | What It Means |
|---|---|
| Pale blond, fast (under 20s) | Under-extracted — grind finer |
| Dark and fast with no crema | Grind too coarse or stale coffee |
| Slow, no flow (over 40s) | Over-extracted / too fine / dose too high |
| Uneven / spiraling flow | Channeling — check distribution and tamp |
| Honey-colored with reddish crema | Correct extraction |
Troubleshooting
| Symptom | Likely Cause | Fix |
|---|---|---|
| Sour, thin shot | Under-extracted | Grind finer, increase dose slightly |
| Bitter, harsh | Over-extracted | Grind coarser, reduce dose or yield |
| Channeling (uneven) | Poor puck prep | Use WDT, check level before tamping |
| No crema | Stale coffee or wrong grind | Use freshly roasted beans (3–21 days off-roast) |
| Inconsistent shot time | Retention in grinder | Purge 1–2g before dosing, weigh dose |
Water Quality and Temperature
Most home brewers overlook water. Coffee is 98–99% water, and mineral content affects extraction chemistry directly.
Target water profile:
- Total dissolved solids (TDS): 75–175 ppm
- Hardness: 50–175 ppm as CaCO3
- pH: 6.5–7.5
- No chlorine (use filtered or let tap water sit overnight)
Soft water (distilled, RO) under-extracts and tastes flat. Very hard tap water scales your machine and produces chalky, muted coffee. Filtered tap water in most cities is fine. Third Wave Water mineral packets dissolved in distilled water are the precision solution if your tap is problematic.
Coffee Freshness and Storage
Roast date matters more than origin on most bags. Espresso hits peak flavor 5–14 days off-roast. Filter methods are more forgiving — 3–21 days. After 30 days, coffee is stale regardless of storage.
Storage rules:
- Airtight container, away from light and heat
- Counter, not fridge (refrigerator introduces moisture and odors)
- Do not freeze unless buying in bulk — freeze in sealed portions, thaw completely before grinding
- Never store in the bag unless it has a one-way valve and you’ll finish it in a week
Whole bean keeps far longer than pre-ground. Pre-ground coffee goes stale within 15–30 minutes of grinding when exposed to air.
Upgrading Your Setup: What to Buy First
If you’re deciding where to spend, here’s the honest priority order:
- Burr grinder — the single highest-impact upgrade
- Scale — $15 digital scale, non-negotiable for consistency
- Gooseneck kettle — matters for pour over; pointless for French press
- Thermometer or temperature-controlled kettle — the Fellow Stagg EKG is the standard recommendation
- Better beans — fresh, specialty-roasted coffee from a local roaster or quality online source
- Better machine — last, because machines can’t fix what the grinder and beans can’t deliver
→ See Also
- French Press Coffee: Complete Brewing Guide (Ratios + Technique)
- French Press Coffee-to-Water Ratio Calculator
FAQ
What is the best coffee-to-water ratio for home brewing? For most filter methods — pour over, drip, French press — use 1:15 to 1:17 by weight (grams of coffee to grams of water). A 1:15 ratio is stronger; 1:17 is lighter. Espresso uses a 1:2 ratio of dose to yield. Always weigh rather than measuring by volume for consistency.
What grind size should I use for different brewing methods? Coarse for French press and cold brew, medium for drip and Chemex, medium-fine for pour over and AeroPress, fine-medium for moka pot, and fine for espresso. If your coffee tastes bitter, grind coarser. If it tastes sour and thin, grind finer. Grind size is the primary dial for fixing flavor problems.
Do I need a burr grinder, or can I use a blade grinder? A burr grinder produces consistent particle size, which is what allows you to control extraction. Blade grinders produce uneven chunks and dust simultaneously — coarse particles under-extract while the fine powder over-extracts, and the result tastes muddy and inconsistent. Even an entry-level hand burr grinder at $50 outperforms a blade grinder.
How hot should water be for brewing coffee? 92–96°C (198–205°F) for most methods. Darker roasts tolerate slightly lower temps (90–93°C); lighter roasts need higher temps (95–96°C) to fully extract. Boiling water (100°C / 212°F) can over-extract and scorch light roasts. If you don’t have a temperature-controlled kettle, boil and let sit for 30–45 seconds before pouring.
Why does my home coffee taste worse than coffee shop coffee? Usually one of four things: stale beans (more than 3–4 weeks off-roast), wrong grind size (likely too coarse if you’re using pre-ground), water that’s too cool (cheap drip machines brew at 80°C), or the wrong ratio (most people brew too weak). Fix the grind first, then check bean freshness. A burr grinder and fresh beans solve 90% of the gap.
How long does coffee stay fresh after grinding? Ground coffee stales rapidly. Within 15–30 minutes of grinding, exposed ground coffee has lost measurable volatile aromatics. Stored in an airtight container, it’s usable for 1–2 weeks but noticeably less complex than freshly ground. For espresso, even 30 minutes matters — grind directly into the portafilter. For other methods, grind immediately before brewing.
Can I use tap water to brew coffee? In most cities, filtered tap water is fine. The key is avoiding high chlorine (which creates off-flavors) and very high mineral hardness (which mutes extraction). If your tap water tastes bad to drink, it’ll make bad coffee. A simple Brita-style carbon filter solves chlorine issues. If your water is very soft or very hard, a mineral packet solution (like Third Wave Water) is the precision fix.
What’s the difference between moka pot and espresso? Pressure. Espresso is brewed at 9 bar with water forced through a compressed puck of fine coffee in 25–32 seconds. A moka pot uses steam pressure of roughly 1–2 bar, which produces a strong, concentrated brew with different chemistry — heavier body, more bitterness, no crema. Both are valid; they’re just different drinks.
Editorial methodology: Assessments are based on manufacturer specifications, published user reviews, and editorial research. Physical hands-on testing is noted explicitly where it occurred. Rankings reflect our editorial judgment and are not influenced by affiliate commission rates. Full editorial policy · Affiliate disclosure