Contents
How to Use a Super-Automatic Espresso Machine
TL;DR: Using a super-automatic espresso machine means filling the water tank and bean hopper, selecting your drink, and pressing a button — the machine grinds, tamps, brews, and ejects the puck automatically. Dialing in grind size and adjusting coffee strength settings takes five minutes and unlocks dramatically better espresso from day one.
What Is a Super-Automatic Espresso Machine?
Super-automatics handle every step from whole bean to finished cup without manual intervention. They grind, dose, tamp, brew, and purge — all internally. You control the output through digital menus rather than technique. This makes them the fastest path to consistent espresso, though they trade some ceiling on shot quality for convenience.
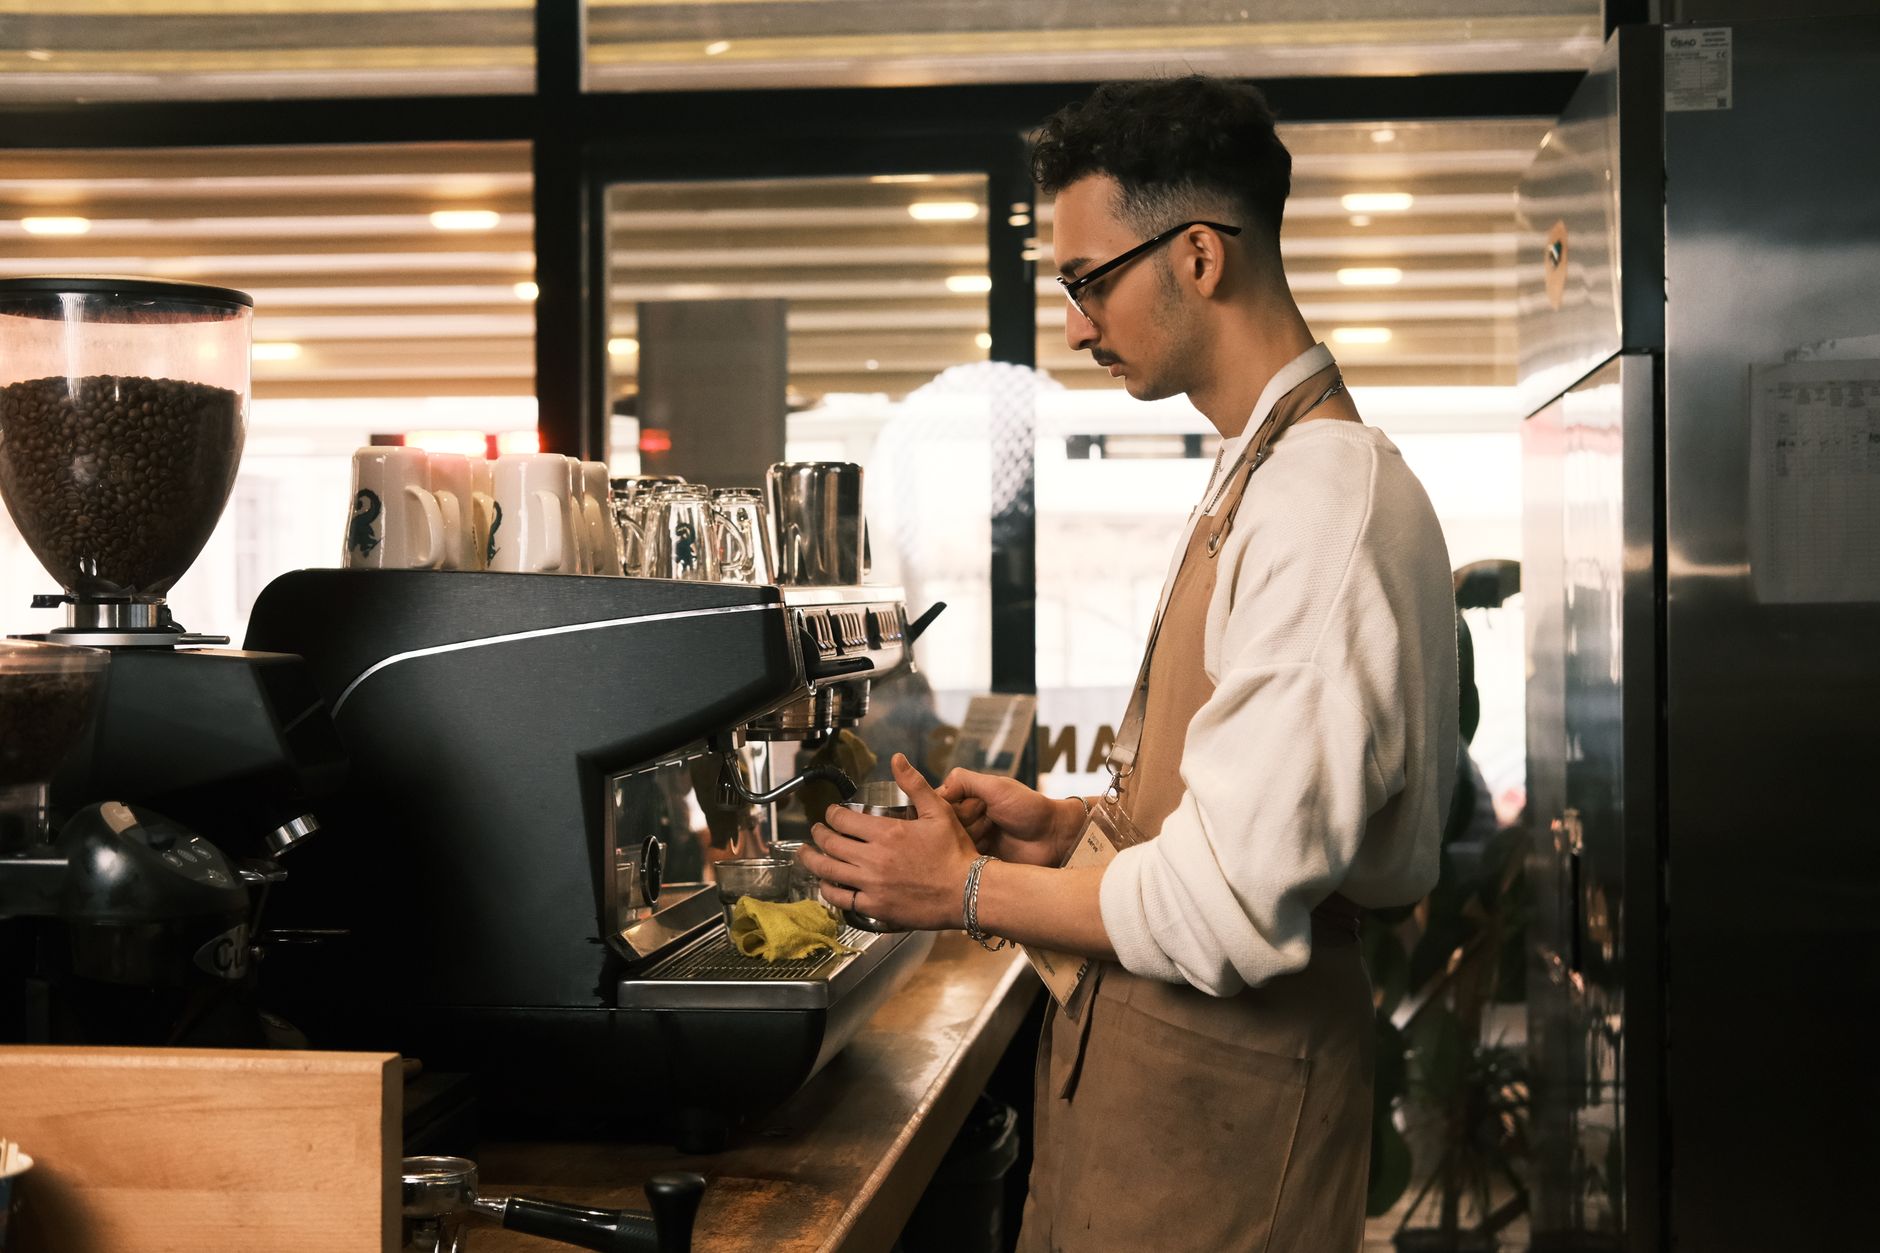
 Photo: Gu Ko via Pexels
Unlike semi-automatics, where you grind separately, distribute, and tamp by hand, a super-automatic like the De’Longhi Magnifica
How to Use a Super-Automatic Espresso Machine: Step-by-Step
Fill the water tank, load fresh beans, run a rinse cycle, then select your drink. First-time setup takes under ten minutes. Daily operation is under thirty seconds per cup.
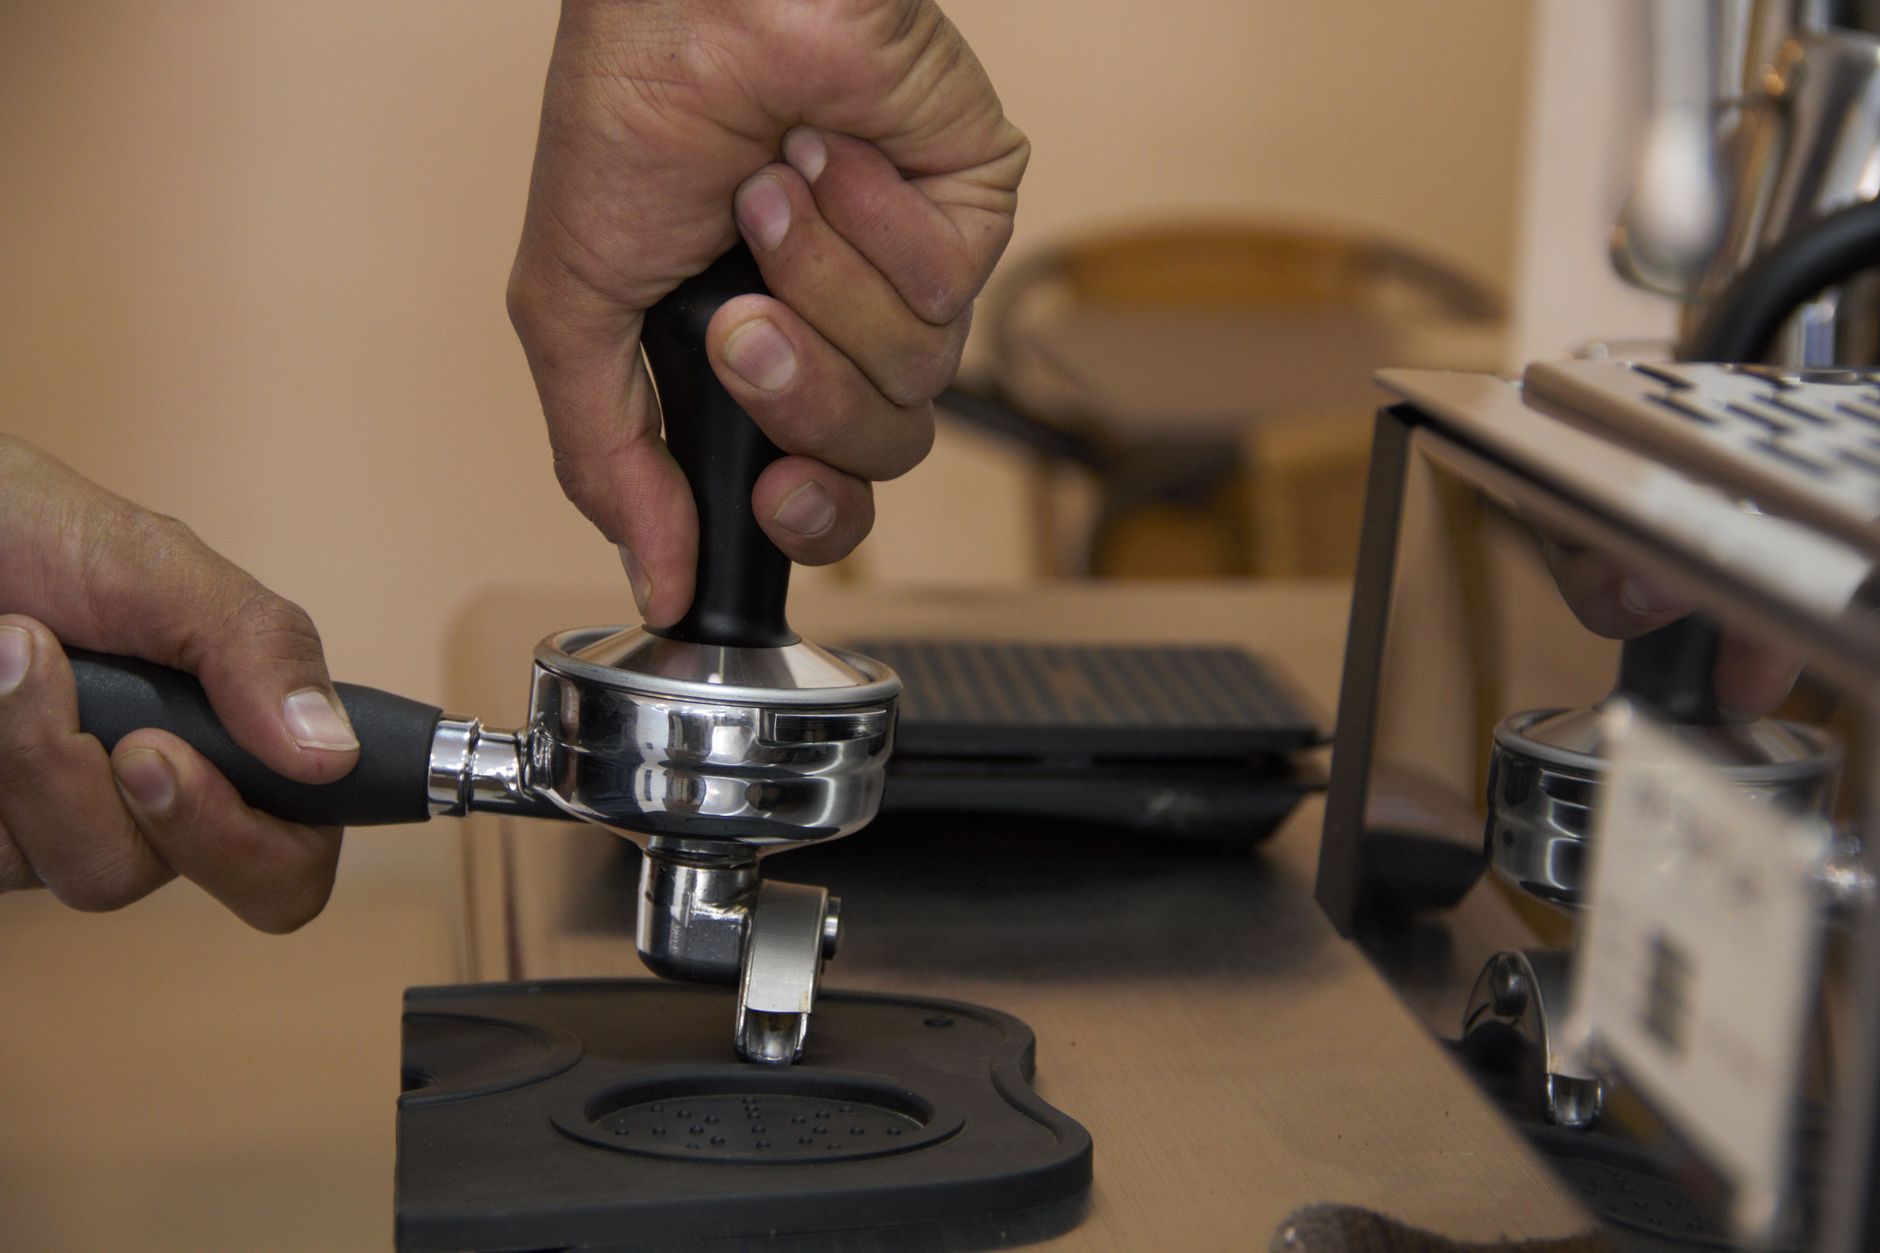
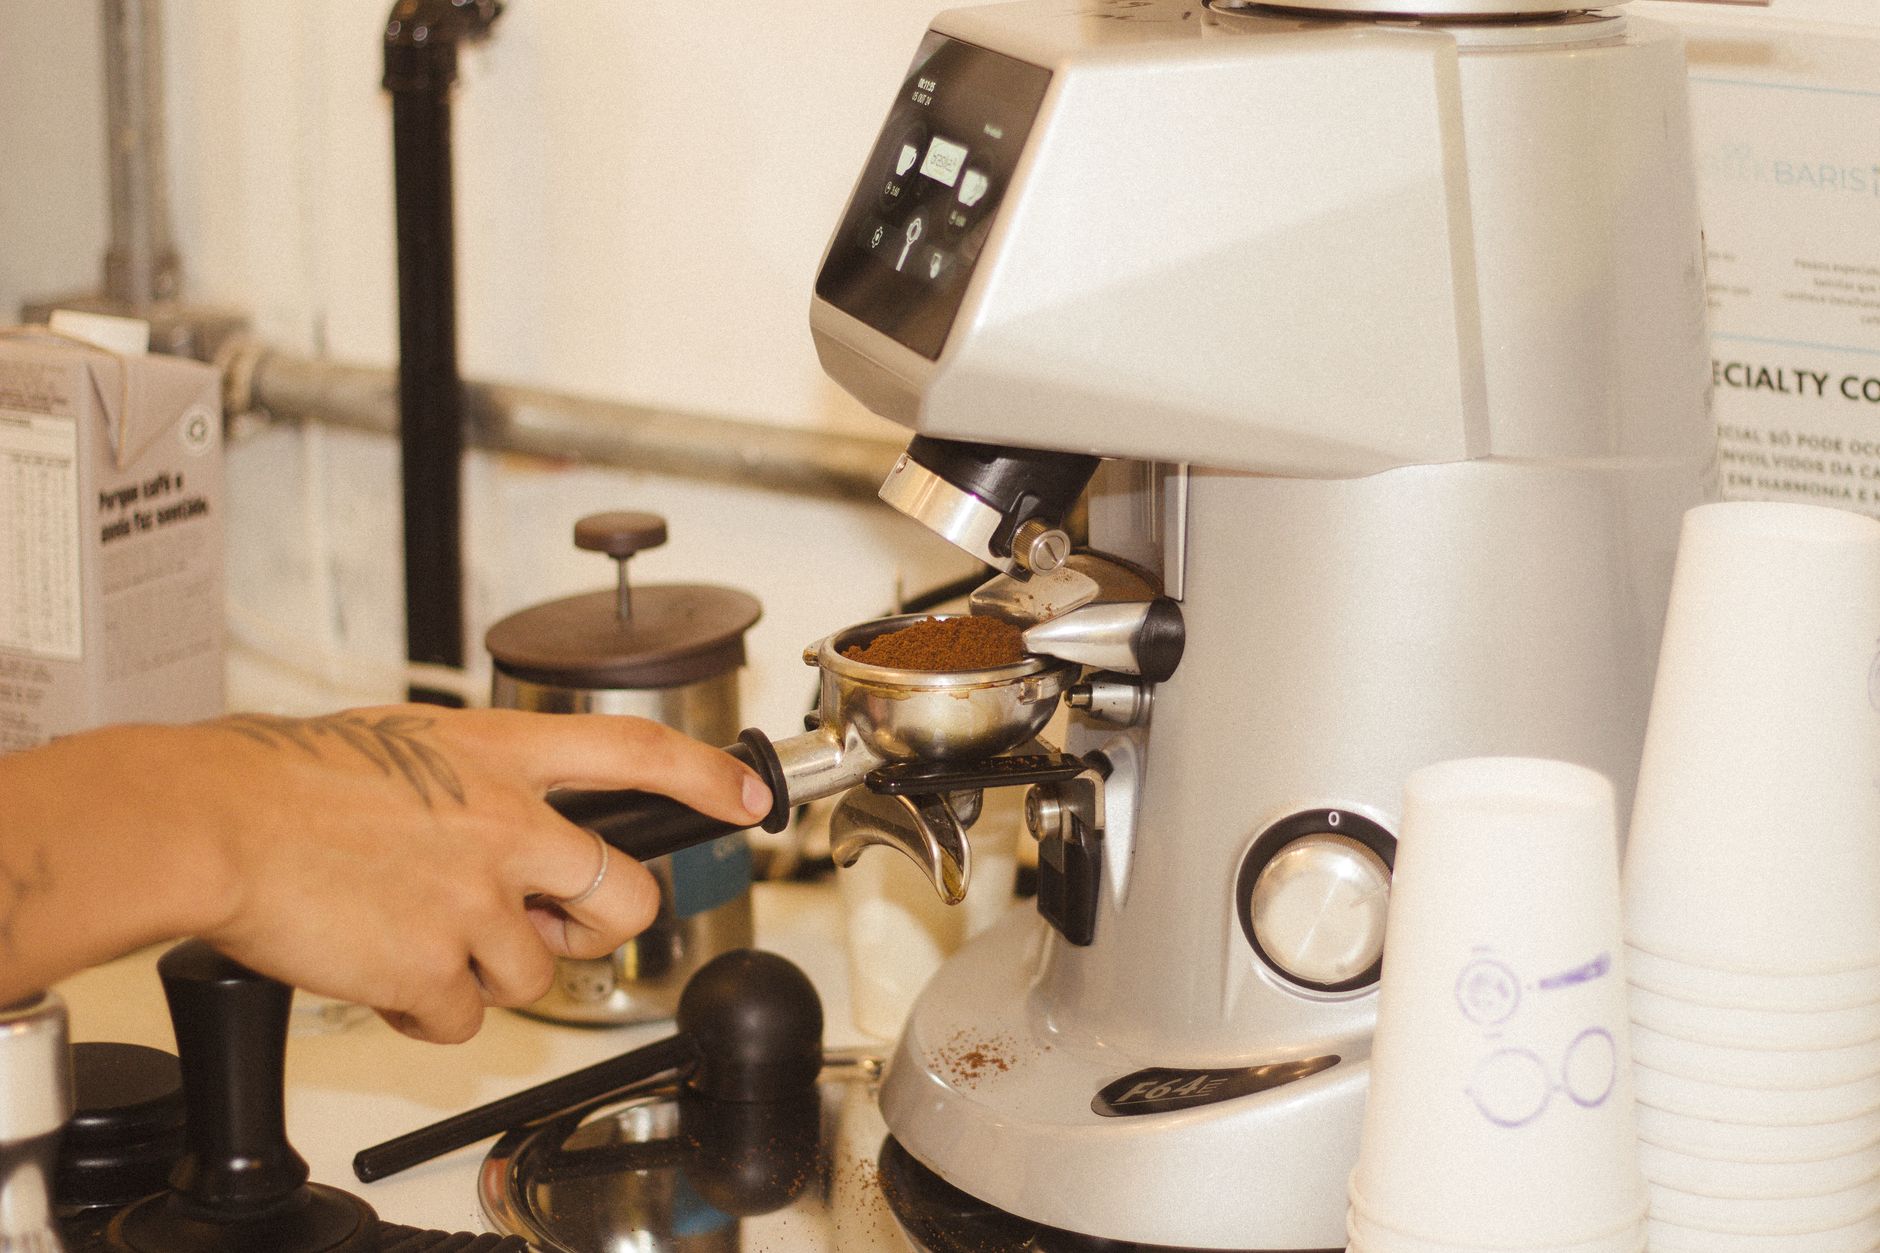 Photo: Far MWX via Pexels
Step 1: First-Time Setup
- Fill the water tank — use filtered water if your tap water is hard. Mineral buildup is the primary cause of early machine failure.
- Load the bean hopper — whole beans only. Never use pre-ground coffee in the hopper unless your machine has a bypass doser (a second chute for pre-ground).
- Place the drip tray and grounds container — both must be seated properly or most machines won’t brew.
- Run the rinse cycle — power on and follow the machine’s first-use prompts. It will flush the brew group with hot water to purge manufacturing residue.
Step 2: Set Your Grind Size
This is the most important setting and the one most users skip. Grind size controls extraction directly.
- Too coarse → thin, sour, watery espresso
- Too fine → slow flow, bitter, over-extracted
Start in the middle of the dial and adjust one step at a time, only changing grind size when the machine is grinding (some machines require mid-grind adjustment to prevent damage — check your manual). Give it 2–3 shots to stabilize after each change.
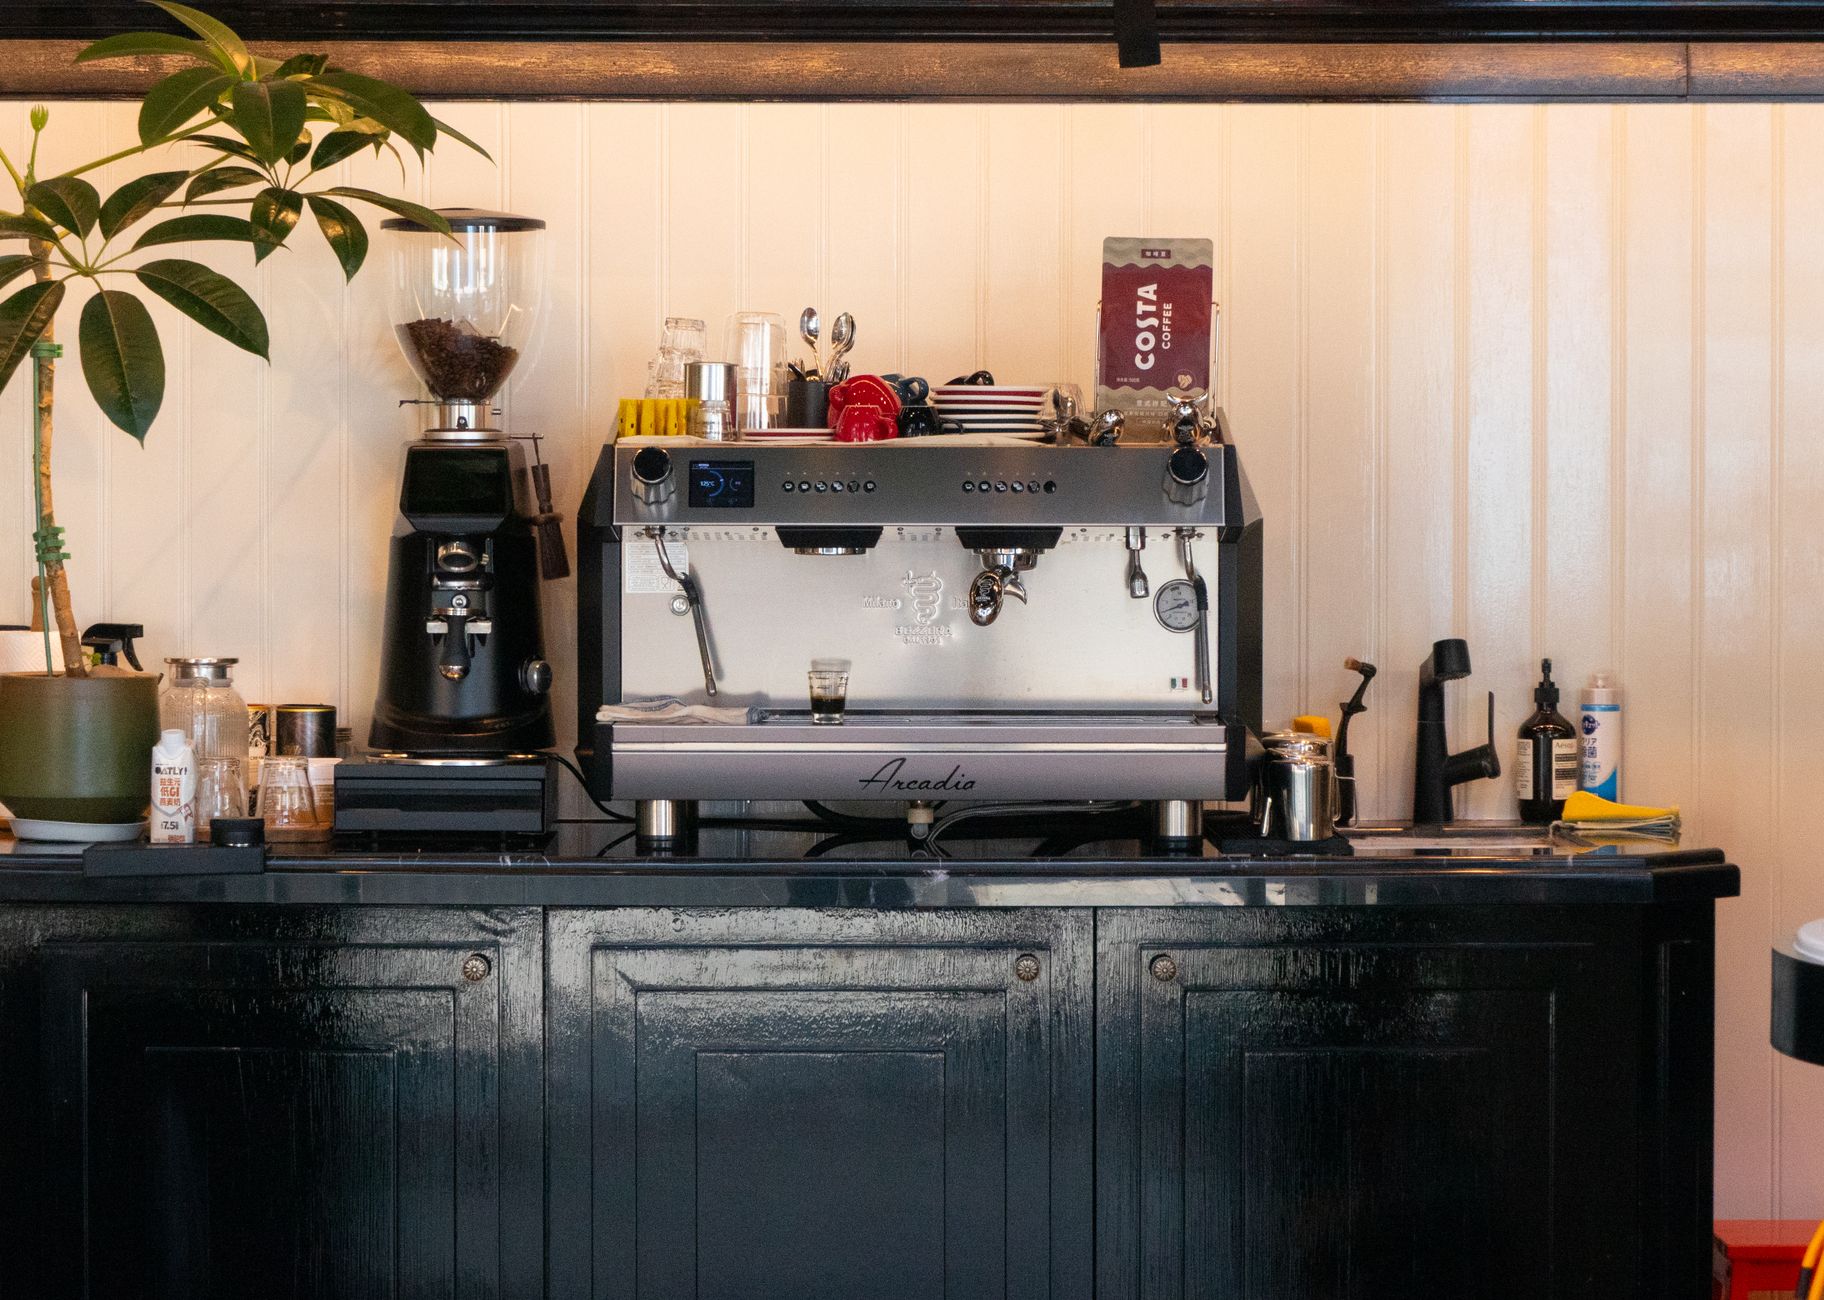
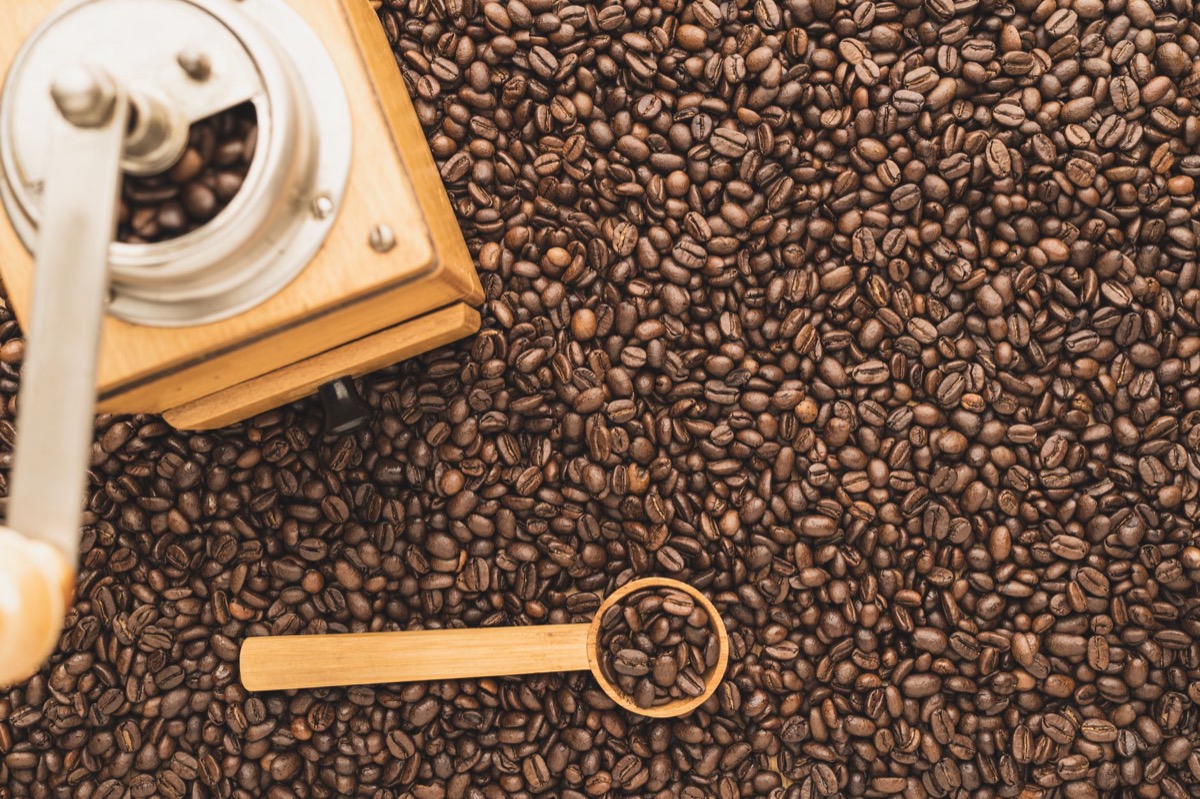 Photo: Andre Taissin via Pexels
Step 3: Adjust Brew Settings
Most super-automatics expose these parameters through their menu:
| Setting | What It Does | Starting Point |
|---|---|---|
| Coffee strength / aroma | Adjusts dose weight | Medium |
| Water volume | Controls output volume | 40–50ml for espresso |
| Brew temperature | Affects extraction | Medium-high |
| Pre-infusion | Wets puck before full pressure | On (if available) |
Set water volume first — a proper espresso is 25–40ml. Anything over 60ml is lungo territory.
Step 4: Brew Your First Shot
Select espresso or coffee from the menu, place your cup under the spout, and press the button. The machine will grind, tamp (via an internal tamper), brew, and eject the spent puck into an internal grounds drawer.
Watch the flow: it should look like warm honey — a slow, amber stream. If it drips painfully slow or gushes fast, adjust grind size.
Step 5: Steam Milk (If Applicable)
Machines with steam wands work identically to semi-automatics. Purge the wand for two seconds before use to clear condensate, submerge the tip just below the milk surface, and stretch milk by angling the pitcher to create a vortex. Target 60–65°C — at that temperature, milk proteins are denatured just enough for sweetness without scalding.
Machines with automatic milk frothers (Philips 3200 , Jura models) pull milk through a tube and froth it automatically. Clean the milk circuit immediately after every use — dried milk proteins cause blockages within hours.
Daily and Weekly Maintenance
Neglecting the grounds drawer and milk circuit are the two fastest ways to ruin a super-automatic. Empty the grounds drawer every 10–15 shots. Clean milk components after every session.
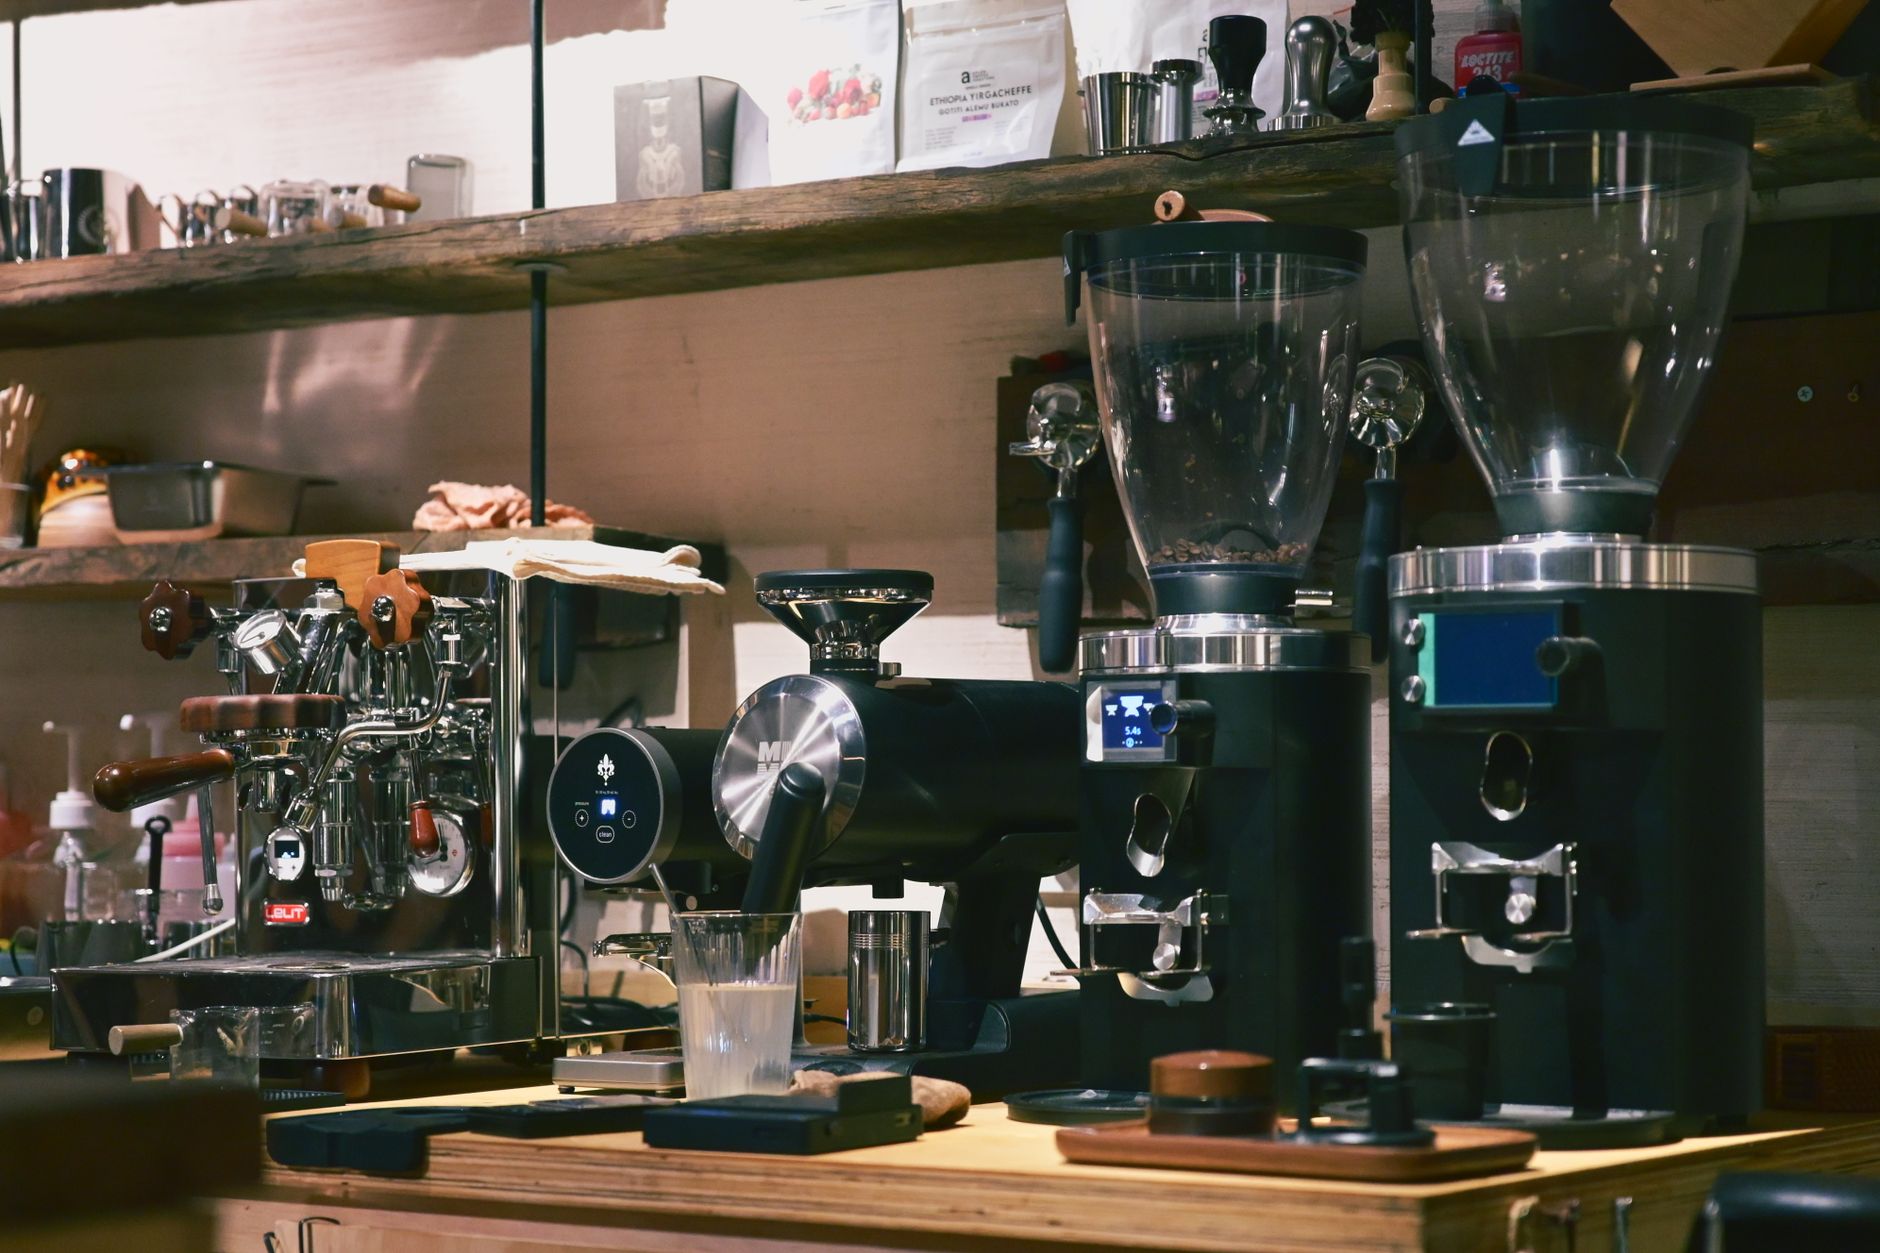
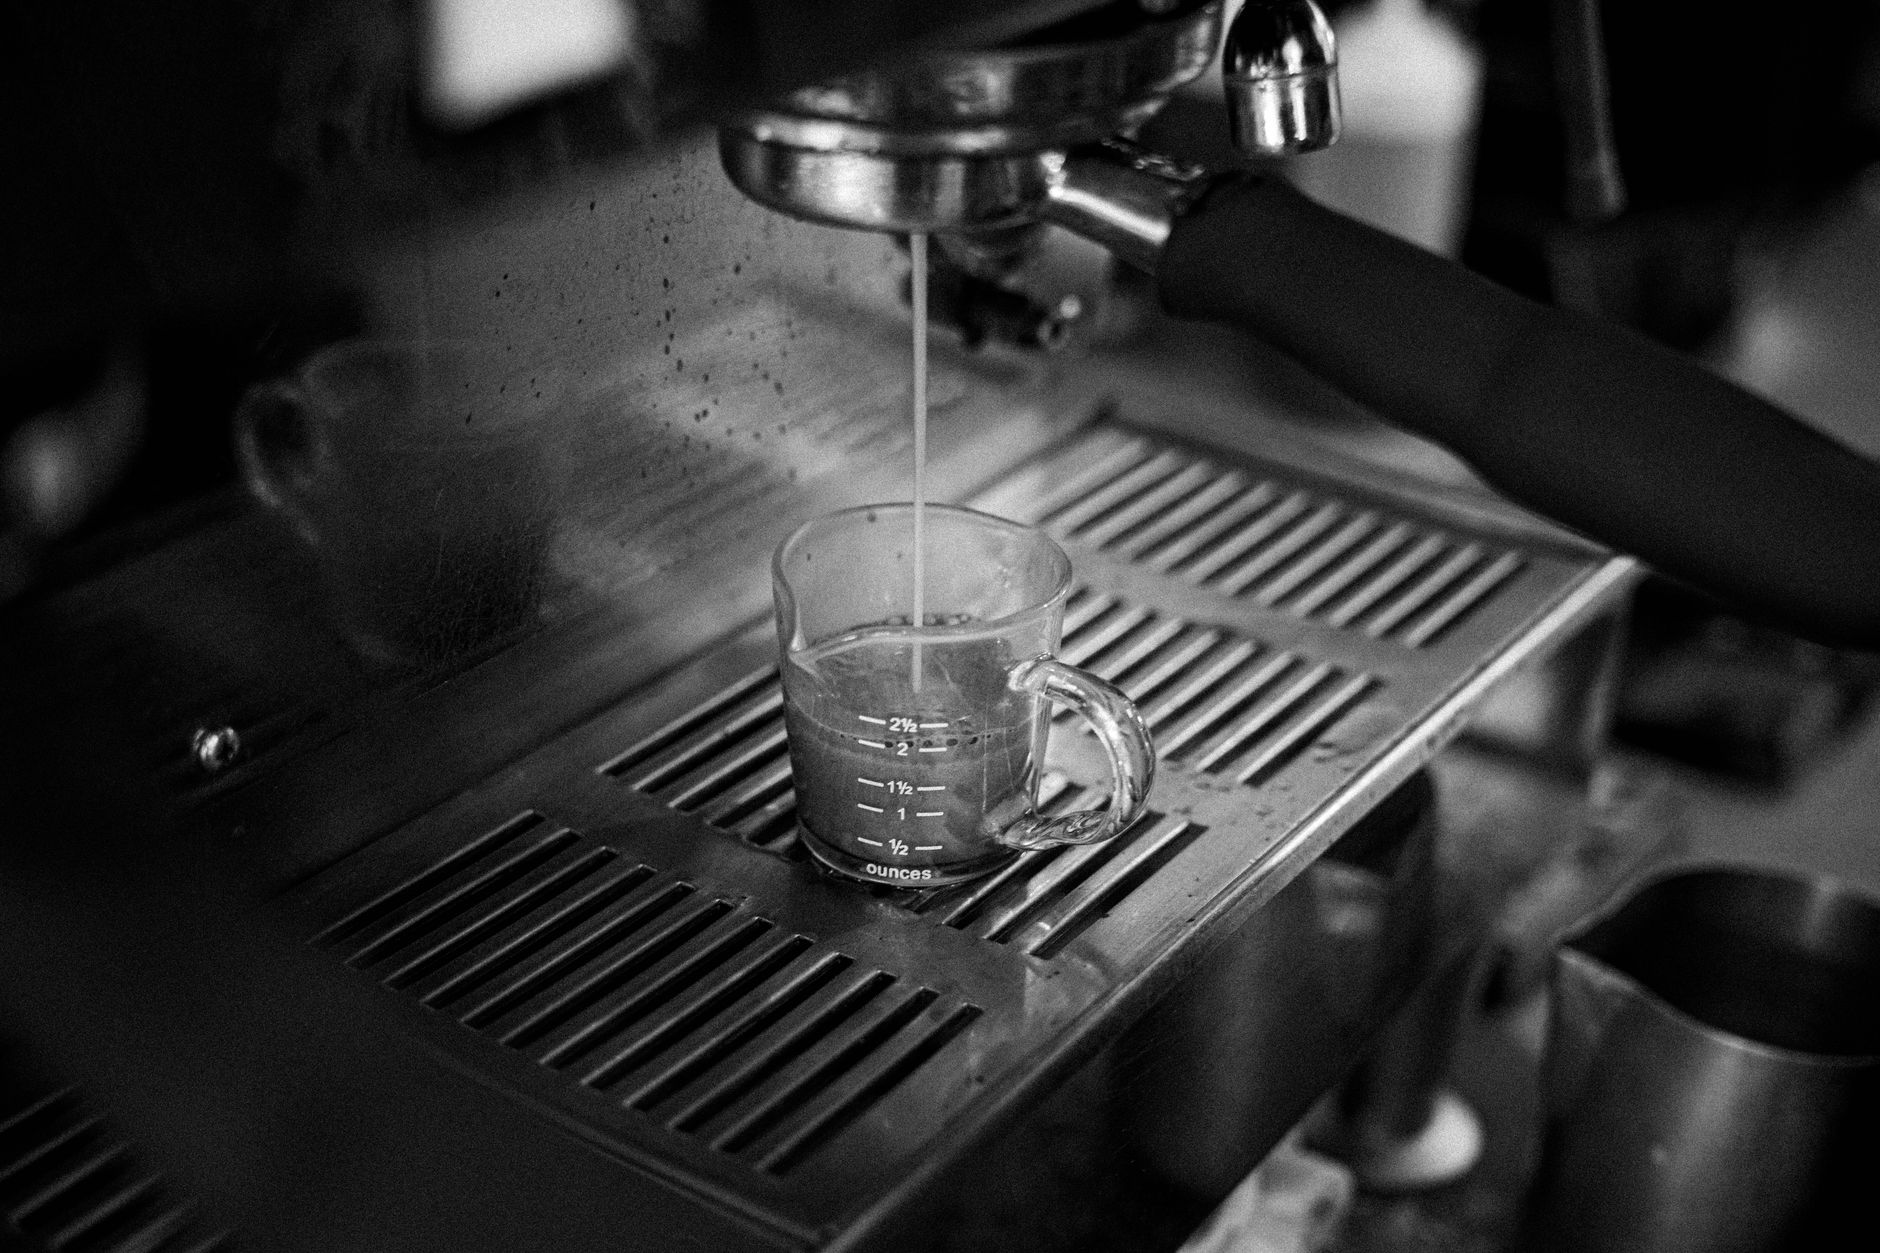 Photo: James Collington via Pexels
Daily
- Empty drip tray and grounds drawer when prompted (or every 10–15 shots)
- Rinse milk frother or wipe steam wand
- Run the machine’s rinse cycle on shutdown
Weekly
- Clean the brew group (removable on most machines — rinse under warm water, no soap)
- Wipe bean hopper of oils with a dry cloth
Monthly
- Descale using the machine’s built-in descaling program and manufacturer-approved tablets or liquid. Use the correct descaler — third-party products can void warranties and damage seals.
Common Problems and Fixes
| Problem | Likely Cause | Fix |
|---|---|---|
| Espresso tastes sour / weak | Grind too coarse | Adjust one step finer |
| Espresso tastes bitter | Grind too fine | Adjust one step coarser |
| No crema | Beans too old or grind too coarse | Use fresh beans (under 4 weeks post-roast), adjust grind |
| Machine makes noise, no output | Grounds drawer full | Empty and reseat |
| Milk frother blocked | Dried milk | Run cleaning cycle or soak tube in warm water |
| Low flow / pressure warning | Scale buildup | Run descaling program |
→ See also
- The Complete Guide to Espresso Machines (2026) — full breakdown of every machine type, from manual levers to super-automatics
- Best Espresso Machine Under $200 (2026) — entry-level options including budget super-automatics
- Best Espresso Machine Under $500 (2026) — the sweet spot where super-automatics start delivering real quality
FAQ
Do super-automatic espresso machines make good espresso? Yes, with caveats. A well-dialed super-automatic can produce genuinely excellent espresso — the limitation is the ceiling, not the floor. You won’t match a skilled barista on a top-tier semi-auto, but you’ll beat most café espresso at home once the grind is set. Machines in the $600–$1,200 range hit a quality threshold where the gap noticeably narrows.
Can I use pre-ground coffee in a super-automatic? Only if your machine has a bypass doser — a second input chute separate from the bean hopper. Never put pre-ground coffee into the bean hopper; it will clog the grinder. Even with a bypass doser, pre-ground coffee bypasses the internal grinder entirely, so you lose grind consistency and freshness control.
How often should I descale my super-automatic? Follow the machine’s sensor prompts rather than a fixed schedule — water hardness varies significantly by location. In a hard-water area, that might be every 4–6 weeks. With filtered or soft water, every 3–4 months. Ignoring descale prompts is the single most common cause of premature machine failure.
Why does my espresso have no crema? Crema comes from CO₂ trapped in fresh coffee. If your beans are more than 4–5 weeks past their roast date, CO₂ has already off-gassed and crema will be thin regardless of technique. Check the roast date — not the “best by” date, but the actual roast date — and switch to fresher beans before adjusting anything else.
What’s the difference between espresso strength and water volume settings? Strength (or aroma) controls how much coffee the machine doses per shot — more coffee, stronger taste. Water volume controls how much water passes through that dose — less water, more concentrated. They’re separate variables. A strong setting with high water volume gives full-bodied lungo; the same strength with 35ml water gives a proper ristretto. Adjust them independently to dial your preference.
Should I leave my super-automatic on all day? Most super-automatics are designed for on-demand use and heat up in 30–60 seconds — there’s no meaningful benefit to leaving them on. Continuous heat cycling stresses boiler components and wastes electricity. Switch it off between sessions unless you’re pulling multiple drinks across a short window.
Editorial methodology: Assessments are based on manufacturer specifications, published user reviews, and editorial research. Physical hands-on testing is noted explicitly where it occurred. Rankings reflect our editorial judgment and are not influenced by affiliate commission rates. Full editorial policy · Affiliate disclosure