Contents
How to Use a Semi-Automatic Espresso Machine (Beginner Guide)
TL;DR: To use a semi-automatic espresso machine, you grind fresh coffee, dose and tamp it into the portafilter, lock it into the group head, and start the shot manually — stopping it yourself at the right time. Master this sequence and you control every variable that shapes how your espresso tastes.
What Is a Semi-Automatic Espresso Machine?
A semi-automatic espresso machine automates water pressure and temperature but leaves shot timing in your hands. You start the pump, you stop it. That manual control is what separates it from a super-automatic (fully hands-off) and what makes it the most popular choice for home espresso enthusiasts who want real control without fully manual lever work.
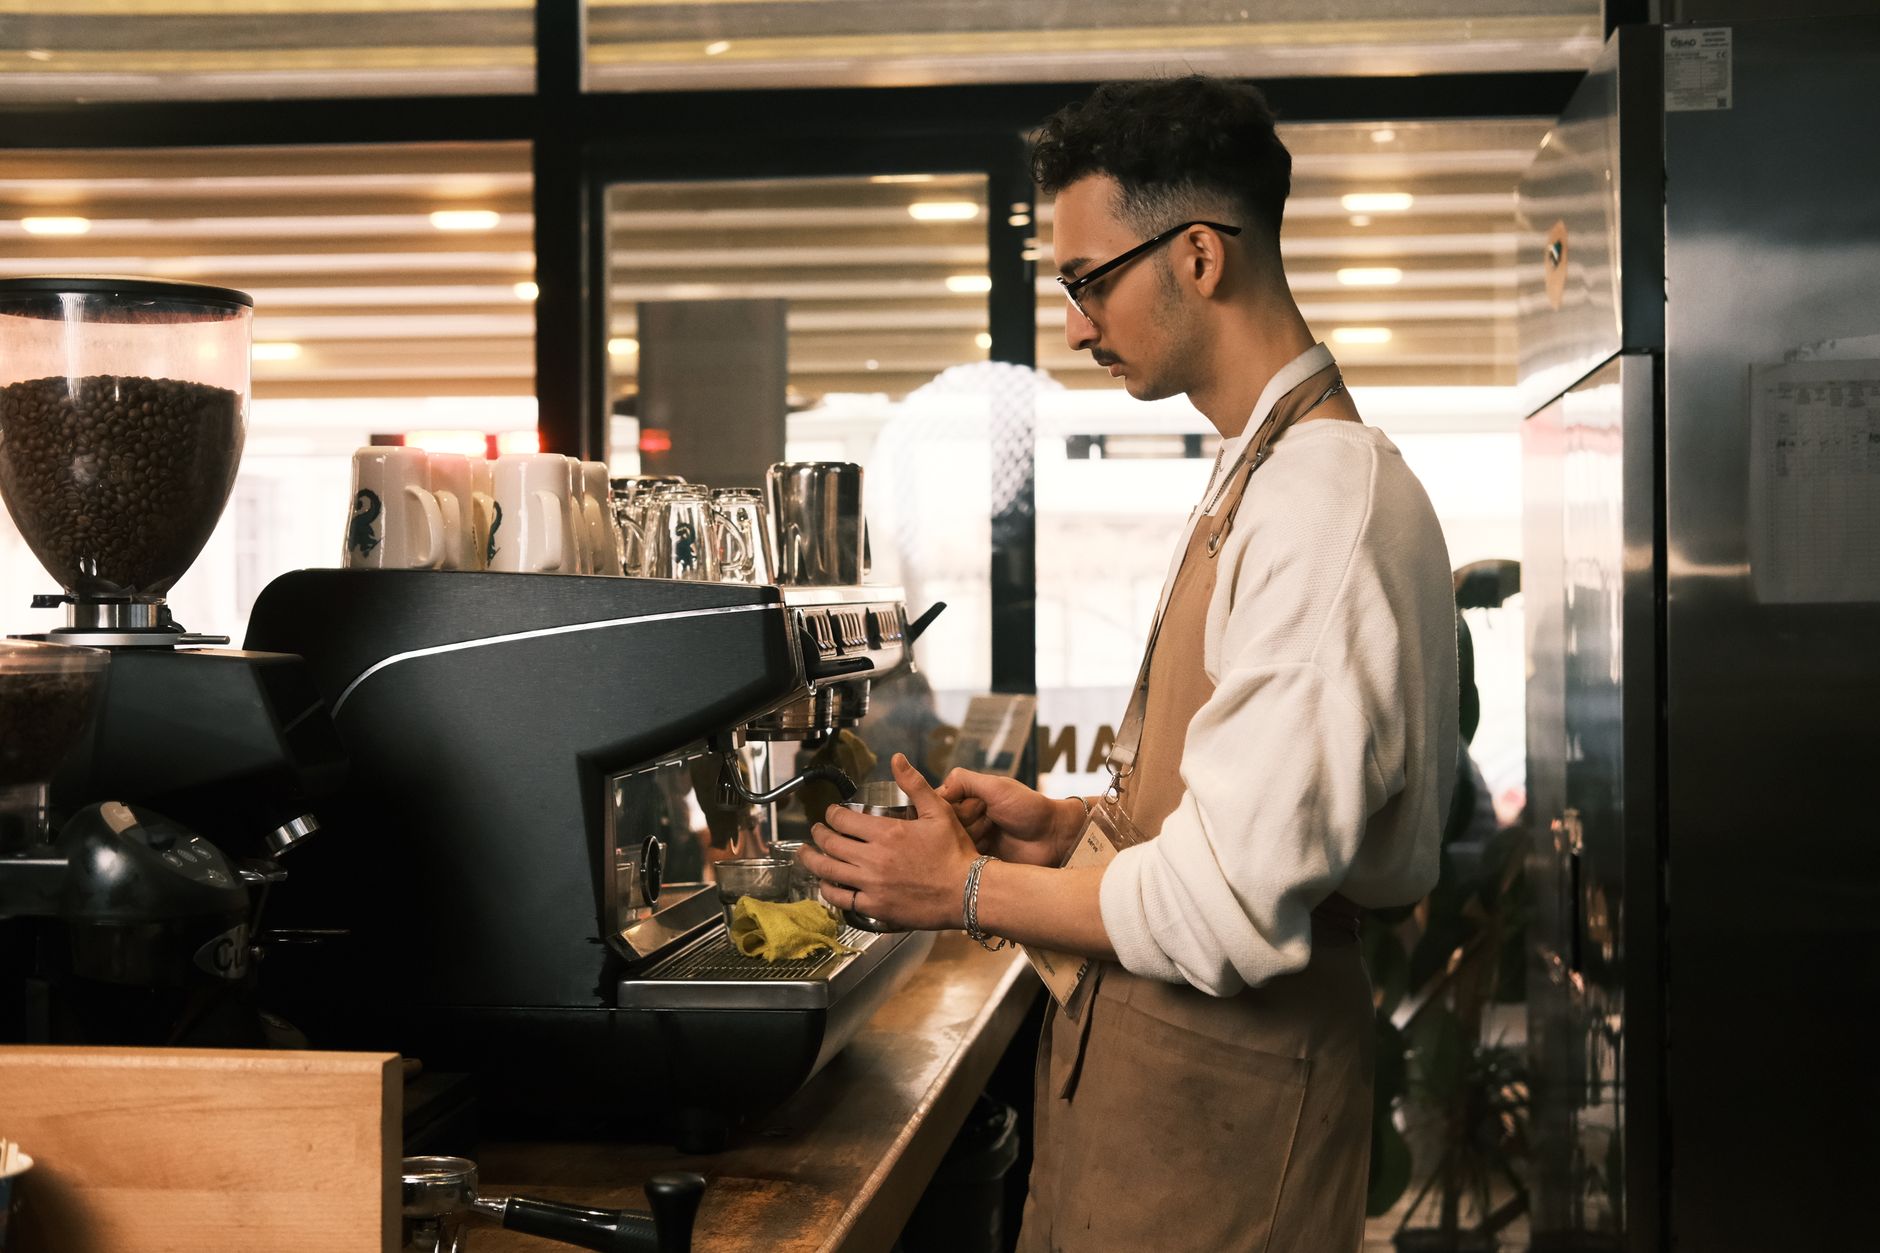
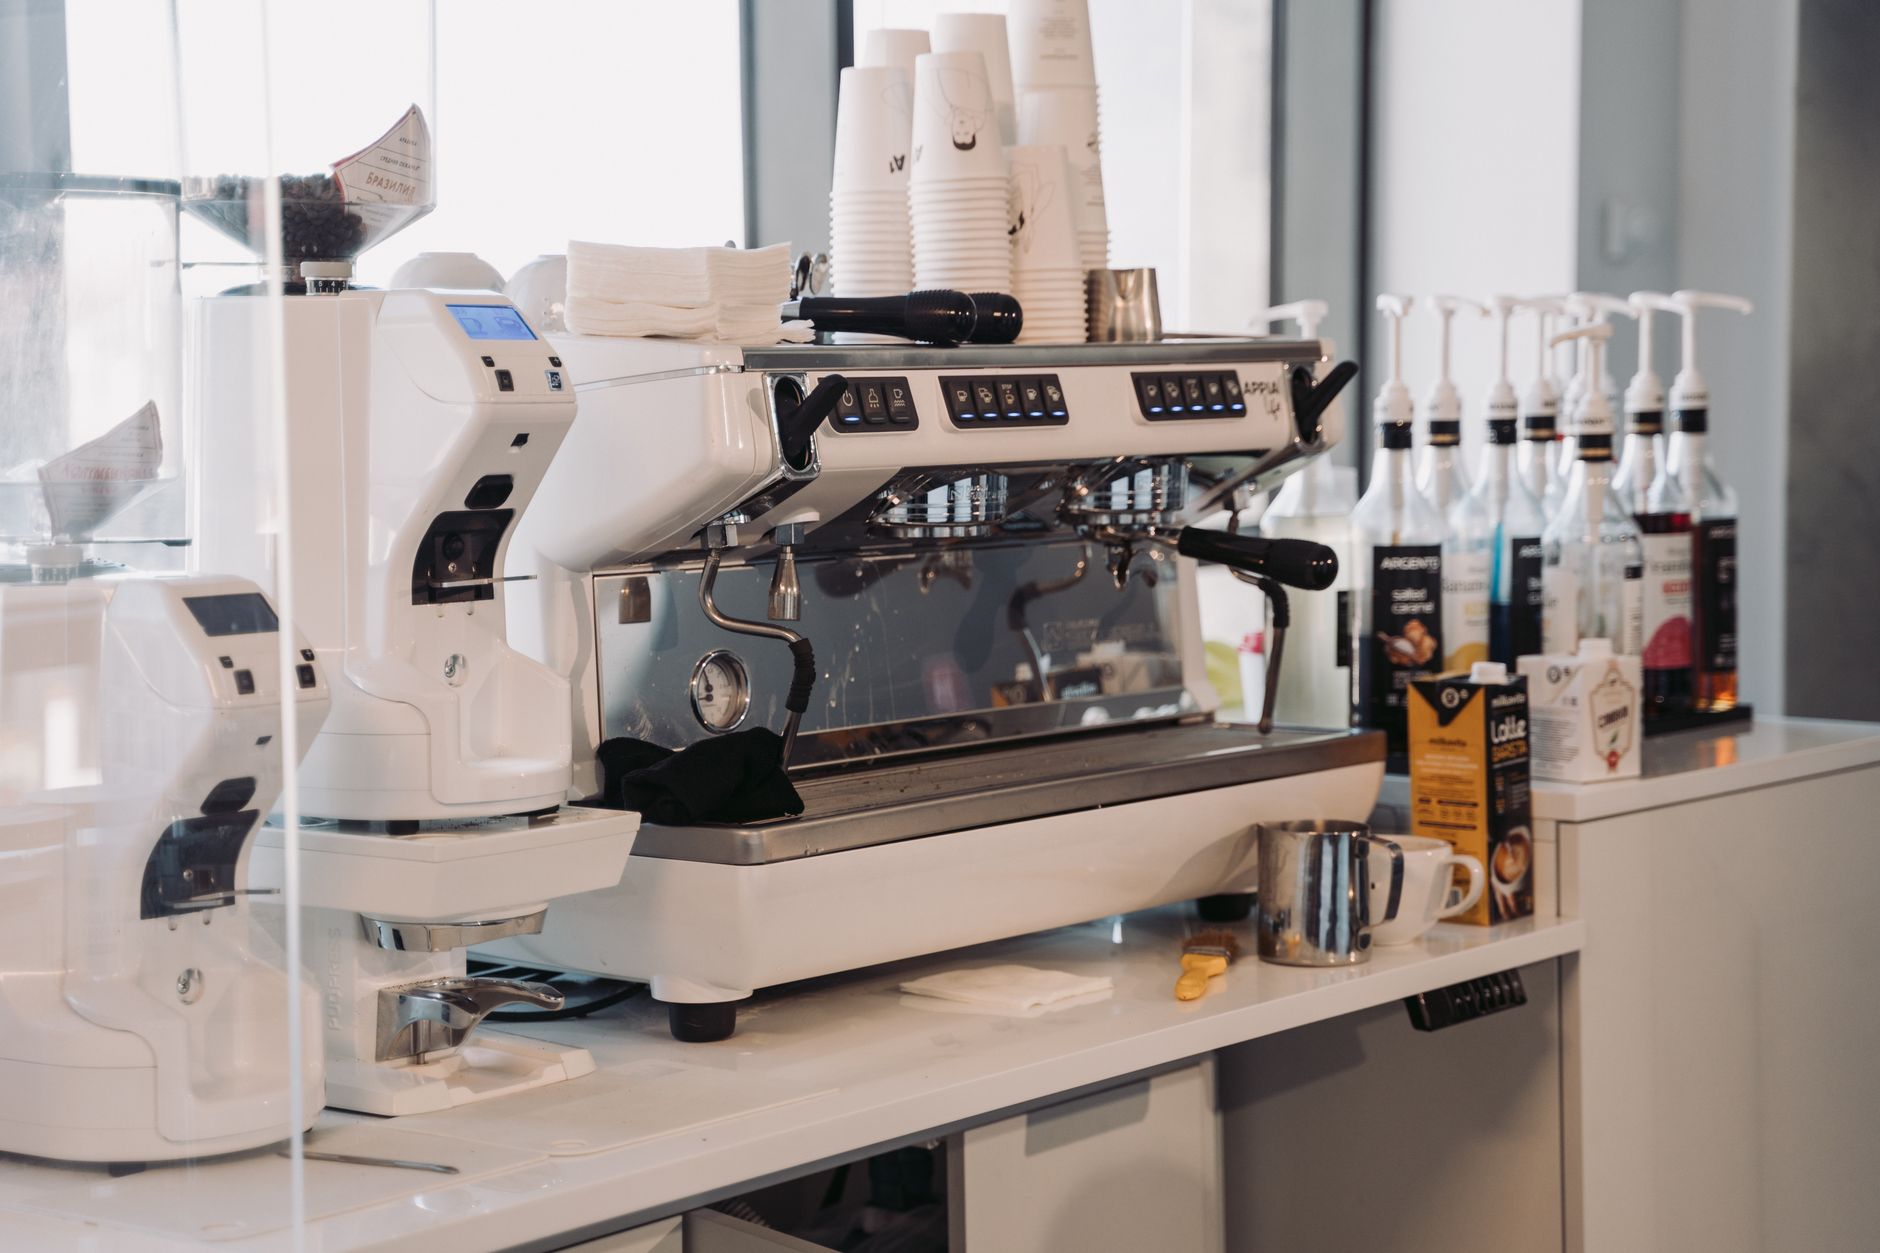 Photo: MART PRODUCTION via Pexels
Semi-automatics sit in the sweet spot of the espresso machine spectrum. A super-automatic grinds, tamps, and pulls the shot for you — convenient, but with no feedback loop for improvement. A lever machine puts pressure control entirely in your hands. Semi-automatics handle the hard physics (stable 9-bar pressure, consistent brew temperature) while leaving shot volume and timing to you.
Most entry-level machines you’ll encounter — the Breville Barista Express
What You Need Before You Pull Your First Shot
Before touching the machine, you need three things dialed in: fresh coffee (roasted within 4 weeks, ideally 7–21 days post-roast), a capable grinder, and filtered water. No amount of technique fixes stale beans or bad water.
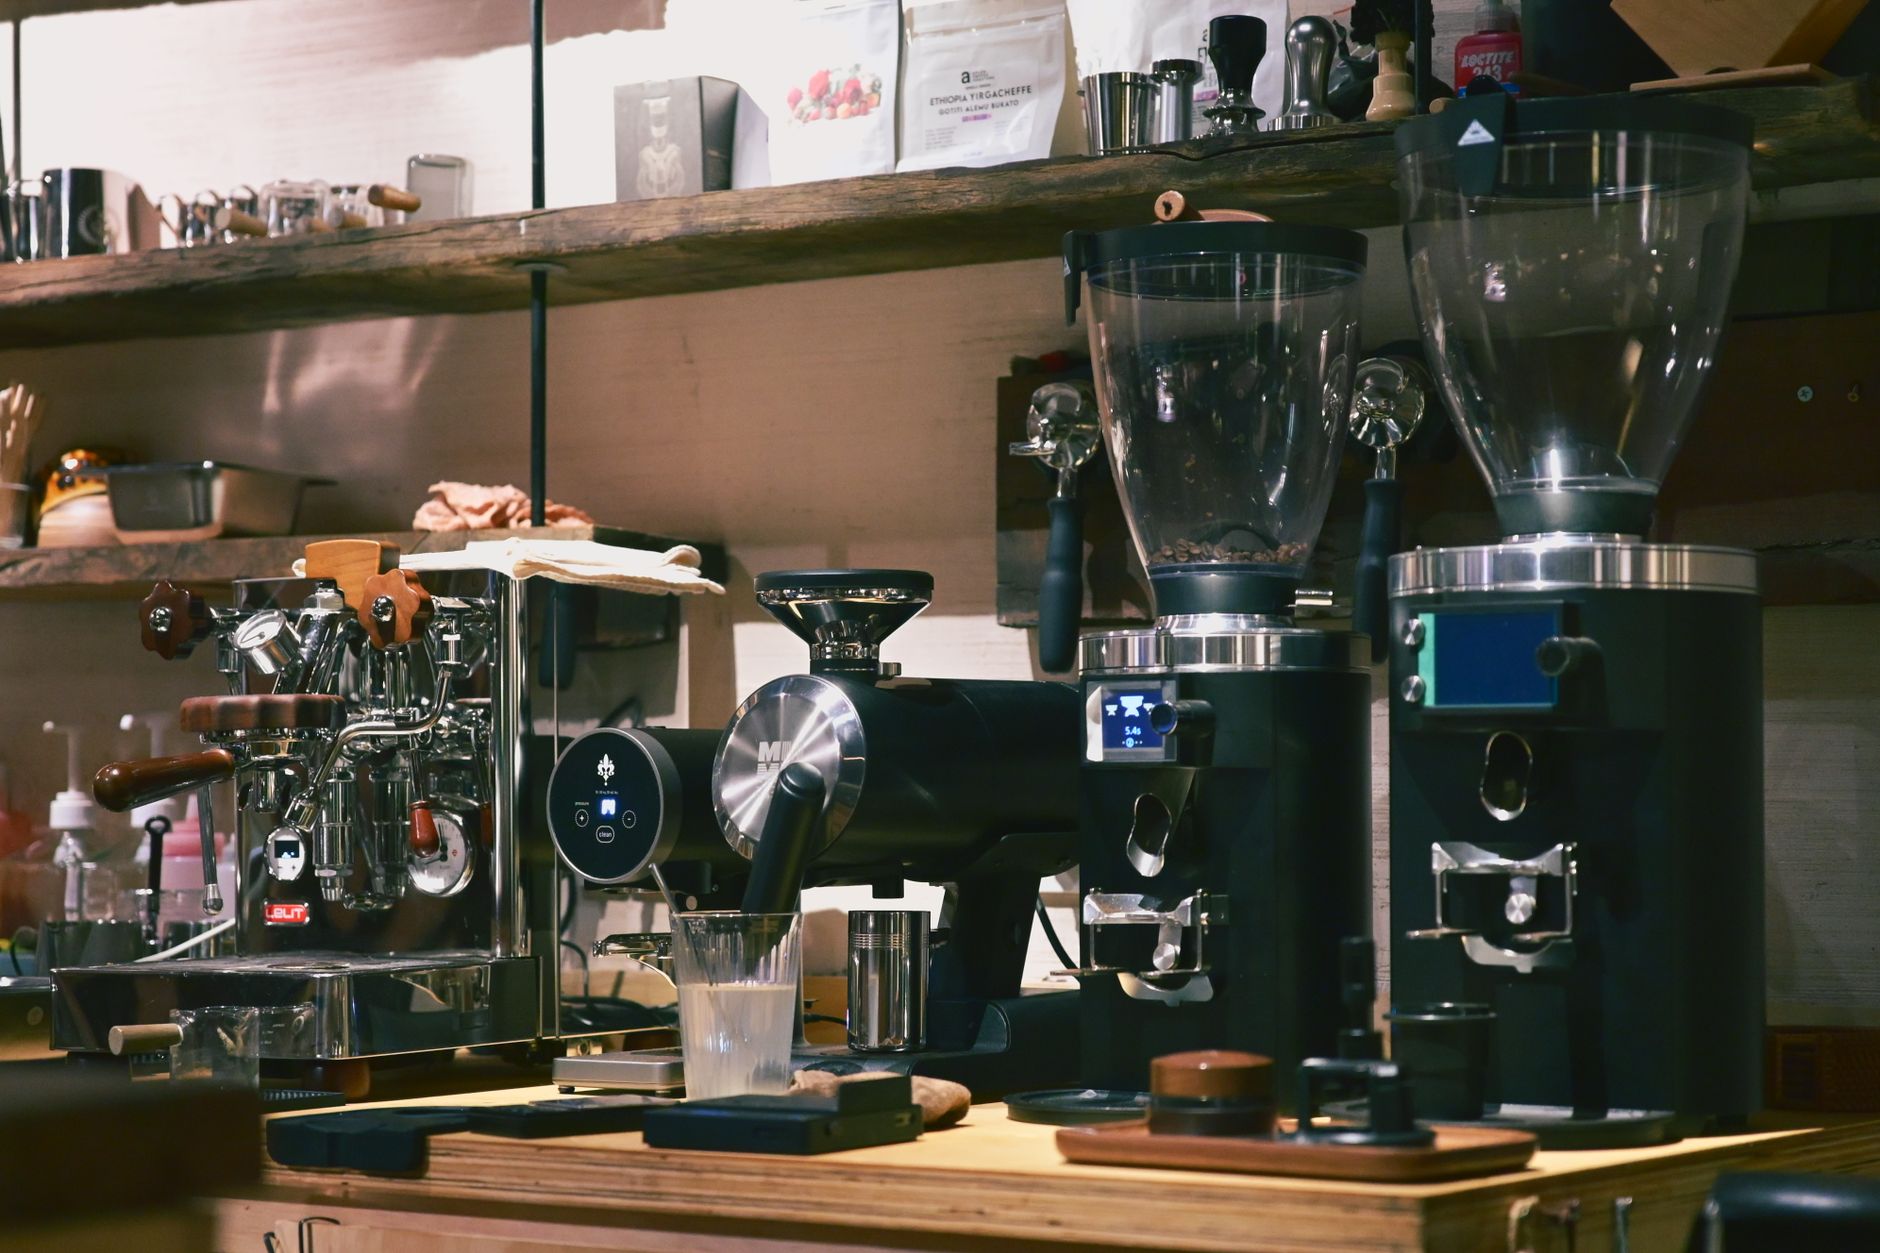
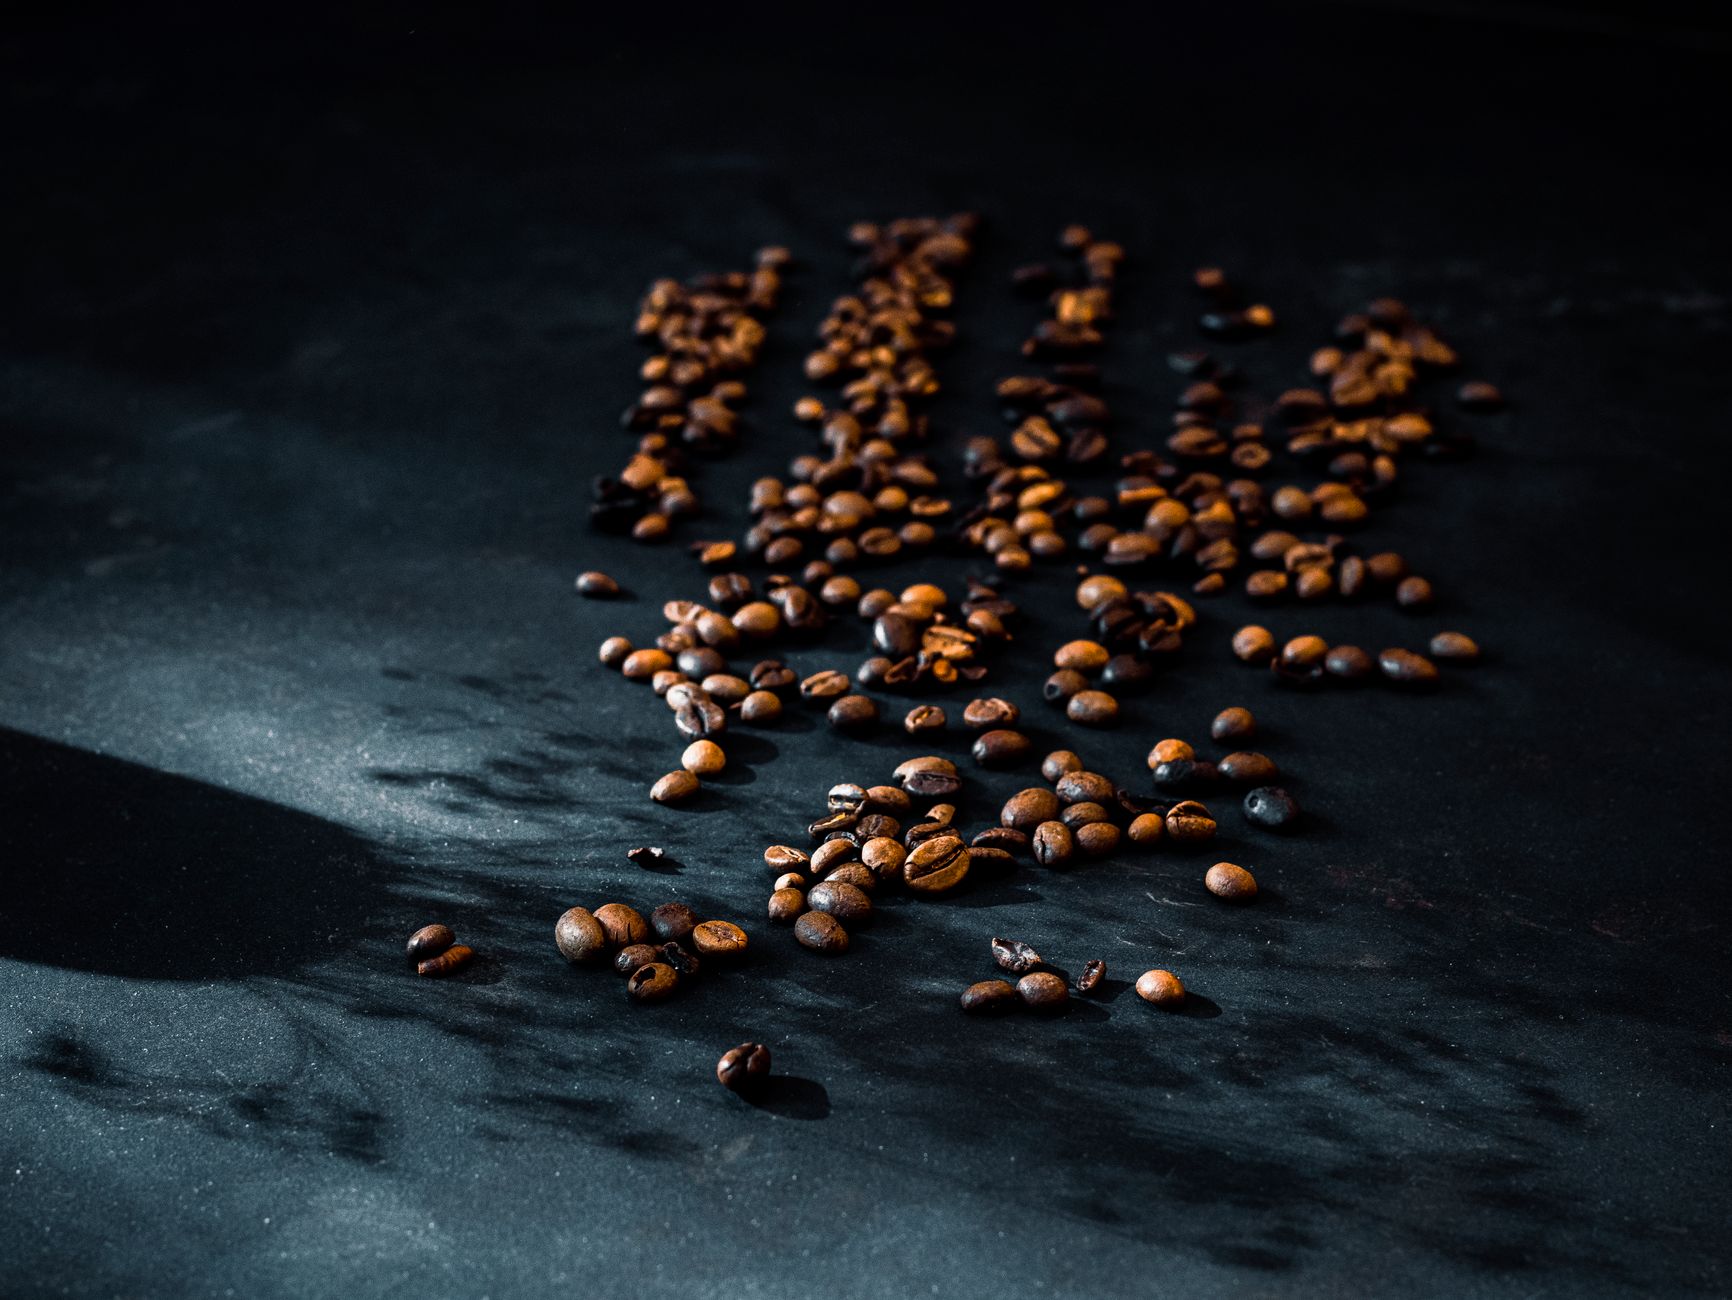 Photo: Navid Sohrabi via Pexels
The Equipment List
| Item | Why It Matters |
|---|---|
| Semi-automatic espresso machine | Provides stable 9-bar pressure |
| Burr grinder | Consistent particle size = even extraction |
| Tamper (58mm for most machines) | Flat, even puck for uniform water flow |
| Scale (0.1g resolution) | Repeatability — you can’t improve what you don’t measure |
| Fresh espresso-roast beans | Darker roast ≠ better; find a local roaster |
| Filtered water | Protects machine, improves taste |
A blade grinder is not an option here. The uneven particle distribution it produces causes channeling — water finds the path of least resistance through the puck, pulling sour and bitter simultaneously. A dedicated burr grinder is the single biggest quality lever in home espresso.
Step-by-Step: How to Use a Semi-Automatic Espresso Machine
The workflow has six steps: heat up the machine, grind and dose, distribute and tamp, lock in and flush, pull the shot, stop at the right yield. Do them in order, every time. Consistency is the whole game.
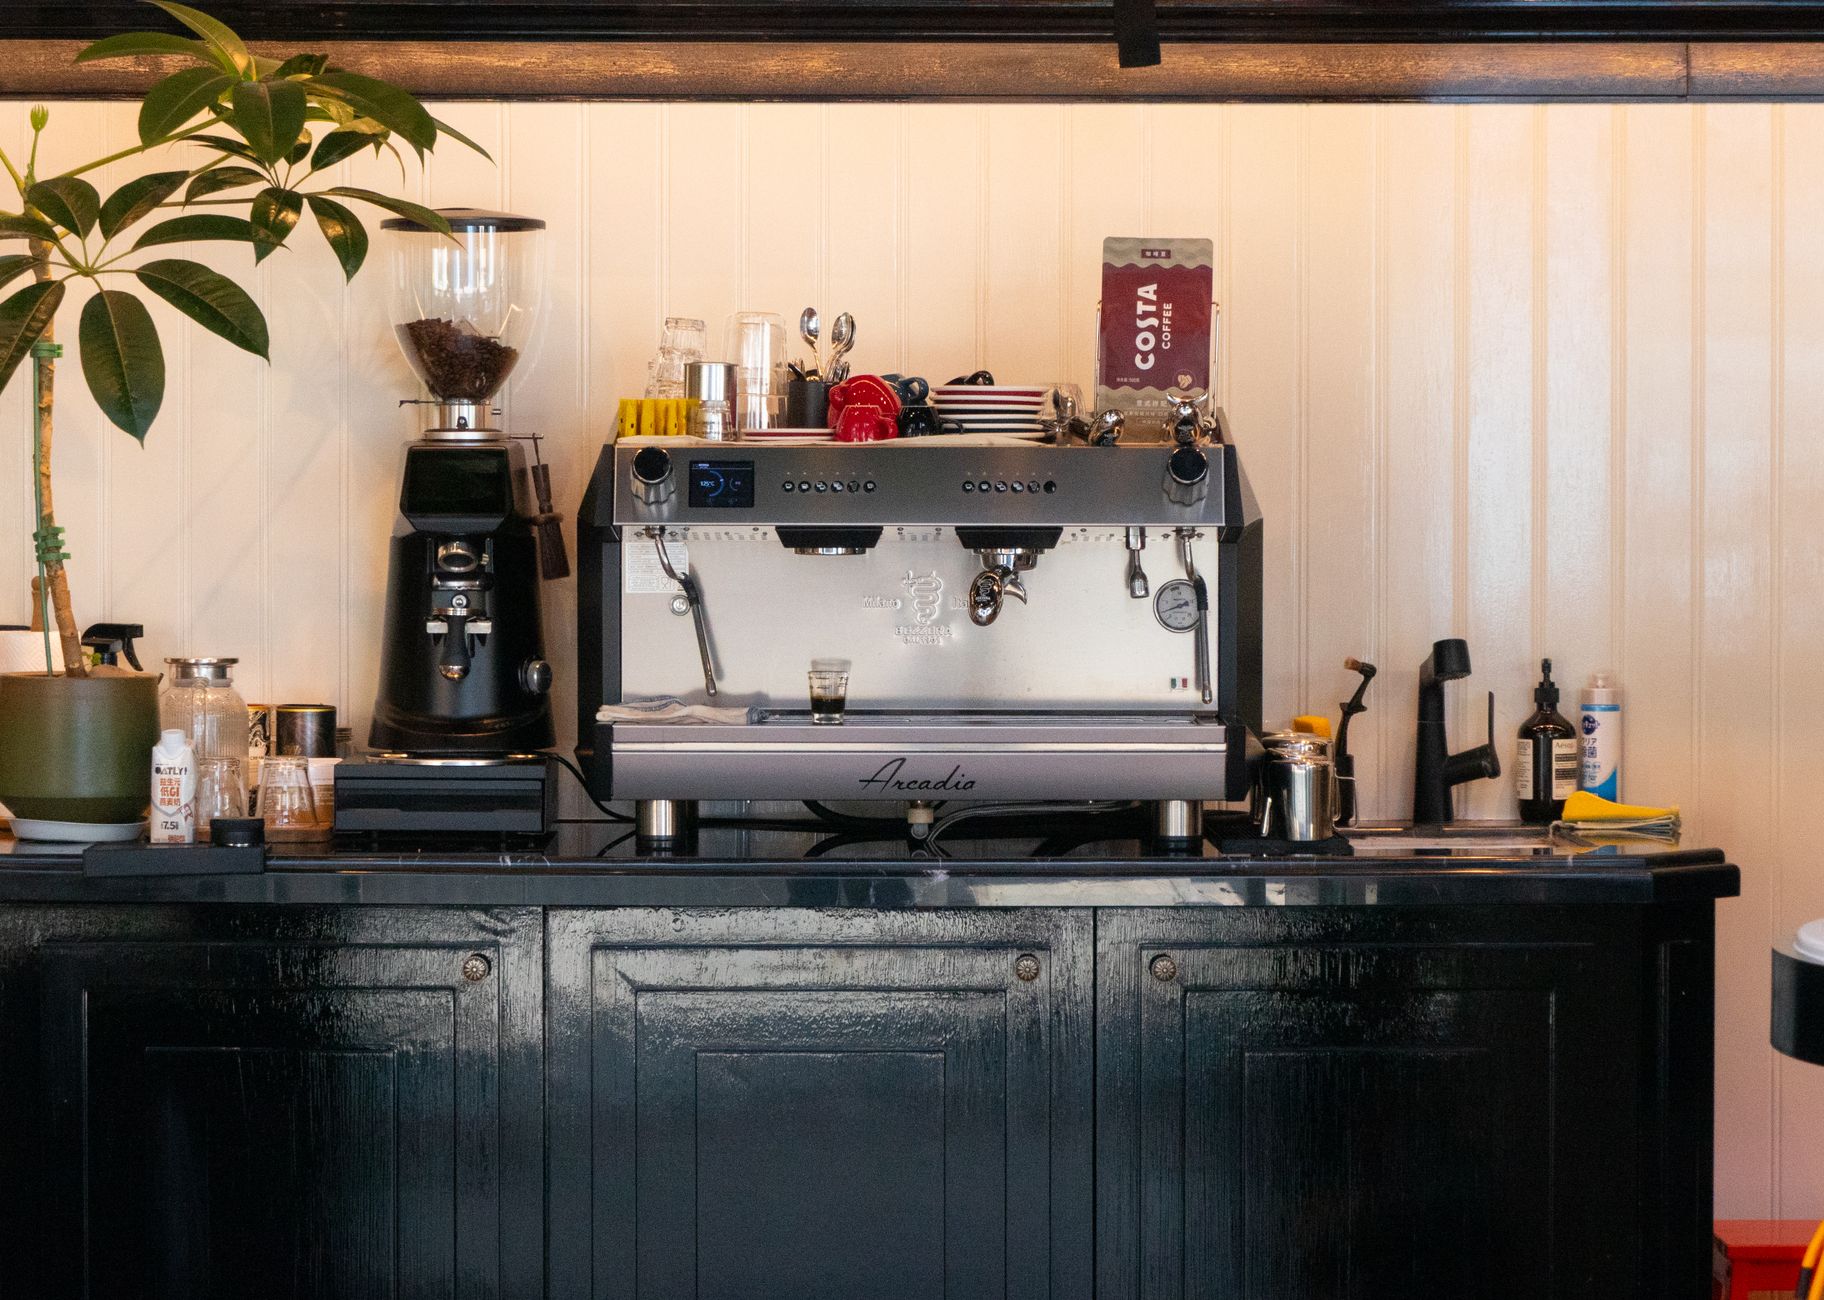
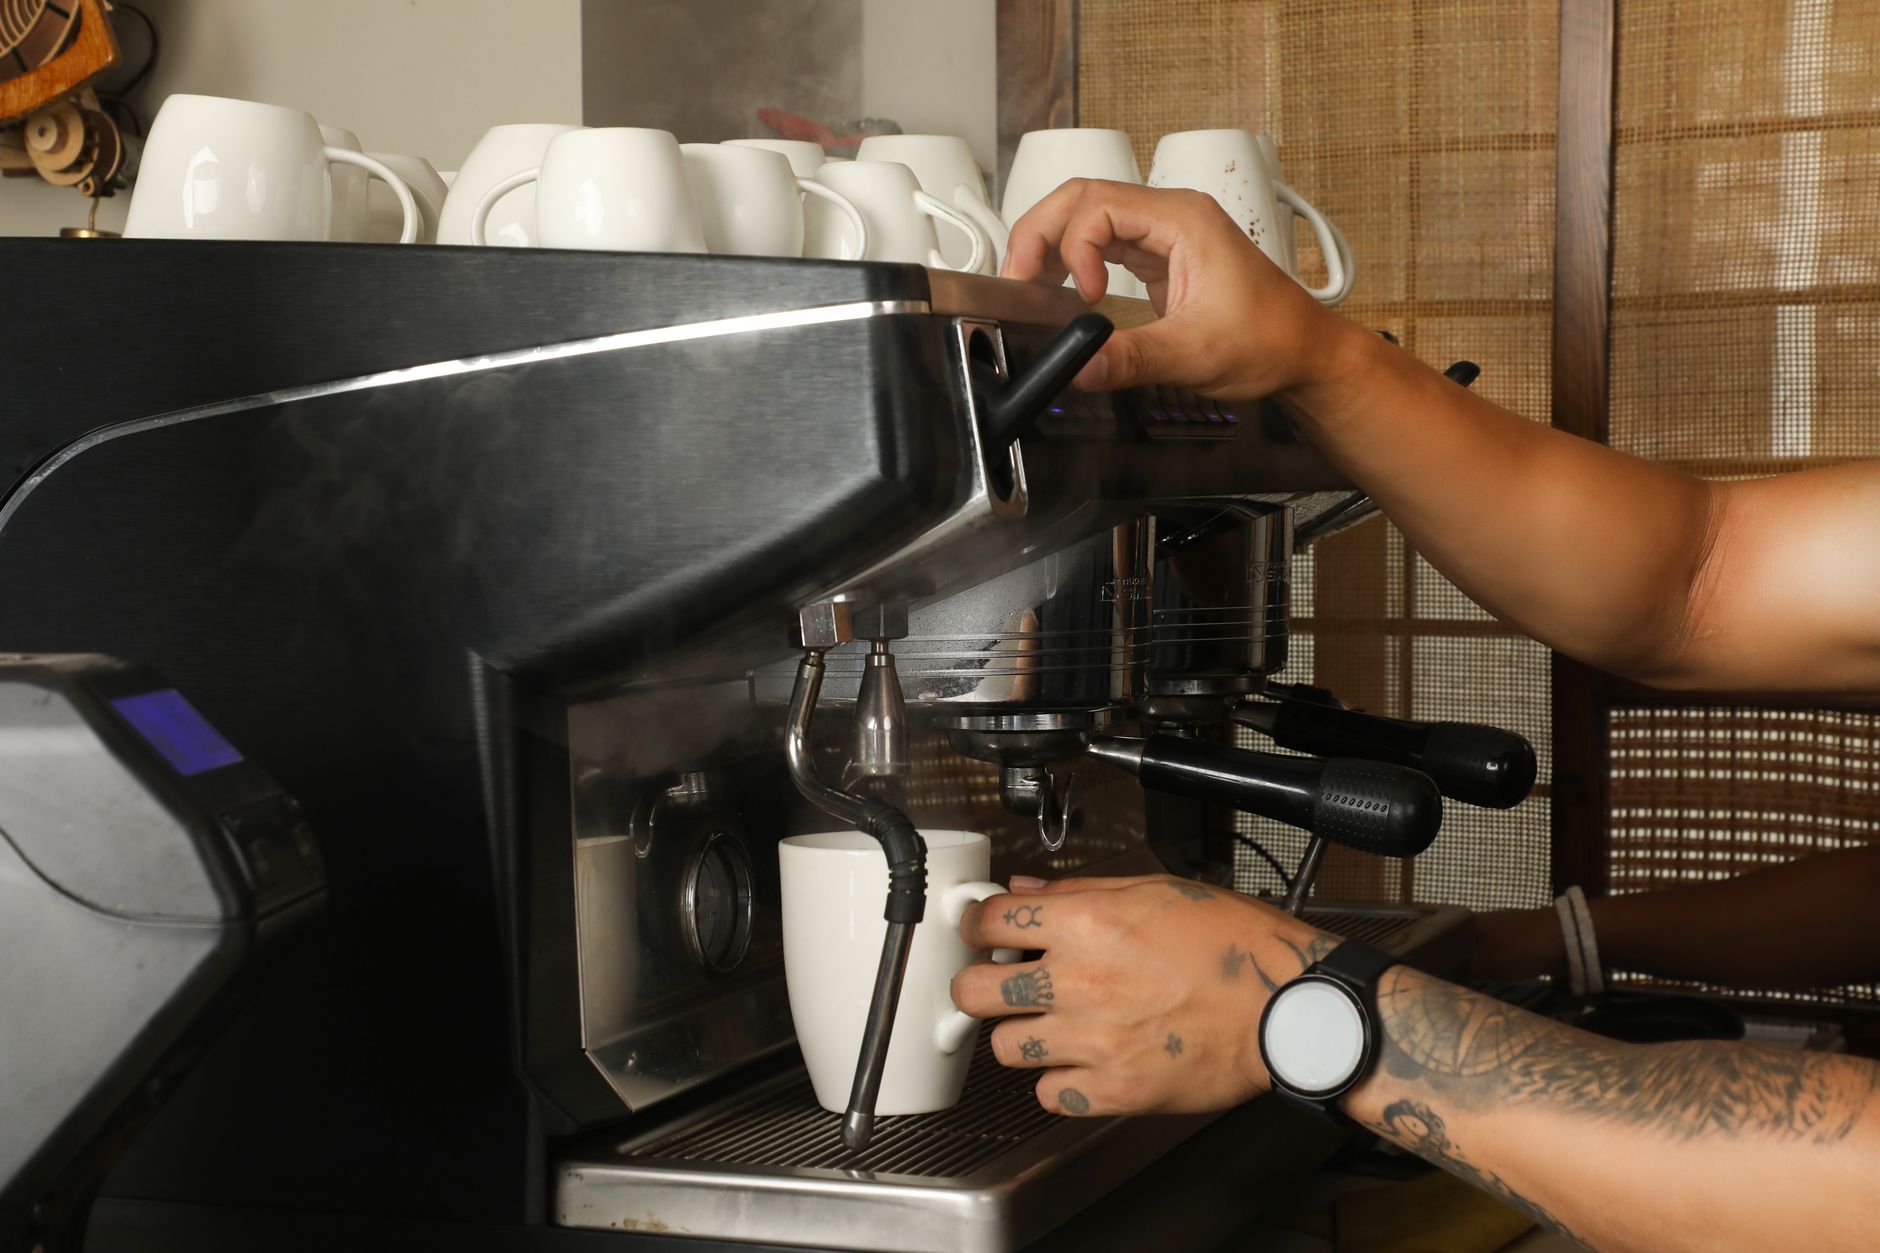 Photo: Anil Sharma via Pexels
Step 1 — Heat Up Properly
Turn the machine on 15–20 minutes before brewing. Most home semi-automatics need time to stabilize at brew temperature — not just the boiler, but the group head, portafilter, and all the metal in the water path.
Run a blank shot (no coffee, just water) to purge any stale water from the boiler and warm the portafilter. Lock the empty portafilter in and run a few seconds of water through — this is called a “blind flush” and it matters more than most beginners realize.
Step 2 — Grind Fresh
Grind directly before pulling the shot. Espresso grind goes stale faster than almost any other coffee preparation — surface area is enormous, oxidation is rapid.
Dose: 18–20g for a standard double shot (58mm portafilter basket). Weigh it. The basket has a rated capacity; overfilling causes puck swelling and channeling, underfilling causes blonding too early.
Grind size: Start medium-fine. If your shot runs in under 20 seconds, grind finer. Over 35 seconds, go coarser. Adjust in small increments — half a step on most grinders is meaningful.
Step 3 — Distribute and Tamp
Pour the grounds into the portafilter. Before tamping, distribute them evenly — use a finger or a distribution tool to level the mound. Uneven distribution before tamping creates density variations in the puck, which become channels under pressure.
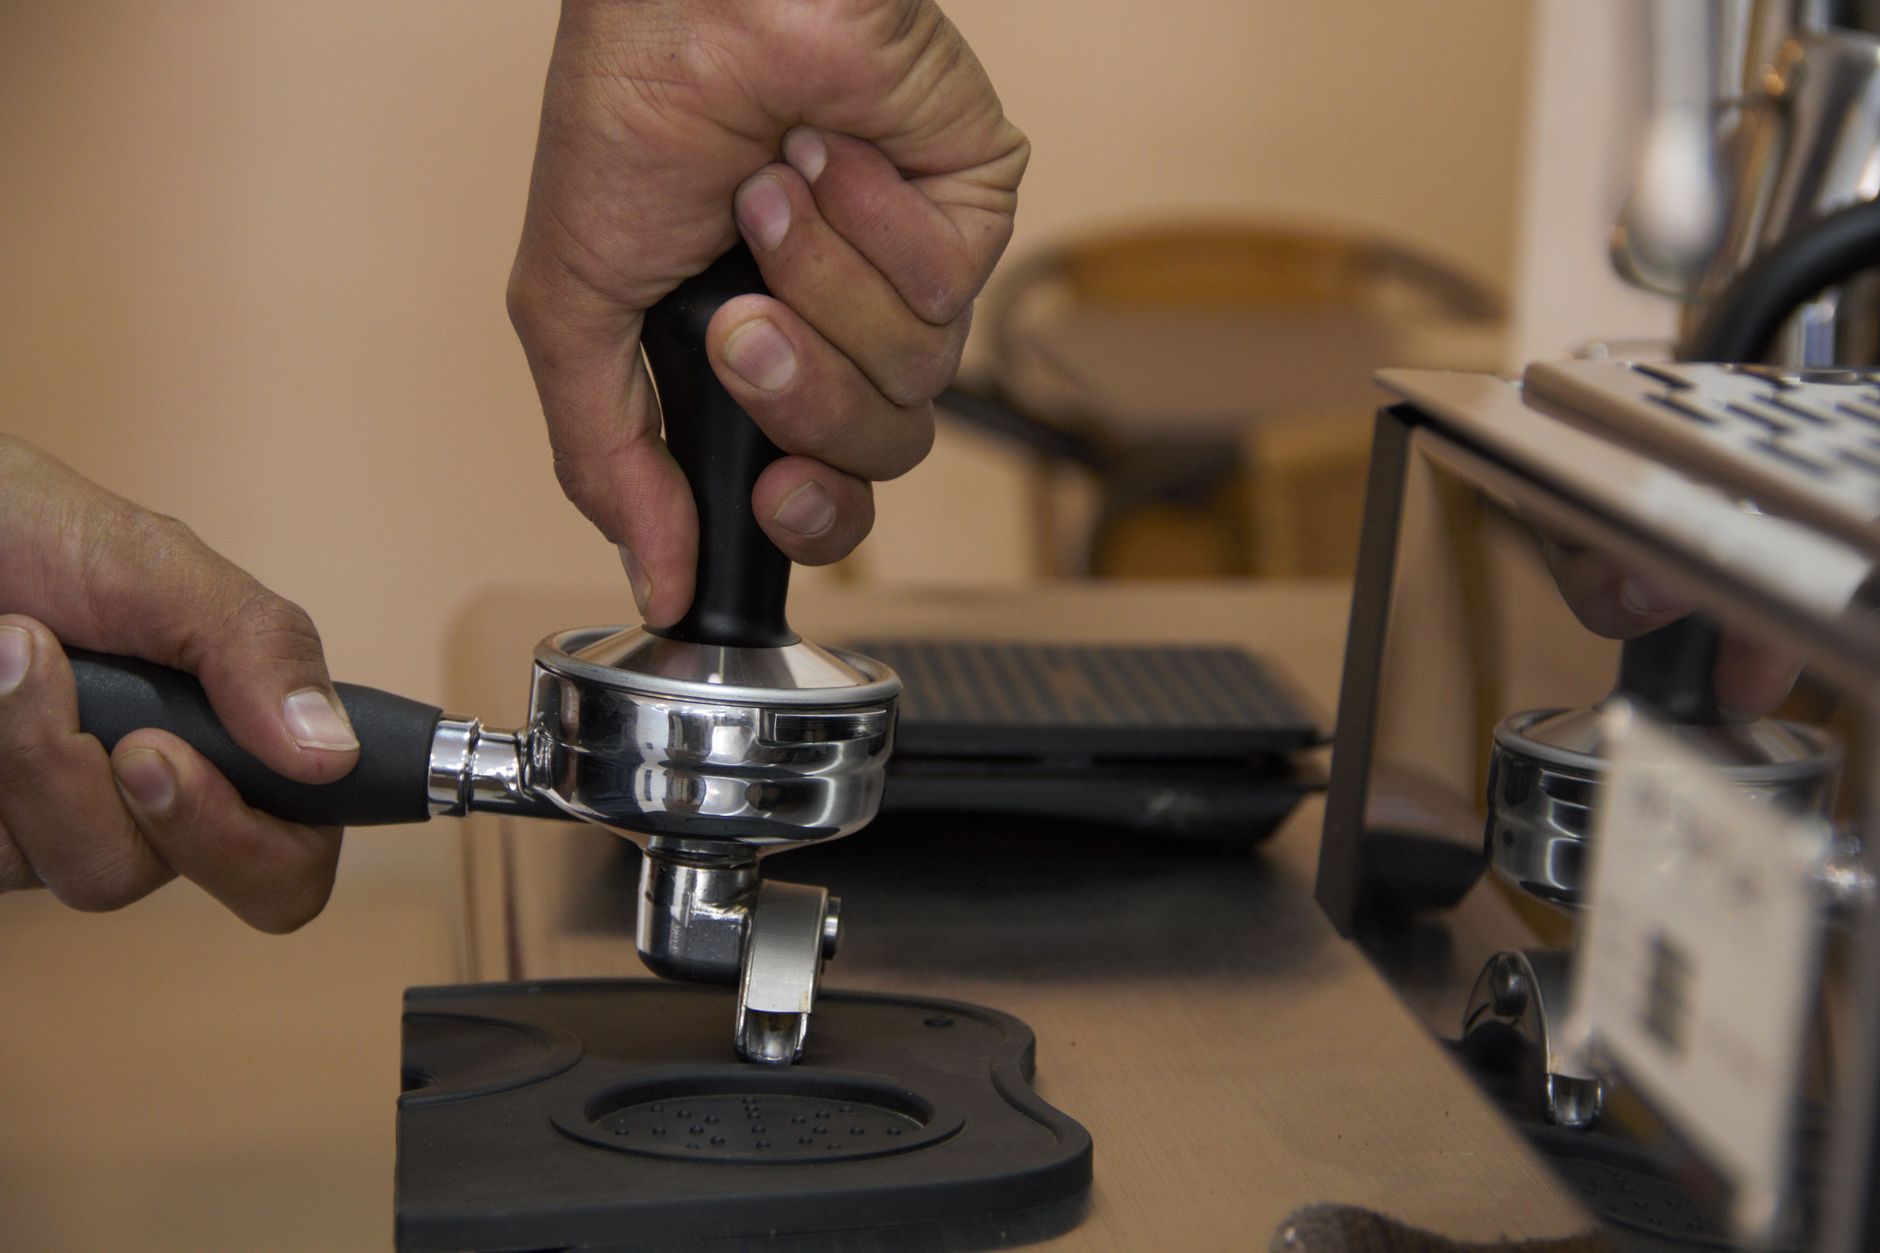
Tamp with 15–20kg of force (about the weight of a small child). More important than the exact weight is keeping the tamper perfectly level — a tilted tamp creates a high side and a low side; water finds the low side and channels through it.
A quality tamp produces a flat, smooth, mirror-finish puck surface. Wipe the rim of the basket with a dry finger to remove stray grounds before locking in.
Step 4 — Lock In and Pre-Flush
Lock the portafilter into the group head firmly — a clockwise twist until it seats. Pull it toward you (the “9 o’clock to 6 o’clock” motion on most machines).
On machines with a pre-infusion feature (Breville Barista Pro, Lelit machines), this happens automatically. On simpler machines, you can simulate it: start the pump for 3–5 seconds, then pause for 5 seconds before continuing. Pre-infusion wets the puck gently before full pressure hits, reducing channeling.
Step 5 — Pull the Shot
Start the pump. Watch the drips turn to a slow stream — ideally within 5–8 seconds of starting. The extraction should flow steadily, like warm honey, with a reddish-brown color that transitions to a lighter blonde as the shot progresses.
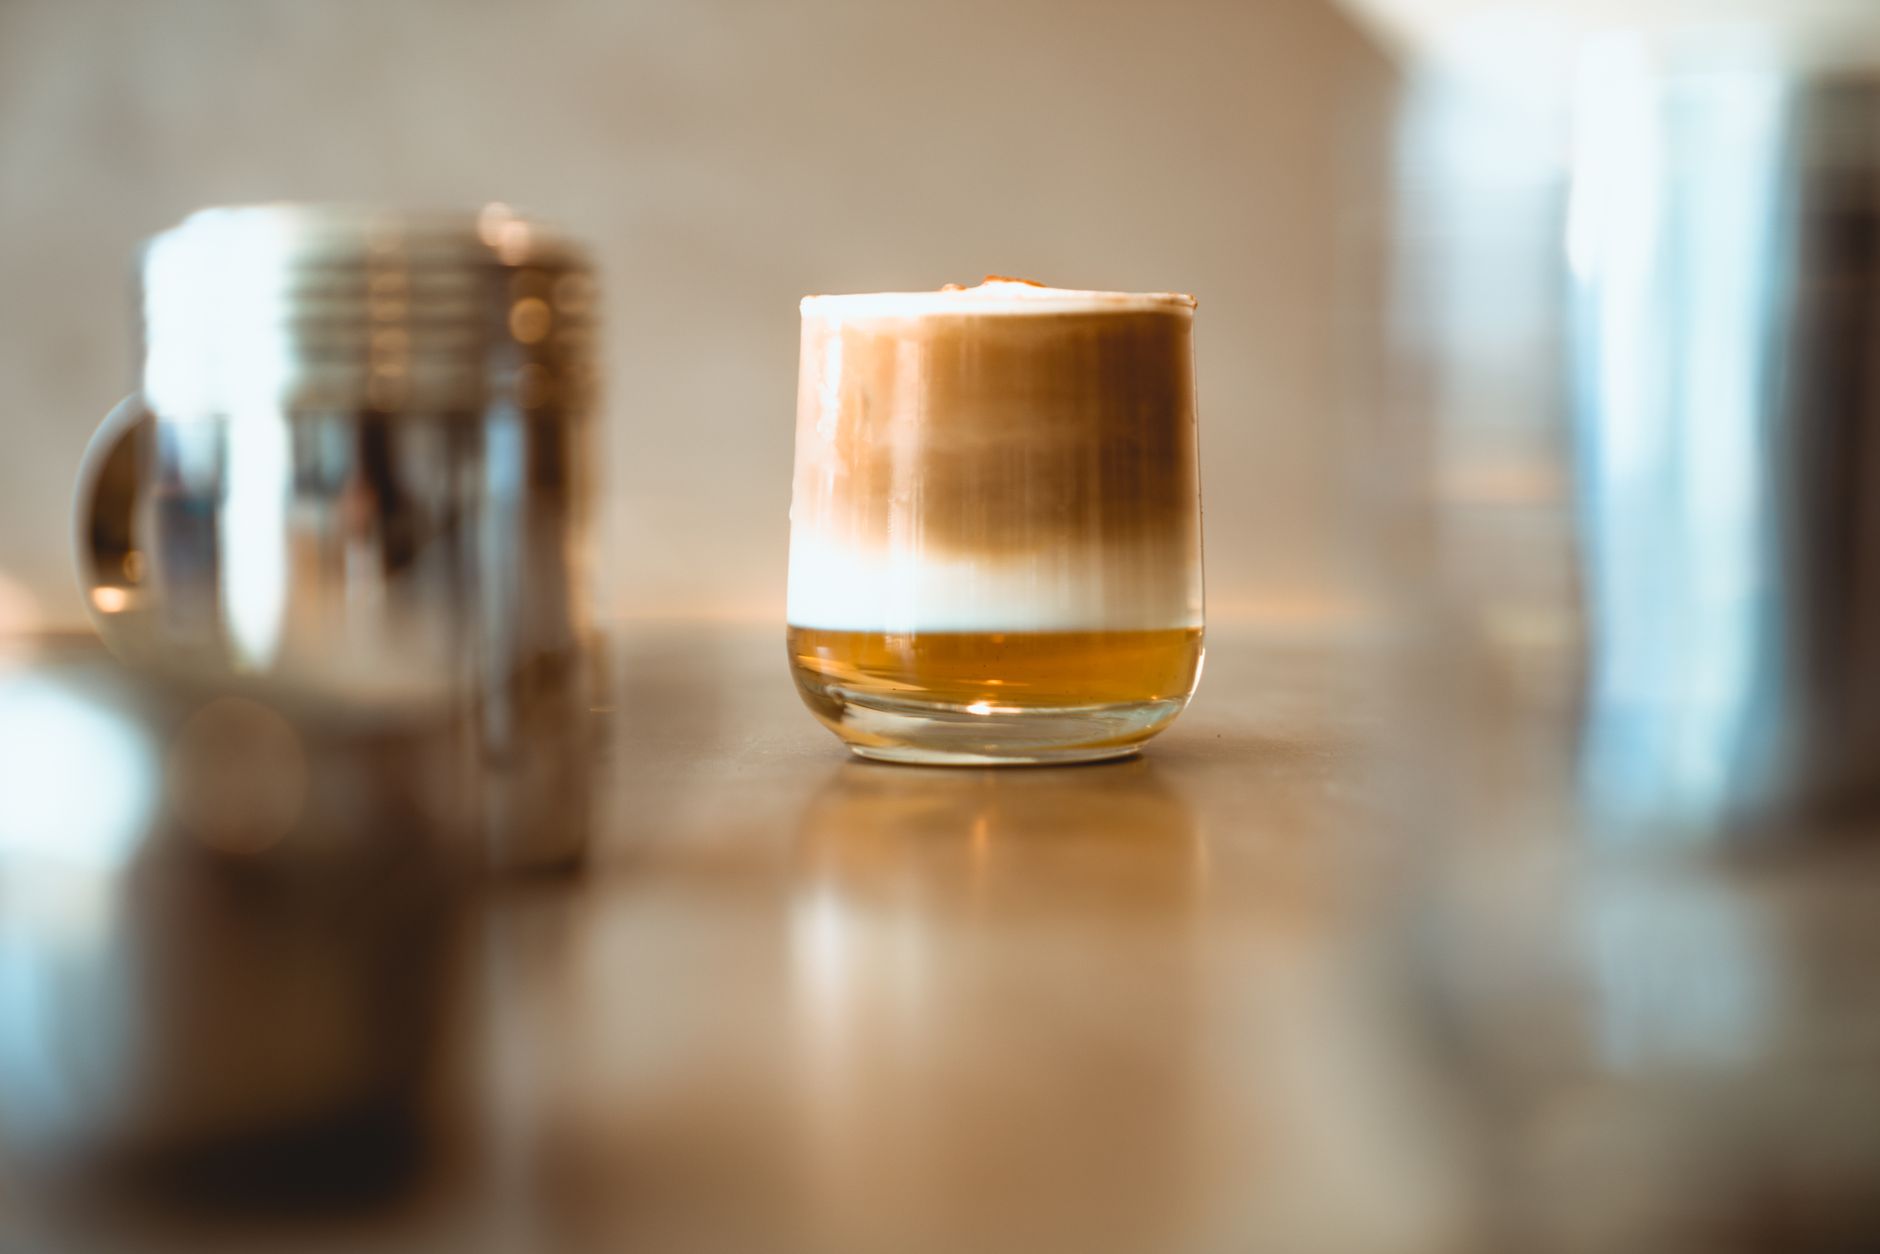 Photo: Los Muertos Crew via Pexels
Target ratio: 1:2 coffee-to-liquid by weight is the classic starting point. 18g of dry coffee → 36g of espresso liquid. Use a scale under your cup and watch the number.
Target time: 25–35 seconds from pump start to your target yield. This isn’t a hard rule — some modern light roasts pull faster, some dark roasts slower — but it’s the right place to start.
Step 6 — Stop at the Right Yield
Stop the pump when you hit your target weight in the cup. Don’t wait for the shot to “look done.” The tail end of an espresso shot — the watery, light-colored drips after the main extraction — is almost pure bitterness. Cut before you see the stream turn thin and pale.
Weigh the result. If you hit 36g in 30 seconds with 18g of coffee, note it down. That’s your baseline. Next shot, you’re chasing the same numbers.
Dialing In: How to Fix Common Shot Problems
Dialing in means adjusting grind size (and sometimes dose or yield) until your shot hits the target time, weight, and flavor simultaneously. It takes 2–5 shots on a new bag of coffee. Change one variable at a time.
| Symptom | Likely Cause | Fix |
|---|---|---|
| Shot runs too fast (<20s) | Grind too coarse | Grind finer |
| Shot runs too slow (>40s) | Grind too fine | Grind coarser |
| Sour, thin taste | Under-extracted | Finer grind, or raise yield |
| Bitter, harsh taste | Over-extracted | Coarser grind, or lower yield |
| Uneven stream, spurting | Channeling | Better distribution/tamp |
| No crema | Stale beans | Use fresher coffee |
| Thin, pale crema | Too light a roast for your taste, or over-extracted | Adjust grind finer first |
Cleaning Your Machine After Every Session
Backflush with a blind basket and water after every session (machines with 3-way solenoid valves only — Gaggia Classic, Breville, Rancilio). Wipe the group head gasket with a damp cloth. Empty and rinse the portafilter basket immediately — don’t let spent grounds sit and go rancid.
Weekly: use a group head brush to scrub the shower screen. Monthly: chemical backflush with espresso machine cleaner tablets.
A clean machine is a machine that doesn’t ghost your shots with yesterday’s rancid oils.
→ See also
- The Complete Guide to Espresso Machines (2026) — full breakdown of machine types, boiler configurations, and what matters at each price point
- Best Espresso Machine Under $200 (2026) — semi-automatics that punch above their weight at the entry level
- Best Espresso Machine Under $500 (2026) — where the PID controllers and dual boilers start appearing
FAQ
How long does it take to learn how to use a semi-automatic espresso machine? Most people pull a drinkable shot within the first session and a genuinely good shot within a week. Consistently excellent espresso — the kind where you can predict and reproduce results — takes a few weeks of daily practice. The limiting factor is usually bean freshness and grinder quality, not technique.
Do I need to use freshly ground coffee, or can I use pre-ground? Pre-ground coffee degasses rapidly and loses the volatile aromatics that make espresso taste like espresso. Pre-ground designed for espresso will produce an acceptable shot for the first day or two after opening, then noticeably worse results. Grinding fresh, immediately before pulling, is the single biggest quality upgrade available at no cost.
How much coffee should I put in a semi-automatic espresso machine? A standard double shot uses 18–20g of ground coffee in a 58mm basket. Single baskets typically hold 7–10g but produce inferior results — most experienced home baristas use only double baskets even when making one shot. Weigh your dose; volumetric scoops vary too much to be useful.
Why is my espresso coming out too bitter? Bitterness in espresso is almost always over-extraction — too much dissolved soluble material pulled into the cup. The most common causes are: grind too fine (water moves slowly, over-extracts), shot running too long, or water temperature too high. Start by coarsening your grind one step and see if the bitterness softens.
Can I make milk drinks with a semi-automatic espresso machine? Yes, provided your machine has a steam wand — and most do. Pull your shot first, then steam milk immediately. For a flat white, you want microfoam: silky, no large bubbles, around 60–65°C. Submerge the wand tip just below the milk surface, angle the pitcher to create a vortex, and keep the tip near the surface during the “stretching” phase to introduce air before lowering it to heat.
How often should I clean my semi-automatic espresso machine? Backflush (for solenoid-equipped machines) and wipe the group head after every use. Descale every 2–3 months depending on your water hardness — machines in hard-water areas need it more often. Deep chemical backflush monthly. A machine that isn’t cleaned will develop rancid-oil buildup that poisons every shot, no matter how good your beans or technique.
Editorial methodology: Assessments are based on manufacturer specifications, published user reviews, and editorial research. Physical hands-on testing is noted explicitly where it occurred. Rankings reflect our editorial judgment and are not influenced by affiliate commission rates. Full editorial policy · Affiliate disclosure