Contents
Moka Pot Guide: How to Make Perfect Stovetop Espresso
TL;DR: To use a moka pot, fill the bottom chamber with hot water to just below the valve, add medium-fine ground coffee to the basket without tamping, assemble, and heat on medium-low until coffee fills the top chamber. It’s not true espresso — no 9-bar pressure — but it’s the strongest, most concentrated stovetop brew you can make.
What Is a Moka Pot and How Does It Work?
The moka pot forces pressurized steam (1–2 bar) through a coffee basket into an upper collection chamber. Water in the sealed lower chamber heats, builds pressure, and pushes up through the grounds. The result: a rich, bold, syrupy concentrate that sits between filter coffee and espresso in strength.
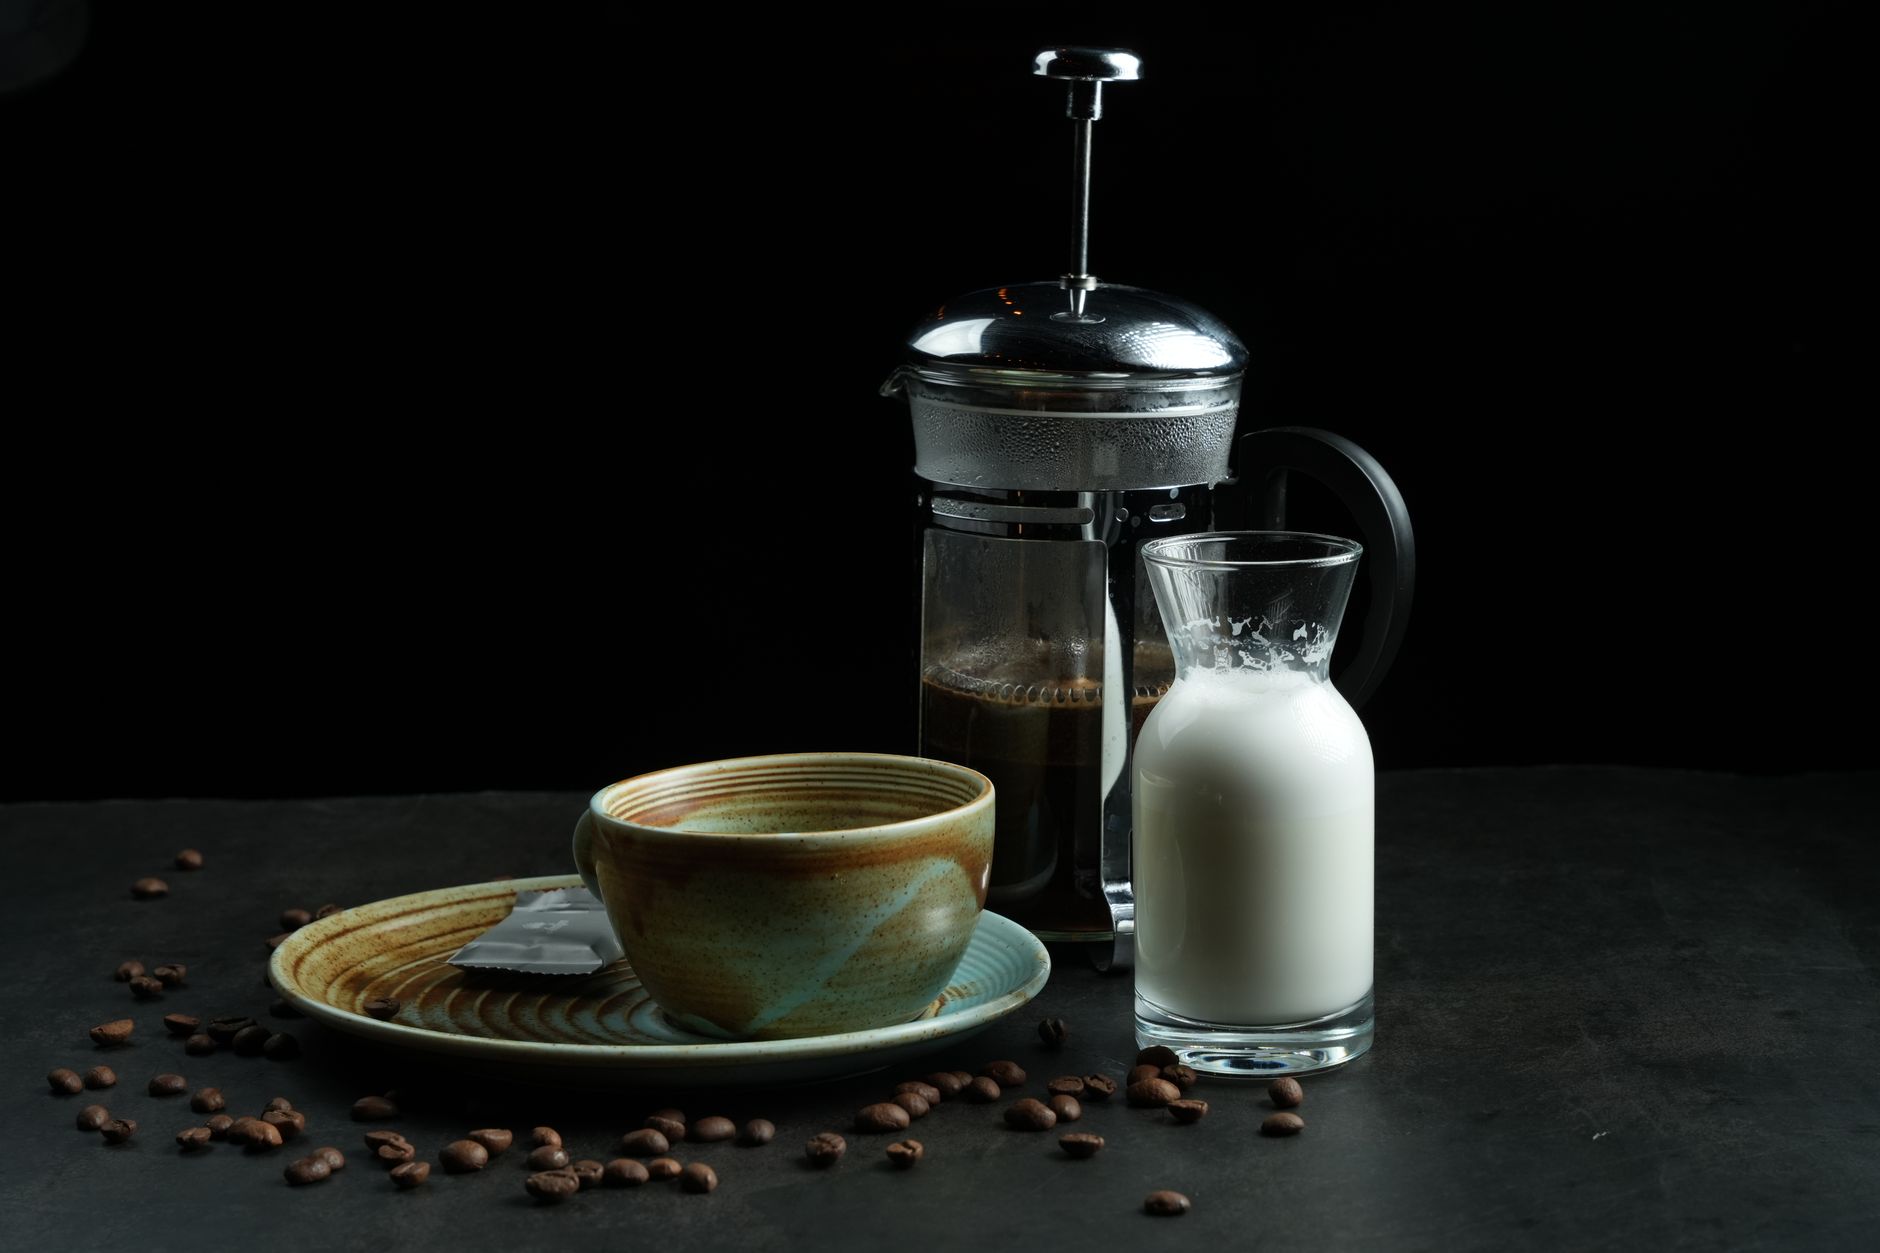
 Photo: Ba Tik via Pexels
Invented by Alfonso Bialetti in 1933, the moka pot — also called a stovetop espresso maker — remains one of the most efficient brewing devices ever made. No electricity, no paper filters, no moving parts beyond the gasket. A Bialetti Moka Express will outlast most electric machines.
The three-chamber design is the whole mechanism: boiler (bottom), filter basket (middle), collector (top). Steam pressure does the work. Understanding that it’s pressure, not temperature alone, that drives extraction shapes every decision you’ll make about grind size, dose, and heat.
How to Use a Moka Pot: Step-by-Step
Fill the boiler with hot water, load the basket with medium-fine grounds level and unpacked, screw the chambers together firmly, and set on medium-low heat. Pull it off the burner the moment you hear gurgling. That’s it. Every detail below is just optimizing that sequence.
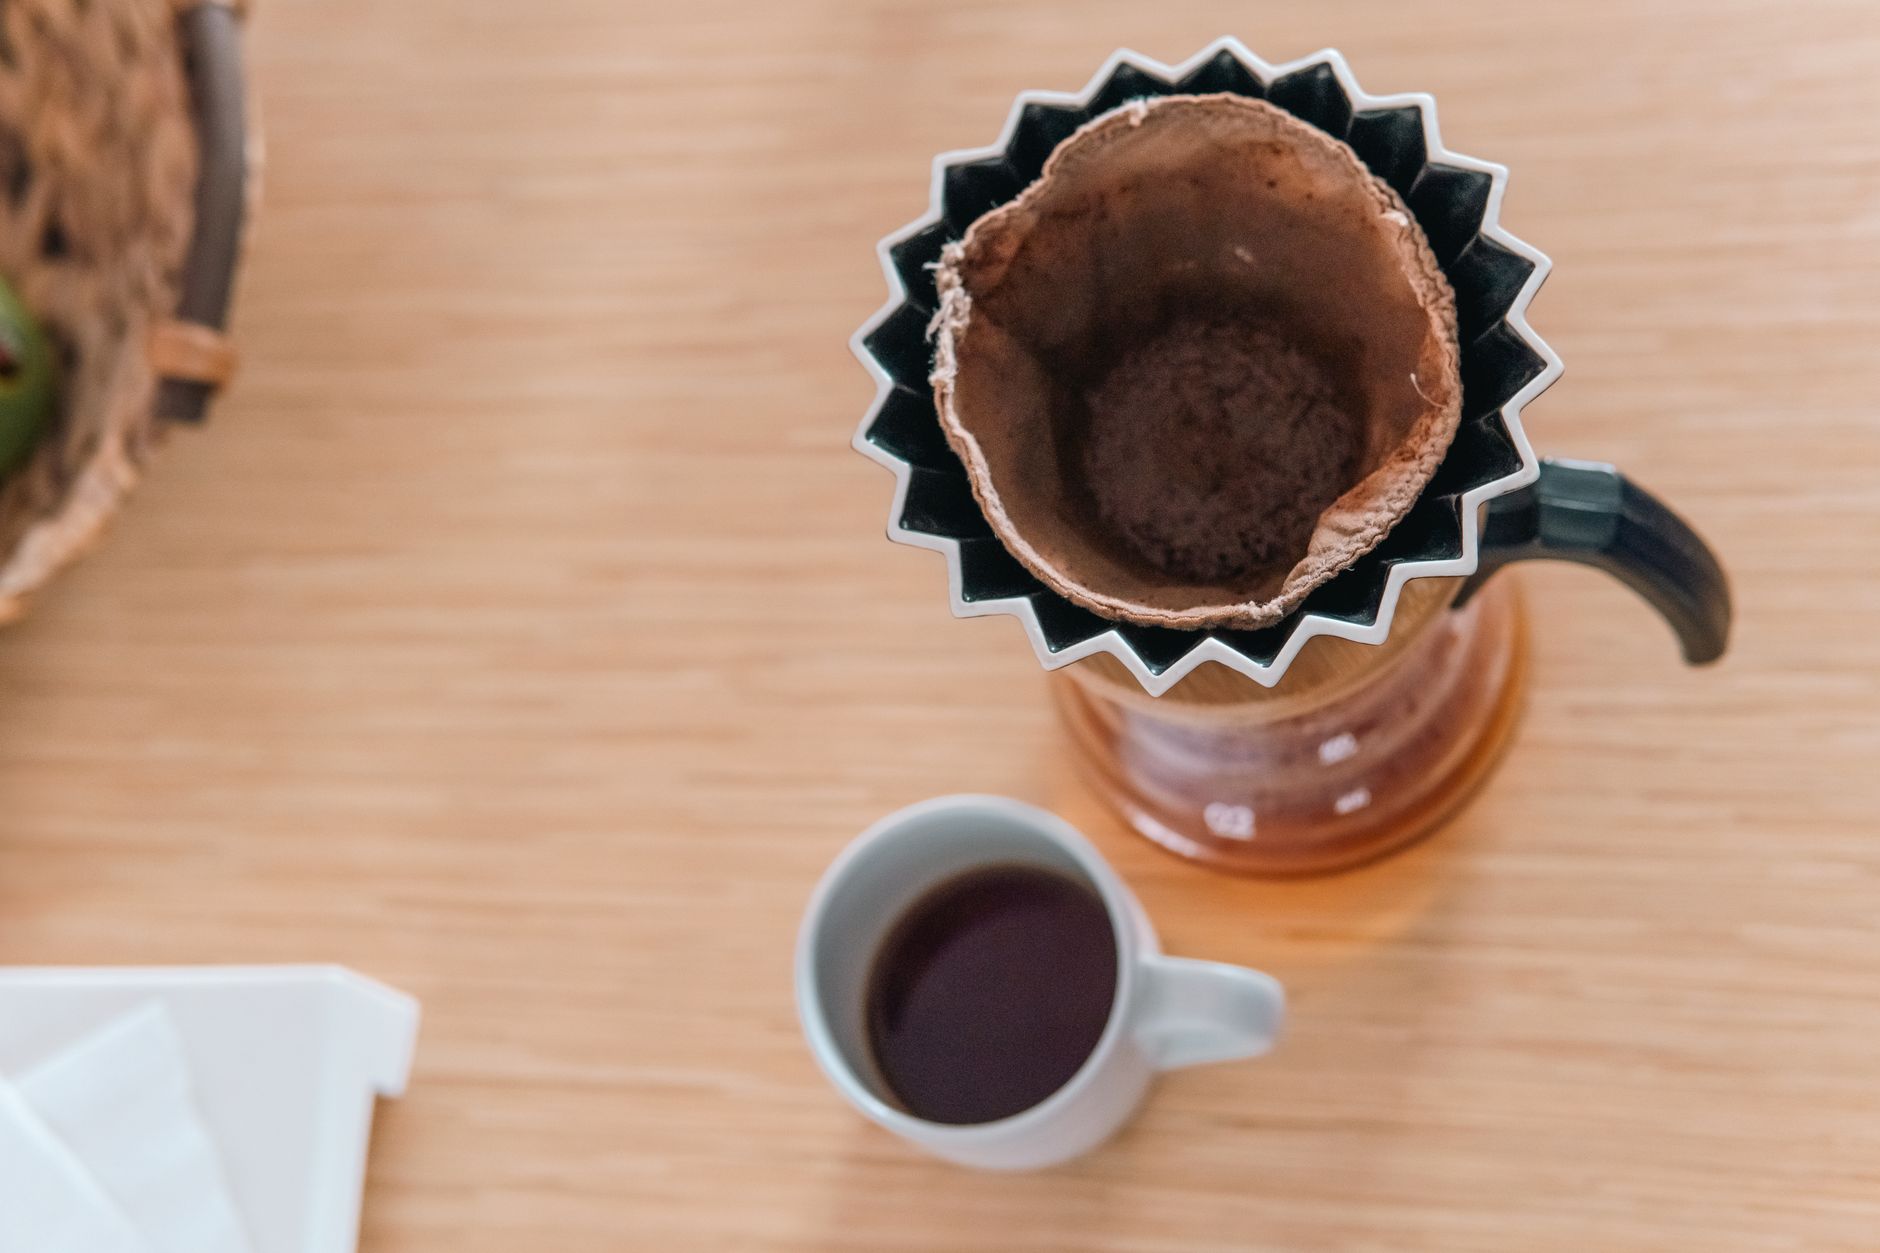
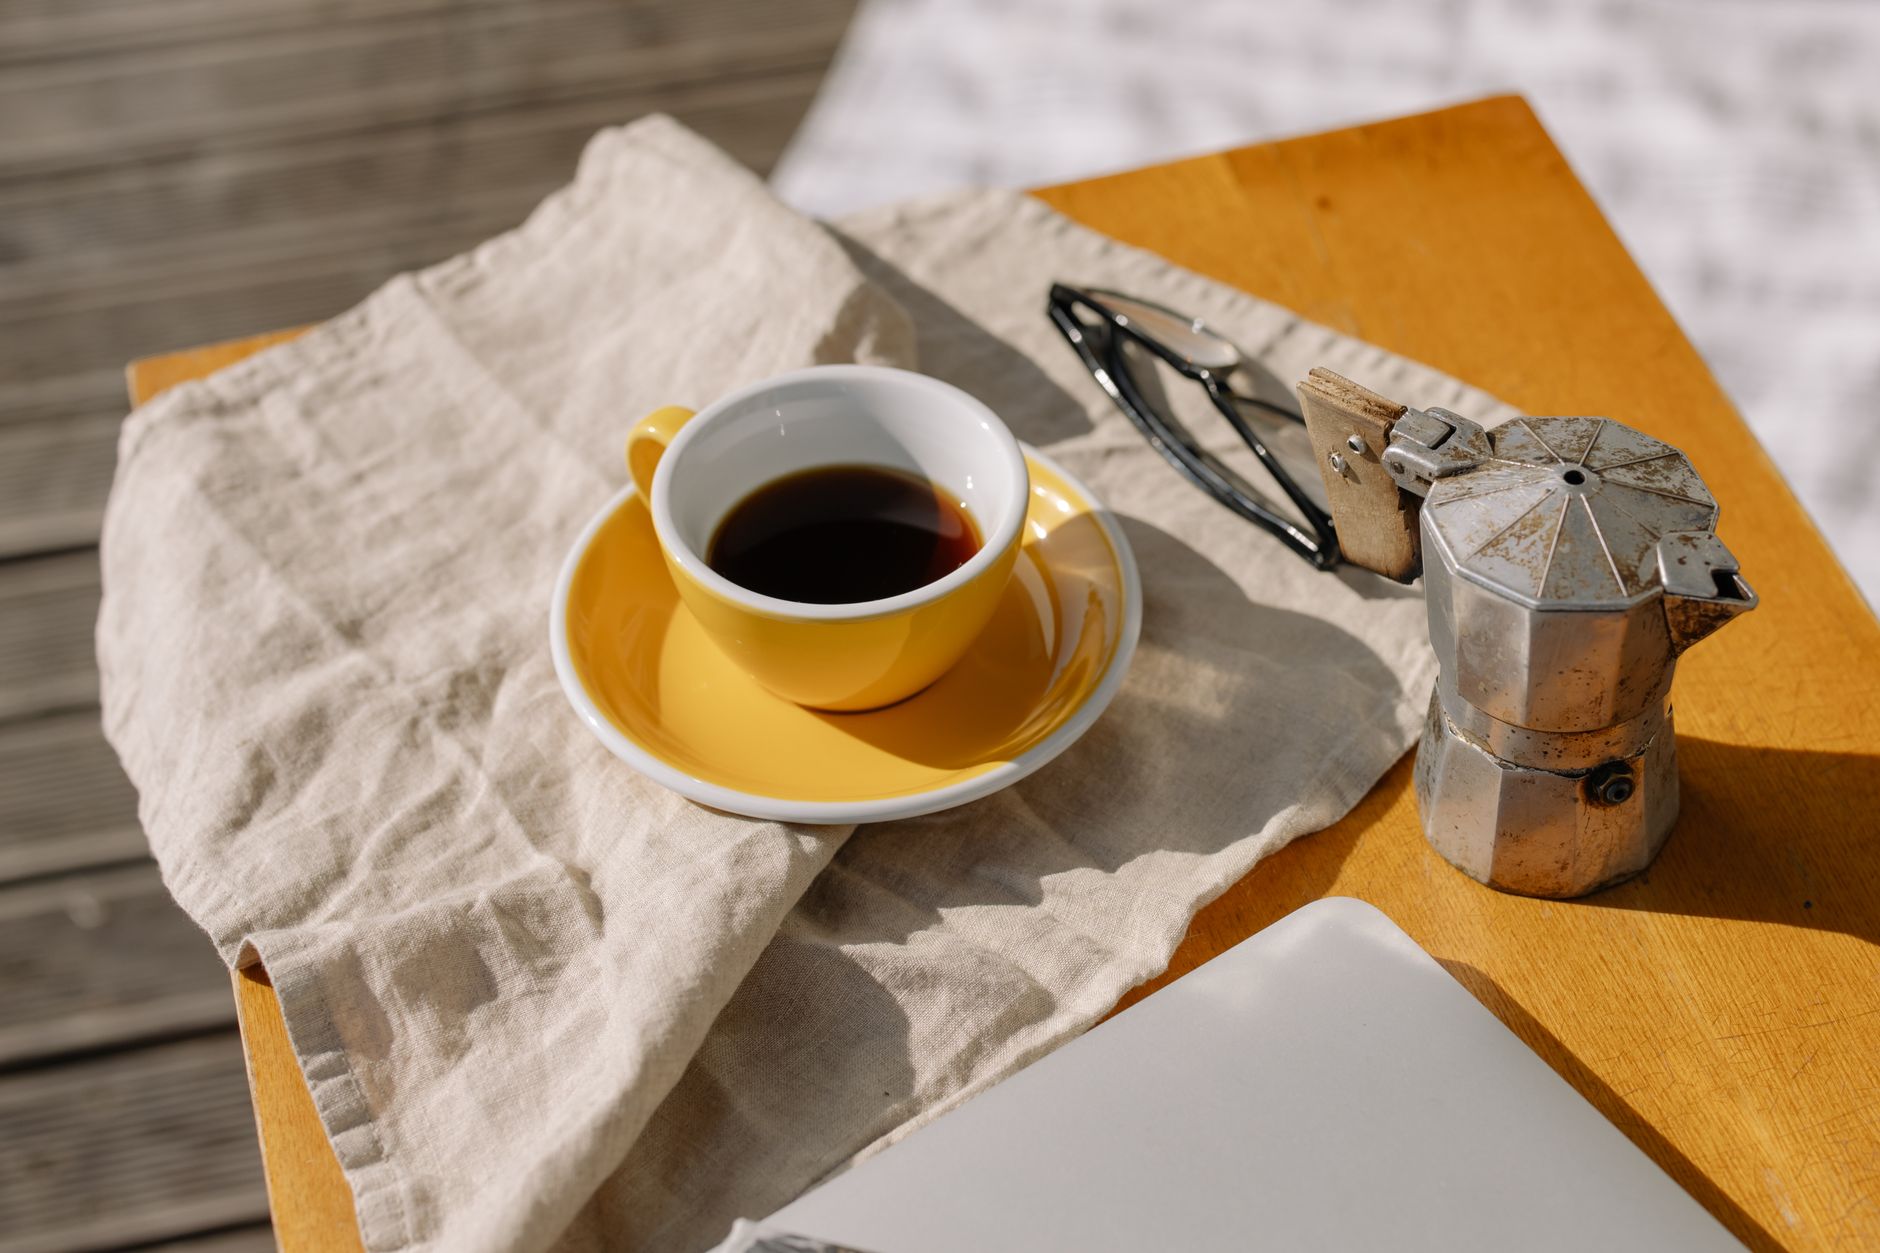 Photo: cottonbro studio via Pexels
Equipment and Coffee You Need
| Item | Recommendation |
|---|---|
| Moka pot | 3-cup or 6-cup aluminum or stainless steel |
| Grind size | Medium-fine (finer than drip, coarser than espresso) |
| Coffee dose | Fill basket level — no tamp |
| Water | Pre-heated, filtered if possible |
| Heat source | Gas, electric, or induction (with adapter) |
A dedicated grinder makes a measurable difference here. The Baratza Encore
The Brew Process
1. Preheat your water. Use water just off the boil (90–95°C / 194–203°F). Pouring cold water into the boiler and heating from scratch scorches the grounds before extraction starts — a common source of bitterness.
2. Fill the boiler to just below the pressure relief valve. The valve is a safety device, not a fill line marker. Keep water beneath it.
3. Load the basket. Grind medium-fine. Fill the basket until grounds are level with the rim. Do not tamp — it restricts flow and creates dangerous over-pressure. Do not mound.
4. Assemble with a cloth. The boiler is already hot. Screw the top chamber on firmly using a towel or oven mitt. Finger-tight is enough — the gasket handles the seal.
5. Heat on medium-low. Place on the smallest burner at medium-low. High heat scorches the coffee and forces extraction too fast. The goal: a slow, steady rise into the top chamber.
6. Keep the lid open. Watch the coffee flow. A thin, dark stream is ideal. Blonde, sputtering flow means the heat is too high.
7. Remove when gurgling starts. That sound is steam entering the basket — most of the water has already extracted. Pull immediately, wrap the base in a wet towel or run under cold water to stop extraction.
8. Pour and serve immediately. Moka pot coffee oxidizes fast. Stir the top chamber briefly to homogenize the layers before pouring.
Extraction Parameters
| Parameter | Target |
|---|---|
| Dose | Fill basket level (≈15g for 3-cup, ≈28g for 6-cup) |
| Yield | ≈60ml (3-cup) / ≈120ml (6-cup) |
| Ratio | ≈1:4 coffee to water |
| Time | 4–6 minutes total heat time |
| Temperature | Start with 90–95°C water; low flame throughout |
| Pressure | 1–2 bar (self-regulated by boiler design) |
Puck Prep
Unlike espresso, moka pot “puck prep” is minimal by design:
- Distribution: Level grounds with a finger or small spoon. No WDT needed.
- Leveling: Grounds should be flat with the basket rim, no dome.
- No tamping: This cannot be overstated. Tamping creates resistance the 1–2 bar pressure cannot overcome cleanly — you’ll get channeling or a stuck brew.
- Channeling prevention: Even, level distribution. No gaps, no compression.
- Pre-infusion: Not applicable — the moka pot pre-infuses passively as pressure builds.
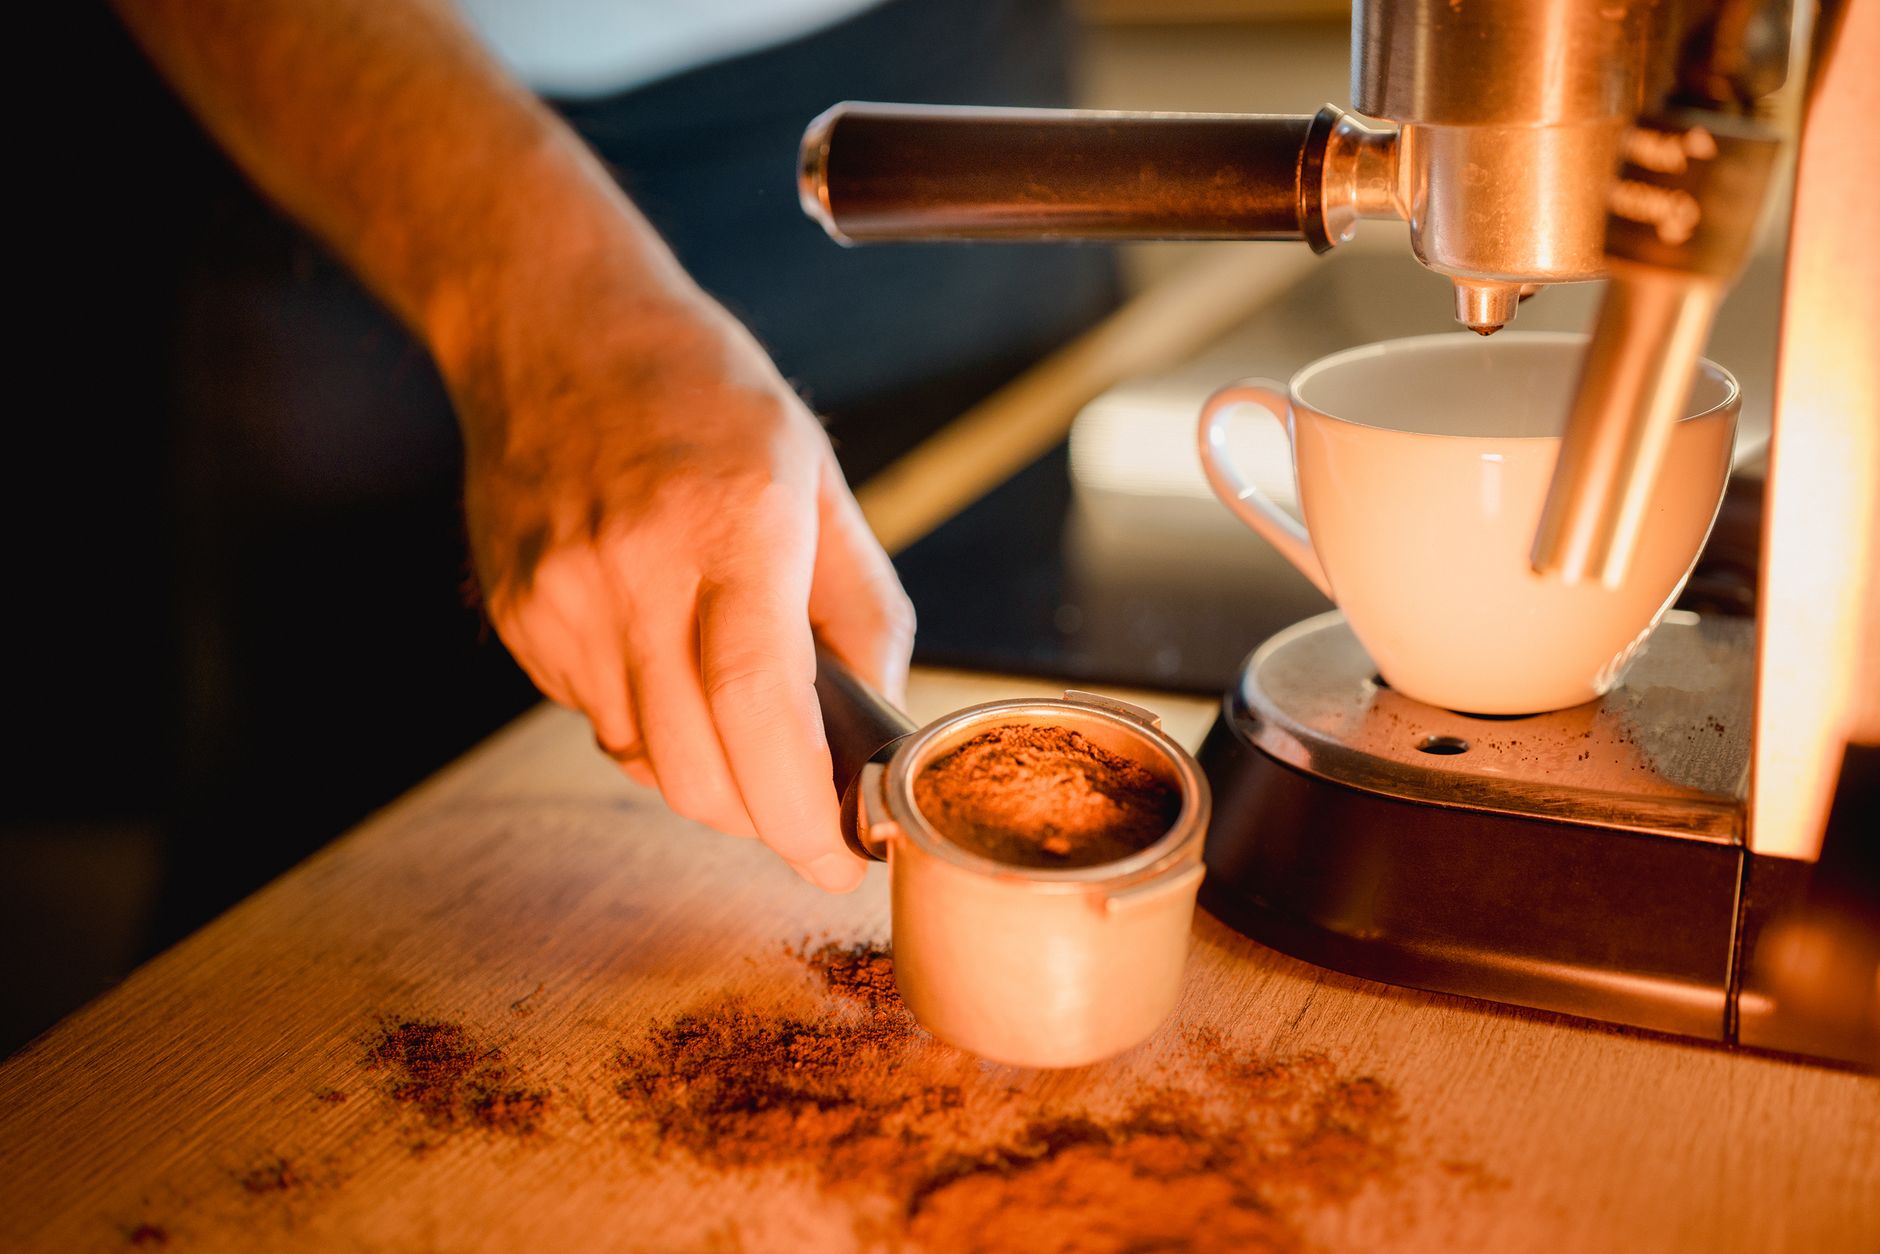
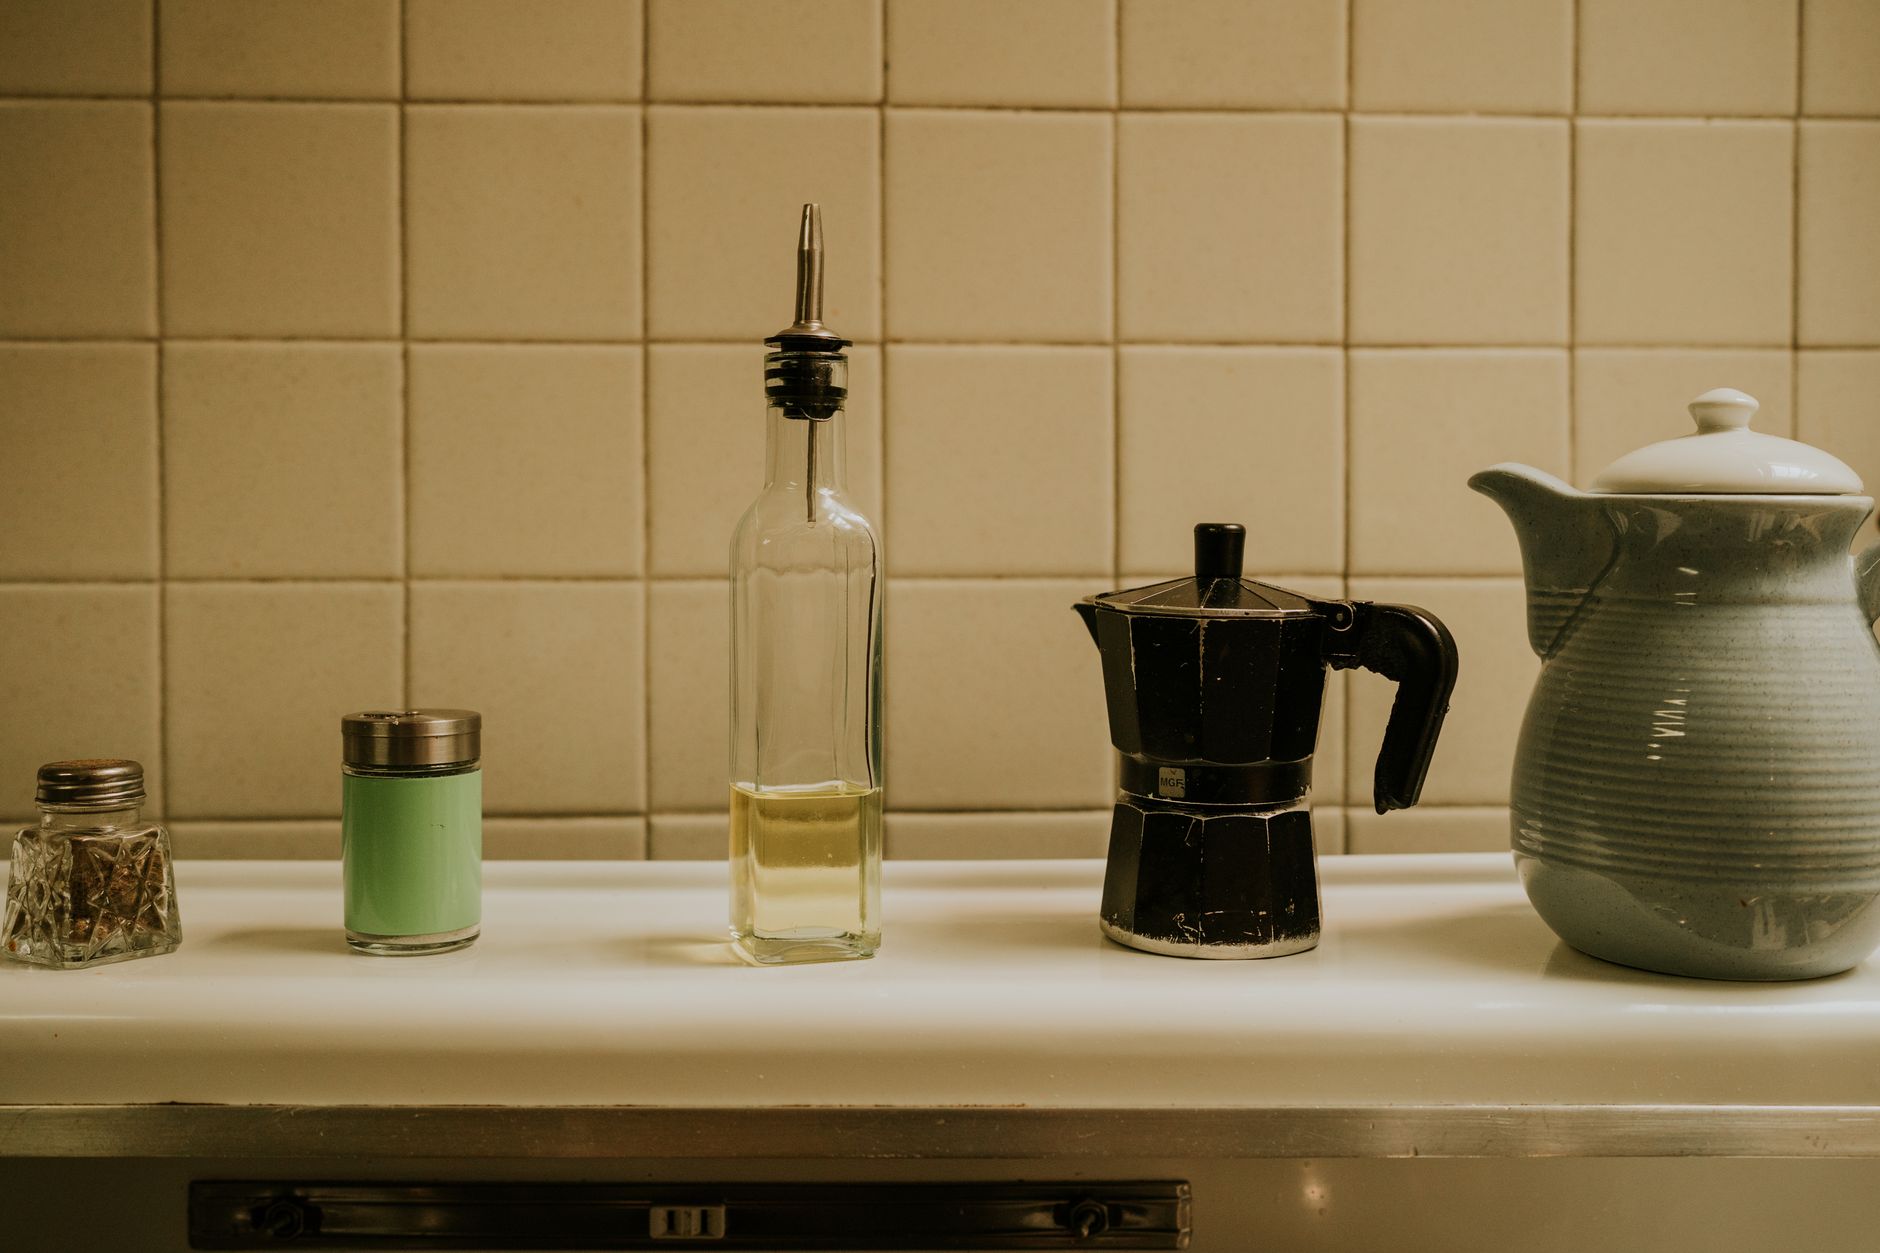 Photo: Amar Preciado via Pexels
Grind Size: The Variable That Matters Most
Too fine and you get over-extracted, bitter coffee with slow sputtering flow. Too coarse and you get weak, acidic coffee that finishes too fast. Medium-fine — slightly coarser than espresso — is the target. When in doubt, go coarser, not finer.
A useful reference: moka pot grind sits at roughly 500–600 microns. Espresso is 200–400 microns. Drip is 700–1000 microns. You want something between espresso and drip, closer to the espresso end.
The clearest sign your grind is right: coffee flows in a slow, steady, dark stream without sputtering, and the total brew time is 4–6 minutes.
Troubleshooting Matrix
| Symptom | Likely Cause | Fix |
|---|---|---|
| Bitter, harsh taste | Grind too fine, heat too high | Coarsen grind 1–2 clicks; lower flame |
| Weak, sour, watery | Grind too coarse, underdose | Fine up 1–2 clicks; fill basket fully |
| Sputtering, uneven flow | Heat too high | Lower to medium-low; use preheated water |
| Slow/no flow | Grind too fine, basket overfilled, old gasket | Coarsen grind; level basket; replace gasket |
| Metallic taste | New aluminum pot | Season with 3–4 brews discarded; use filtered water |
| Coffee burns quickly | Flame too high, pot left on heat | Remove at first gurgle; use lower flame |
| Leaking from gasket | Worn gasket, cross-threading | Replace gasket (annually minimum); re-assemble |
Moka Pot vs. Espresso Machine: Key Differences
| Feature | Moka Pot | Espresso Machine |
|---|---|---|
| Pressure | 1–2 bar | 9 bar |
| Crema | None (occasionally micro-foam) | Yes, thick crema |
| Extraction time | 4–6 min | 25–30 sec |
| Cost | $30–$60 | $200–$2,000+ |
| Grind precision needed | Moderate | High |
| Output concentration | Strong concentrate | True espresso |
The moka pot produces a coffee that is espresso-style in strength and character, but not technically espresso. The SCAA defines espresso as requiring 8.6–9.5 bar. This matters if you’re making milk-based drinks — moka pot coffee works well in lattes and cappuccinos, but the flavor profile is different: less sweetness, more roasty bitterness.
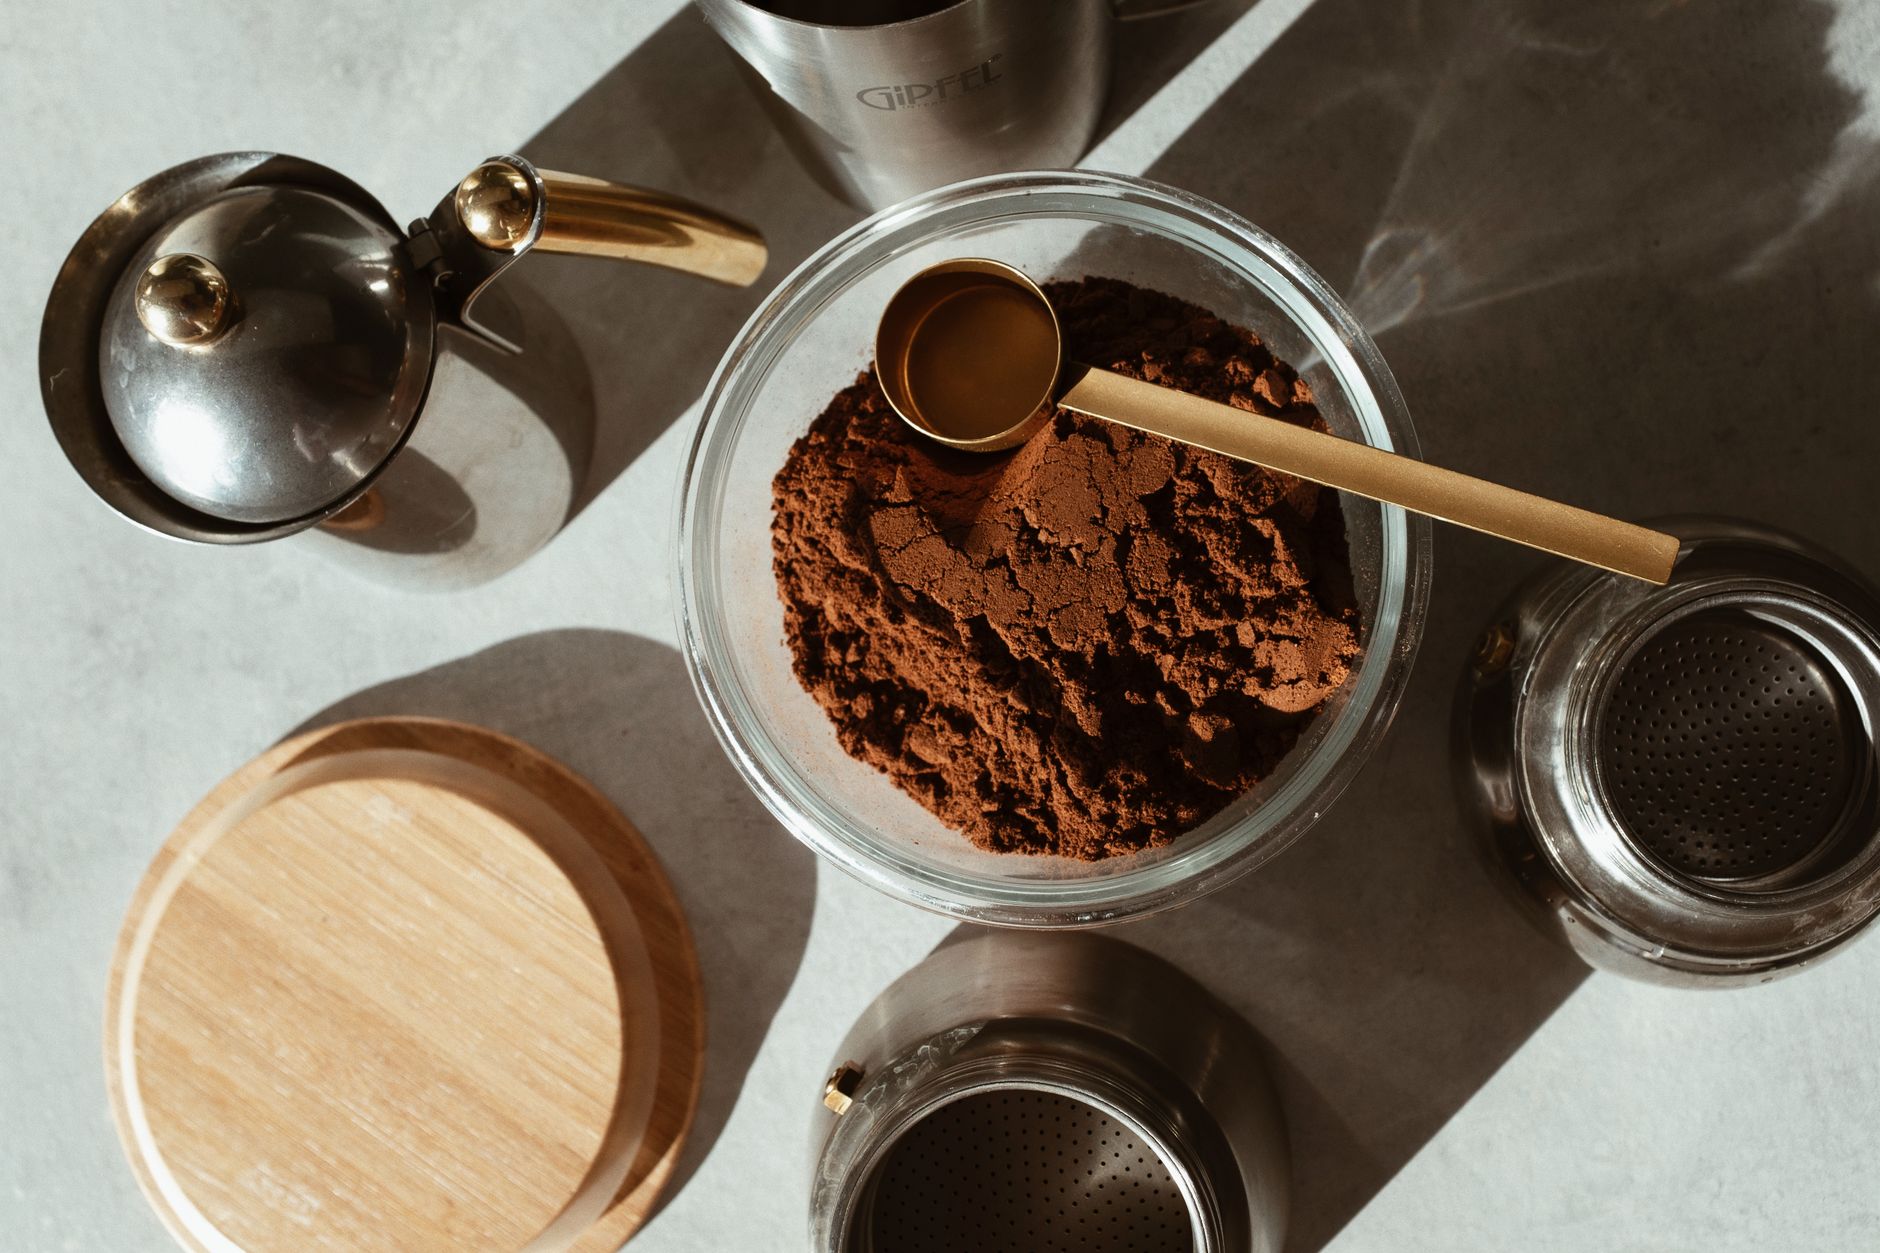
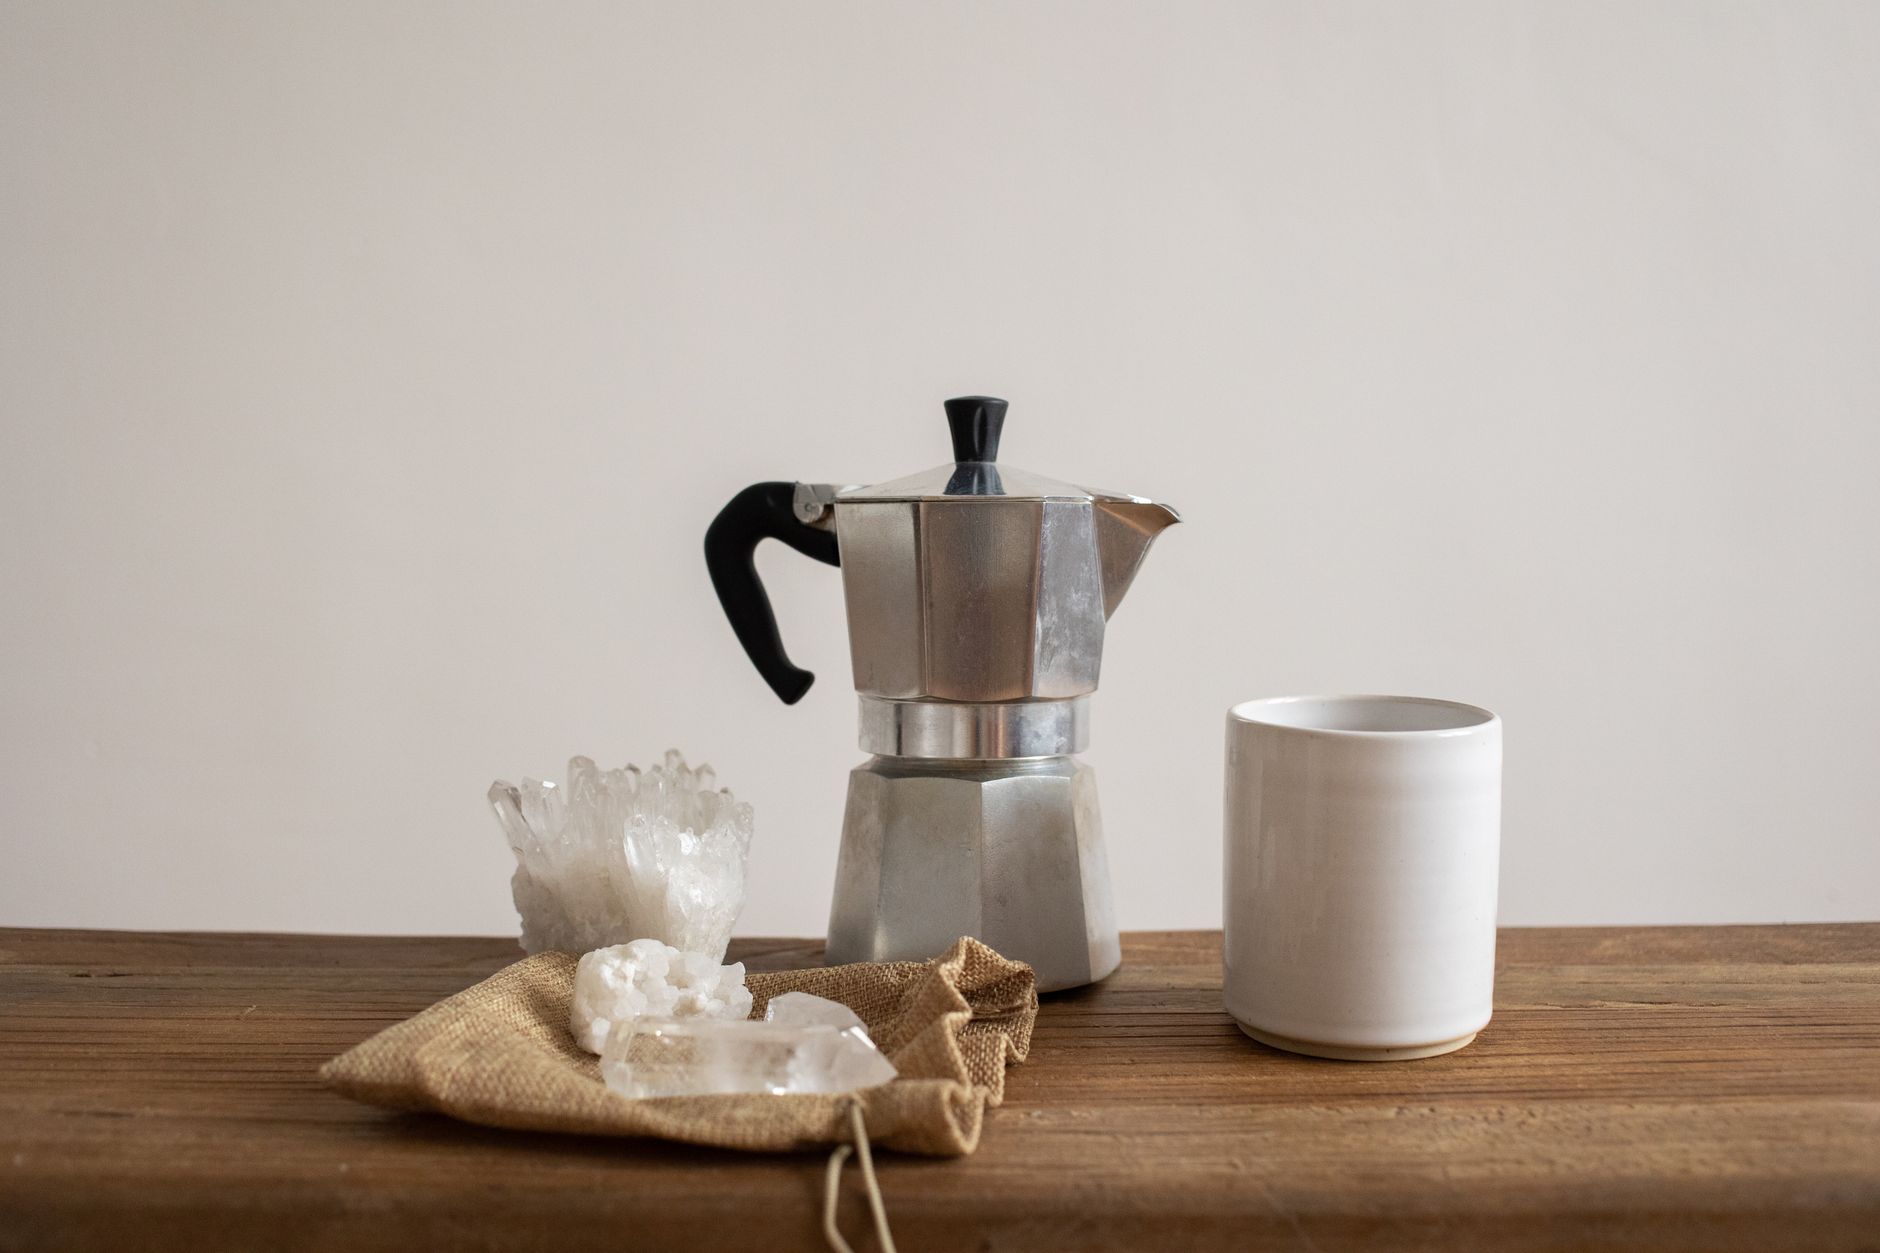 Photo: KATRIN BOLOVTSOVA via Pexels
Best Coffee for Moka Pot
Dark or medium-dark roasts perform best. The moka pot’s lower pressure and longer contact time extract bitter compounds more aggressively from lighter roasts. A darker roast’s oils and lower acidity suit the brewing mechanics better.
- Roast level: Dark to medium-dark (Vienna, Full City+)
- Origin: Brazilian, Sumatran, or blends with chocolatey, nutty profiles
- Avoid: Light roasts, natural-processed coffees with high acidity — they turn harsh
Pre-ground espresso blends (Lavazza Crema e Gusto, Illy Classico) are designed for this kind of extraction and are reliable choices without a grinder.
→ See also
- How to Brew Coffee at Home: Complete Method Guide
- French Press Coffee: Complete Brewing Guide (Ratios + Technique)
- French Press Coffee-to-Water Ratio Calculator
FAQ
Does a moka pot make real espresso? No. Espresso requires 9 bar of pressure; a moka pot generates 1–2 bar. The result is a strong, concentrated brew with a similar flavor profile, but without crema and with a different extraction chemistry. Call it stovetop espresso if you want, but don’t expect the same cup.
Why is my moka pot coffee bitter? The two most common causes: grind too fine (restricts flow, extends contact time) or heat too high (scorches grounds). Start with medium-fine grind and medium-low heat, use preheated water, and remove the pot the moment you hear gurgling.
How much coffee do I put in a moka pot? Fill the basket level with the rim — no more, no less. Never tamp it down. A standard 3-cup moka pot uses roughly 15g; a 6-cup uses roughly 28g. The basket size determines your dose; you don’t adjust it the way you would with an espresso machine.
Can I use a moka pot on an induction cooktop? Not with a standard aluminum moka pot — aluminum isn’t induction-compatible. You need either a stainless steel moka pot (Bialetti Moka Induction ) or an induction adapter plate placed under a standard aluminum pot.
How do I clean a moka pot? Rinse with hot water only — no soap. Soap degrades the gasket and strips the seasoning from aluminum. Disassemble fully after each use, rinse all parts, and leave to air dry with the lid off. Replace the gasket when you see cracking or leaking, typically every 1–2 years.
What size moka pot should I buy? Buy the size that matches your typical serving. Moka pots brew best when the basket is full — a 6-cup pot half-loaded brews poorly. If you drink two espresso-sized servings, a 3-cup is right. For two people, a 6-cup. They don’t scale down gracefully.
Editorial methodology: Assessments are based on manufacturer specifications, published user reviews, and editorial research. Physical hands-on testing is noted explicitly where it occurred. Rankings reflect our editorial judgment and are not influenced by affiliate commission rates. Full editorial policy · Affiliate disclosure