Contents
How to Steam Milk for Latte Art (Beginner Guide)
TL;DR: To steam milk for latte art, you need a vortex-textured microfoam — silky, no visible bubbles, around 60–65°C. Start with cold whole milk in a chilled pitcher, submerge the steam tip just below the surface to introduce air in the first 5 seconds, then drop the tip deeper to spin and integrate. Nail the texture before worrying about the pour.
What Is Microfoam and Why It Matters for Latte Art
Microfoam is steamed milk where the foam is so fine it’s invisible — the texture resembles wet paint or melted ice cream. Without it, latte art is impossible: you need a fluid, pourable milk that bonds with crema rather than sitting on top. Bubbly, stiff, or scorched milk won’t work no matter how good your pour technique is.
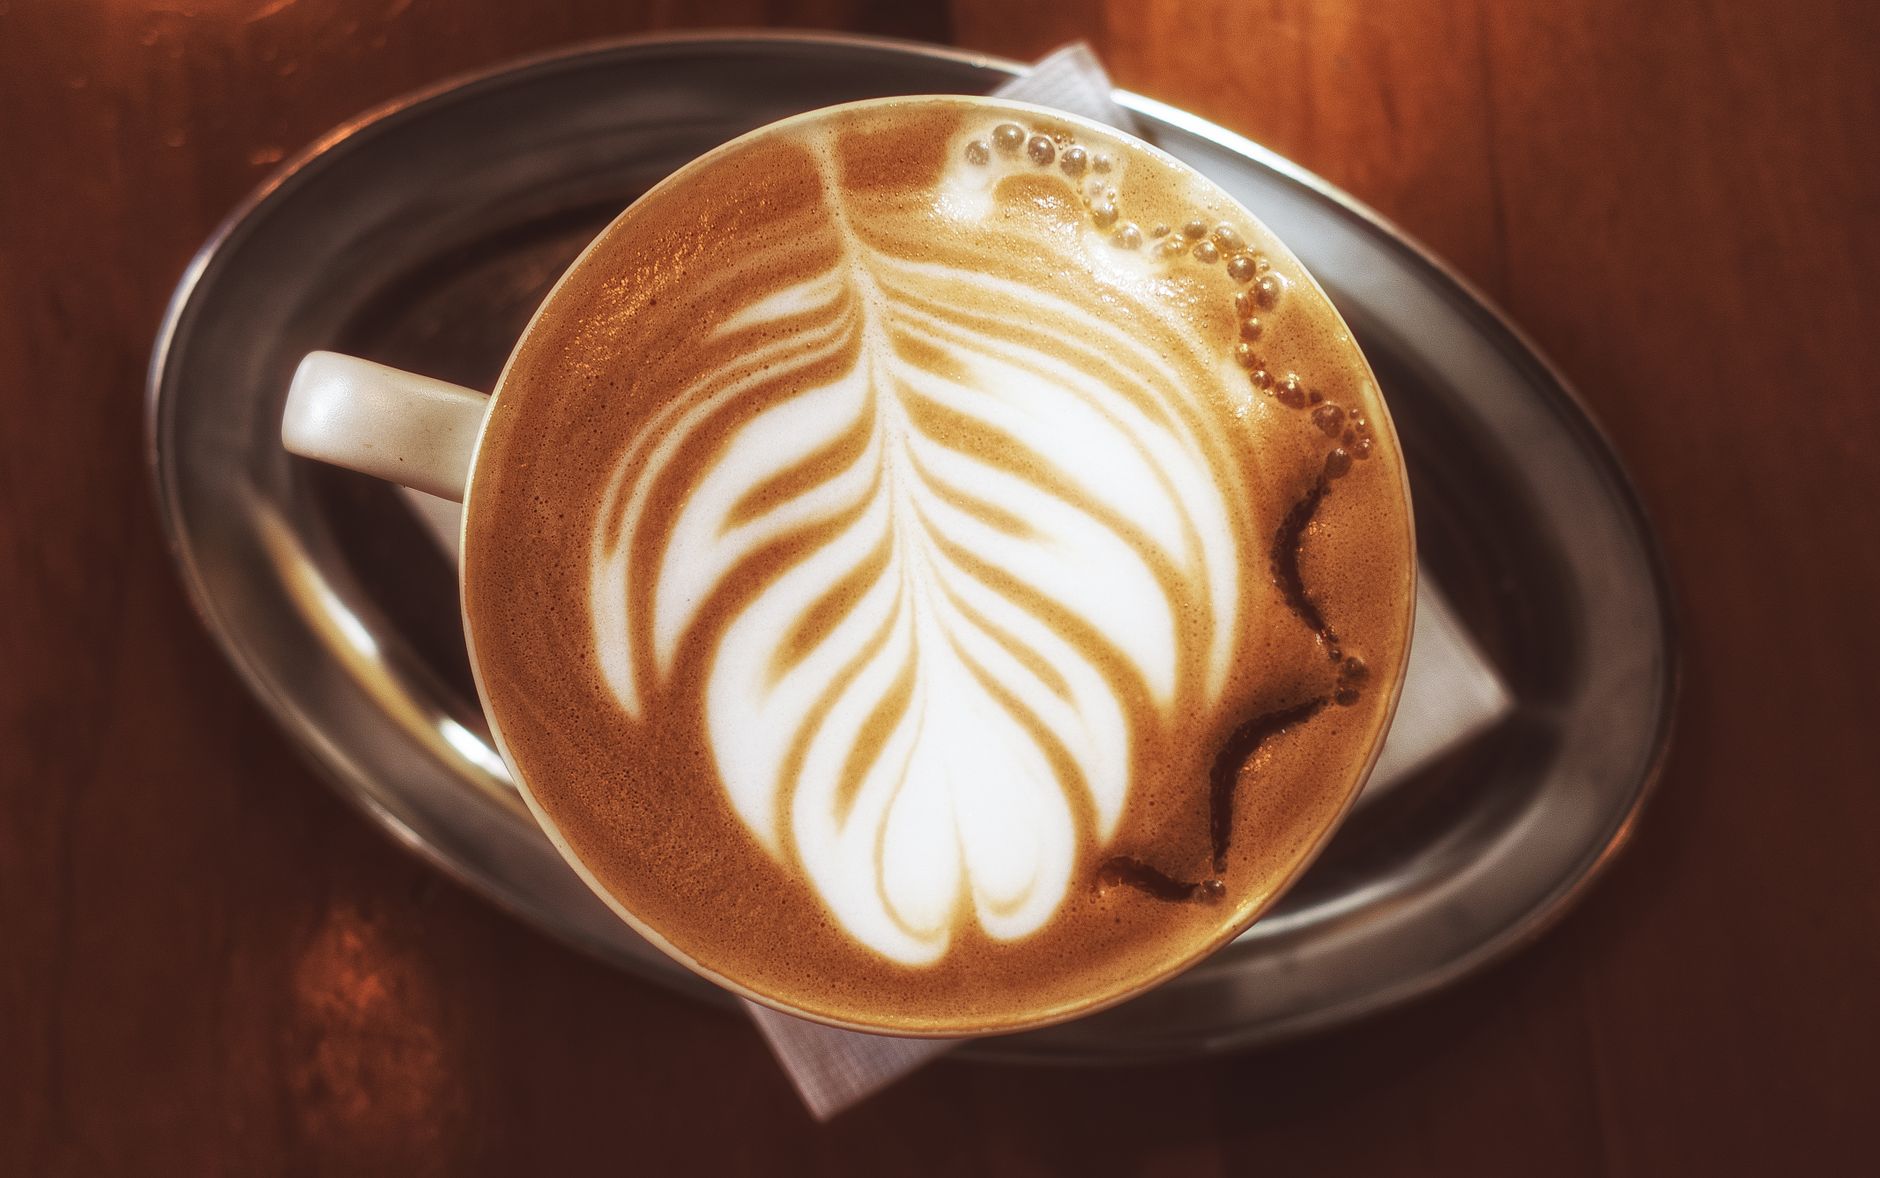 Photo: Luo Chris via Pexels
Latte art depends on two things: density contrast between espresso crema and milk, and a milk texture fluid enough to flow and displace crema. Microfoam has tiny air bubbles so uniform they merge with the liquid milk — the result is a single pourable mass with slight body.
Regular steamed milk (café-style, heavily foamed) is layered: liquid on the bottom, foam cap on top. You can’t draw with that. Microfoam is homogenous — air distributed throughout the entire volume.
Equipment You Need Before You Start
You need a machine with a proper steam wand (not a Panarello/frother wand), a metal pitcher in the right size, and a thermometer until you’ve internalized the temperature by touch. That’s it.
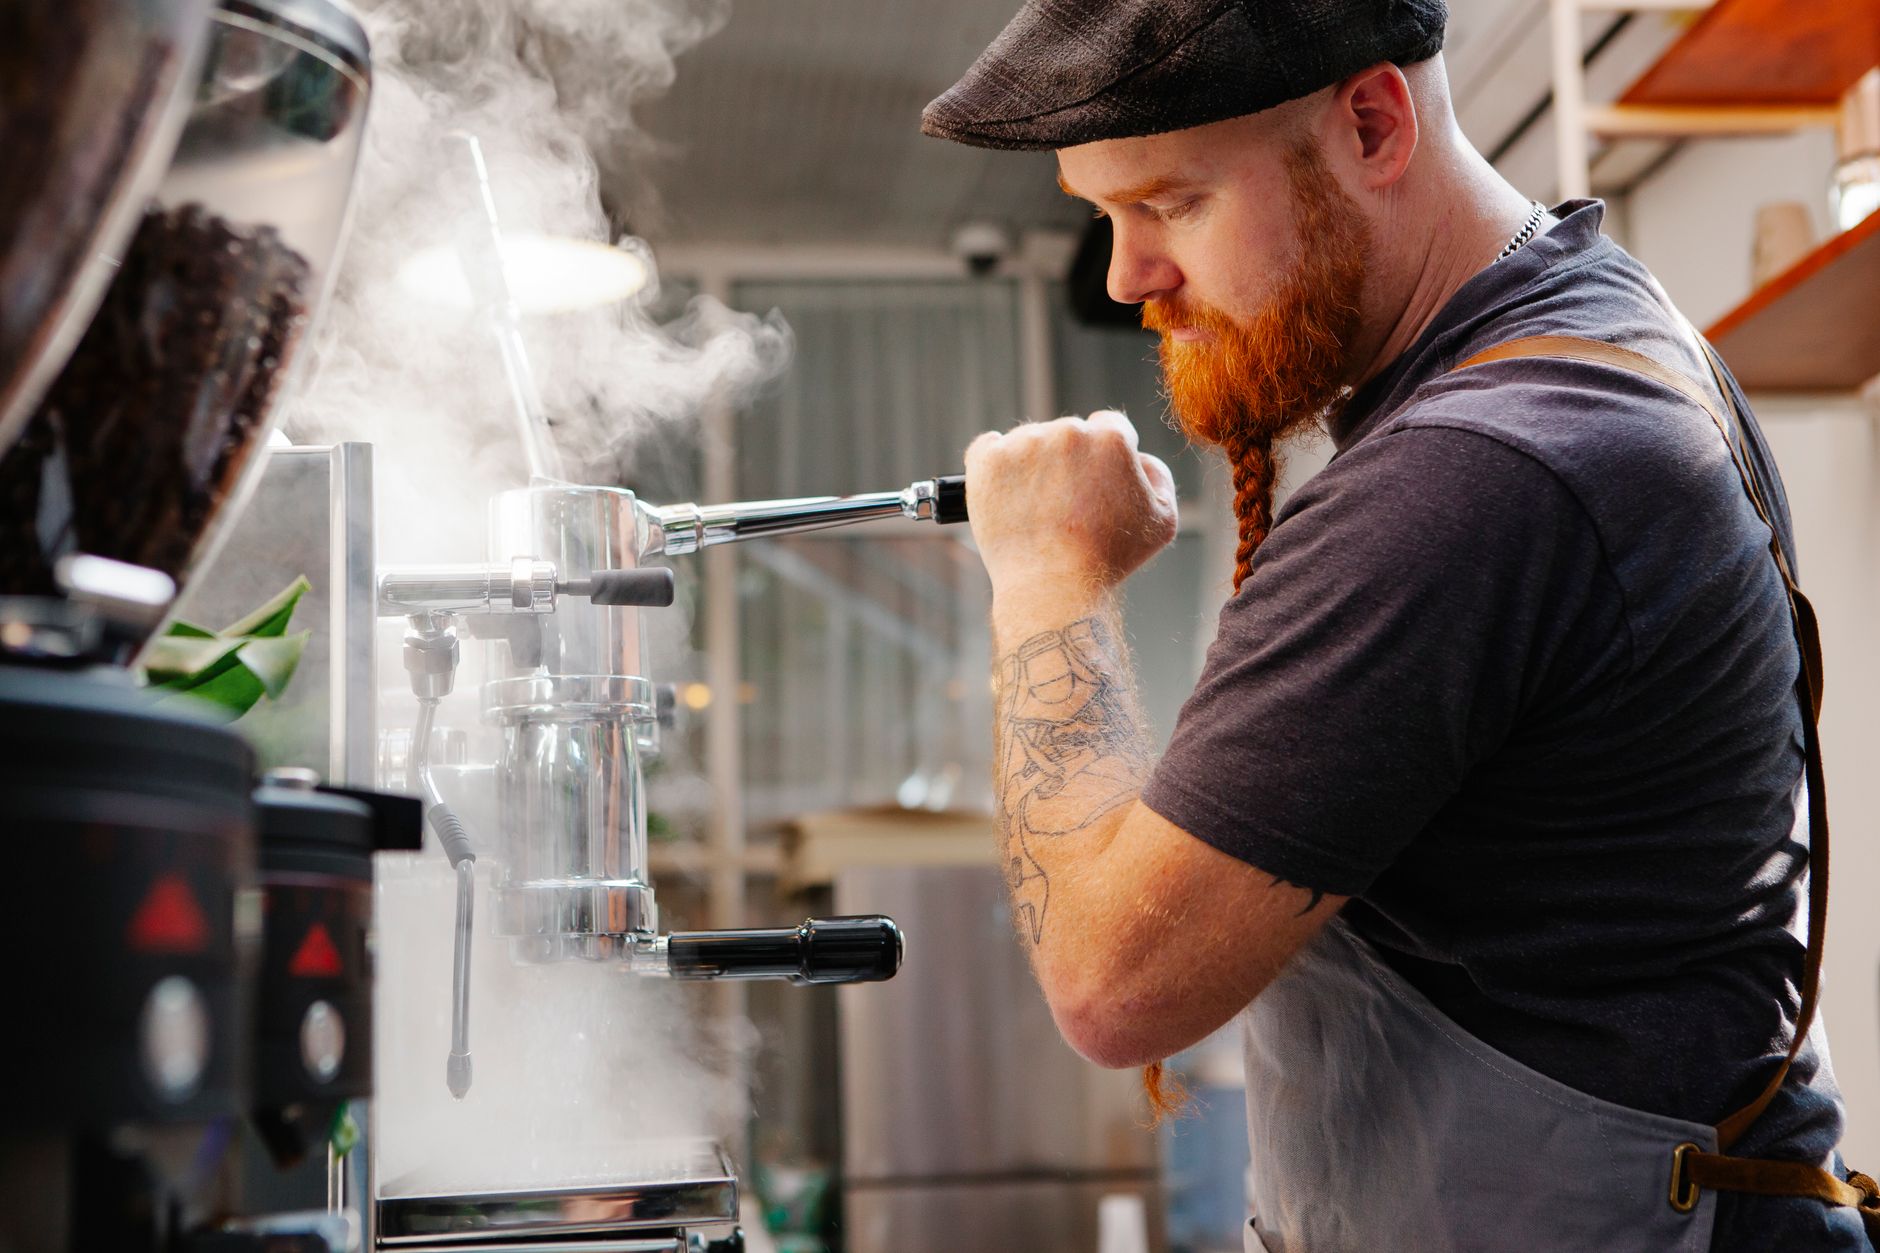 Photo: Tim Douglas via Pexels
Steam Wand Types
| Wand Type | Latte Art Capable? | Notes |
|---|---|---|
| Commercial single hole | Yes | Requires technique |
| 2–4 hole pro tip | Yes (easier) | More forgiving |
| Panarello (sleeved) | No | Injects air automatically, produces stiff foam |
| Pressurized/automatic | No | No control over texture |
Pitcher Size
| Drink Size | Pitcher | Milk Volume |
|---|---|---|
| Single 5–6 oz latte | 12 oz (350ml) | 120–150ml |
| Double 8–10 oz latte | 20 oz (600ml) | 200–250ml |
| Cappuccino | 12 oz | 100–120ml |
Always fill to the base of the spout. Too little milk overheats fast; too much won’t spin properly.
How to Steam Milk for Latte Art: Step by Step
The process has two phases — stretching (adding air) and spinning (integrating). Most beginners get the phases backwards or run them too long. Stretching takes 3–5 seconds; everything after is integration.
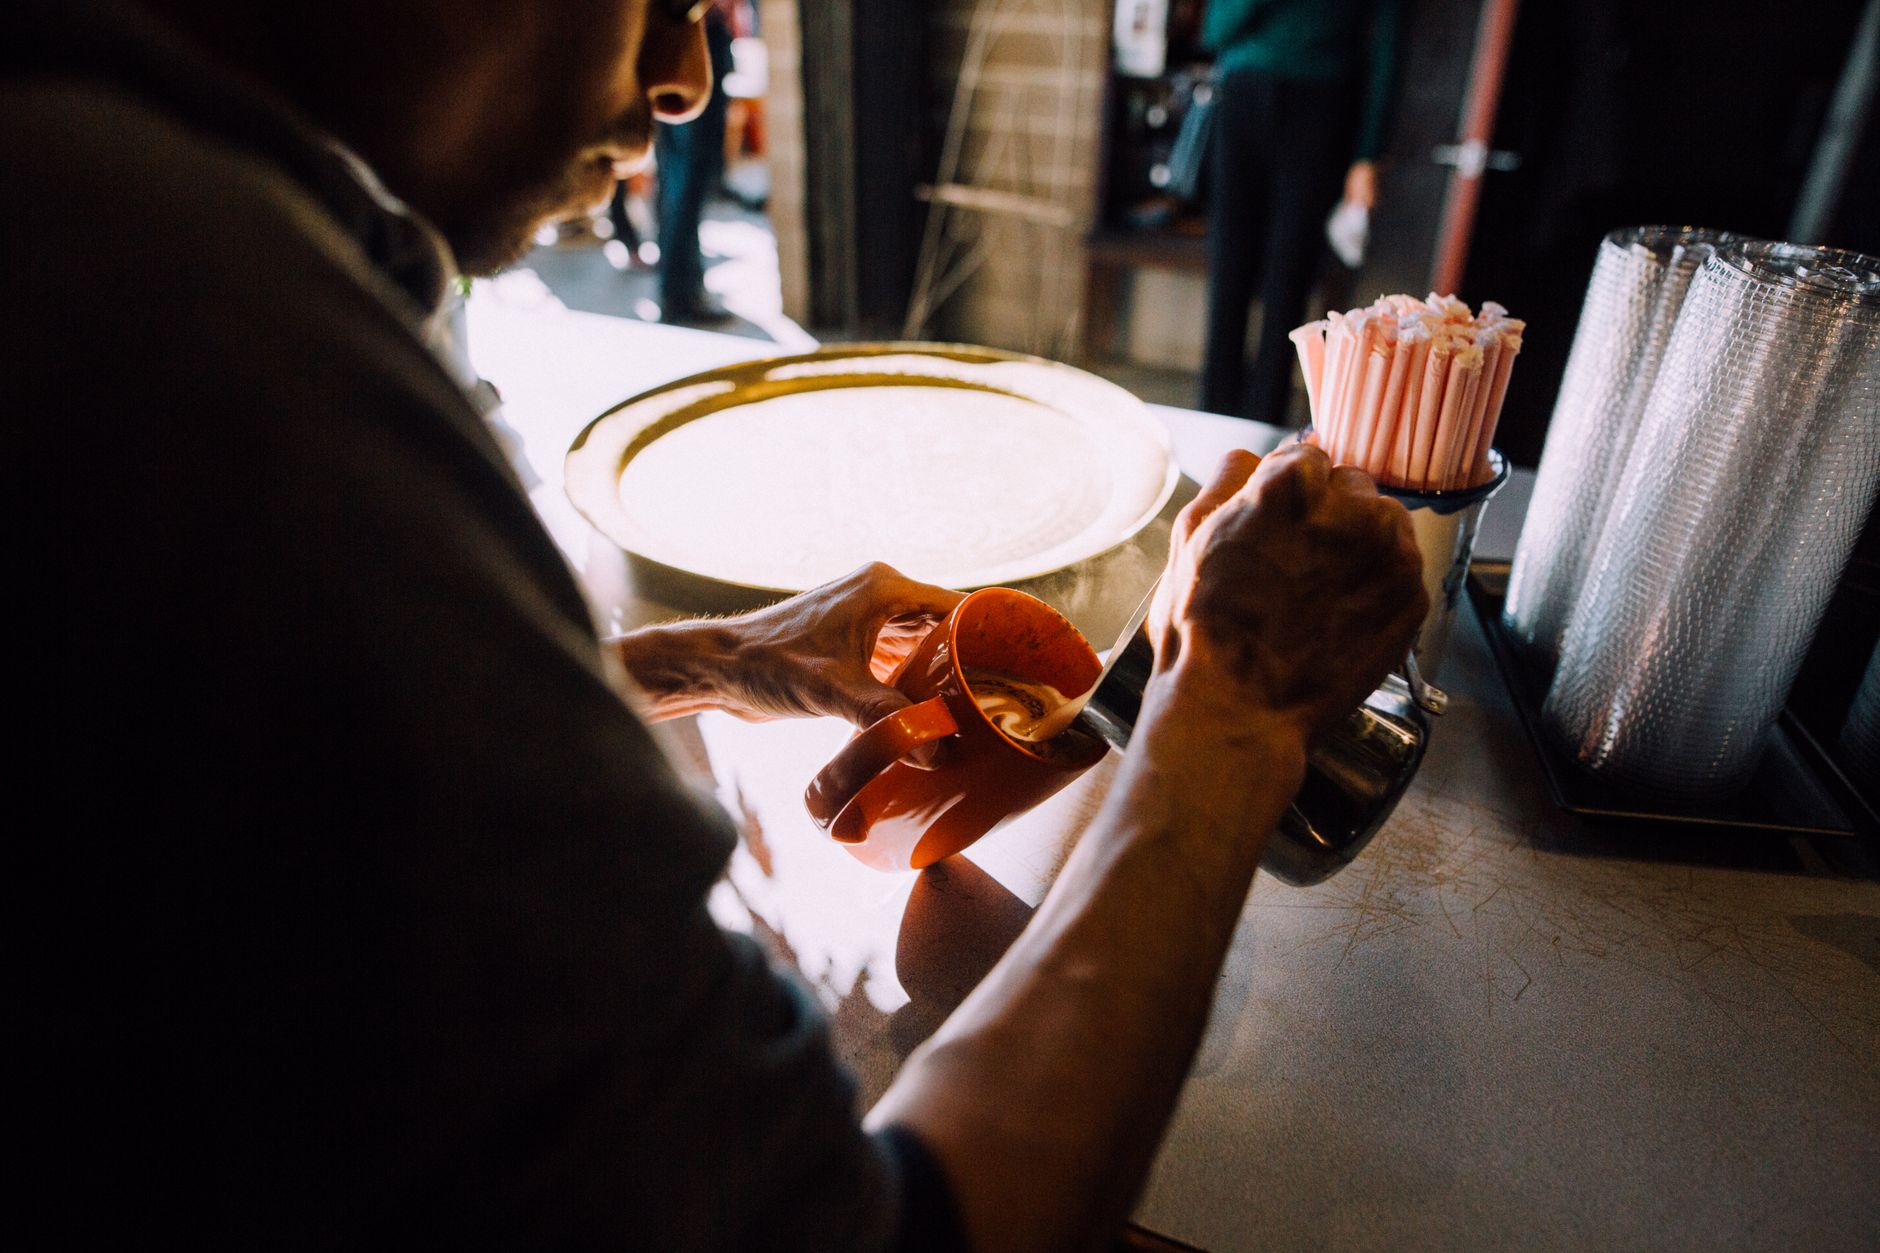 Photo: K via Pexels
Extraction Params Block
| Parameter | Target |
|---|---|
| Starting milk temp | 2–5°C (refrigerator cold) |
| Steam wand purge | 1–2 seconds before submerging |
| Stretching phase | 3–5 seconds, tip near surface |
| Integration phase | Until pitcher is too hot to hold (60–65°C) |
| Final temp | 60–65°C (140–150°F) |
| Pitcher angle | 15–20° tilt, off-center tip position |
Step-by-Step
1. Purge the wand. Open steam for 1–2 seconds into a cloth. Clears condensation. Never skip this — water droplets dilute and destabilize foam.
2. Position the pitcher. Tilt 15–20°. Place the steam tip off-center (toward the spout side), submerged about 1cm below the milk surface.
3. Open steam fully. Don’t half-open — insufficient pressure creates uneven bubbles. Full steam means full vortex.
4. Stretching phase (3–5 seconds). Lower the pitcher slightly so the tip just breaks the surface — you want a gentle tearing/hissing sound, not a loud screech. Each surface break injects air. A light “chtch chtch” sound is right. Loud screaming = tip too deep below surface (no air). Flatulent bubbling = tip too high (too much air at once).
5. Integration phase. Raise the pitcher back up so the tip is deeper. The sound changes to a quiet rolling rumble. The milk should be spinning in a tight vortex. This is where air distributes and large bubbles break down.
6. Stop at 65°C. Use your free hand on the pitcher base — when you can’t hold it comfortably for more than a second, you’re at roughly 65°C. Remove from steam, purge again, wipe the wand.
7. Post-steam technique. Swirl the pitcher in tight circles on the counter. If you see any visible bubbles, tap the pitcher firmly once on the counter. The milk should look glossy and coat the pitcher walls evenly.
Puck Prep (Troubleshooting Matrix)
| Symptom | Likely Cause | Fix |
|---|---|---|
| Large visible bubbles | Stretching too long / tip too high | Reduce surface time to 3 sec; keep tip 1cm under |
| Stiff, dry foam cap | Stretching too long, not integrating | More time in deep spin phase after stretching |
| Flat milk, no body | No stretching / tip too deep from the start | Lower pitcher at start to expose tip briefly |
| Scorched/sweet taste | Over-temperature | Stop at 65°C; use a thermometer until consistent |
| Milk won’t spin (just vibrates) | Pitcher not tilted / tip centered | Tilt 15–20°, move tip off-center |
| Foam separates in pitcher | Under-integrated | Swirl longer post-steam; stretch less next time |
| Thin crema dissolved on pour | Milk too hot | Pull espresso fresher; steam milk to 60°C not 70°C |
The Pour: Transferring Microfoam to the Cup
 Photo: Quang Nguyen Vinh via Pexels
Hold the cup at 45°. Pour milk from height first to fill the bottom third, then drop the pitcher spout close to the crema surface and increase flow. The microfoam rides the liquid milk down and floats. At 60–70% full, begin your pattern movement.
The key physics: liquid milk sinks through crema; foam floats. By pouring from height initially, you’re pushing milk under the crema. When you drop the spout close, the foam has nowhere to go but on top.
A basic heart or blob (the “etching” starting point) is the first pattern to nail — just wiggle the pitcher slightly side to side as you pour, then cut through the foam with a straight forward motion at the end.
Milk Fat, Temperature, and Alternatives
Higher fat content = more stable foam = easier latte art. Full-fat (whole) milk is the benchmark.
| Milk Type | Latte Art Difficulty | Notes |
|---|---|---|
| Whole milk (3.5%+ fat) | Easy | Best microfoam stability |
| 2% reduced fat | Moderate | Works, slightly less body |
| Skim milk | Hard | Foam is fragile and over-airy |
| Oat milk (barista) | Moderate | Barista versions (Oatly Barista, Minor Figures) steam well |
| Almond milk | Hard | Separates easily; poor stability |
| Soy milk (barista) | Moderate | Better than standard soy; watch temperature (scorches fast) |
Always use barista-edition plant milks — they have added stabilizers specifically for steaming.
→ See also
- How to Dial In Espresso: Step-by-Step Decision Tree
- Espresso Extraction Explained: Under, Over, and Perfect
- How to Tamp Espresso Correctly (Pressure, Technique, Tools)
FAQ
Why does my steamed milk always have big bubbles? You’re introducing air too aggressively or for too long. The stretching phase should last 3–5 seconds maximum. After that, the tip needs to go deeper to integrate. Big bubbles form when air is added faster than the vortex can break it down — shorten your surface time and make sure you’re getting a strong spin in the integration phase.
What temperature should steamed milk be for latte art? 60–65°C (140–150°F). Below 55°C the milk won’t bond well with crema; above 70°C the proteins denature, the sweetness disappears, and foam stability collapses. Most beginner mistakes trend hot — use a thermometer until you’ve built muscle memory for the “too hot to hold” benchmark.
Can I make latte art with a home espresso machine? Yes, if the machine has a dedicated steam wand (not a Panarello sleeve) and produces consistent steam pressure. Budget machines with weak steam take longer to heat milk and make vortex-spinning harder, but technique still works. The DeLonghi Dedica EC685
Why does the foam sit on top instead of mixing into the milk? You either under-integrated (didn’t spin long enough after stretching) or let the milk sit too long before pouring. Microfoam should be poured within 20–30 seconds of finishing — it begins to separate. Swirl immediately after steaming and pour fast. If the foam cap is visibly separate in the pitcher, that milk won’t produce art.
Does it matter what espresso I use for latte art? Yes — specifically the crema matters. Freshly pulled espresso with healthy golden-brown crema provides the surface the microfoam floats on. Stale beans produce thin, oily crema that breaks immediately on contact with milk. Under-extracted shots create pale crema with poor viscosity. Get your espresso dialed in first; milk technique on a bad shot won’t produce art.
How long does it take to learn latte art? Consistent microfoam texture takes most people 1–3 weeks of daily practice (2–3 pitchers per session). The basic heart pattern typically follows within another 1–2 weeks once texture is consistent. A rosetta or tulip requires weeks to months more. The texture is the hard part — once that’s automatic, patterns are a matter of wrist movement repetition.
Editorial methodology: Assessments are based on manufacturer specifications, published user reviews, and editorial research. Physical hands-on testing is noted explicitly where it occurred. Rankings reflect our editorial judgment and are not influenced by affiliate commission rates. Full editorial policy · Affiliate disclosure