Contents
How to Tamp Espresso Correctly (Pressure, Technique, Tools)
TL;DR: Tamp with 30 lbs (15 kg) of pressure, perfectly level, using a flat-base tamper that matches your basket diameter. Inconsistent tamping causes uneven extraction and channeling — the puck surface must be flat, sealed, and free of gaps before every shot.
Why Tamping Matters for Espresso
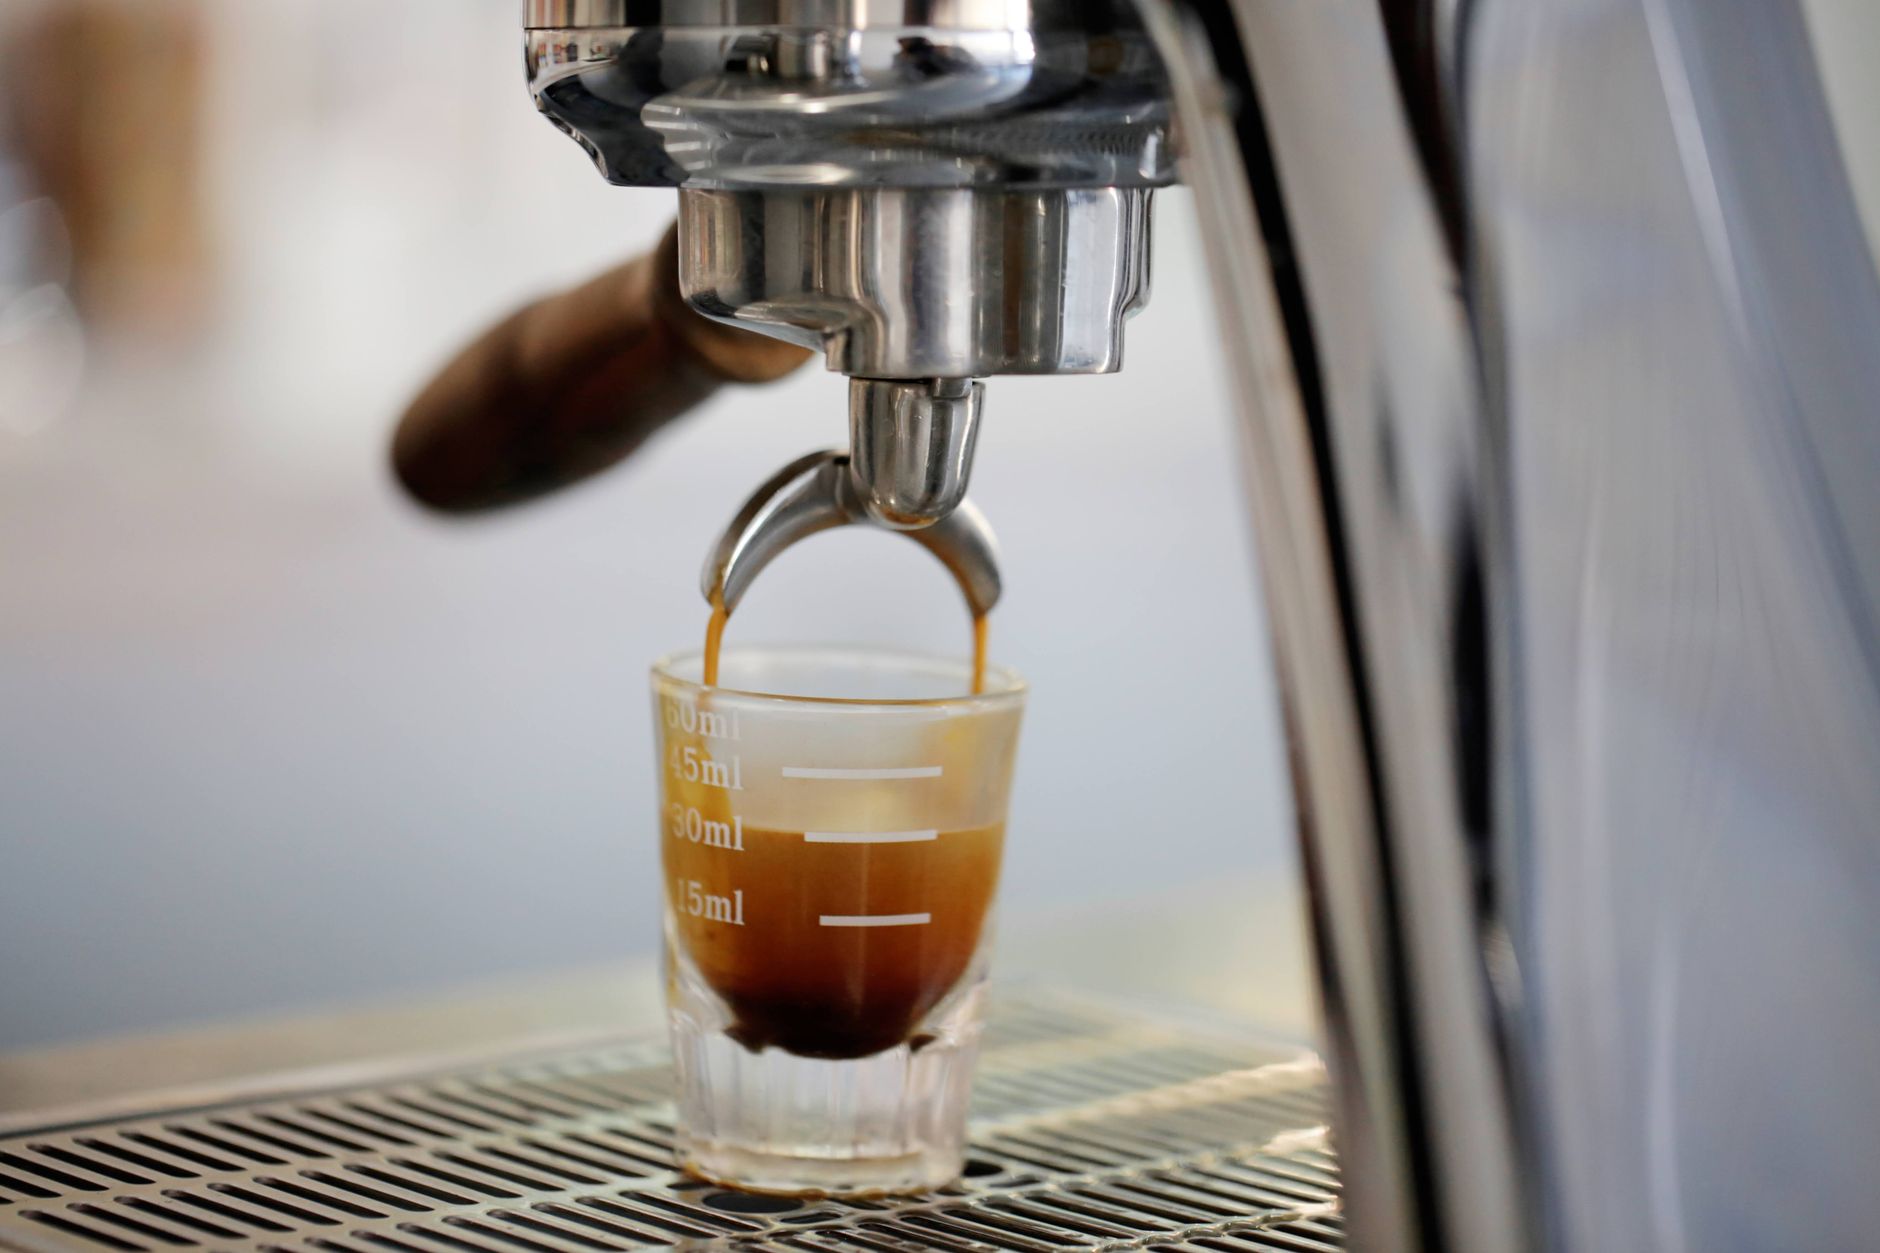
The tamp creates a uniform, resistive puck that forces pressurized water to flow through every gram of coffee evenly. Do it wrong — too light, angled, or with the wrong diameter — and water finds the path of least resistance, channels through weak spots, and you get a sour, thin, bitter mess in the same shot.
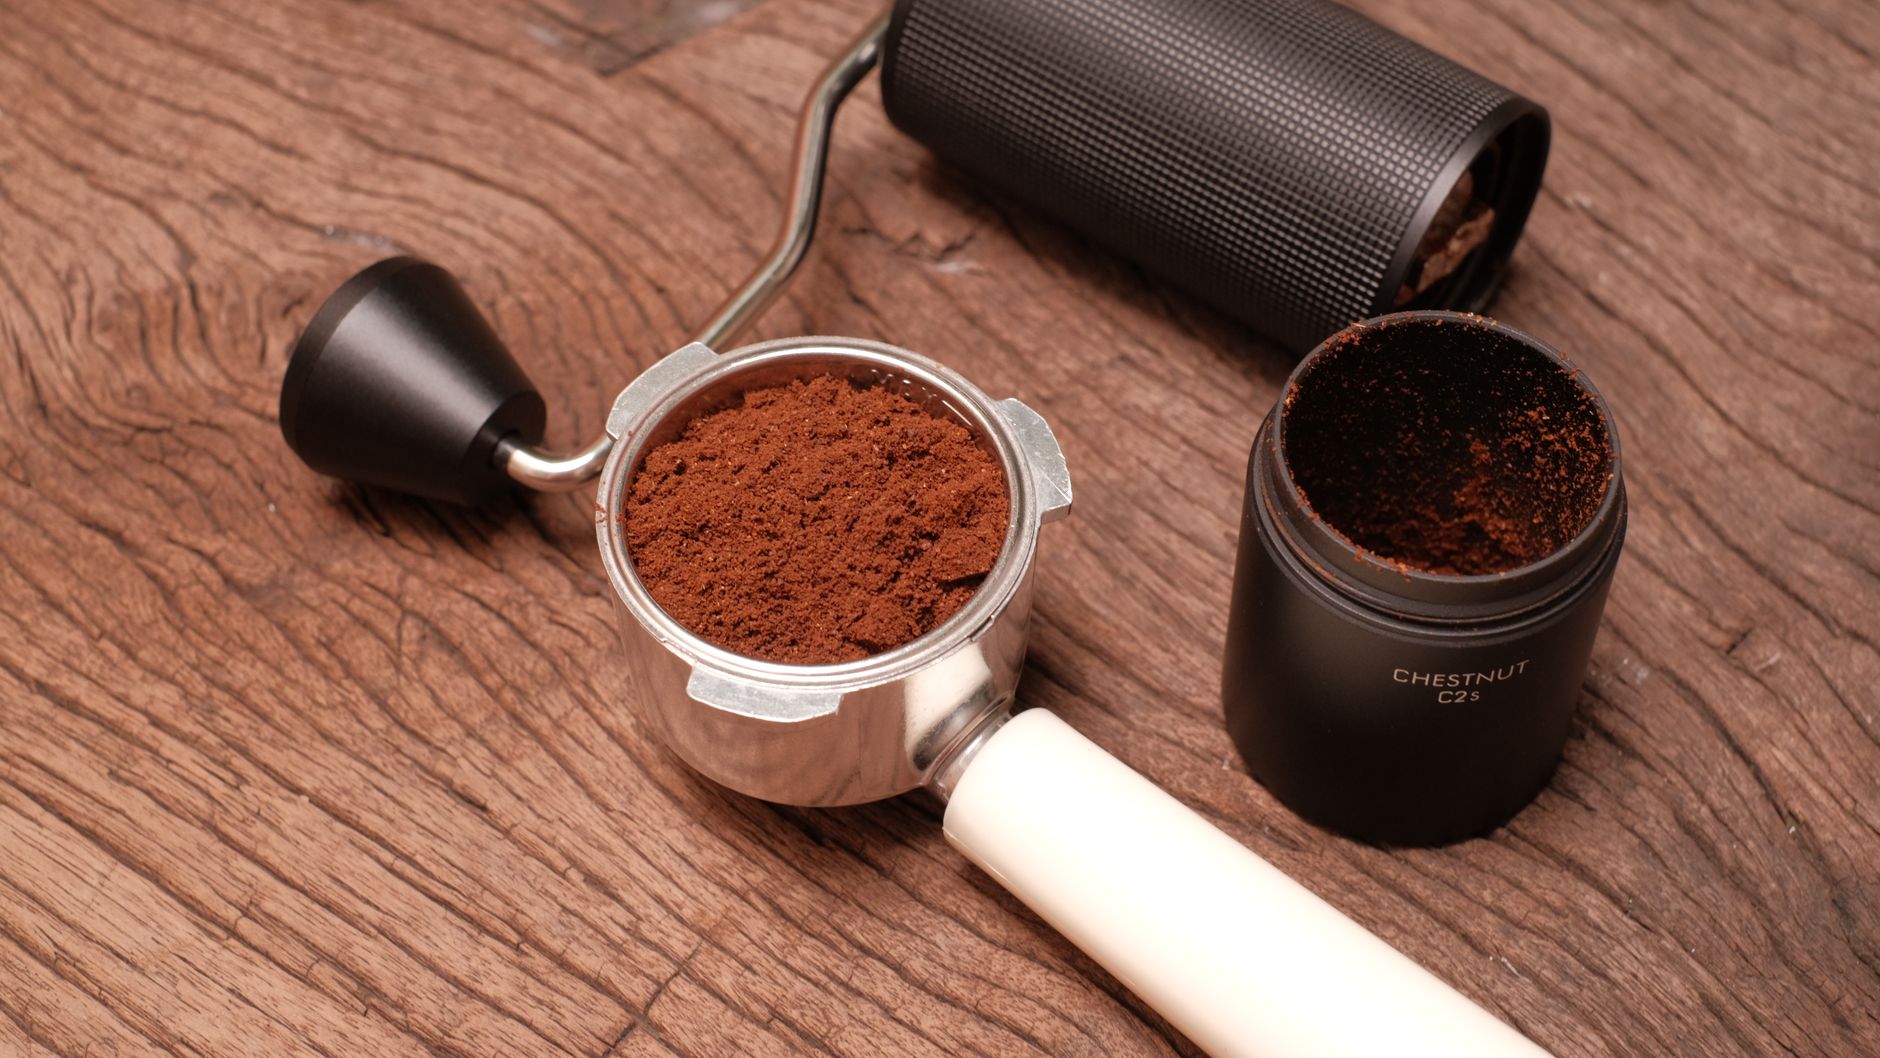 Photo: Pew Nguyen via Pexels
Tamping isn’t about brute force. It’s about consistency. The actual pressure matters far less than repeatability: a level 20-lb tamp every time beats an inconsistent 40-lb tamp. That said, 30 lbs is the industry standard because it’s firm enough to compress the puck fully without risking wrist strain over hundreds of shots.
The tamp seals the coffee bed so water distributes evenly across the entire puck surface before it percolates through. Any air pockets, cracks, or surface irregularities become channels — and channels kill extractions.
Tamper Selection: Size and Base Shape
Use a flat-base tamper that’s 0.5–1 mm smaller than your basket’s inner diameter. For most 58 mm La Marzocco/Rancilio-style portafilters, that’s a 58.5 mm tamper. Convex (curved) bases are largely obsolete — flat bases give more even pressure distribution across the full puck.
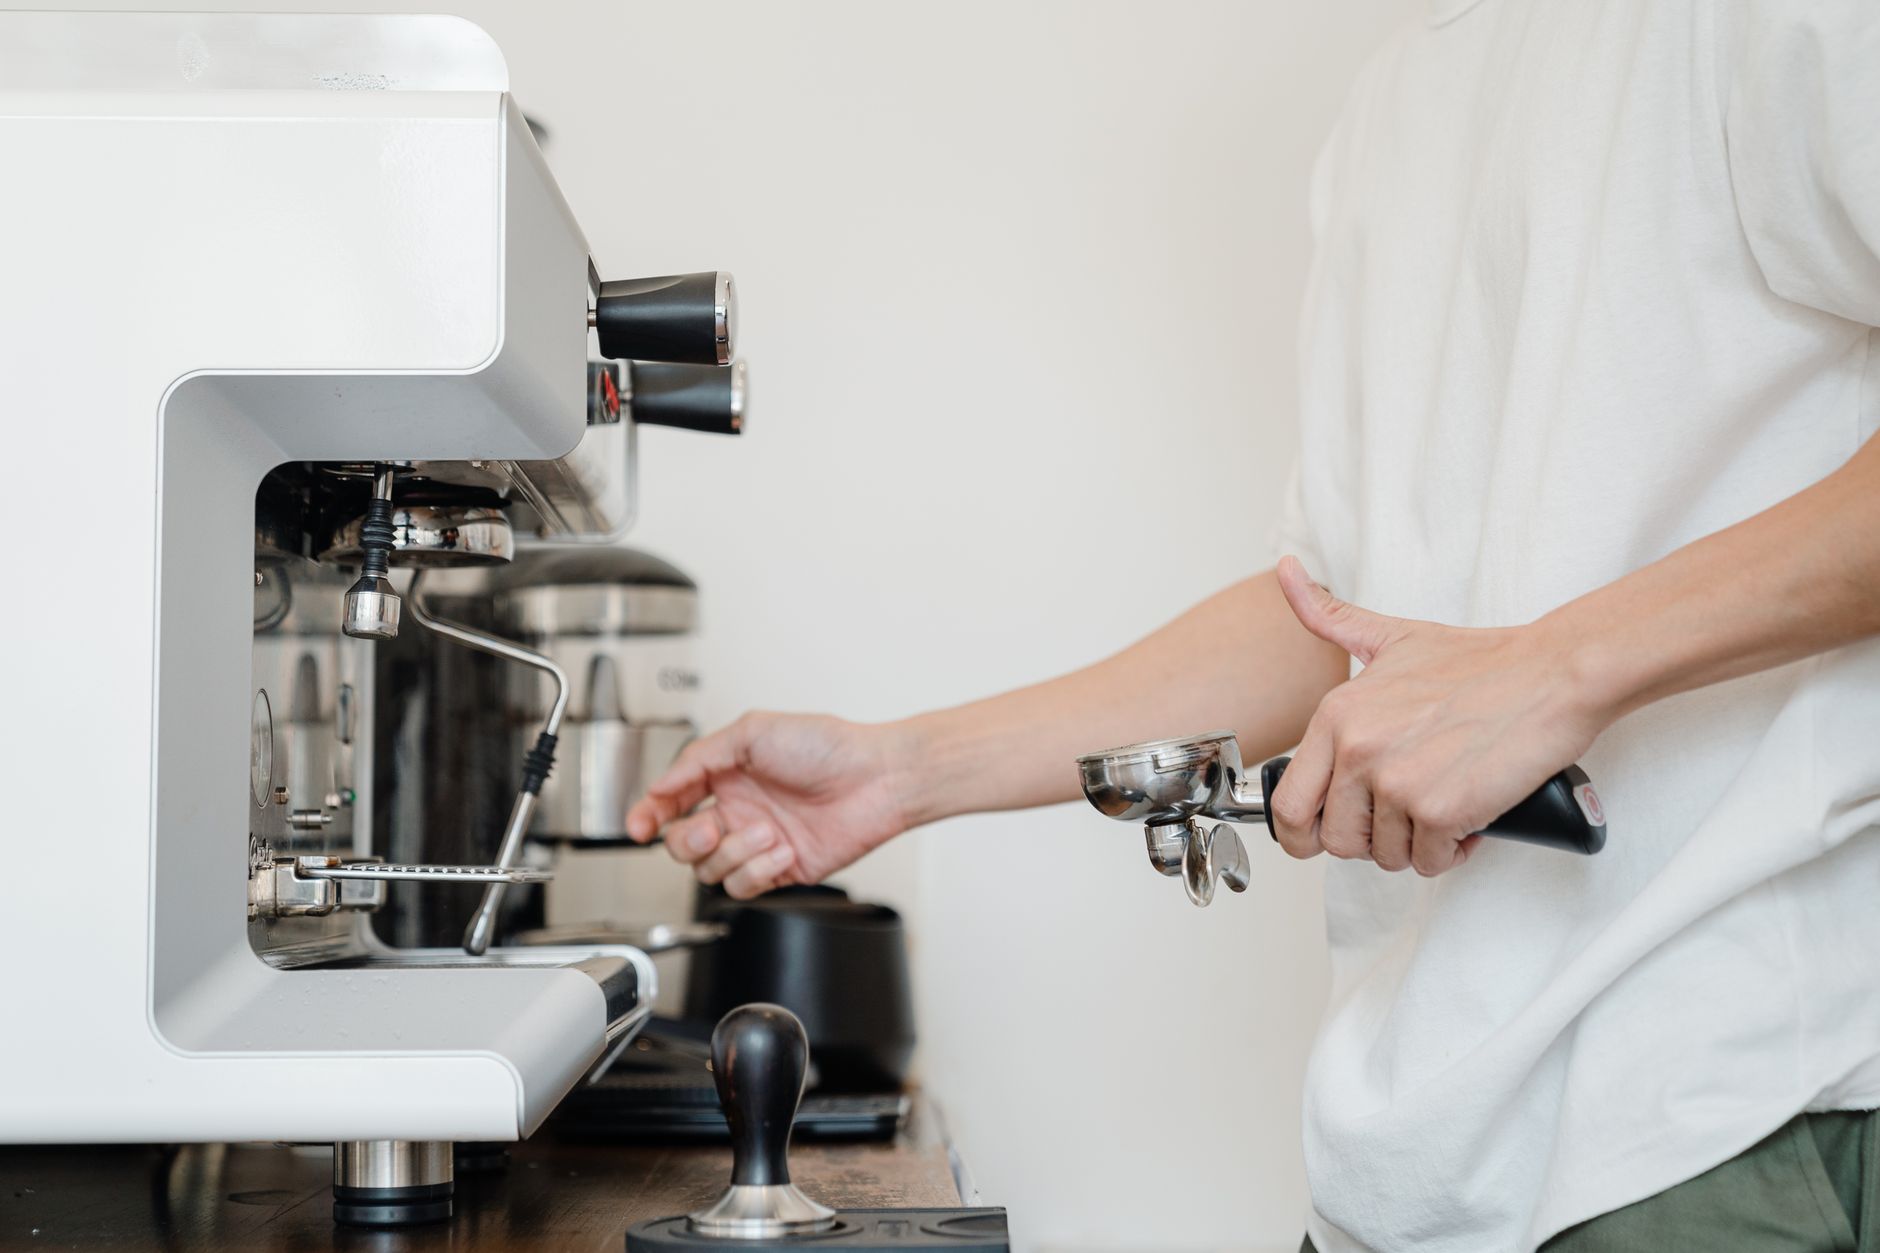 Photo: Ketut Subiyanto via Pexels
| Basket Type | Standard Basket ID | Recommended Tamper |
|---|---|---|
| 58 mm (La Marzocco, ECM, Rocket) | 58.35 mm | 58.35 mm or 58.5 mm flat |
| 58 mm (Rancilio Silvia) | 58 mm | 57.5–58 mm flat |
| 54 mm (Breville Barista Express) | 54 mm | 53.5–54 mm flat |
| 53 mm (DeLonghi Dedica) | 53 mm | 52.5–53 mm flat |
| 49 mm (E61 home machines) | 49 mm | 49 mm flat |
A tamper too small leaves an untamped ring around the edge — water bypasses the puck at the wall. A tamper too large binds in the basket.
Calibrated vs. Standard Tampers
A calibrated tamper (like the Normcore V4 or Barista Hustle Pushbox ) clicks at a preset pressure — useful while you’re building muscle memory. Once you can reliably hit 30 lbs by feel, a quality standard tamper (Pullman, IMS, Saint Anthony Industries) does the same job without the mechanism.
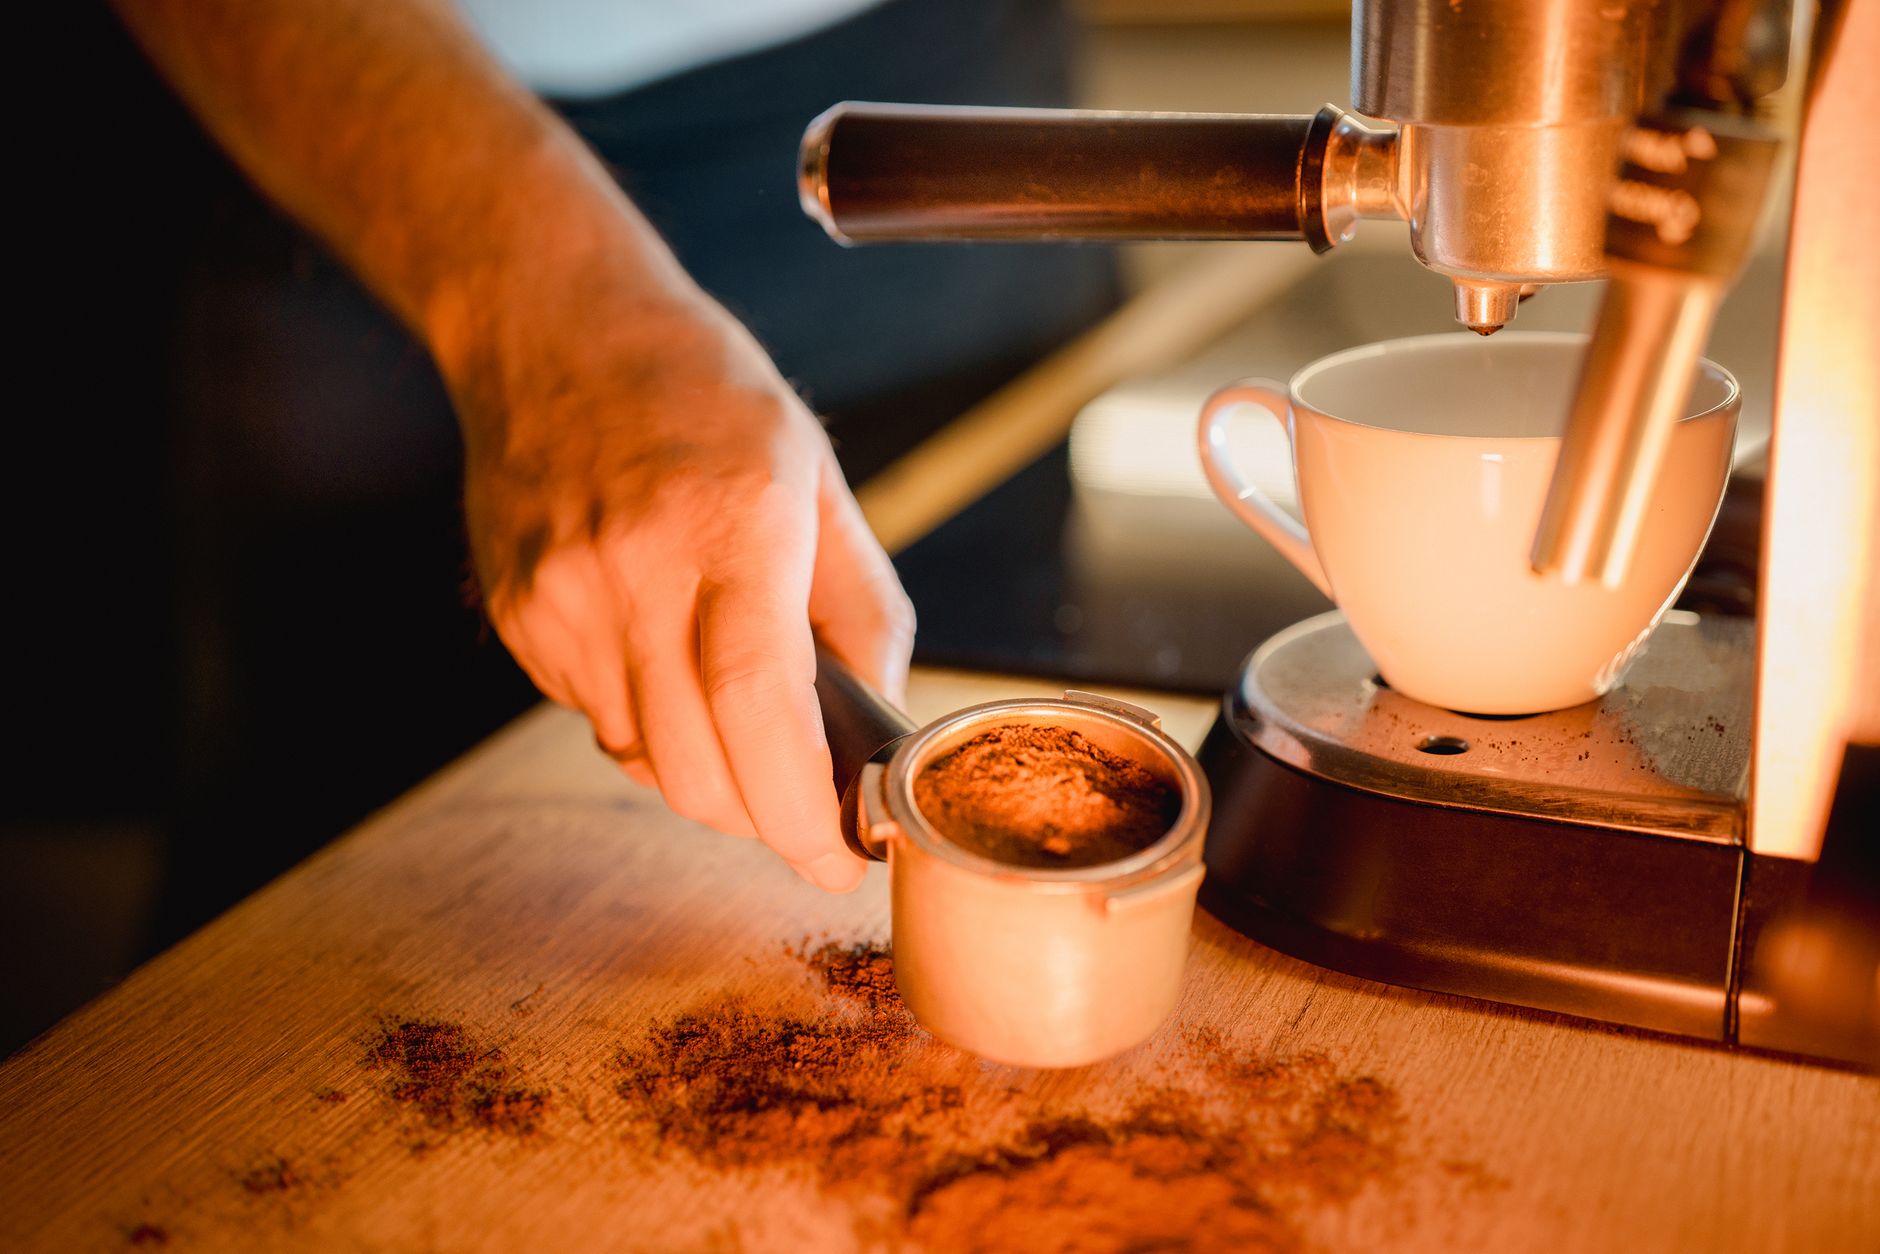 Photo: Jakub Zerdzicki via Pexels
How to Tamp Espresso: Step-by-Step
Stand the portafilter on a tamping mat on a flat, stable surface. Grip the tamper like a door handle — thumb and index finger at the collar, remaining fingers wrapped loosely. Apply straight, even pressure directly downward. Rotate a half-turn at the bottom to polish the surface (optional, but it seats edge grounds). That’s the entire technique.
 Photo: Pavel Danilyuk via Pexels
Pre-Tamp Puck Prep (Do This First)
- Dose into the basket — use a scale, not a scoop.
- Distribute the grounds — tap the portafilter handle twice lightly to settle, then use a WDT tool (Weiss Distribution Technique) to break up clumps. A WDT tool is a few needles in a handle; the Barista Hustle Comb or a DIY version from acupuncture needles both work.
- Level the surface — use a straight edge (your finger, a dosing funnel lip, or a dedicated leveler like the OCD ) to create a flat, even bed before tamping.
- Tamp — one firm, level press. Check level by eye: the tamper top should be parallel to the basket rim.
- Inspect — no cracks, no grounds on the basket wall above the puck, no visible divots.
The 30-lb Pressure Standard
To calibrate: put your tamper on a kitchen scale, press until it reads 13–15 kg (28–33 lbs), memorize what that feels like in your shoulder and wrist. Do it 20 times. You’ll have it for life.
Harder is not better. Over-tamping beyond ~40 lbs doesn’t meaningfully increase resistance — your machine’s pump will push through regardless — and it accelerates wrist fatigue.
Extraction Parameters Block
| Parameter | Target |
|---|---|
| Dose | 18–20 g (basket-dependent) |
| Yield | 36–40 g (1:2 ratio) |
| Ratio | 1:2 (dose:yield) |
| Time | 25–32 seconds |
| Temperature | 90–96°C (194–205°F) |
| Pressure | 9 bar at the puck |
Troubleshooting: Tamping Problems
| Symptom | Likely Cause | Fix |
|---|---|---|
| Shot runs fast, watery, sour | Tamp too light or puck cracked | Increase tamp pressure; redistribute before tamping |
| Shot channels (streams visible) | Uneven tamp, poor distribution | WDT before tamping; check tamper level |
| Shot runs slow, bitter | Tamp too hard + fine grind stacking | Coarsen grind slightly; verify 30 lb pressure |
| One side runs faster | Angled tamp | Practice level press on a tamping mat with a mirror |
| Grounds above puck ring | Tamper undersized | Measure basket ID, match tamper within 0.5–1 mm |
| Puck sticks to shower screen | Overfilled basket, puck too high | Reduce dose or use a deeper basket |
Common Tamping Mistakes
Angled Tamping
This is the most common error. An angled tamp creates a thick side and a thin side — water channels through the thin side every time. Fix: use a bottomless portafilter to watch the extraction, or tamp against a flat countertop surface.
Skipping Distribution
Tamping locks in whatever shape the coffee is already in. If there are clumps or uneven density before you tamp, tamping makes it permanent. WDT + leveling before tamping is non-negotiable for consistent shots.
Tamping Directly on the Counter
Soft surfaces flex under pressure and can angle your tamp without you realizing it. Always use a rigid tamping mat — a corner of countertop works, a silicone bar mat does not.
→ See Also
- How to Dial In Espresso: Step-by-Step Decision Tree
- Espresso Extraction Explained: Under, Over, and Perfect
- Espresso Dose, Yield and Ratio Guide
FAQ
Does tamping pressure actually matter that much? Consistency matters more than exact pressure. Studies and barista competition data consistently show that anywhere from 20–40 lbs produces similar extraction outcomes — what kills shots is variation between tamps on the same recipe. Pick a pressure, calibrate it, repeat it.
What’s the best tamper for a beginner? A calibrated tamper like the Normcore V4 removes the pressure guesswork entirely. Match the diameter to your basket (measure the inner basket ID, not the portafilter OD), and it’s nearly foolproof while you’re building technique.
Do I need a WDT tool, or is tapping the portafilter enough? Tapping settles grounds but doesn’t break up clumps — it can actually make clumping worse by compacting irregular mounds. WDT takes 5 seconds and eliminates most channeling caused by distribution. It’s worth it.
Can I tamp too hard and damage my machine? No — 9-bar pumps push through any reasonable tamp. What you can damage is your wrist over time: repetitive strain from over-tamping is a real injury in high-volume settings. Stick to 30 lbs.
Why do my shots still channel even with a level tamp? Channeling after a level tamp almost always traces back to distribution, not the tamp itself. Check: are you using WDT? Is your grinder producing clumpy output (electrostatic, old burrs)? Is your basket clean and dry? A naked portafilter will show you exactly where the channel is starting.
Should I use a convex or ripple-base tamper? Flat base, always. Convex bases were designed to minimize edge grounds — that’s now handled better by proper distribution and correct tamper sizing. Ripple bases are a gimmick; no peer-reviewed extraction data supports them over flat.
Editorial methodology: Assessments are based on manufacturer specifications, published user reviews, and editorial research. Physical hands-on testing is noted explicitly where it occurred. Rankings reflect our editorial judgment and are not influenced by affiliate commission rates. Full editorial policy · Affiliate disclosure