# How to Roast Coffee Beans at Home: Step-by-Step
> **TL;DR:** To roast coffee beans at home, apply heat to green beans until they reach your target roast level — light, medium, or dark. You'll hear two audible "cracks" that mark key development stages. The whole process takes 10–15 minutes depending on your method. Fresh-roasted coffee peaks in flavor 24–72 hours after roasting.
---
## What You Need Before You Start
**You need green (unroasted) coffee beans, a heat source, and a way to cool the beans fast. Everything else is optional but improves consistency and repeatability.**
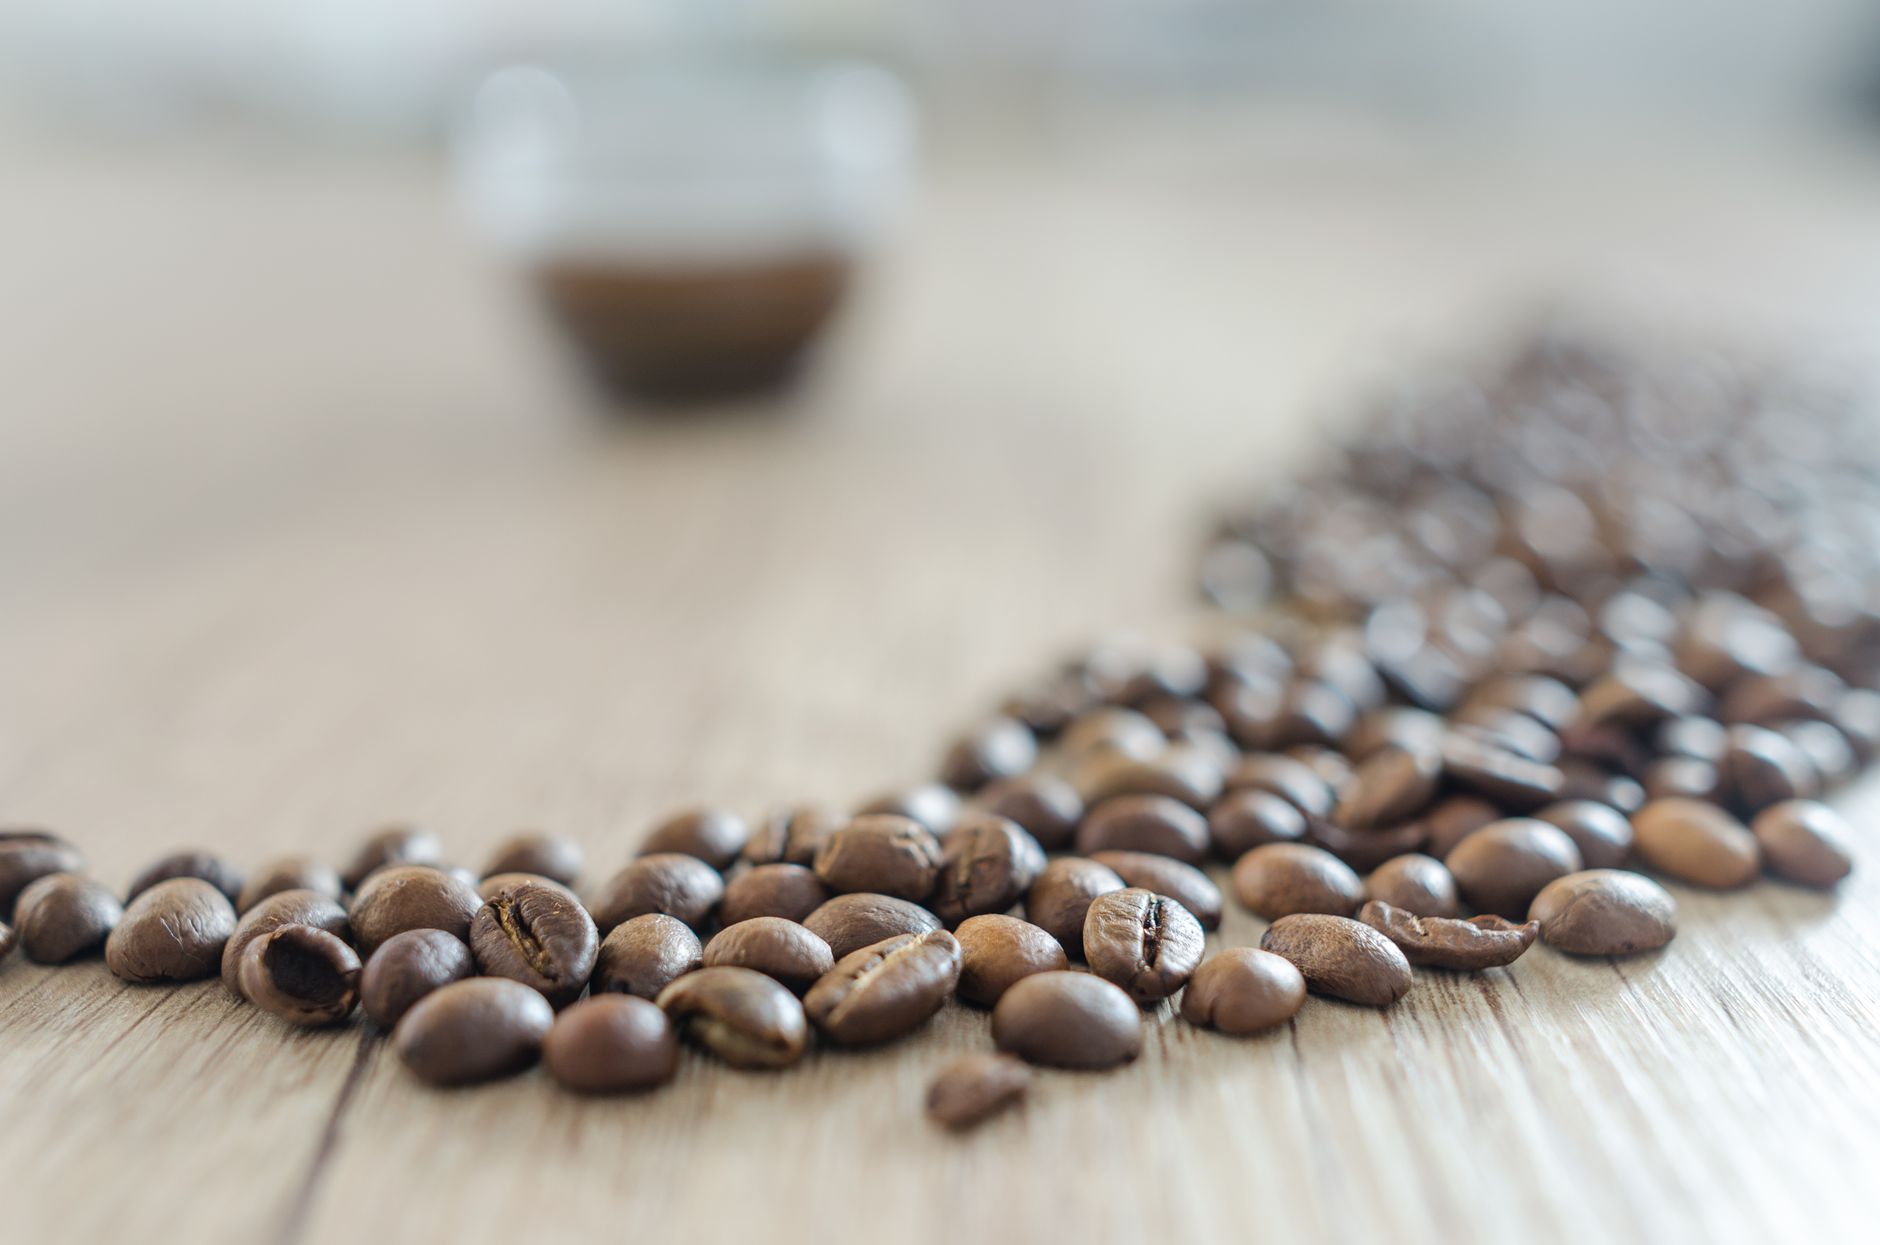
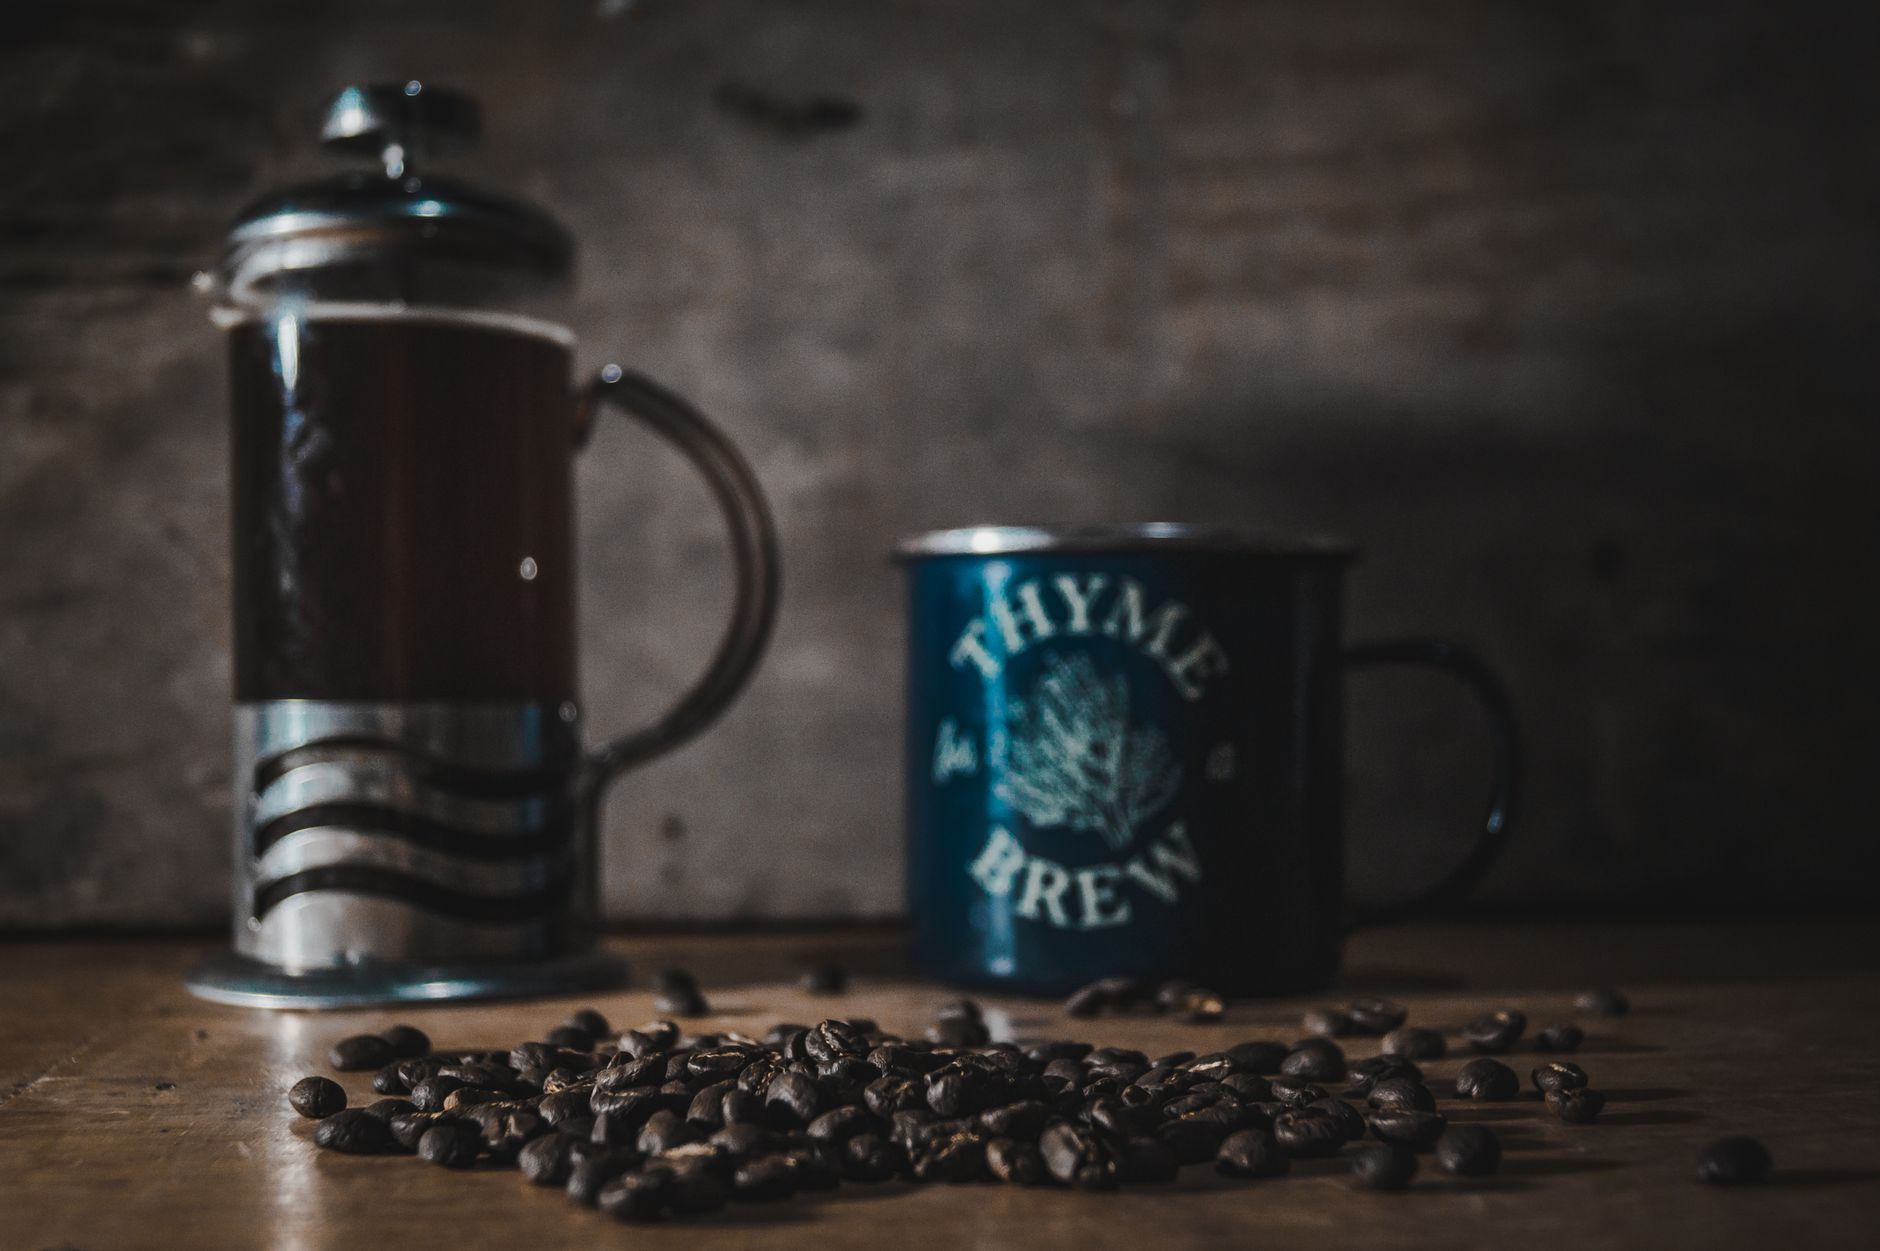
*Photo: Lukas Blazek via Pexels*
Green beans are cheap — typically $6–12/lb versus $18–30 for roasted specialty coffee. Good sources include Sweet Maria's, Burman Coffee, and direct importers. Buy 1–2 lbs to start; you'll waste some learning your setup.
### Equipment Options by Budget
| Method | Cost | Control | Batch Size | Best For |
|---|---|---|---|---|
| Popcorn popper (hot air) | $15–40 | Low | 75–100g | Beginners, fast results |
| Cast iron skillet | $0 (existing) | Very low | 100–200g | Curious first-timers |
| Drum roaster (manual) | $50–150 | Medium | 150–300g | Hobbyists |
| Dedicated home roaster | $150–700 | High | 100–500g | Serious enthusiasts |
A popcorn popper like the Nostalgia Electrics or West Bend Poppery is the cheapest serious entry point. Skillets work but give uneven results and require constant stirring.
For a dedicated machine, the Fresh Roast SR800 gives real airflow control and a glass chamber so you can watch development. See our full [Fresh Roast SR800 Review](/fresh-roast-sr800-review/) for detailed testing notes.
---
## Understanding the Roast Stages
**Coffee goes through predictable physical and chemical stages every time. Knowing what to look, listen, and smell for is more reliable than any timer.**
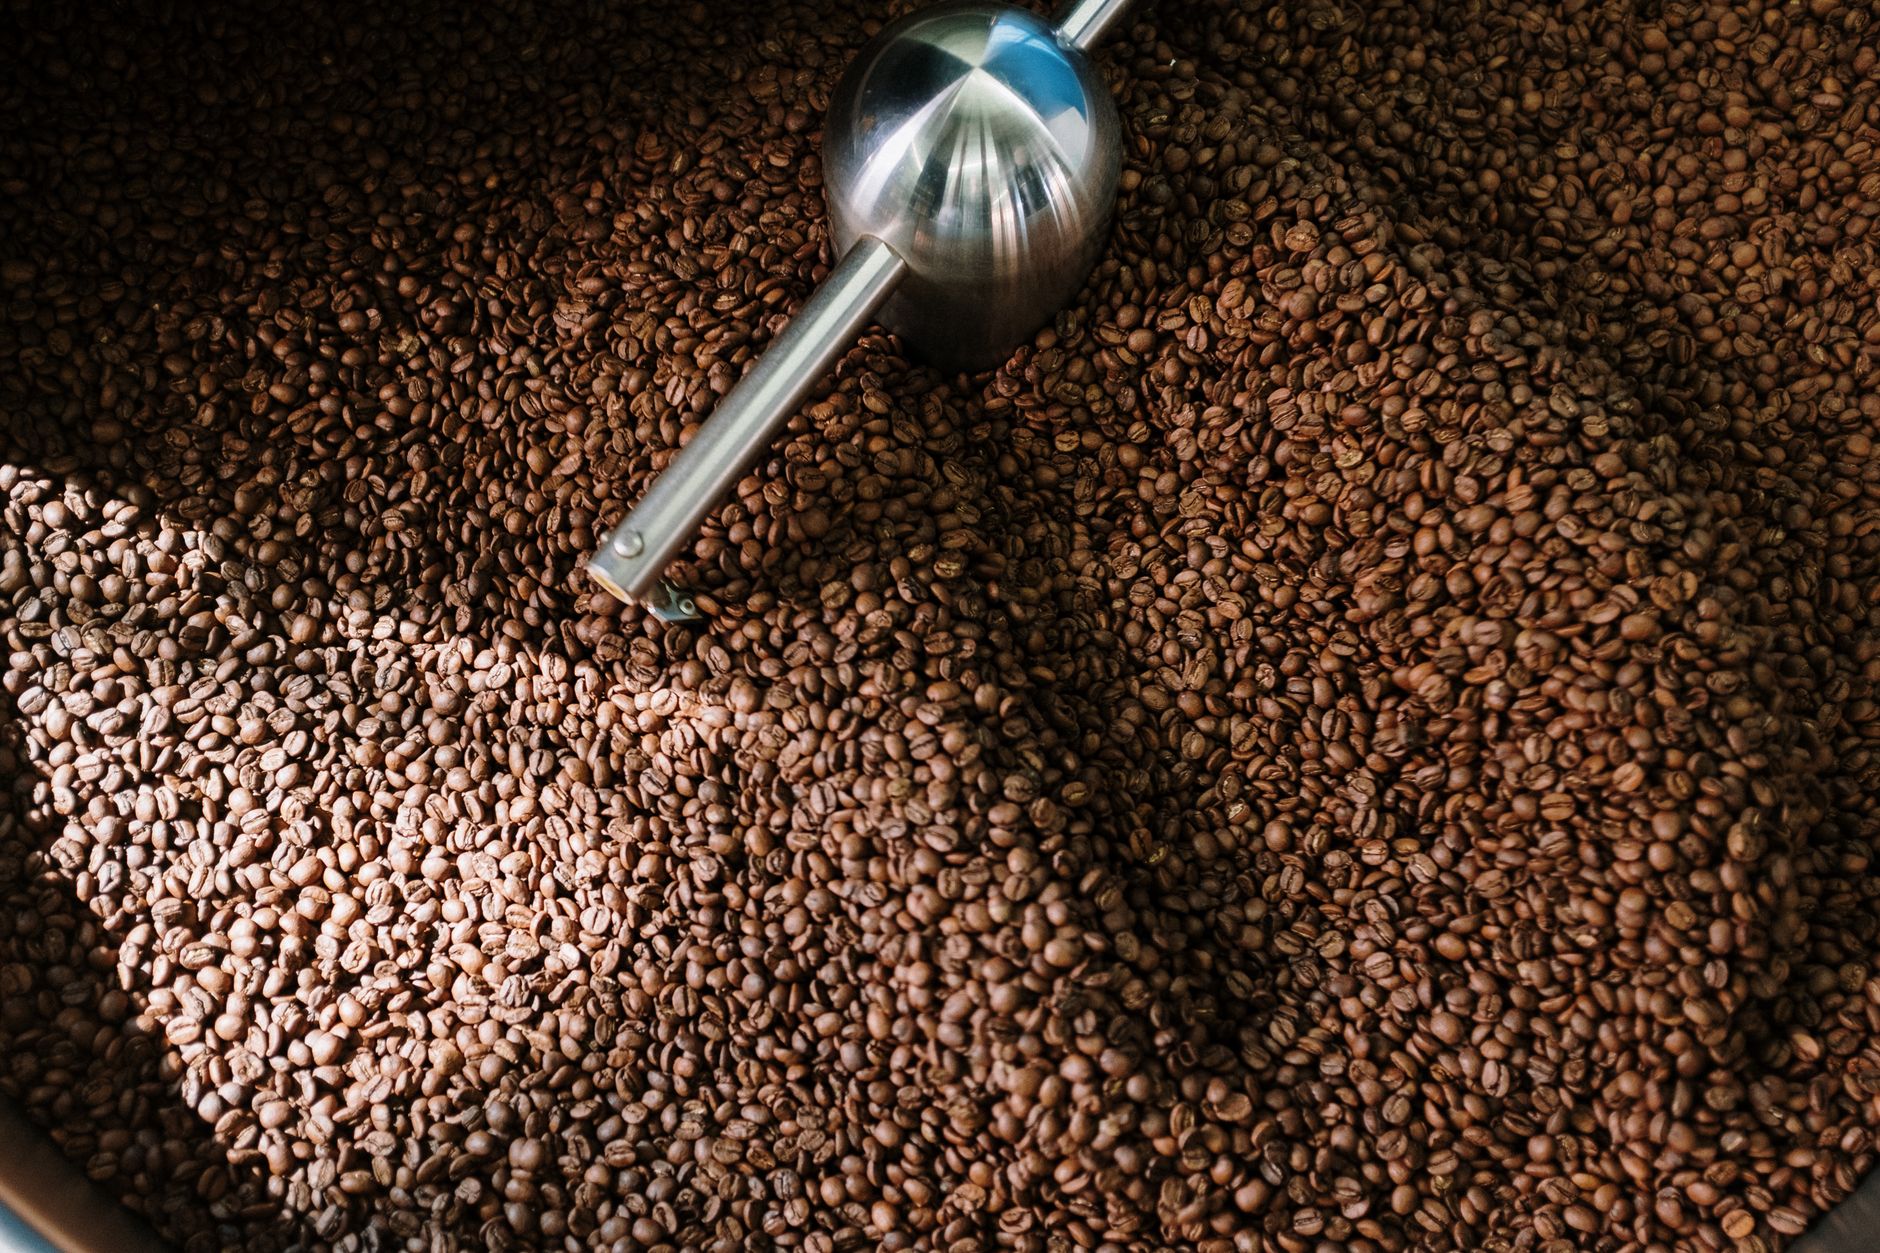
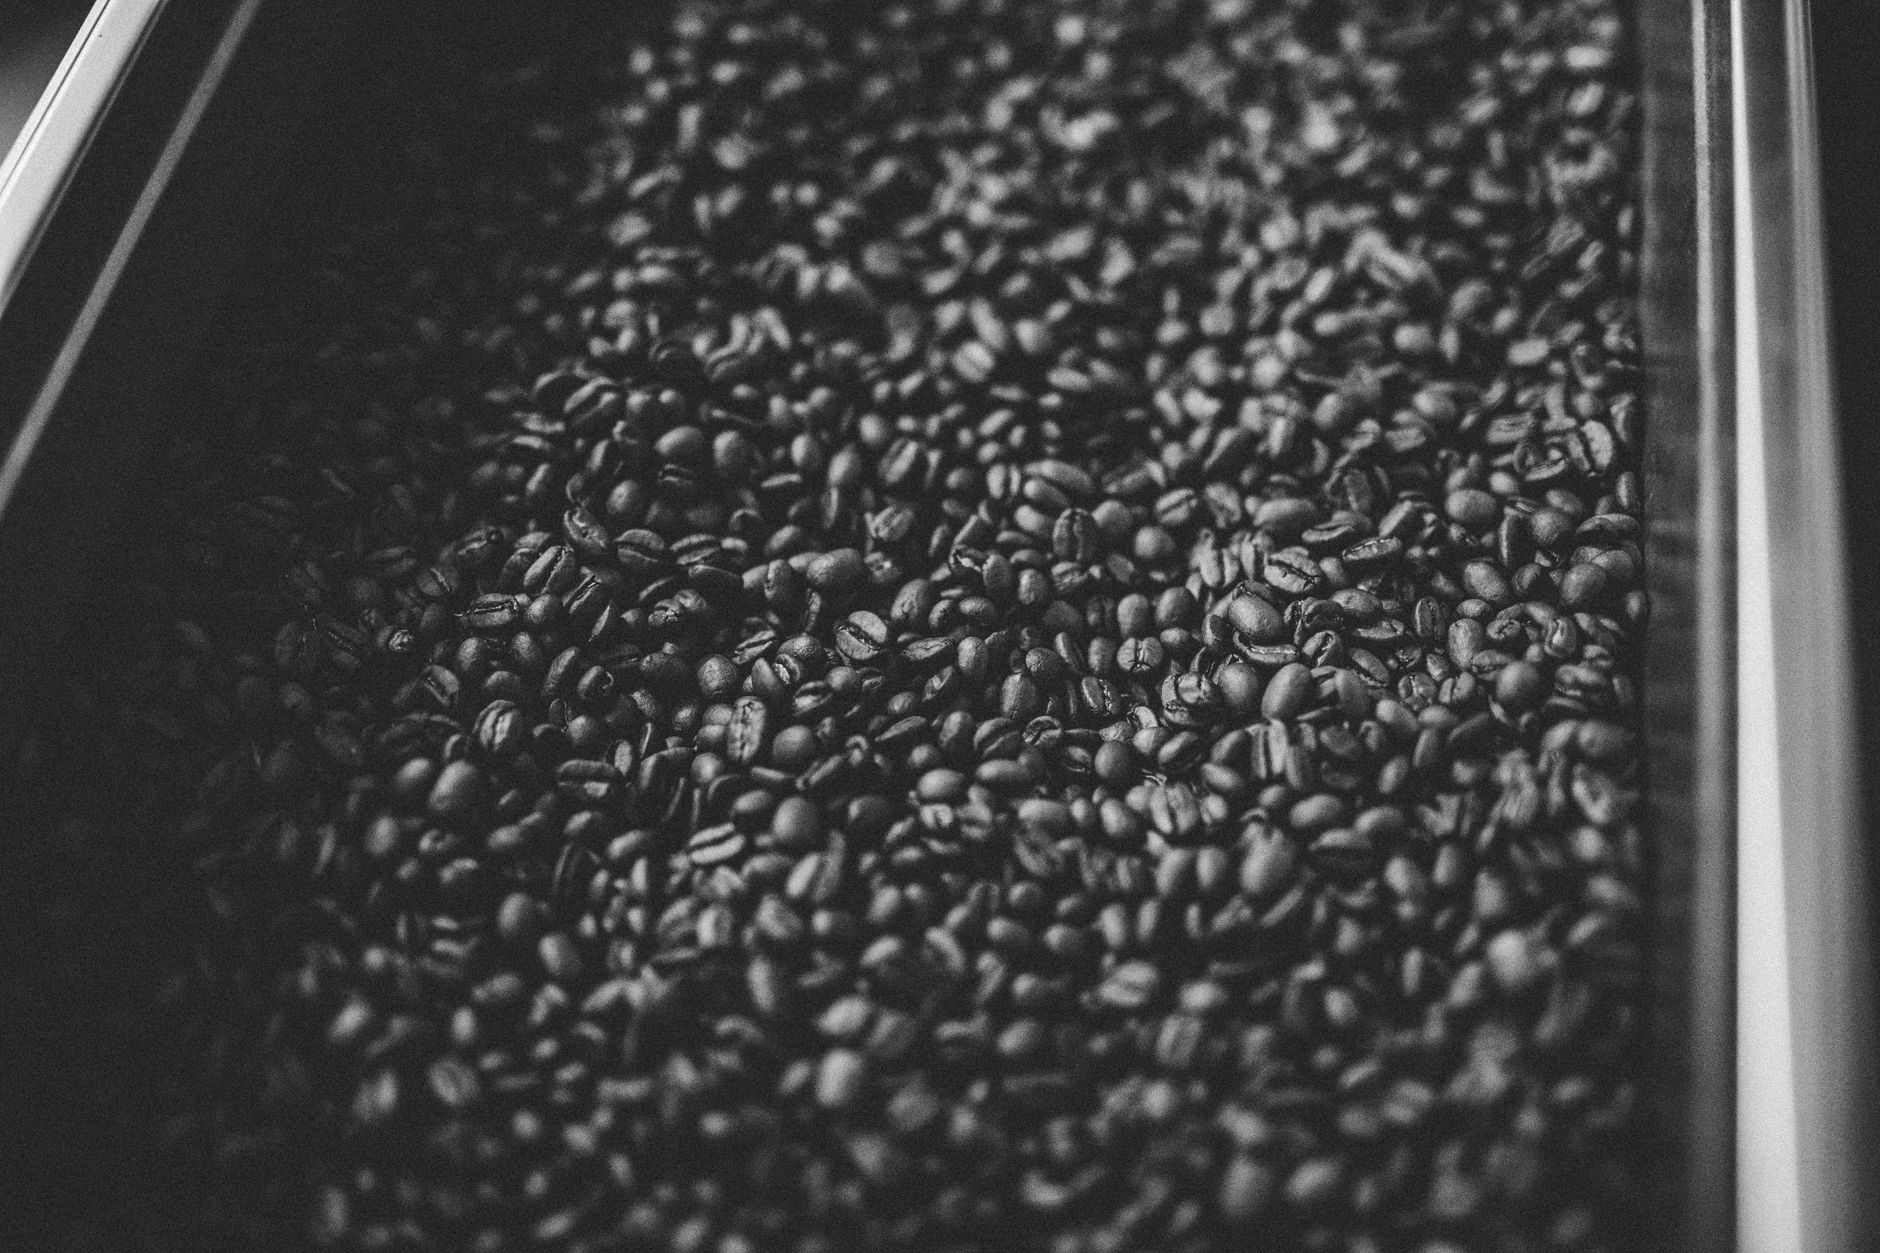
*Photo: cottonbro studio via Pexels*
### The Drying Phase (0–5 min)
Beans start yellow-green, then turn pale yellow as moisture evaporates. No crack yet. Smell shifts from grassy to toast-like. This phase is boring — don't rush it.
### First Crack (7–10 min)
A sharp, popping sound — like popcorn but lighter. This is the point where steam pressure ruptures the bean structure. First crack marks the boundary between underdeveloped and drinkable coffee.
- **Light roast:** Pull 30–60 seconds after first crack begins
- **Medium roast:** Pull 1–2 minutes after first crack ends
- **Medium-dark:** Push toward the quiet between cracks
### Second Crack (10–14 min)
A faster, quieter, almost papery snapping. This is where dark roasts live. Oils begin migrating to the surface. Pull before second crack for anything resembling origin character. At or past second crack, you're tasting roast more than bean.
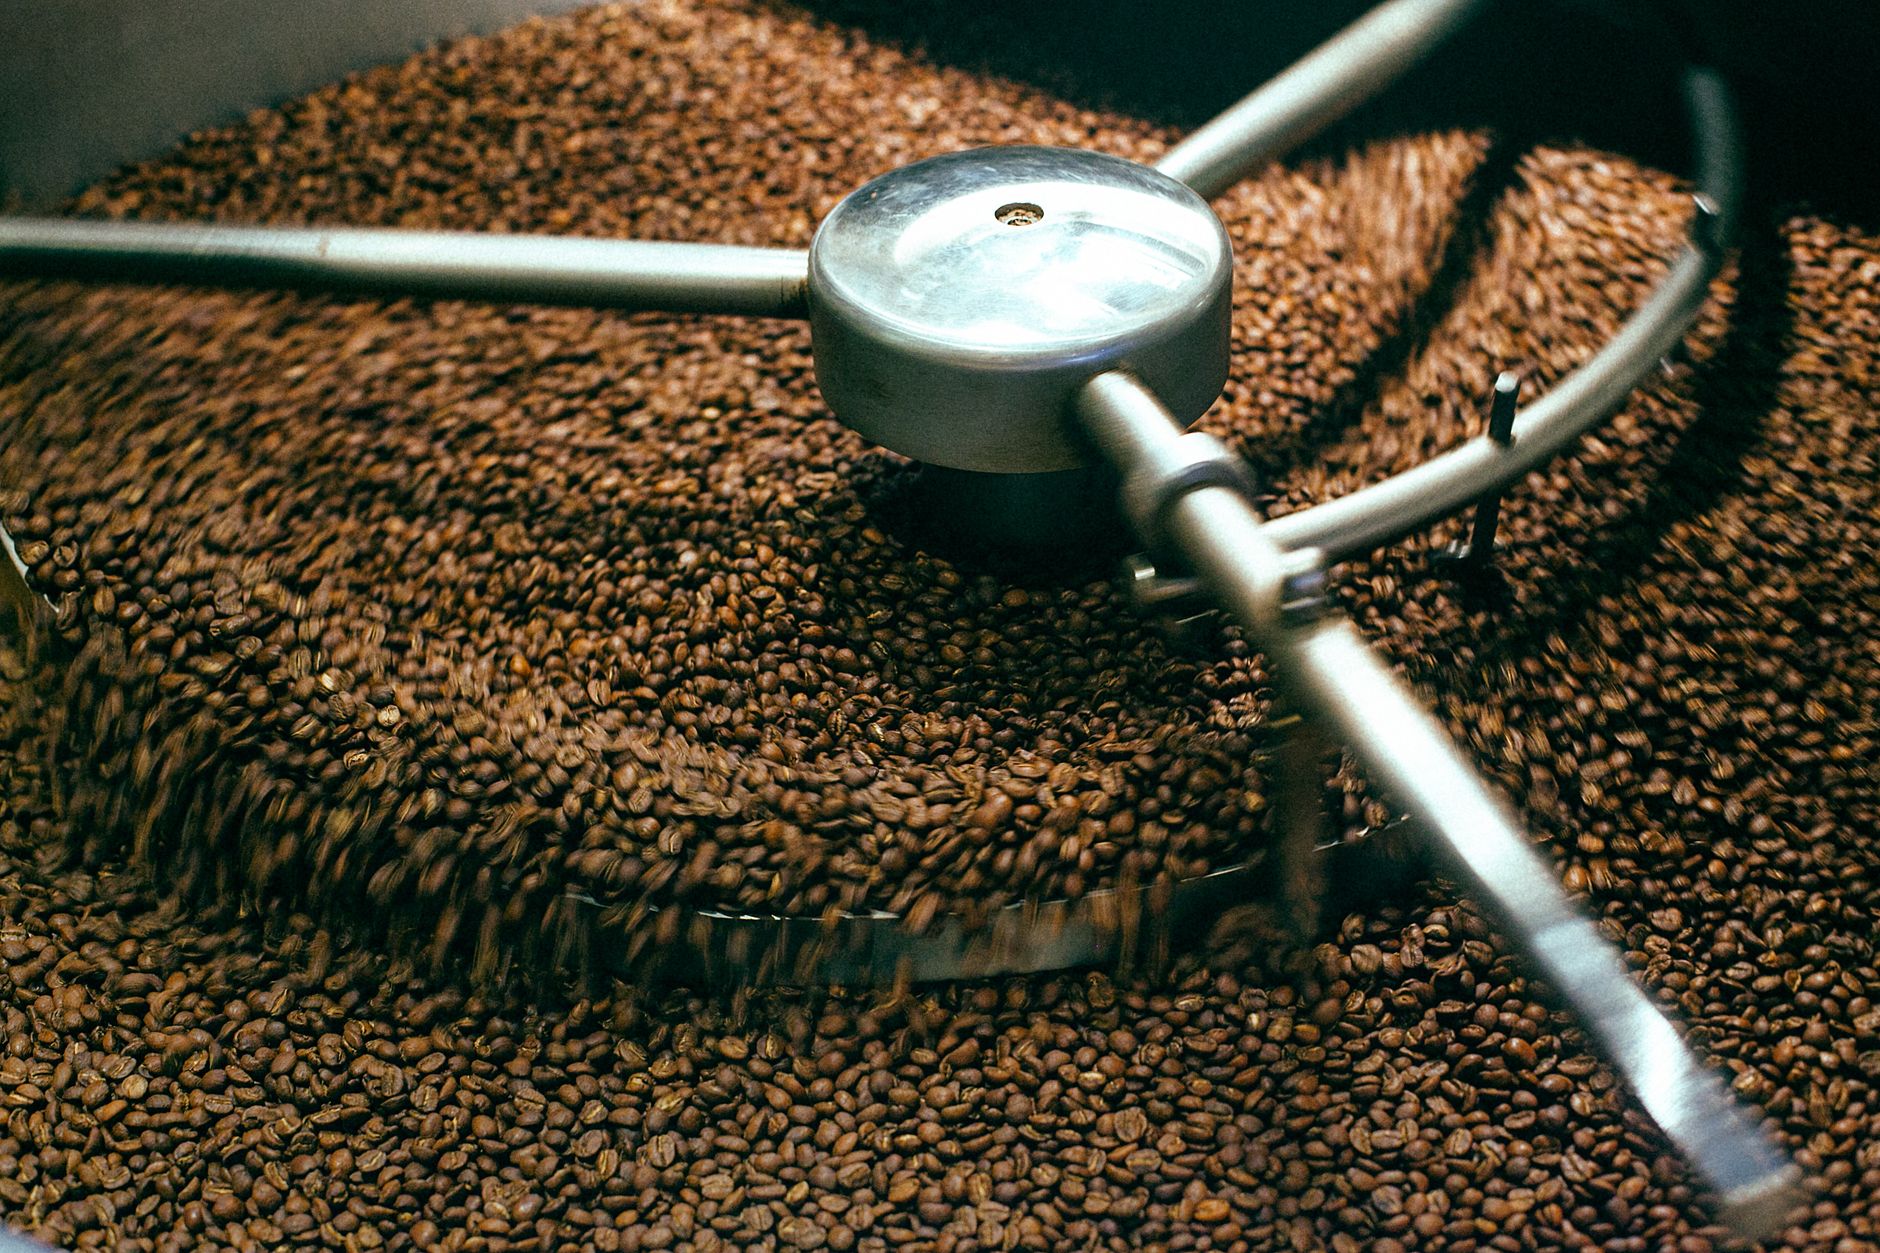
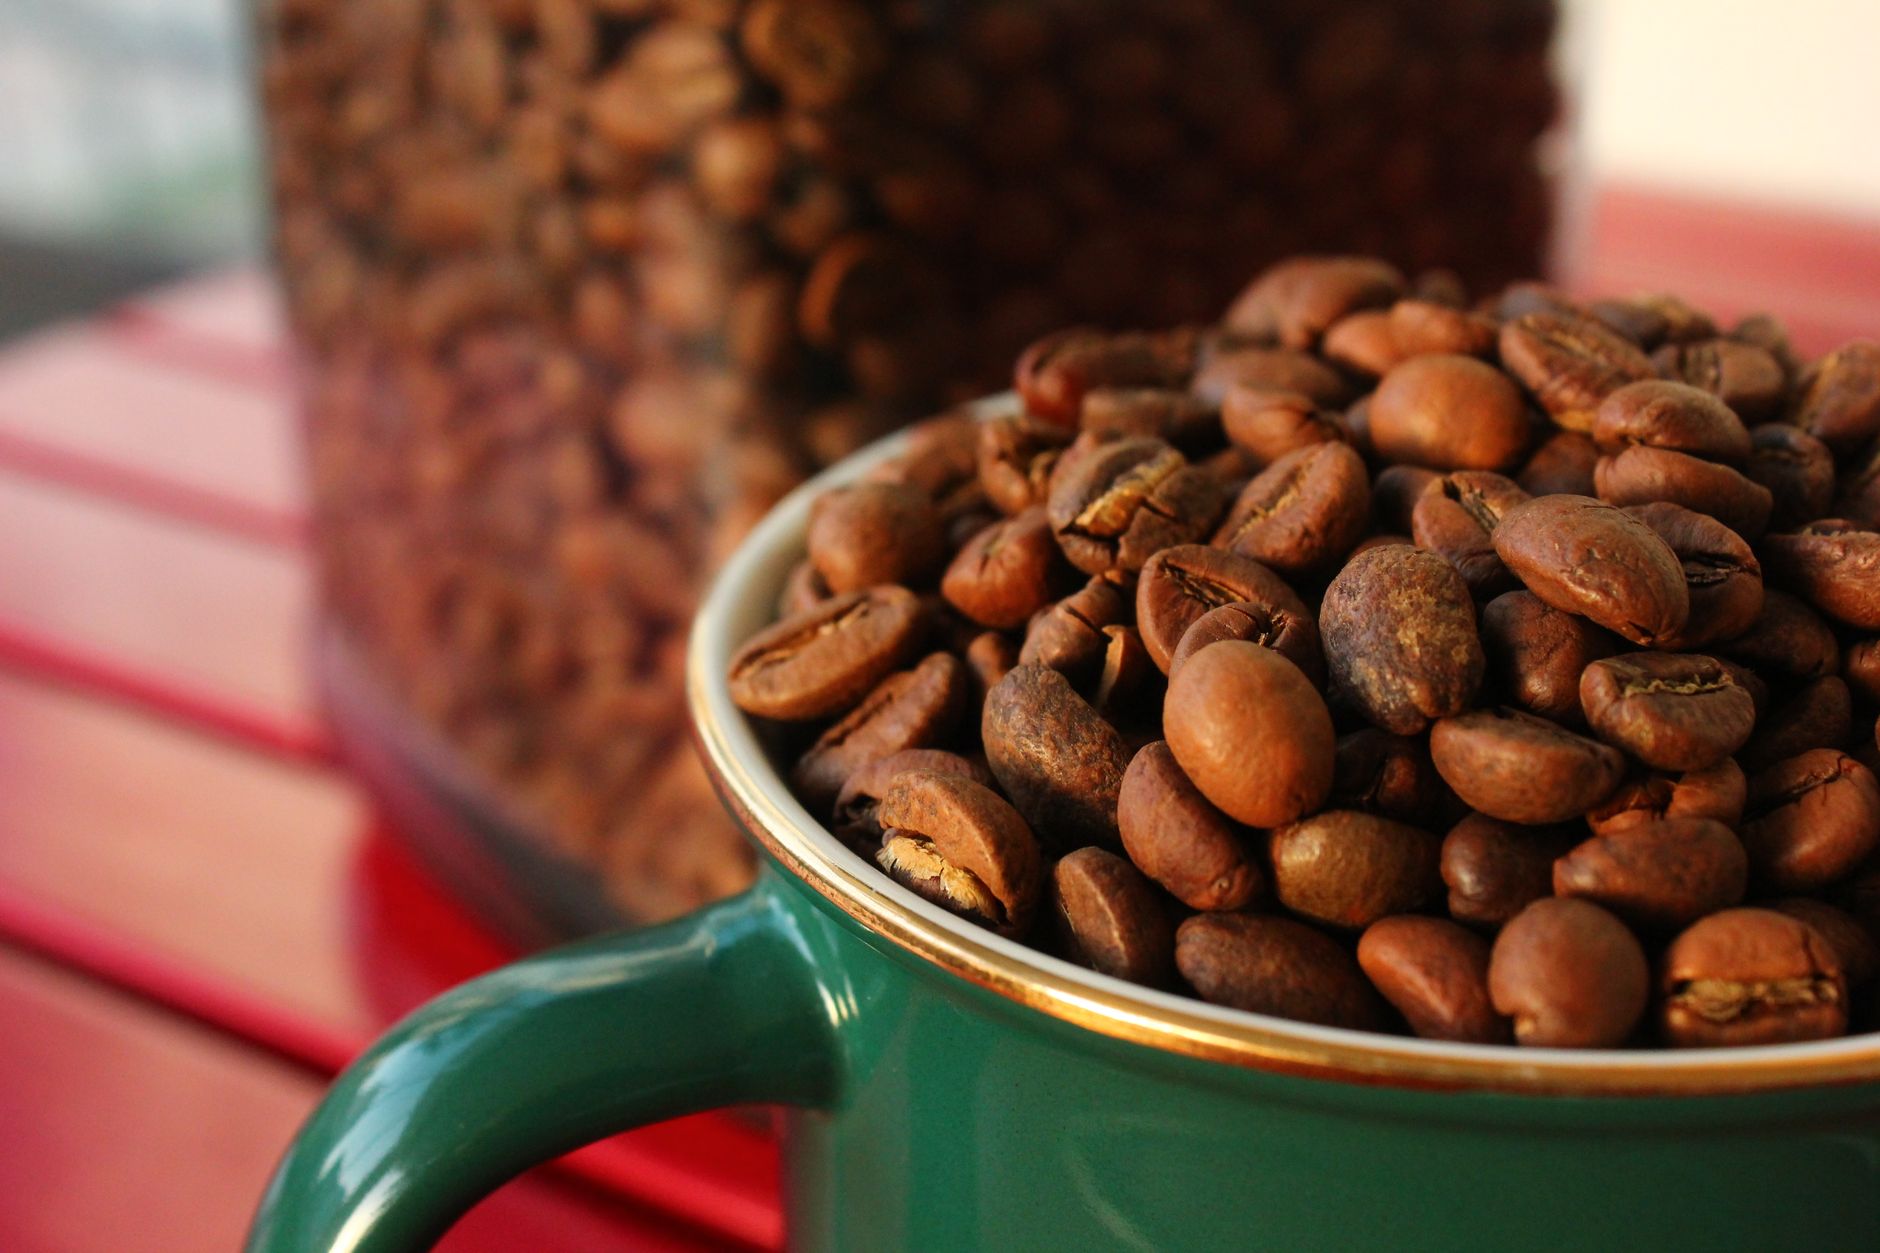
*Photo: Maria Orlova via Pexels*
### Roast Color Reference
| Roast Level | Internal Temp (approx) | Bean Surface | Flavor Profile |
|---|---|---|---|
| Light (City) | 400–415°F / 205–213°C | Dry, tan-brown | Fruity, acidic, origin-forward |
| Medium (Full City) | 415–435°F / 213–224°C | Dry, medium brown | Balanced, caramel, less acid |
| Medium-Dark | 435–445°F / 224–229°C | Slight oil sheen | Bittersweet, chocolate |
| Dark (French/Italian) | 445–465°F / 229–241°C | Oily, dark brown | Smoky, heavy body, low acid |
---
## Step-by-Step: Roasting with a Popcorn Popper
**This is the fastest way to get drinkable home-roasted coffee with near-zero investment. Expect 10–12 minute roast times and 75–90g usable batches.**
### What You'll Need
- Hot-air popcorn popper (side-vented, not bottom-vented)
- 100g green coffee beans (measure on a kitchen scale)
- Metal colander or two bowls for cooling
- Wooden spoon or chopstick
- Timer
### Step 1 — Prep Your Space
Roasting creates smoke and chaff (the papery skin that flies off beans). Do this outside, in a garage, or directly under a range hood with the fan on high. Have your cooling vessel ready before you start.
### Step 2 — Measure and Load
Weigh 75–100g of green beans. Don't exceed 100g in a popper — you'll choke the airflow and get uneven roasts. Pour into the popper chamber.
### Step 3 — Start the Heat and Timer
Turn on the popper. Start your timer. Beans will begin spinning immediately from the hot air. You want movement — if beans are sitting still, your batch is too large or your popper too weak.
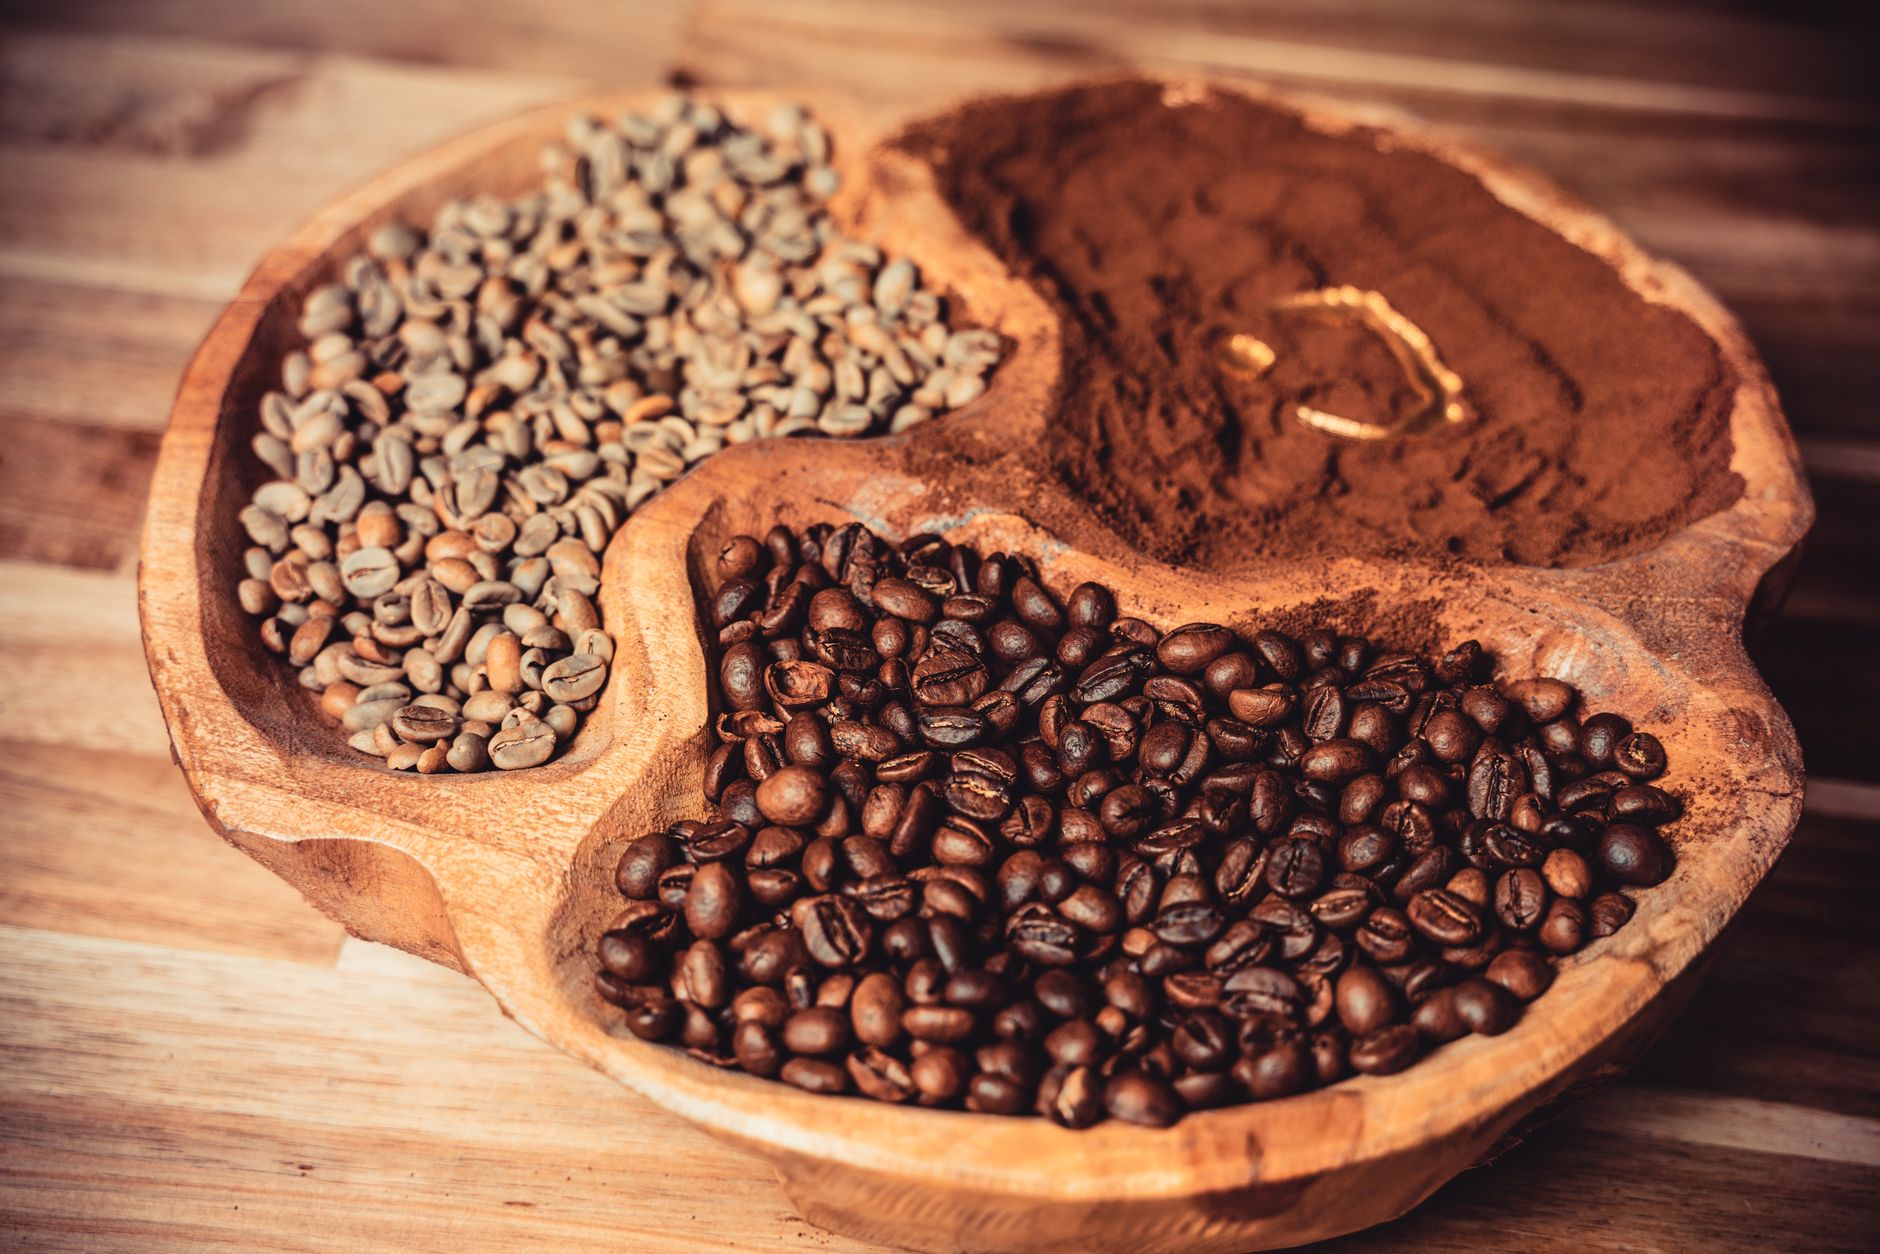
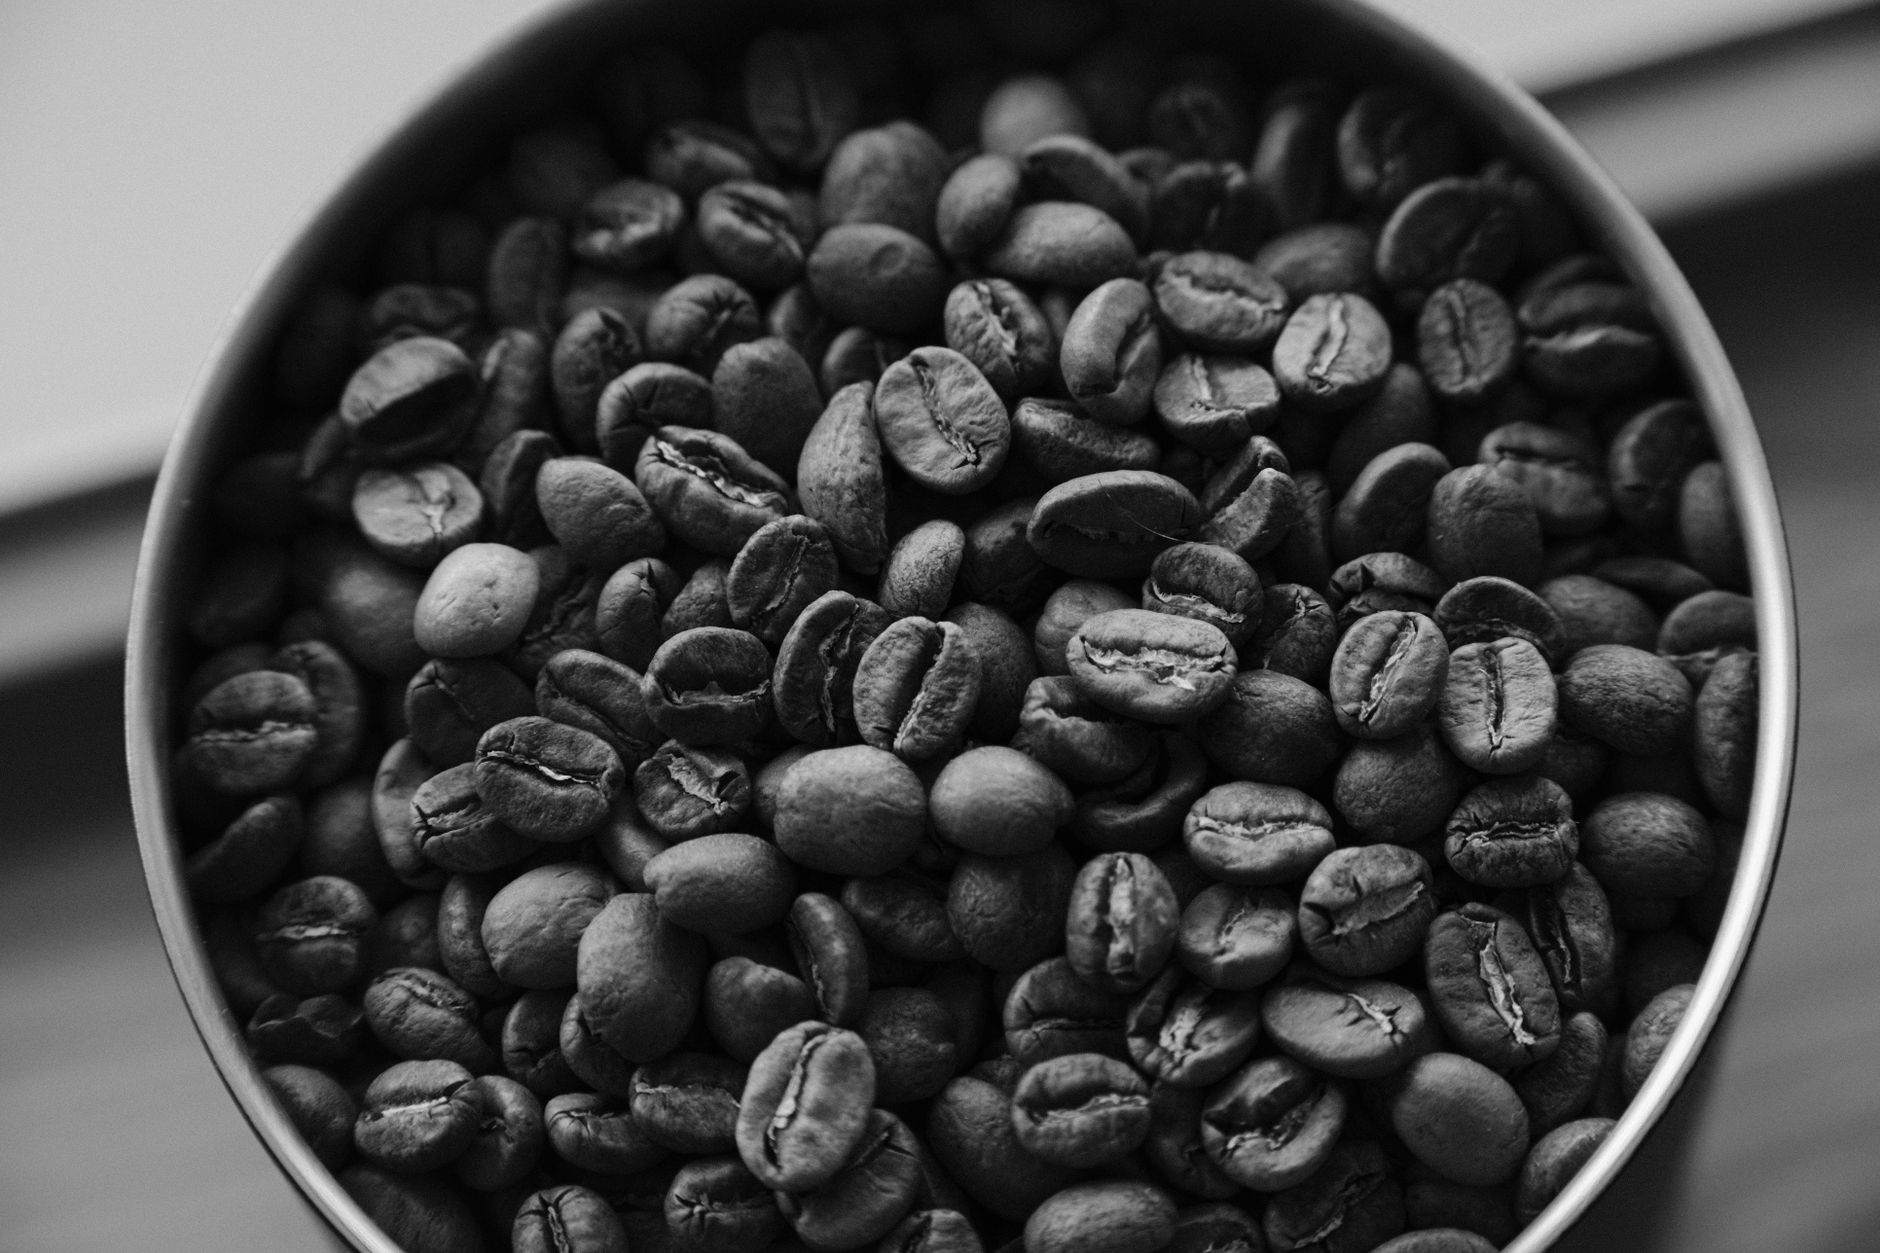
*Photo: Denys Gromov via Pexels*
### Step 4 — Watch the Color, Listen for Cracks
- **3–5 min:** Beans turn yellow, grassy smell fades
- **7–9 min:** Pale tan, toast smell — approaching first crack
- **8–10 min:** **First crack** — you'll hear it clearly. Start timing from here.
- **10–12 min:** First crack ends. This is your medium roast window.
- **12–14 min:** **Second crack** begins — dark roast territory
Pull at whichever stage matches your target.
### Step 5 — Cool Fast
Immediately pour beans into a metal colander. Shake vigorously or toss between two colanders in a current of air. You want beans cooled to room temperature within 3–5 minutes. Slow cooling continues the roast and muddies flavors.
### Step 6 — Rest Before Brewing
Pour cooled beans into a paper bag or open container — **not an airtight jar**. CO₂ off-gases heavily in the first 12–24 hours. An airtight container can pressurize or, worse, trap stale gas against your beans.
Optimal brewing window: **24–72 hours** post-roast for espresso, **12–48 hours** for pour-over and filter methods.
---
## Green Bean Selection: Origins & Roast Guidance
**Where the bean comes from determines what roast level will actually taste good. Don't roast a delicate Ethiopian natural to French — you'll destroy what you paid for.**
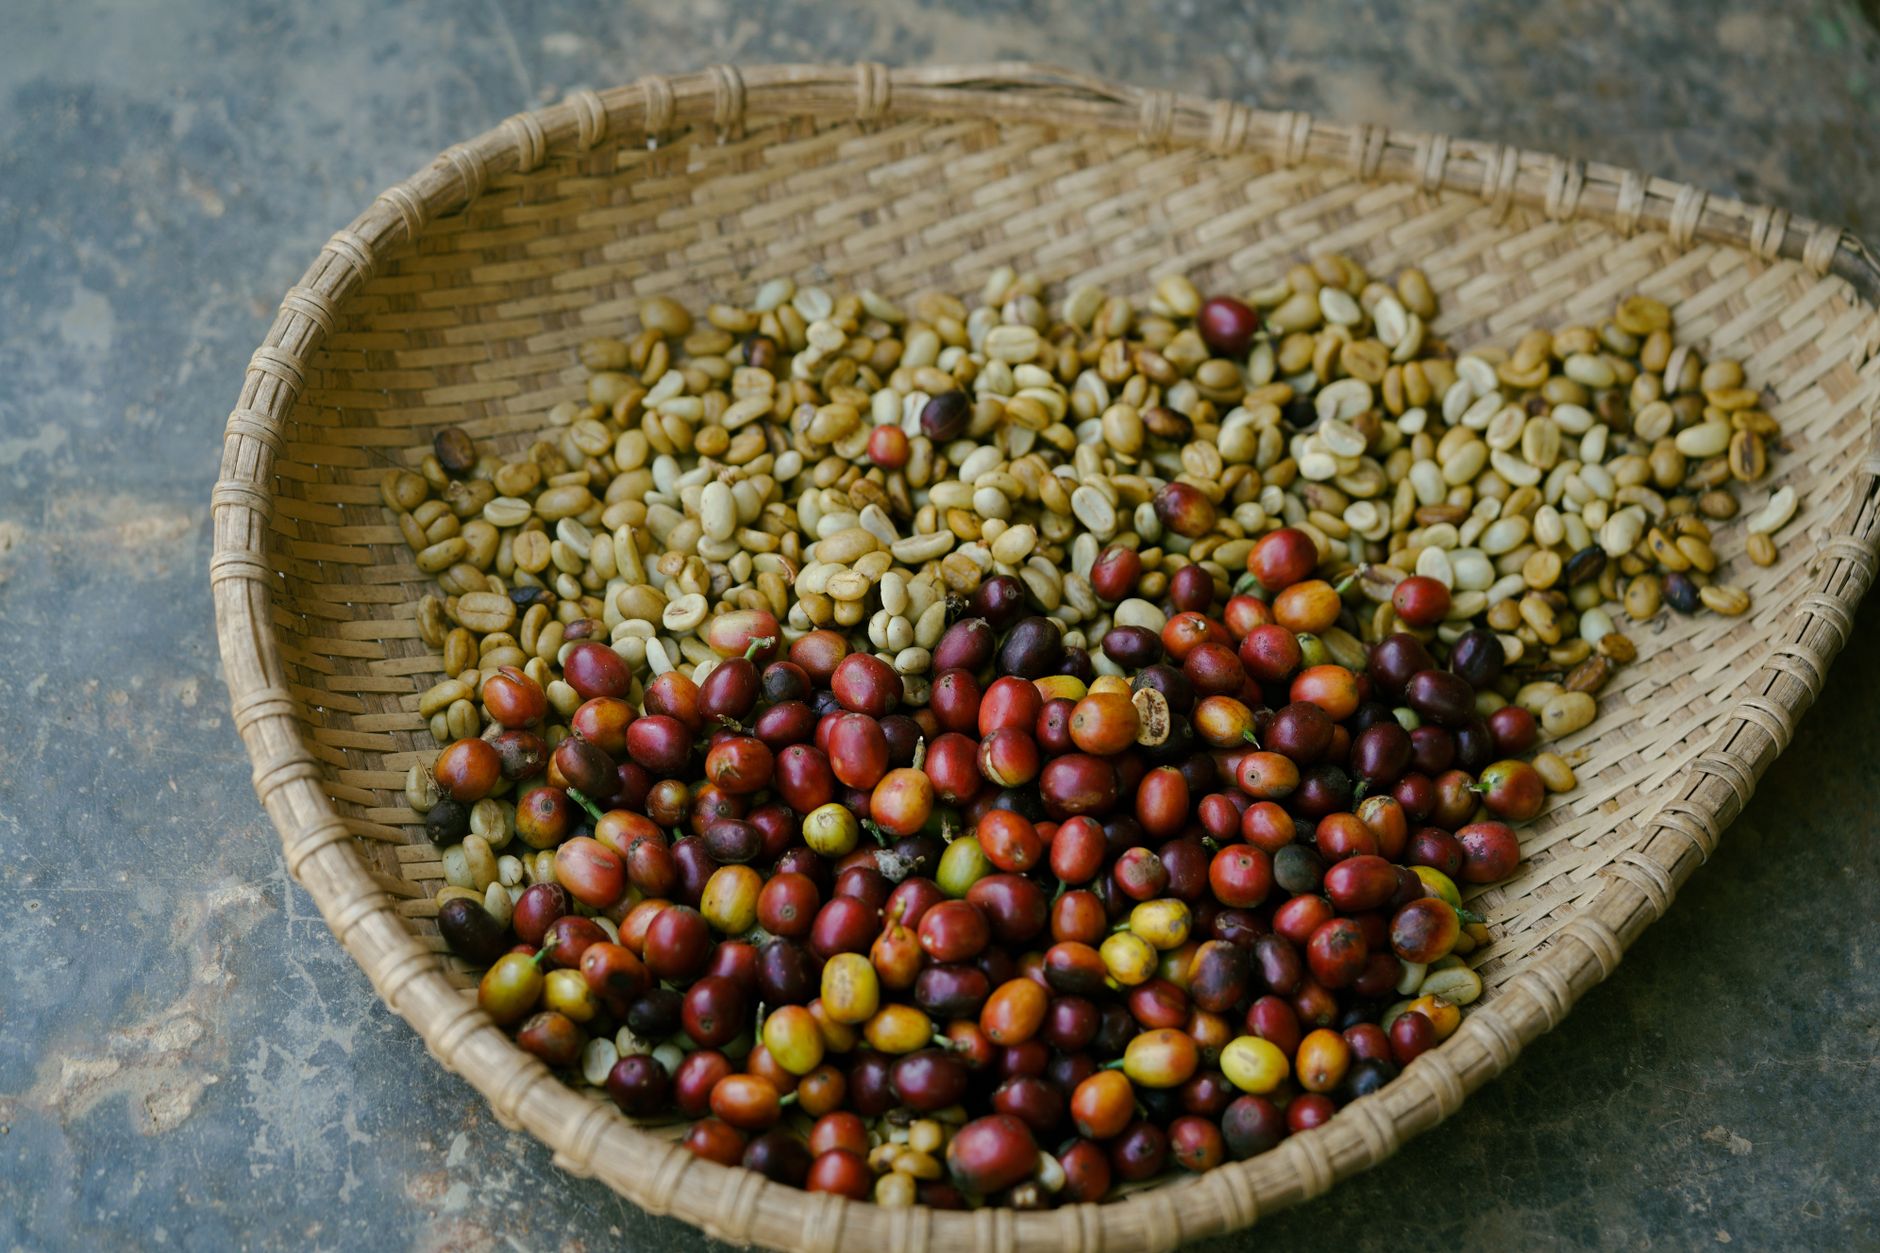
*Photo: 1500m Coffee via Pexels*
### Origin Quick-Reference Table
| Country | Altitude (MASL) | Processing | Recommended Roast | Tasting Notes |
|---|---|---|---|---|
| Ethiopia (Yirgacheffe) | 1,800–2,200 | Washed / Natural | Light–Medium | Blueberry, jasmine, lemon |
| Colombia (Huila) | 1,700–2,000 | Washed | Medium | Brown sugar, red apple, chocolate |
| Guatemala (Antigua) | 1,500–1,700 | Washed | Medium–Medium-Dark | Dark chocolate, almond, mild smoke |
| Brazil (Cerrado) | 900–1,200 | Natural | Medium-Dark–Dark | Peanut butter, low acid, heavy body |
| Sumatra (Mandheling) | 1,200–1,500 | Wet-hulled | Medium-Dark | Cedar, dark fruit, earthy |
| Costa Rica (Tarrazú) | 1,200–1,900 | Honey / Washed | Light–Medium | Peach, honey, clean finish |
### Grind and Brew Adjustments by Origin
- **High-altitude washed beans** (Ethiopia, Colombia): Grind slightly finer than baseline — denser beans need more surface area.
- **Natural-processed beans**: Expect more sweetness and body; pull espresso shots 2–3 seconds shorter to avoid syrupy over-extraction.
- **Wet-hulled Sumatras**: Coarser grind, lower brew temp (195°F/90°C vs 200–205°F) — these can taste medicinal when over-extracted.
### Freshness After Roasting
| Stage | Recommendation |
|---|---|
| 0–12 hours | Rest — too much CO₂ to brew cleanly |
| 12–72 hours | Ideal for most brew methods |
| 3–14 days | Still excellent, flavor stabilizing |
| 14–30 days | Usable; peak has passed |
| 30+ days | Degrades rapidly; grind and brew immediately |
**Storage:** Keep in a paper valve bag or ceramic container at room temperature, away from light. Refrigeration adds moisture risk; freezing works only if the whole batch goes in once, sealed airtight, and comes to room temp before opening.
---
## Common Mistakes and How to Fix Them
### Underdeveloped / Grassy Taste
Pulled too early or heat too low in the drying phase. Grassy, hay-like, vegetal. Fix: extend drying phase by 1–2 minutes, ensure consistent airflow before first crack.
### Scorched / Tipped Beans
Dark spots on an otherwise light bean — means too much direct heat, too fast. Fix: reduce initial heat or increase airflow. In a skillet, more stirring.
### Baked / Flat Coffee
Long roast, low heat — looks medium but tastes like cardboard. Caused by coasting through the roast without enough energy. Fix: roast faster with more aggressive heat application.
### Uneven Color
Normal in small batches; worse in low-airflow setups. Fix: toss between batches to expose all surfaces, or upgrade to a drum roaster where tumbling is continuous.
---
→ **See also:**
- [Home Coffee Roasting: The Complete Beginner's Guide](/home-coffee-roasting-guide/)
- [Best Home Coffee Roasters (2026 Reviewed)](/best-home-coffee-roaster/)
- [Fresh Roast SR800 Review: Best Entry-Level Roaster?](/fresh-roast-sr800-review/)
---
## FAQ
**How long does it take to roast coffee beans at home?**
Most home roasting methods take 10–15 minutes from start to first crack. Total time including cooling is under 20 minutes. Dedicated roasters with longer drying curves may run 12–18 minutes, which typically produces better cup clarity.
**Can I roast coffee in a regular oven?**
Technically yes, but results are poor. Ovens don't circulate heat well enough for even roasting, and you can't hear first crack through the door. Use an oven only as a last resort — a skillet on a gas burner gives more control.
**What's the difference between first crack and second crack?**
First crack is a loud, distinct pop caused by steam escaping the bean — this is when coffee becomes drinkable. Second crack is faster and quieter, caused by the bean's cellular structure fracturing further, and marks entry into dark roast territory. Most specialty coffee is pulled between or before these two stages.
**How much coffee do I lose when roasting?**
Green beans lose 15–20% of their weight during roasting, mostly as moisture and CO₂. 100g of green beans yields roughly 82–86g of roasted coffee. Factor this into your batch planning.
**How soon after roasting can I brew the coffee?**
For most filter and pour-over methods, 12–48 hours post-roast is optimal. For espresso, 24–96 hours produces the best extraction. Fresh-off-the-roaster coffee has too much dissolved CO₂ — it creates uneven extraction and produces sour, gassy shots.
**Do I need special green beans for home roasting?**
Any green (unroasted) arabica or robusta works. Look for specialty-grade green beans from reputable importers — they'll have harvest dates and processing info. Stale greens (over 18 months from harvest) roast unevenly and taste flat regardless of technique.
---Editorial methodology: Assessments are based on manufacturer specifications, published user reviews, and editorial research. Physical hands-on testing is noted explicitly where it occurred. Rankings reflect our editorial judgment and are not influenced by affiliate commission rates. Full editorial policy · Affiliate disclosure