Contents
Home Coffee Roasting: The Complete Beginner’s Guide
TL;DR: Home coffee roasting means buying green (unroasted) beans and applying heat to develop flavor — you control roast level, freshness, and cost. A fluid-bed roaster like the Fresh Roast SR800 gets you started for under $150; a drum roaster like the Behmor 1600 handles larger batches. Freshly home-roasted coffee is measurably better than anything sitting on a retail shelf.
Why Home Roasting Produces Better Coffee
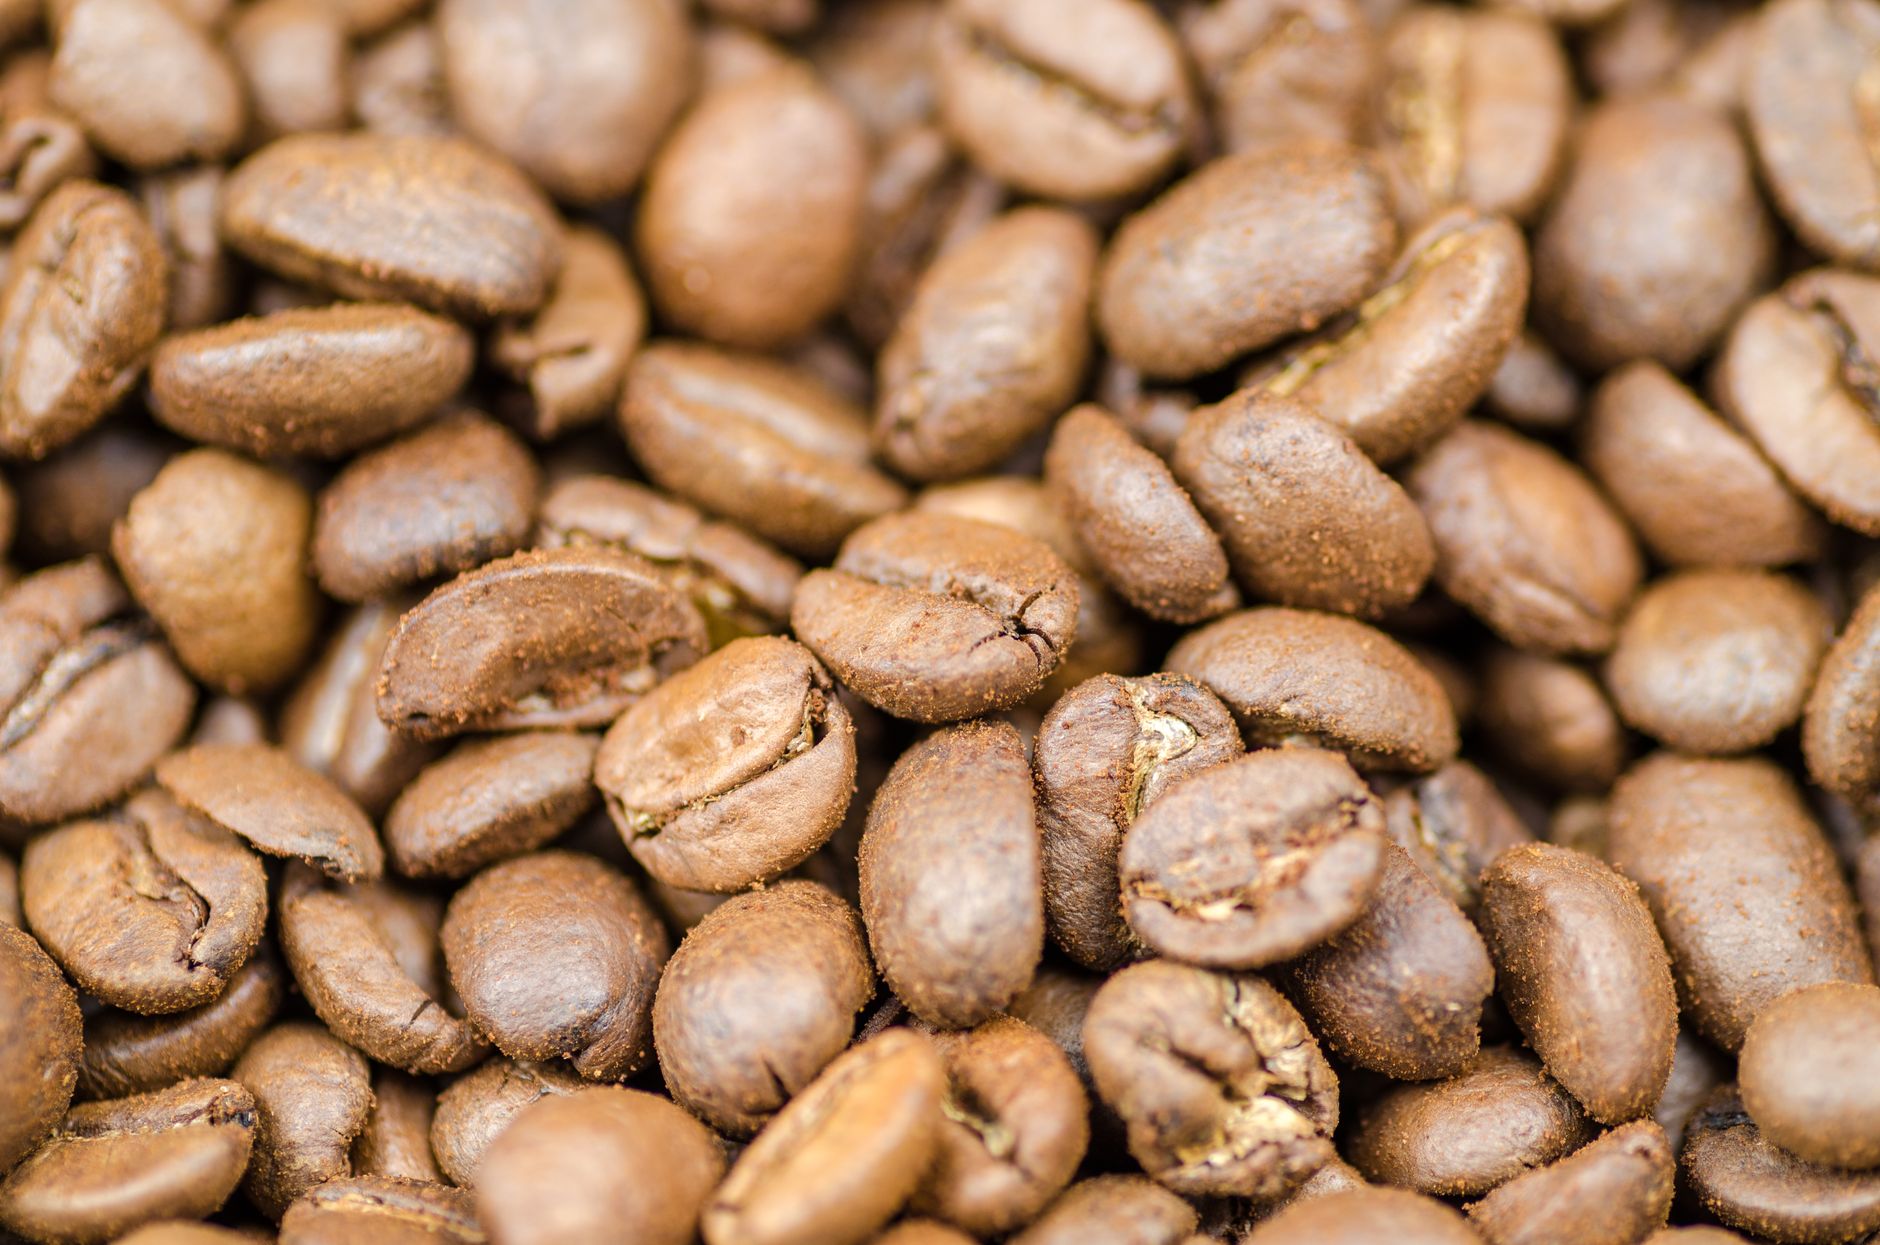
Direct Answer: Coffee peaks between 4–14 days post-roast. Retail bags are typically 30–90 days old by the time you brew them. Roasting at home eliminates that gap entirely — you’re brewing at the exact window when CO₂ degassing is complete and aromatics are at their most volatile.
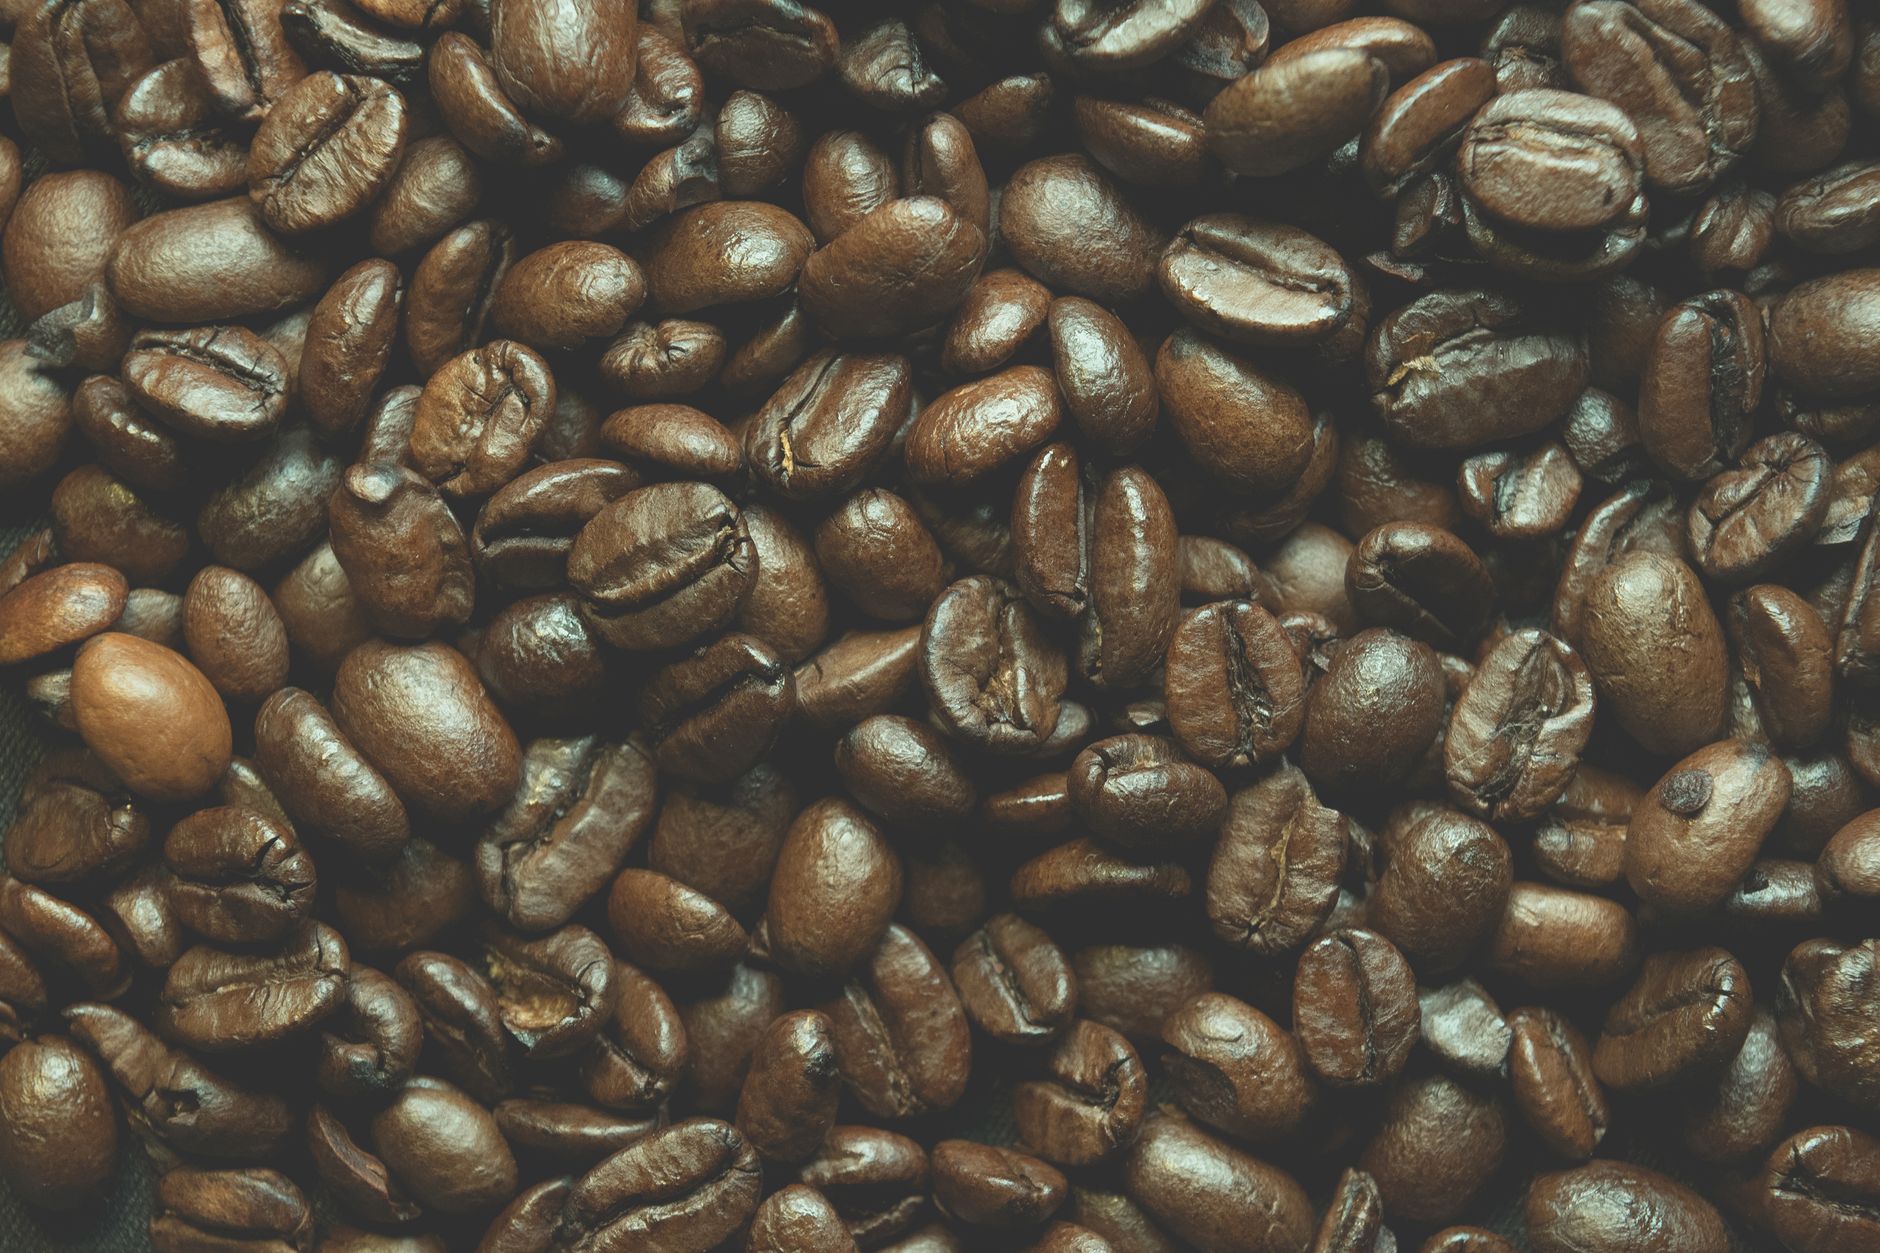 Photo: Tom Cordner via Pexels
The economics work, too. Specialty green beans cost $6–12/lb. The same beans roasted and bagged by a third-wave roaster run $18–28/lb. Roast 2 lbs/week and you recover the cost of an entry-level roaster in under three months.
Three other things retail can’t give you:
- Repeatability on your terms — lock in the exact roast level you want for your espresso machine or pour-over
- Access to rare lots — importers like Sweet Maria’s and Burman Coffee list microlots that never reach retail
- Experimentation — side-by-side batches of the same bean at different roast levels reveal what the varietal actually tastes like
How Coffee Roasting Works: The Chemistry in Plain Terms
Direct Answer: Roasting drives moisture out of green beans, then triggers Maillard reactions (browning, savory complexity) and caramelization (sweetness), followed by two audible crack events that mark roast-level milestones. The whole process takes 8–15 minutes depending on your equipment.
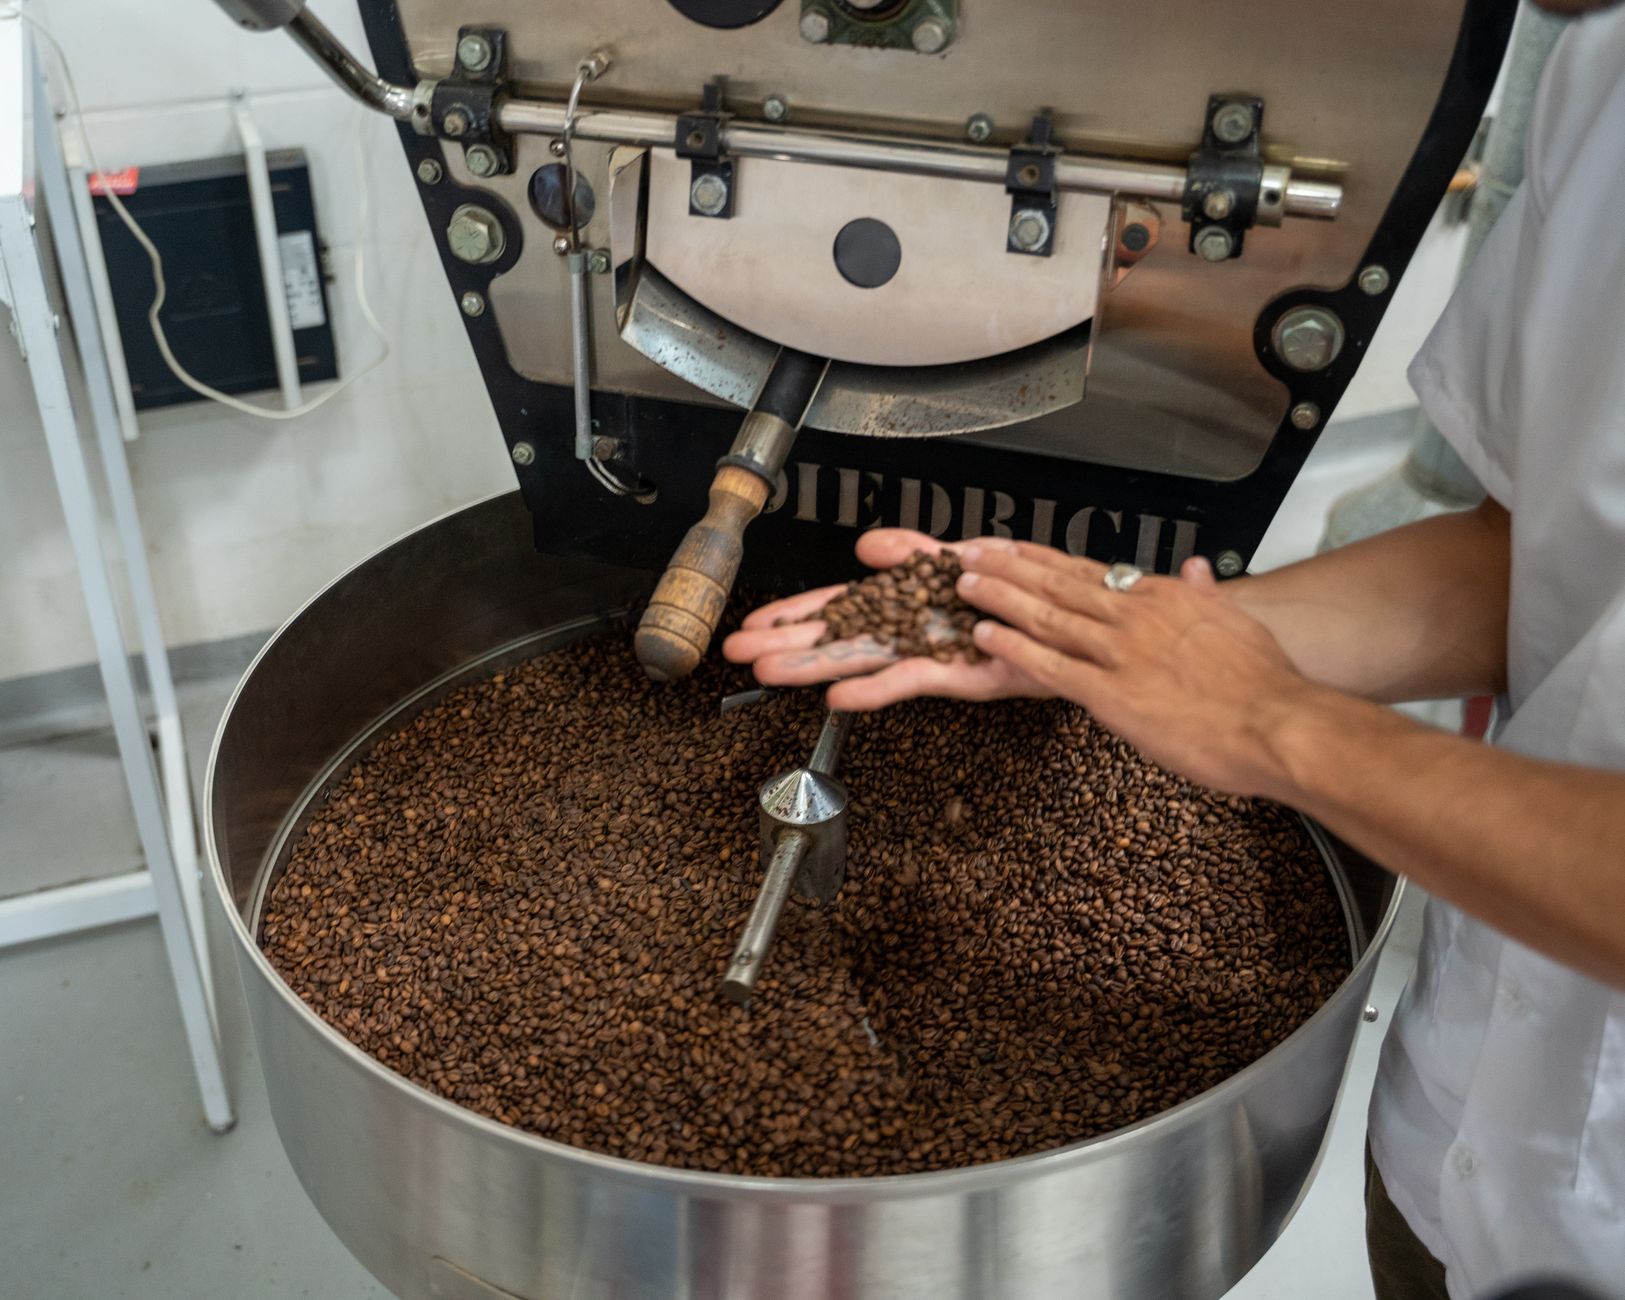 Photo: Raphael Loquellano via Pexels
The Four Stages
Drying phase (0–5 min, ~100–160°C / 212–320°F) Green beans are 8–12% moisture. The roaster first drives that out. Beans turn yellow and smell grassy or hay-like. No flavor development yet.
Maillard phase (160–196°C / 320–385°F) Amino acids and reducing sugars react. Beans go from yellow to tan to light brown. Complexity, chocolate, and nutty notes build here. This is the phase that separates skilled roasters from impatient ones — slow development here means more nuanced flavor.
First crack (196–205°C / 385–401°F) An audible pop — like popcorn, but lower. Steam and CO₂ escape through the bean’s cellular structure. This marks the start of “light roast” territory. Any bean pulled before first crack finishes is underdeveloped and will taste sour and grainy.
Development after first crack How long you extend the roast after first crack defines everything:
| Time after first crack | Roast level | Flavor profile |
|---|---|---|
| 0–30 sec | Light/City | Bright acidity, floral, fruity, light body |
| 1–2 min | City+ / Full City | Balanced acidity, caramel, chocolate, medium body |
| 2–3 min | Full City+ / Vienna | Reduced acidity, dark chocolate, roasty, heavy body |
| First snap of second crack | French | Smoky, bittersweet, thin body, low origin character |
| Into second crack | Dark/Italian | Carbon notes, oil slick, muted terroir |
Second crack (~224°C / 435°F) Cell walls fracture more aggressively. The sound is sharper, like rice crackers. Beyond second crack, you’re burning more than roasting. Most specialty coffee targets Full City or earlier.
Home Roasting Equipment: What You Actually Need
Direct Answer: You need a heat source, airflow or agitation to prevent scorching, and a way to cool beans fast. A purpose-built fluid-bed roaster is the easiest entry point; a drum roaster gives you larger capacity and more even heat. A stovetop pan works in a pinch but produces inconsistent results and fills your kitchen with smoke.
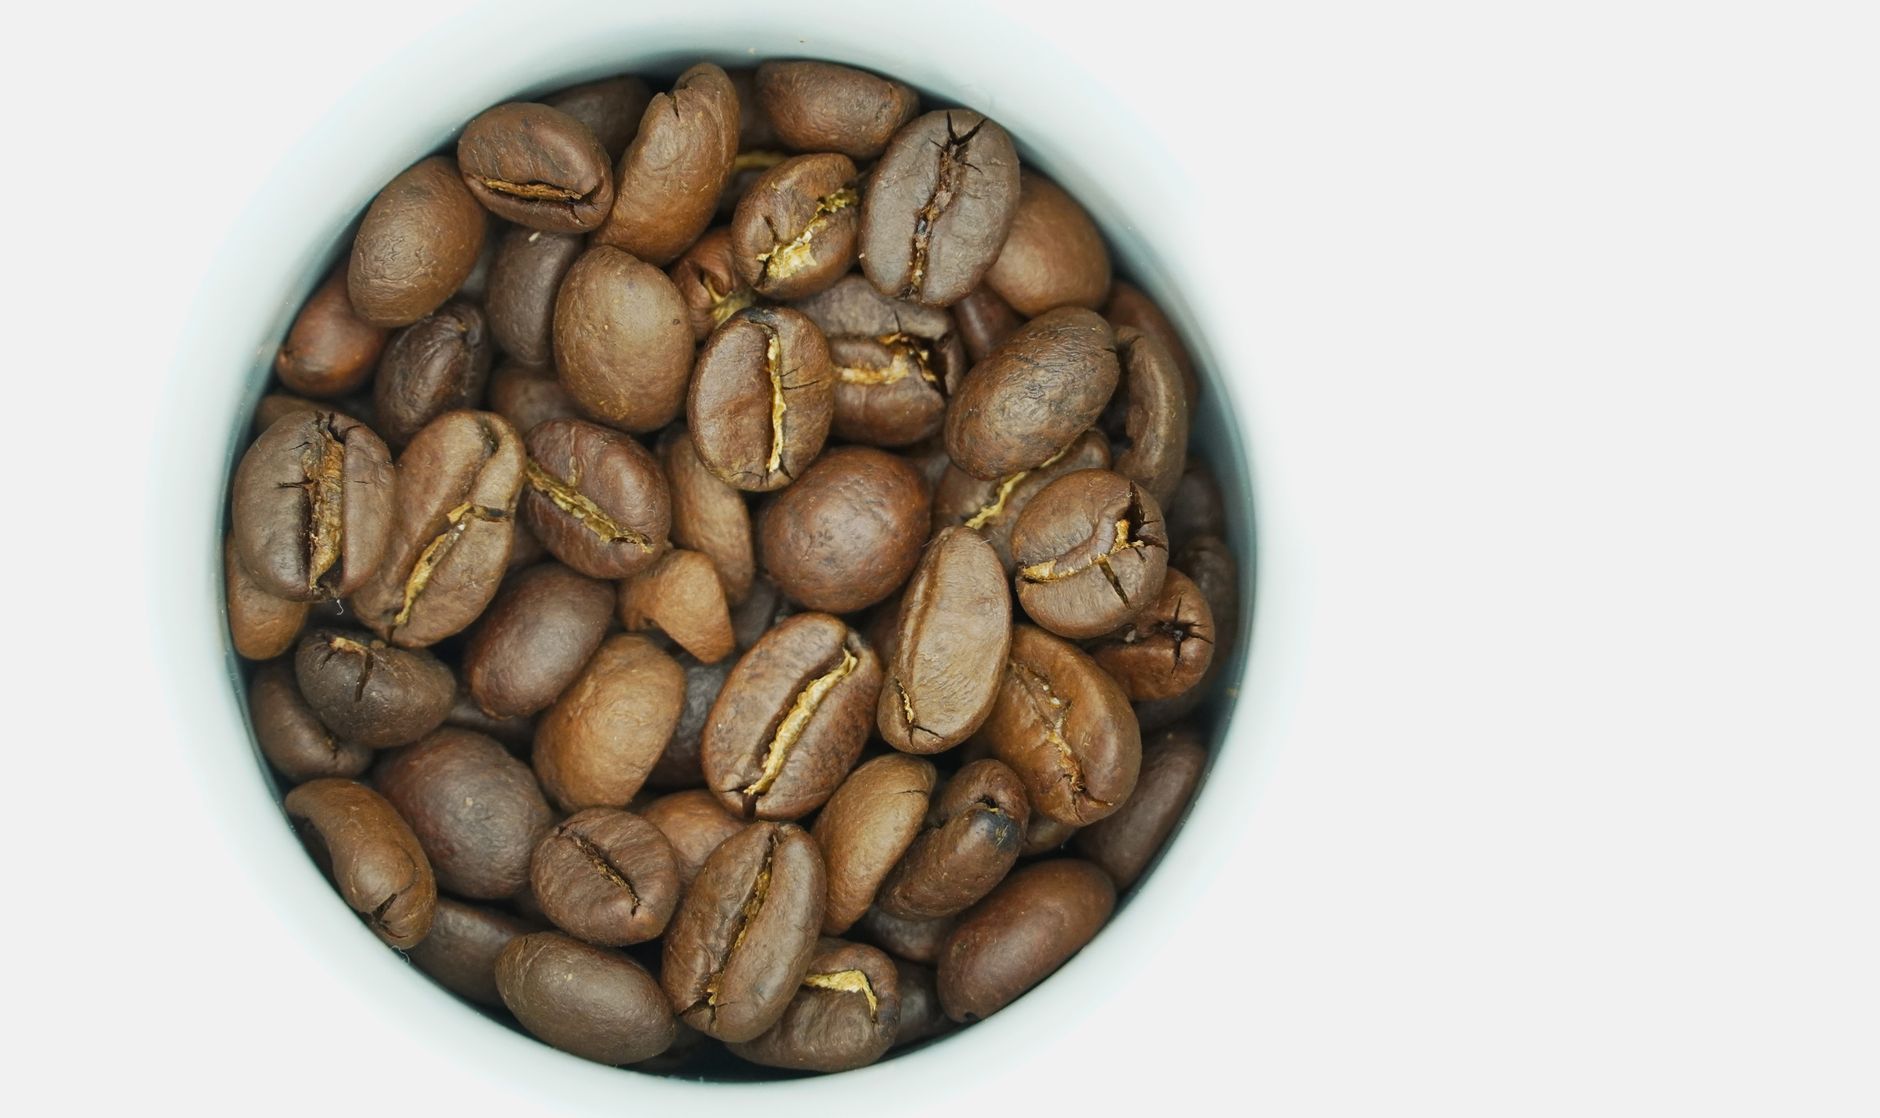 Photo: Byron Sullivan via Pexels
Fluid-Bed Roasters (Air Roasters)
Fluid-bed roasters suspend beans in a column of hot air — the same principle as a hot-air popcorn popper. They roast fast (8–12 min), cool fast, and give you excellent visual and auditory feedback.
Fresh Roast SR800 — 8 oz capacity, chaff collector, adjustable fan and heat. The benchmark entry-level roaster. Pairs with the Fresh Roast SR540 if you’re budget-constrained but want the same platform.
Kaldi Wide — fluid-bed drum hybrid, 250g capacity, good heat stability.
Aillio Bullet R2 — not a fluid-bed, but worth noting as the top prosumer drum at $2,500+. Overkill for beginners; mentioned here so you know what “upgrading” looks like.
Drum Roasters
Rotating drums tumble beans through hot air. Slower heat transfer means longer roast times (12–18 min), but larger batch sizes and more even development on dense high-altitude beans.
Behmor 1600 Plus — 1 lb capacity, smoke suppression, programmable profiles. Widely recommended for people who want more than 100g batches without going prosumer.
Gene Cafe CBR-101 — off-axis rotating drum, 250g, excellent for medium and dark roasts.
The Stovetop / Skillet Method
Technically feasible. Practically: uneven heat, no airflow, chaff fire risk, and you have to stir constantly for 12–15 minutes. The one legitimate use case is confirming you enjoy home roasting before spending $100+.
Cooling
This is underrated. Beans must drop below 38°C (100°F) within 3–5 minutes of pulling from heat, or they continue roasting from retained heat (“coasting”) and you overshoot your target. Fluid-bed roasters handle cooling automatically. Drum roasters often require a separate colander-and-fan setup.
What You Don’t Need (Yet)
- Dedicated thermocouples and logging software (Artisan, RoastLogger) — learn the sensory cues first
- A sample roaster — $500+ entry point, meant for cupping green lots
- A destoner — relevant at 5+ lbs/week only
Sourcing Green Coffee Beans
Direct Answer: Buy green beans from specialty importers who list harvest dates and process information, not Amazon generics. Freshness of the green bean matters — aim for beans from the current or previous crop year, with water activity around 0.55 AW and moisture content 10–12%.
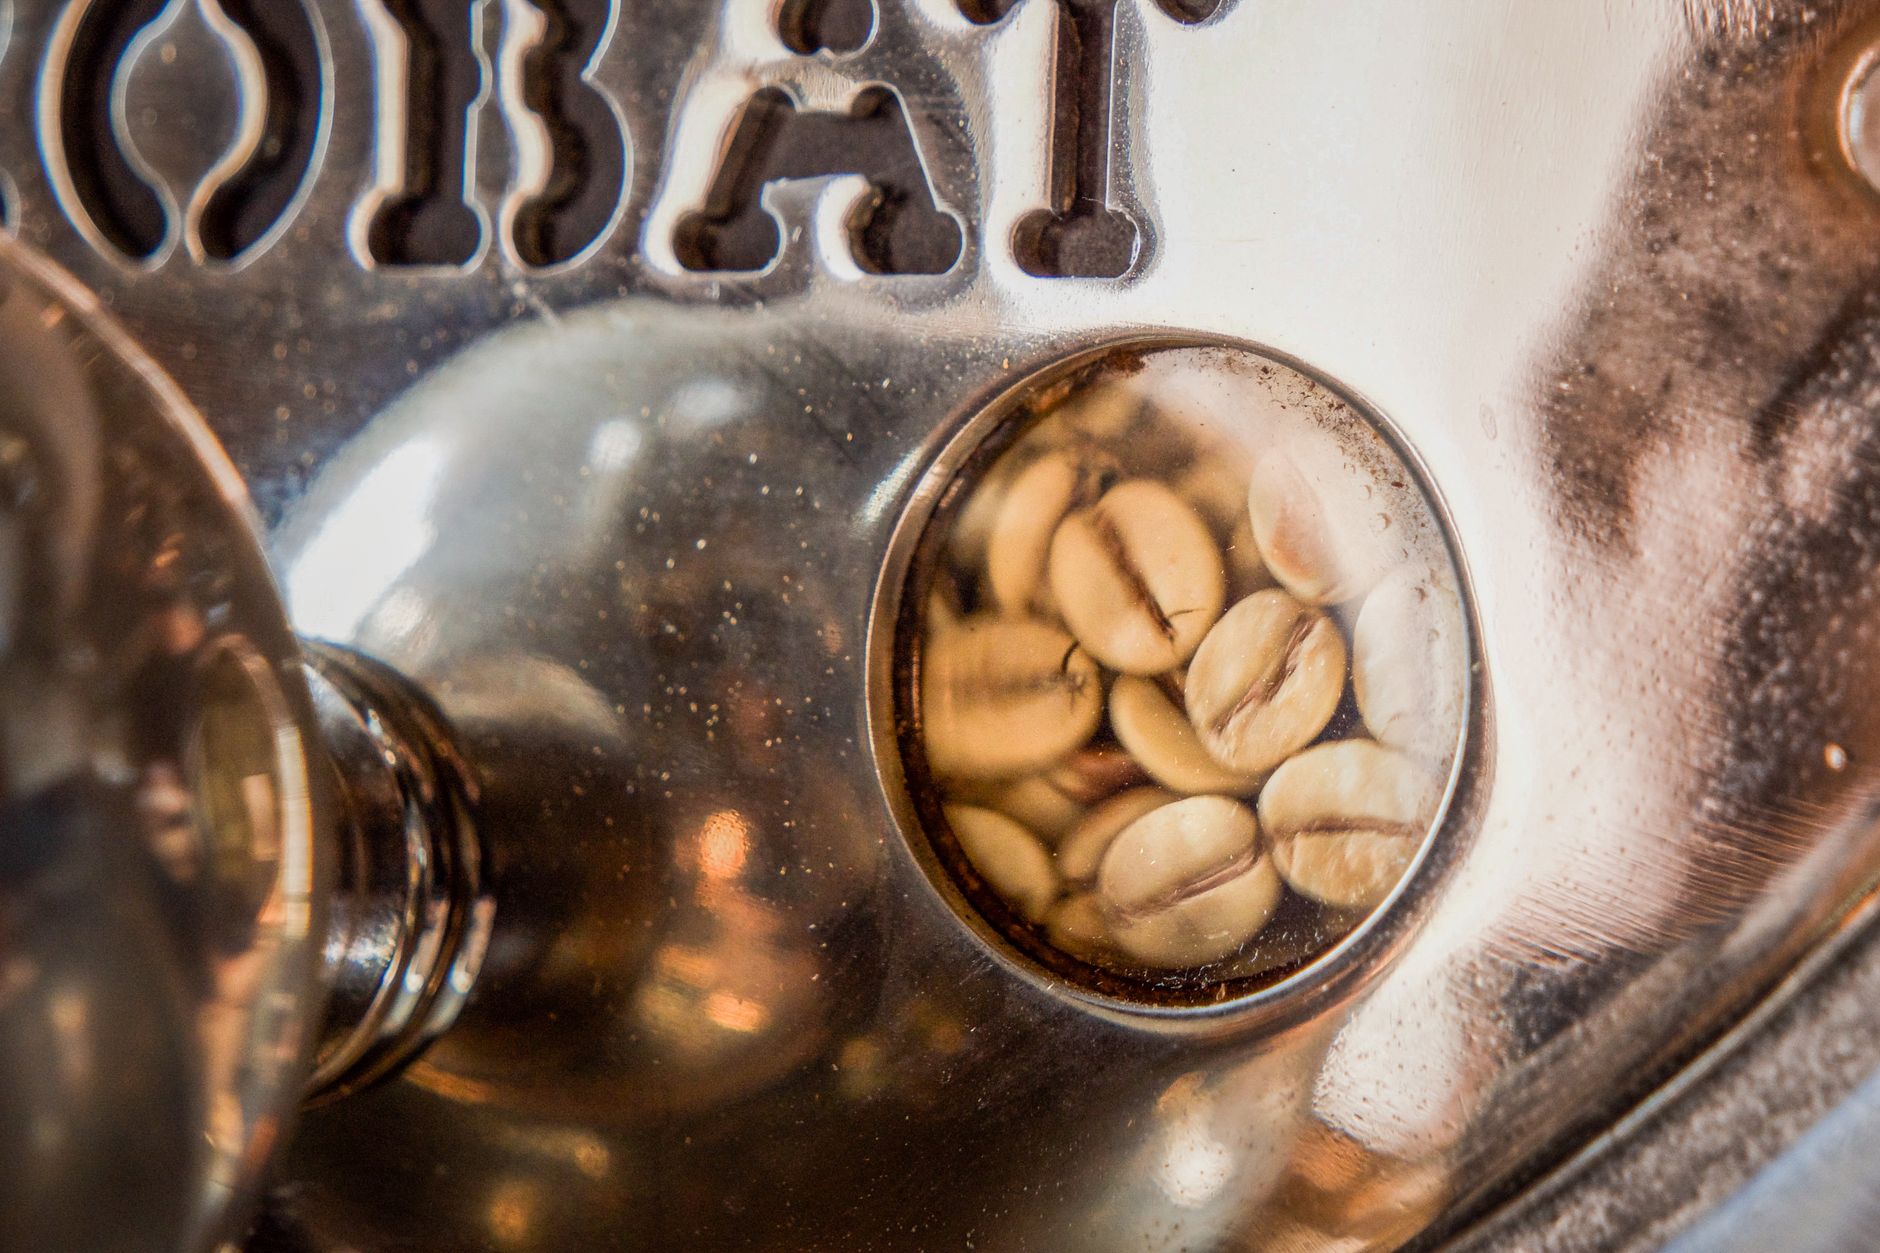
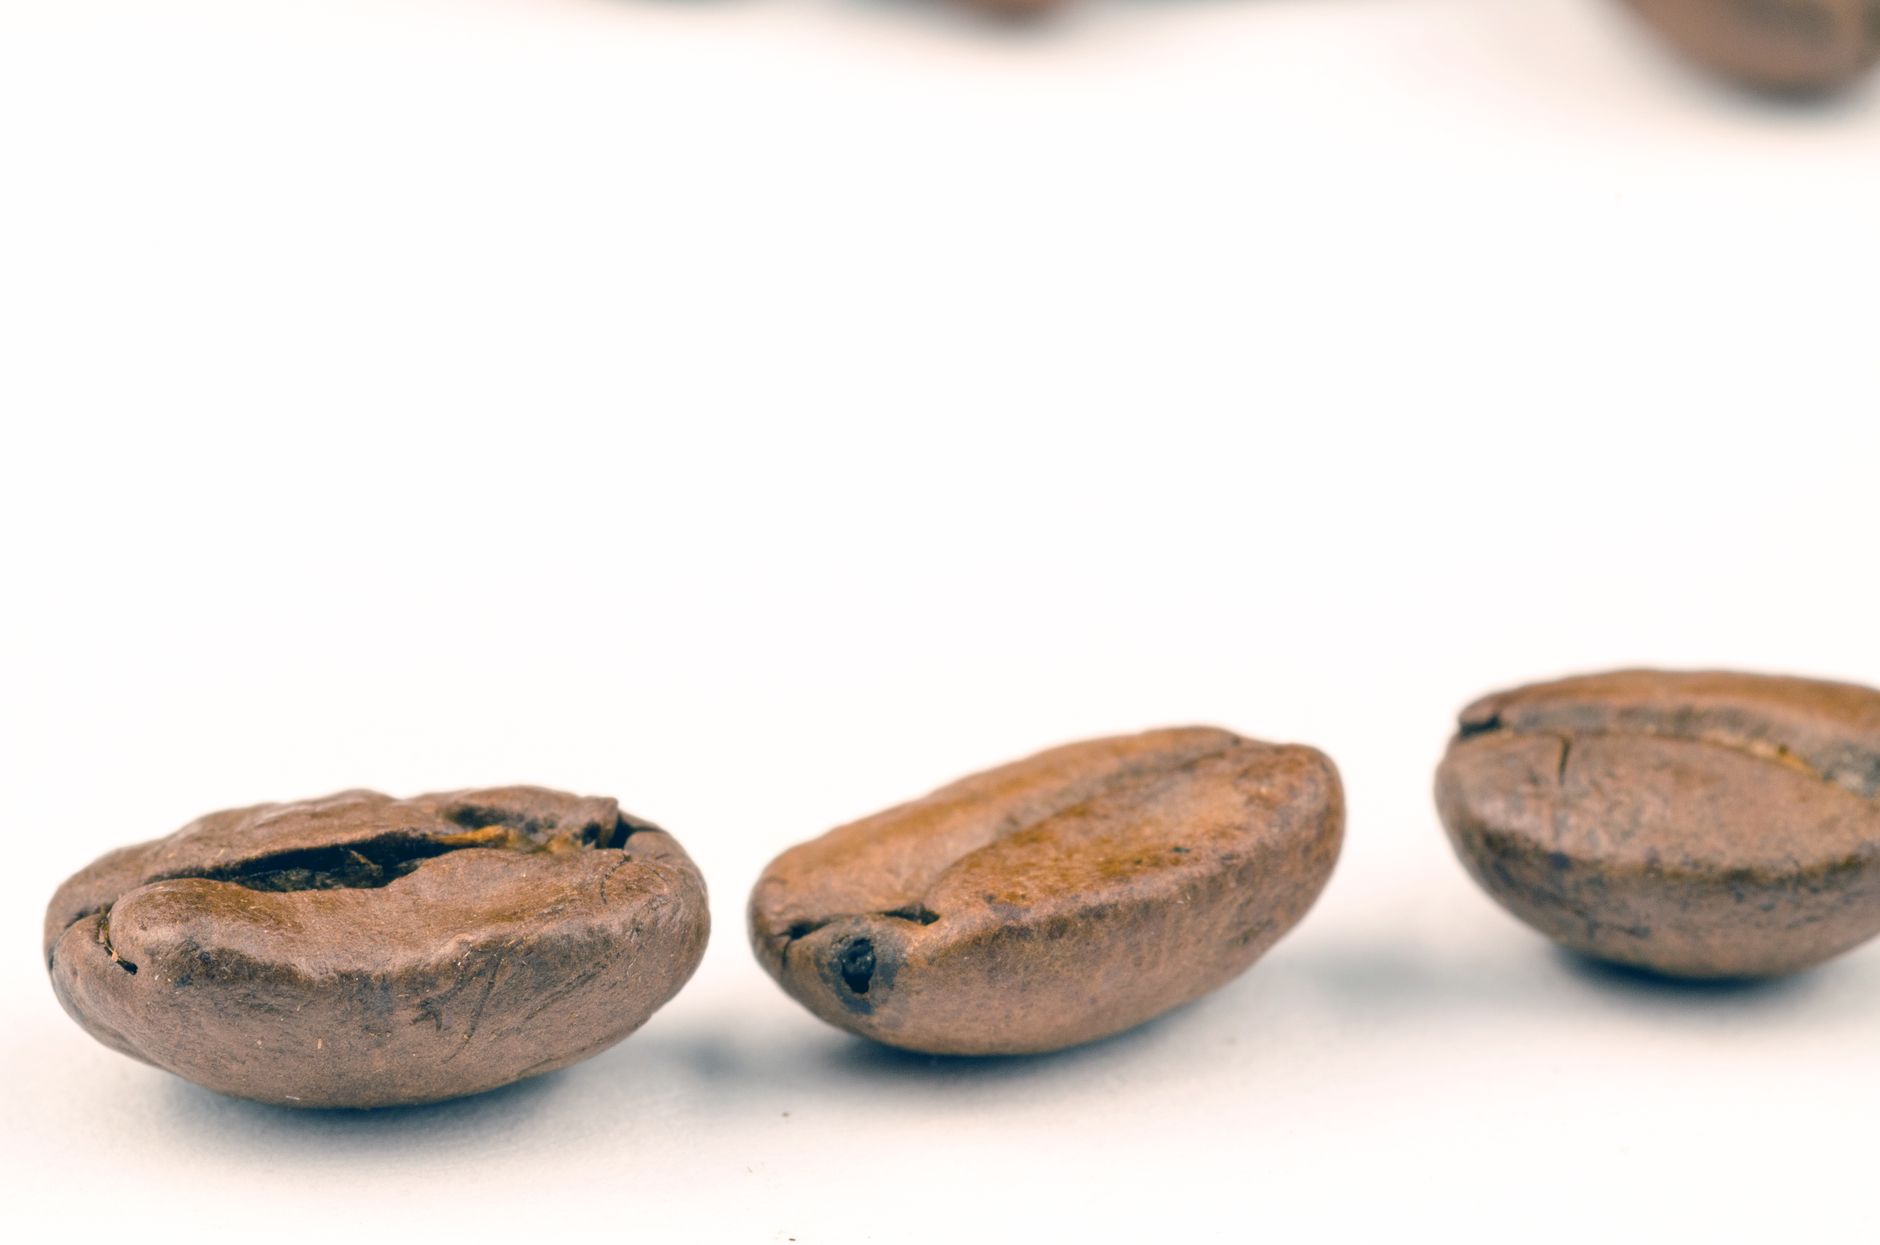 Photo: Lukas Blazek via Pexels
Recommended Green Bean Sources
| Supplier | Strengths | Good for |
|---|---|---|
| Sweet Maria’s | Best lot descriptions, educational resources | Beginners and serious hobbyists |
| Burman Coffee | Wide selection, reliable freshness data | Variety seekers |
| Happy Mug | Affordable, good for experimenting with volumes | Budget-conscious roasters |
| Coffee Shrub | Sister site to Sweet Maria’s, larger quantities | Roasting 2+ lbs/week |
| Bodhi Leaf | West Coast stock, good naturals | Espresso-focused roasters |
What to Look for in a Green Bean Listing
- Harvest date — not just “current crop.” Ethiopian Yirgacheffe from the Oct–Jan harvest peaks green around 3–6 months post-harvest.
- Processing method — washed, natural, honey/pulped natural (affects flavor and roast behavior significantly)
- Altitude — denser beans from higher altitudes require more heat and longer development
- Screen size — uniformity matters; mixed screen sizes mean some beans over-roast while others under-roast
- Defect count — expressed as defects per 300g sample; under 5 is specialty grade
Coffee Module C — Beans & Origins
Direct Answer: Origin determines the flavor ceiling; roast level and technique determine how much of that ceiling you reach. For home roasters, three origins offer the clearest sensory contrast and most forgiving roast windows.
Origin Reference Table
| Country | Altitude (MASL) | Common Processing | Recommended Roast | Tasting Notes |
|---|---|---|---|---|
| Ethiopia (Yirgacheffe) | 1,800–2,200 | Washed / Natural | Light–City+ | Blueberry, jasmine, lemon zest, tea-like body |
| Colombia (Huila) | 1,500–2,000 | Washed | City–Full City | Caramel, red apple, hazelnut, balanced acidity |
| Brazil (Cerrado) | 900–1,200 | Natural / Pulped Natural | Full City–Vienna | Chocolate, walnut, low acidity, full body |
| Guatemala (Antigua) | 1,500–1,700 | Washed | City+–Full City+ | Dark chocolate, brown sugar, subtle smoke |
| Kenya (AA) | 1,700–2,100 | Washed (72-hour) | City–Full City | Blackcurrant, tomato, bright citric acidity |
| Sumatra (Mandheling) | 1,000–1,500 | Wet-hulled (Giling Basah) | Full City+–French | Earthy, cedar, dark chocolate, low acidity |
Pairing: Brew Methods and Roast Adjustments
For espresso: Pull Full City+ or Vienna roasts. High-altitude beans (Ethiopia, Kenya) at these levels produce complex, fruit-forward espresso — target 93°C / 199°F, 18g dose, 36–38g yield. Lower-altitude Brazil naturals suit darker roasts and traditional Italian-style espresso at 92°C / 198°F.
For pour-over / filter: Light to City roasts maximize clarity and origin character. Ethiopia Yirgacheffe at City shows the most distinct floral and fruit notes. Grind coarser than you would for similar beans from a roaster — freshly roasted beans off-gas CO₂ aggressively and benefit from a coarser grind to avoid channeling.
For French press: Full City to Full City+ on low-acidity origins (Brazil, Sumatra). The metal filter passes oils and fines — dark roasts’ heavier body stands up to this without tasting muddy.
Grind adjustment for fresh roast: Add 1–2 grind steps coarser than your usual setting for the first 3–4 days post-roast. As degassing slows (days 4–10), tighten back to your normal setting.
Freshness: Degassing, Storage, Shelf Life
| Phase | Days Post-Roast | What’s Happening | Recommendation |
|---|---|---|---|
| Active off-gassing | 0–3 days | CO₂ escapes rapidly, flavors unstable | Don’t brew espresso yet; filter OK |
| Peak window | 4–14 days | CO₂ settled, aromatics most volatile | Optimal for all brew methods |
| Extended use | 14–30 days | Gradual oxidation, flavor mutes | Grind-to-order, seal container |
| Stale | 30+ days | Flat, cardboard, no brightness | Acceptable for cold brew only |
Storage: Airtight container with one-way CO₂ valve at room temperature. Do not refrigerate — condensation accelerates staling. Freezing works only for sealed, single-use portions that go directly from freezer to grinder without thawing.
After opening: 3–4 weeks maximum for light roasts; dark roasts last slightly longer due to lower internal moisture. Buy or roast in quantities matching your 2-week consumption rate.
Your First Roast: Step-by-Step
Direct Answer: Load 100g of green beans, set your roaster to medium-high heat, listen for first crack at 8–10 minutes, and drop the beans 60–90 seconds after first crack ends for a City+ roast. Cool immediately in a colander. Rest 24–48 hours before brewing filter; 3–4 days before espresso.
 Photo: More Amore via Pexels
Pre-Roast Checklist
- Ventilate — open a window, turn on the range hood. Roasting produces smoke, particularly in the Maillard phase and beyond.
- Weigh your green beans. 100g green = ~85g roasted (light) to ~78g roasted (dark) due to moisture loss.
- Note the bean origin and intended roast level before you start.
- Have a timer ready.
- Set up your cooling station if your roaster doesn’t auto-cool.
The Roast
0:00 — Start roaster, add beans (for fluid-bed: add beans before starting per your model’s instructions).
0:00–5:00 (Drying) — Beans turn yellow, steam visible, grassy smell. Don’t touch settings unless your roaster is running too cool (beans still pale green at 4 min).
5:00–9:00 (Maillard) — Color darkens from tan to cinnamon. Sweet, toasty aroma replaces the grassy smell. If you have heat control, you can reduce heat slightly here to slow development.
~8:00–10:00 (First Crack) — Listen. A series of soft pops, irregular rhythm, like distant popcorn. Note the time.
Post-crack development:
- Drop at 30 sec after last pop → light roast, bright, fruity
- Drop at 60–90 sec → City+, balanced, most versatile
- Drop at 2 min → Full City, darker chocolate notes
Second crack (~12:00–14:00) — Sharper, faster cracking. Pull before this unless you specifically want dark roast.
Drop and cool — Immediately transfer to cooling tray or colander. Fan or toss beans until they reach room temperature (under 5 minutes).
Common First-Roast Mistakes
| Mistake | What happens | Fix |
|---|---|---|
| Too small a batch | Beans fly around, uneven heat | Use recommended minimum (usually 75–100g) |
| Not enough ventilation | Smoke alarm triggers, chaff fire risk | Range hood + window, every time |
| Pulling too early (before first crack finishes) | Sour, grainy, astringent cup | Wait for crack to slow, not stop completely |
| Pulling too late (into second crack) | Ashy, bitter, all origin character gone | Watch the clock after first crack |
| Brewing same-day | CO₂ escapes into cup, sour and flat | Rest 24–48 hours minimum |
Dialing In Your Roast Profile Over Time
Direct Answer: A “profile” is simply the relationship between time, temperature, and heat application across the roast. You don’t need logging software to develop a repeatable profile — a timer, your ears, and tasting notes across 3–4 batches are sufficient to lock in results.
The Three Variables You Control
Heat level — Most entry-level roasters offer 5–10 heat settings. Higher heat early accelerates the drying phase; dropping heat before first crack slows development and adds complexity.
Airflow (fluid-bed roasters) — More airflow cools the bean mass, less concentrates heat. Use high airflow during drying, reduce slightly during Maillard if your roaster allows.
Drop point — The single biggest lever. Decide your target (City, City+, Full City) before you start and hit it consistently.
A Simple Roast Log
Keep a notepad next to your roaster. For each batch, note:
- Date and bean origin
- Green weight in / roasted weight out (roast loss %)
- Time to first crack
- Development time (first crack to drop)
- Heat settings used
- Cup notes (brewed at day 5, 10, 14)
Roast loss gives you a proxy for roast level: 14–16% = light, 17–19% = medium, 20%+ = dark.
Comparing Home Roasting to Buying Specialty Coffee
| Factor | Home Roasting | Buying Specialty |
|---|---|---|
| Freshness | Roast to order, peak at 4–14 days | Typically 30–90 days post-roast at purchase |
| Cost per lb | $6–12 (green) + equipment amortized | $18–28 (retail specialty) |
| Variety | Access to microlots, rare processing | Limited by what roasters choose to stock |
| Convenience | 20–30 min active time per batch | Zero — order or walk in |
| Learning curve | Moderate — 5–10 batches to get consistent | None |
| Equipment investment | $100–2,500+ | None |
| Consistency | Variable until you dial in | High (professional roasters repeat profiles precisely) |
The honest answer: if you brew 1–2 cups/day and don’t particularly want to learn a new skill, buying from a good local roaster is rational. Home roasting pays off for people who drink 2+ cups/day, enjoy the craft, or want access to origins that don’t reach retail.
→ See also:
- Best Home Coffee Roasters (2026 Reviewed) — full comparison of fluid-bed and drum roasters across price tiers
- Fresh Roast SR800 Review: Best Entry-Level Roaster? — detailed review covering batch size limits and temperature stability
FAQ
What’s the minimum budget to start home roasting? A stovetop method (skillet or whirley pop) costs nothing beyond your existing equipment, though results are inconsistent. The Fresh Roast SR540 runs under $100 and gives you dedicated airflow and heat control. Budget $40–80 for your first 5–10 lbs of green beans on top of that. Expect to spend $130–160 total for a functional setup.
How long does home-roasted coffee stay fresh? Peak flavor window is 4–14 days post-roast. Filter coffee degrades more noticeably after day 14; espresso can stretch to day 21 before it becomes noticeably flat. Store in an airtight container at room temperature with a CO₂ valve. Don’t refrigerate.
Can I roast indoors? Yes, but ventilate aggressively. Fluid-bed roasters produce less smoke than drum roasters and are more apartment-friendly. A range hood on high and an open window handles most batches under 150g. City+ roasts smoke less than dark roasts — another reason to stop earlier.
Do I need special equipment to cool the beans? A metal colander and a fan work fine. The goal is below 38°C / 100°F within 3–5 minutes. Fluid-bed roasters like the SR800 have a built-in cooling cycle that handles this automatically. Drum roasters typically require the external colander method or a dedicated cooling tray.
Why does my home-roasted coffee taste sour? Three likely causes: underdevelopment (pulled before first crack finished), brewing too soon (within 24 hours of roasting), or a grind that’s too fine for freshly roasted beans. Try resting 2–3 days, grinding one or two steps coarser than usual, and confirming you’re hearing a full first crack — not just the first few pops — before dropping.
What’s the difference between first crack and second crack? First crack sounds like irregular popcorn — a series of low, spaced-out pops as moisture and CO₂ escape the bean. Second crack is sharper, faster, and more continuous — the cellular structure fracturing under continued heat. Light through Full City roasts finish after first crack. French and Italian roasts push into or through second crack. Most specialty coffee targets the window between them.
Is home-roasted coffee better for espresso? It can be, specifically because freshness is critical to espresso extraction. Retail beans 60+ days post-roast extract unevenly and produce thin, hollow shots. Fresh home-roasted beans at Full City or Full City+ — rested 3–5 days — pull some of the cleanest, most flavor-forward espresso you’ll taste. The variable is consistency: it takes 10–15 batches to hit a repeatable roast level.
How much green coffee should I buy to start? 1–2 lbs of two or three different origins. This gives you enough for 8–12 practice batches without committing to a flavor profile you might not enjoy. Colombia Huila and Brazil Cerrado are both forgiving, versatile origins with wide roast windows — good starting points before moving to more delicate high-altitude lots like Ethiopian naturals.
JSON-LD Schema
Editorial methodology: Assessments are based on manufacturer specifications, published user reviews, and editorial research. Physical hands-on testing is noted explicitly where it occurred. Rankings reflect our editorial judgment and are not influenced by affiliate commission rates. Full editorial policy · Affiliate disclosure