Contents
Latte Art Rosetta Tutorial: Pour Your First Fern Pattern
TL;DR: A latte art rosetta is a fern-shaped pattern poured by wiggling the milk pitcher side to side while moving backward through the cup, then cutting through the center. You need a properly textured flat cap of microfoam and a 1:6 espresso-to-milk ratio. Most beginners get it within 20–40 hours of focused practice.
What You Actually Need Before You Start
You cannot pour a rosetta on bad espresso or improperly textured milk. Full stop. Get both right first — latte art rosetta tutorial resources that skip this step are setting you up for frustration.
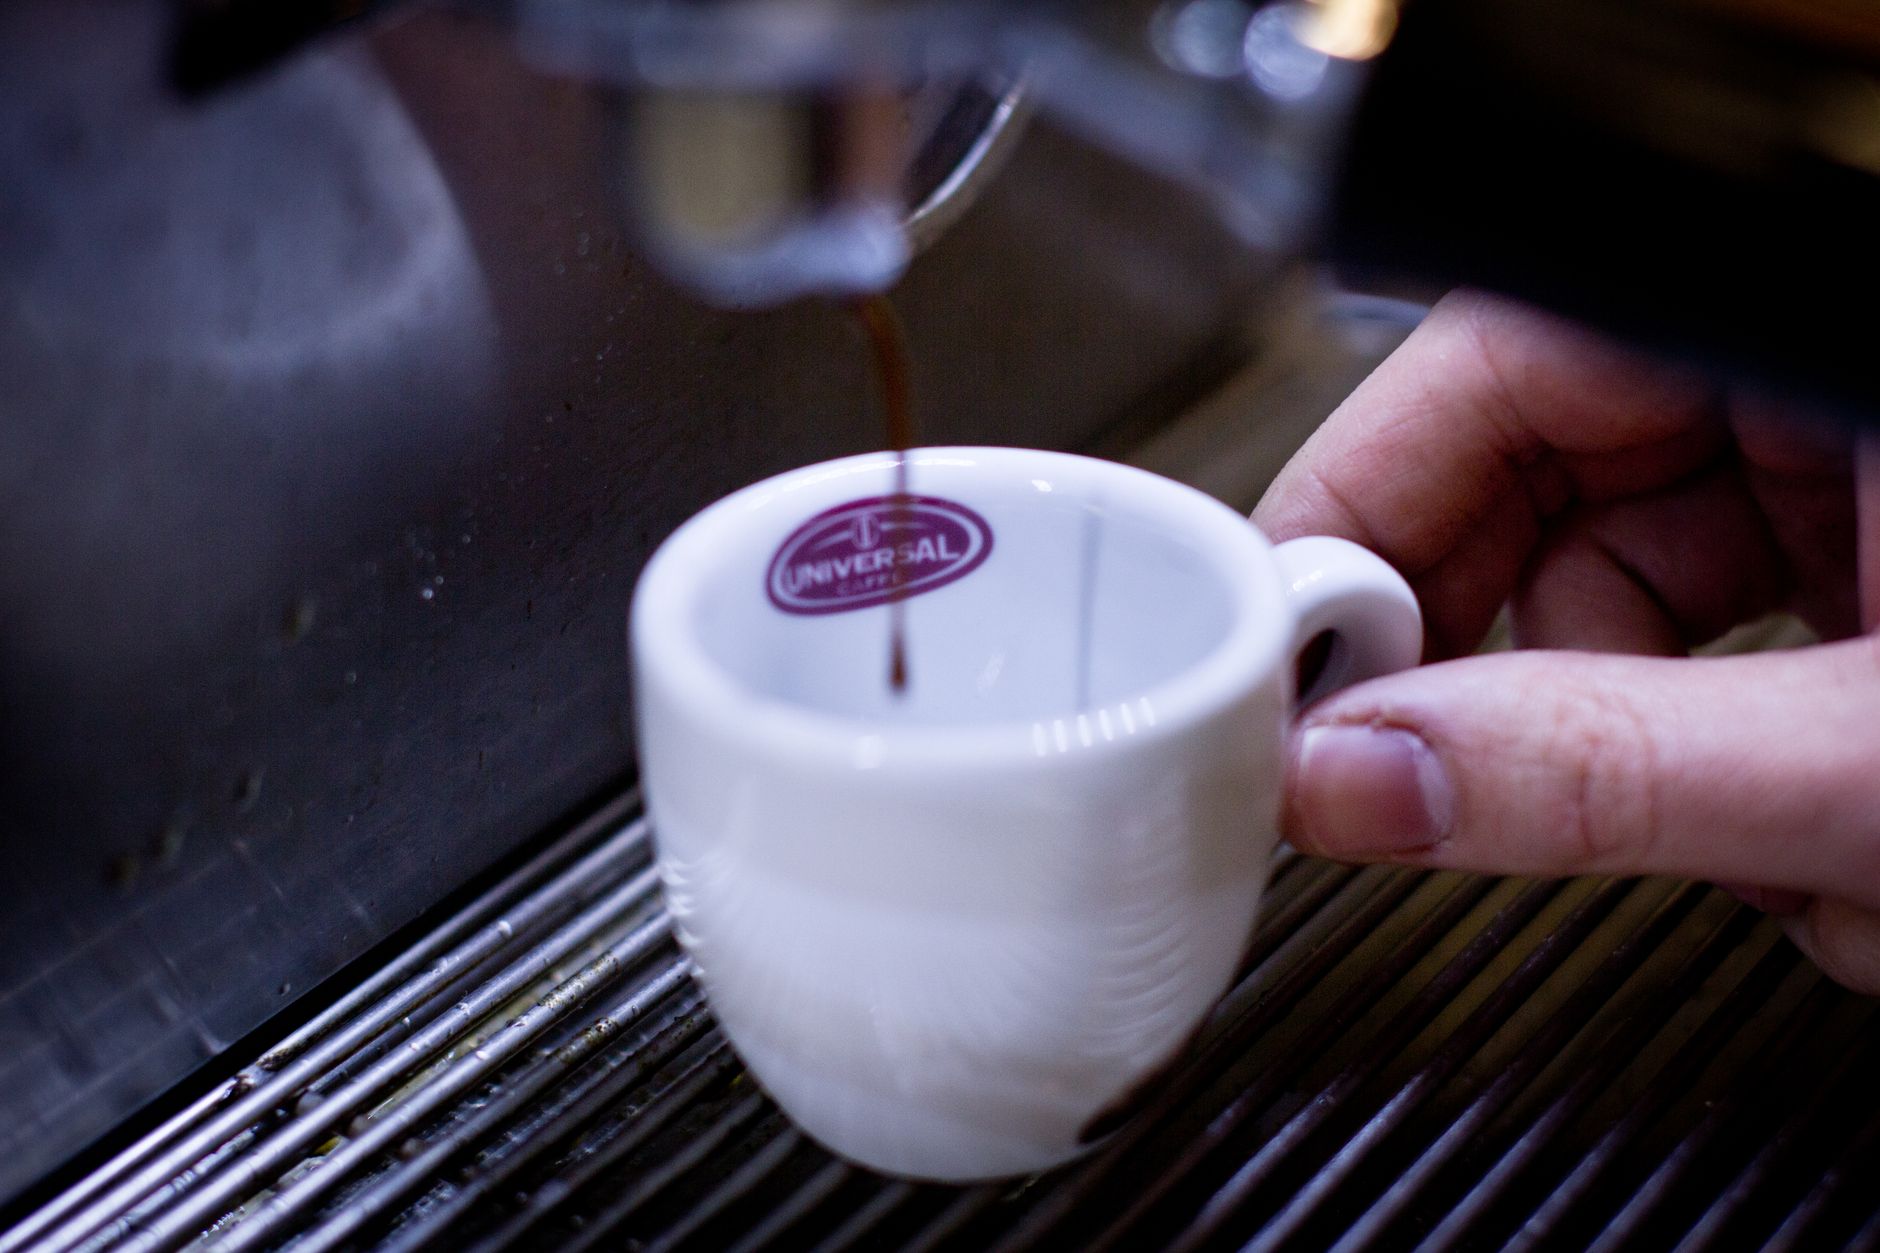
 Photo: Edward Rye Espiritu via Pexels
The three non-negotiables:
| Element | Target Spec | Why It Matters |
|---|---|---|
| Espresso | 1:2 ratio, 25–30 sec, visible crema | Crema acts as the canvas — thin or absent, pattern sinks |
| Microfoam texture | Wet paint / silk sheen, 60–65°C | Chunky foam disrupts the surface flow |
| Cup angle | ~45° tilt at pour start | Creates the current that lets milk slide under crema |
Your pitcher matters too. A 12 oz (350 ml) pitcher with a sharp, narrow spout gives you far more control than a wide-mouth jug. The Motta Europa is the industry standard for a reason — the spout creates a thin, precise stream.
How to Texture Milk for Latte Art
Microfoam for a rosetta requires no visible bubbles, a temperature between 60–65°C (140–150°F), and a consistency that moves in a single mass when you swirl the pitcher. Stretching (introducing air) must be done in the first 3–4 seconds while milk is cold.
 Photo: Eric Steinhauer via Pexels
Step-by-step milk texturing:
- Fill the pitcher to just below the spout bend — roughly 150–170 ml for a 6 oz latte
- Purge the steam wand for 1 second
- Position the tip just below the surface, slightly off-center
- Stretch phase (0–4 sec): Lower the pitcher until you hear a folding/ripping paper sound — 3–4 short hisses of air injection. Stop before the milk warms to body temperature
- Spin phase: Submerge the tip deeper and angle to create a vortex. Milk temp will climb fast now
- Stop at 60–65°C — use a thermometer until you can read your palm against the pitcher
- Tap the pitcher on the counter once to pop any surface bubbles, then swirl until glossy
If you see a layer of stiff foam sitting on top of the liquid — start over. Latte art poured on separated foam produces blobs, not rosettas.
The Rosetta Pour: Step-by-Step
The rosetta has three moves in sequence: a base pour to fill the cup halfway, a wiggle while moving backward, and a final cut through the center. Every failure traces back to one of these three phases.
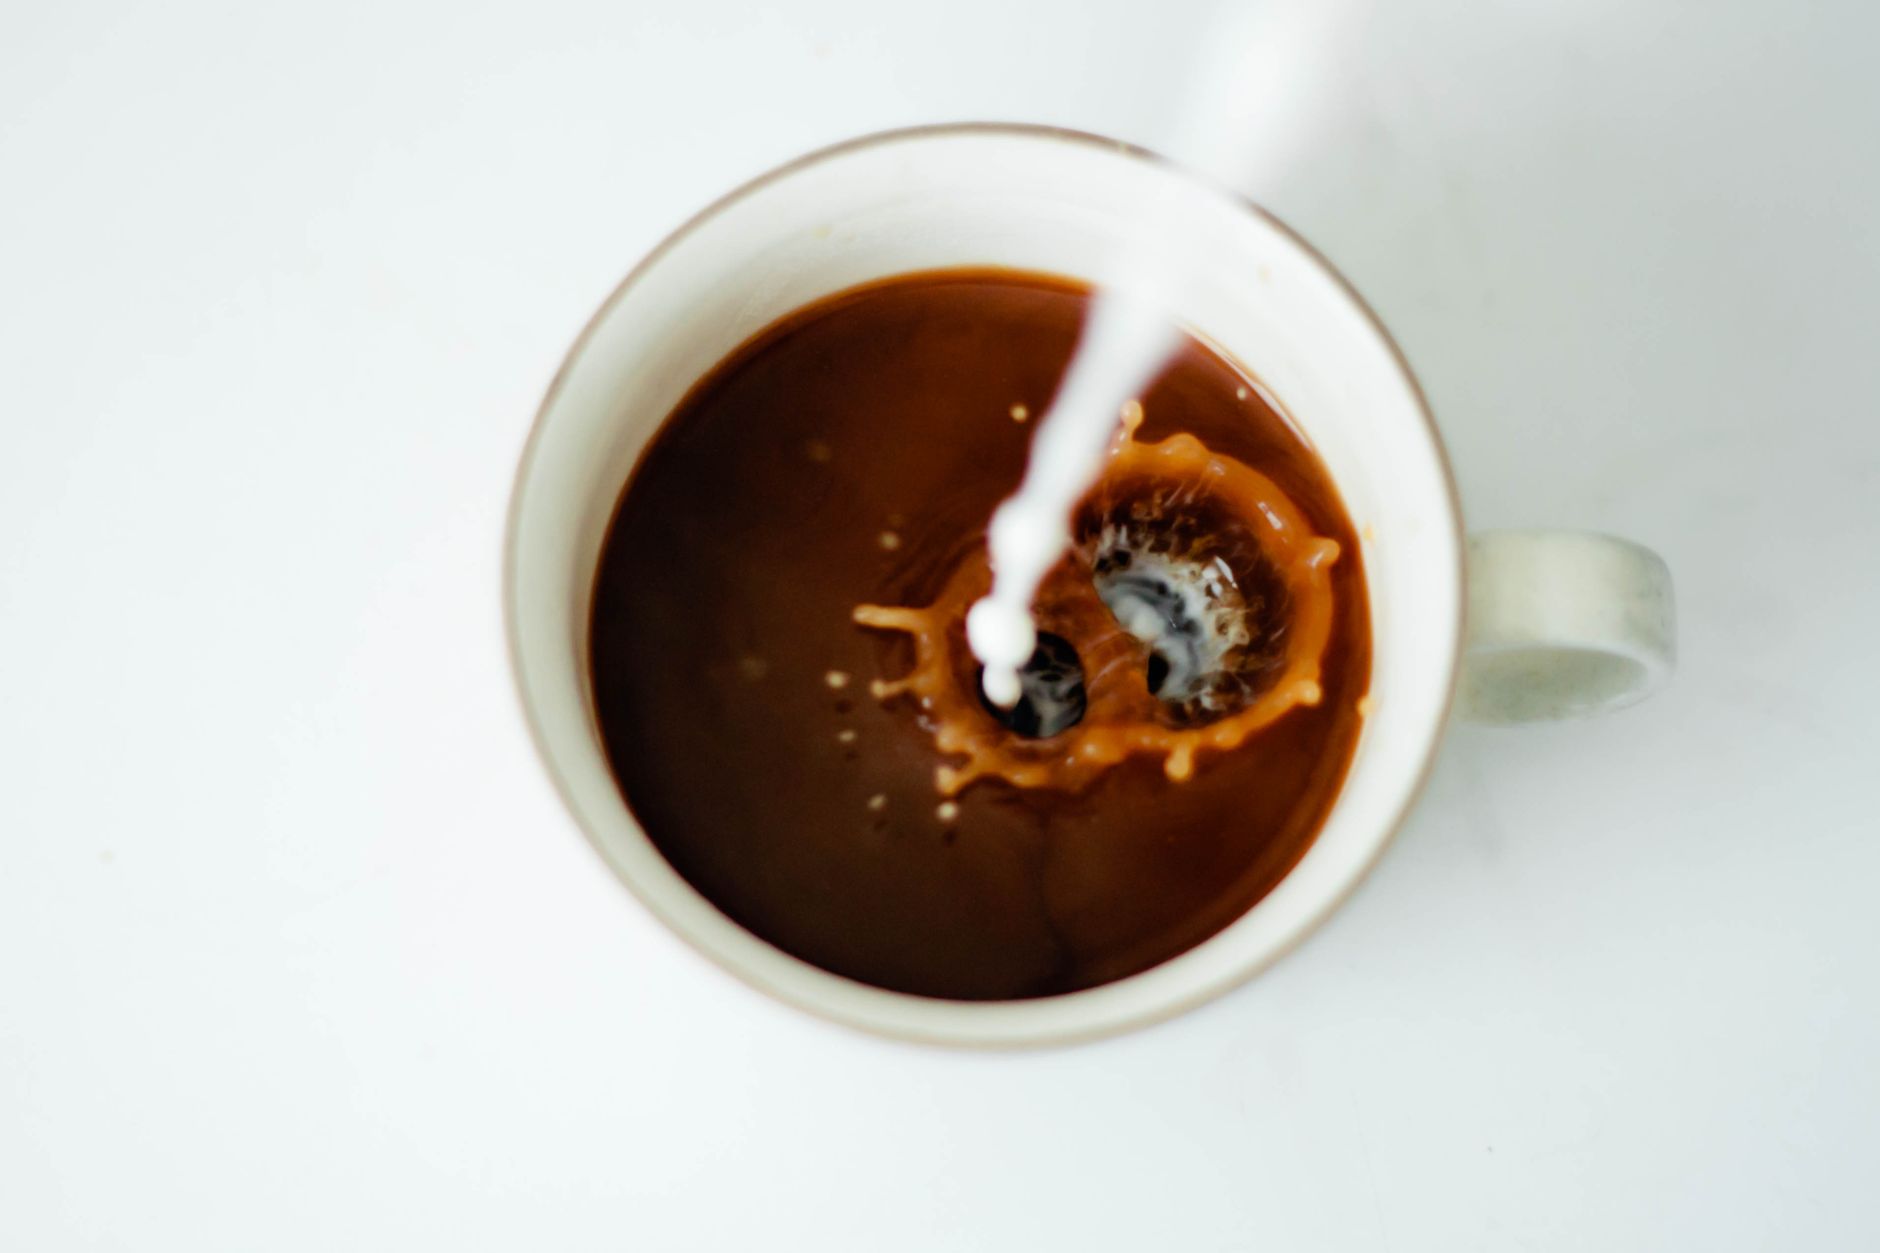 Photo: Snapwire via Pexels
Phase 1: Base Pour
- Tilt the cup to roughly 45°
- Pour from ~10 cm above the surface — thin stream, no wiggle
- Fill to approximately 40–50% of cup volume
- The espresso will lighten to a brown-tan as milk integrates
This phase isn’t decorative. You’re creating the right depth and thermal environment so the microfoam can float when you switch techniques.
Phase 2: Wiggle and Draw Back
- Drop the pitcher spout to just above (or touching) the surface
- Start a lateral wiggle — left, right, left, right — at roughly 3–4 oscillations per second
- Simultaneously pull the pitcher backward (toward the far rim of the cup)
- The “leaves” of the rosetta form as each wiggle pushes foam outward and the backward motion spaces them
Wiggle speed is the most misunderstood variable. Too fast and you get a dense blob. Too slow and leaves merge. Think of it as shaking a salt shaker — deliberate, rhythmic, not frantic.
Common error: wiggling in place without moving backward. You’ll get a centered blob. The backward travel is what separates the leaves.
Phase 3: The Cut
- When you’ve drawn nearly to your side of the cup (1–2 cm from the near rim)
- In one fluid motion, lift the pitcher slightly and pour a thin stream straight through the center of the pattern
- Move forward (away from you) through the design in a single pass
The cut “drags” the leaves forward and creates the pointed fern tip. A hesitant cut produces a blunt rosetta. Commit.
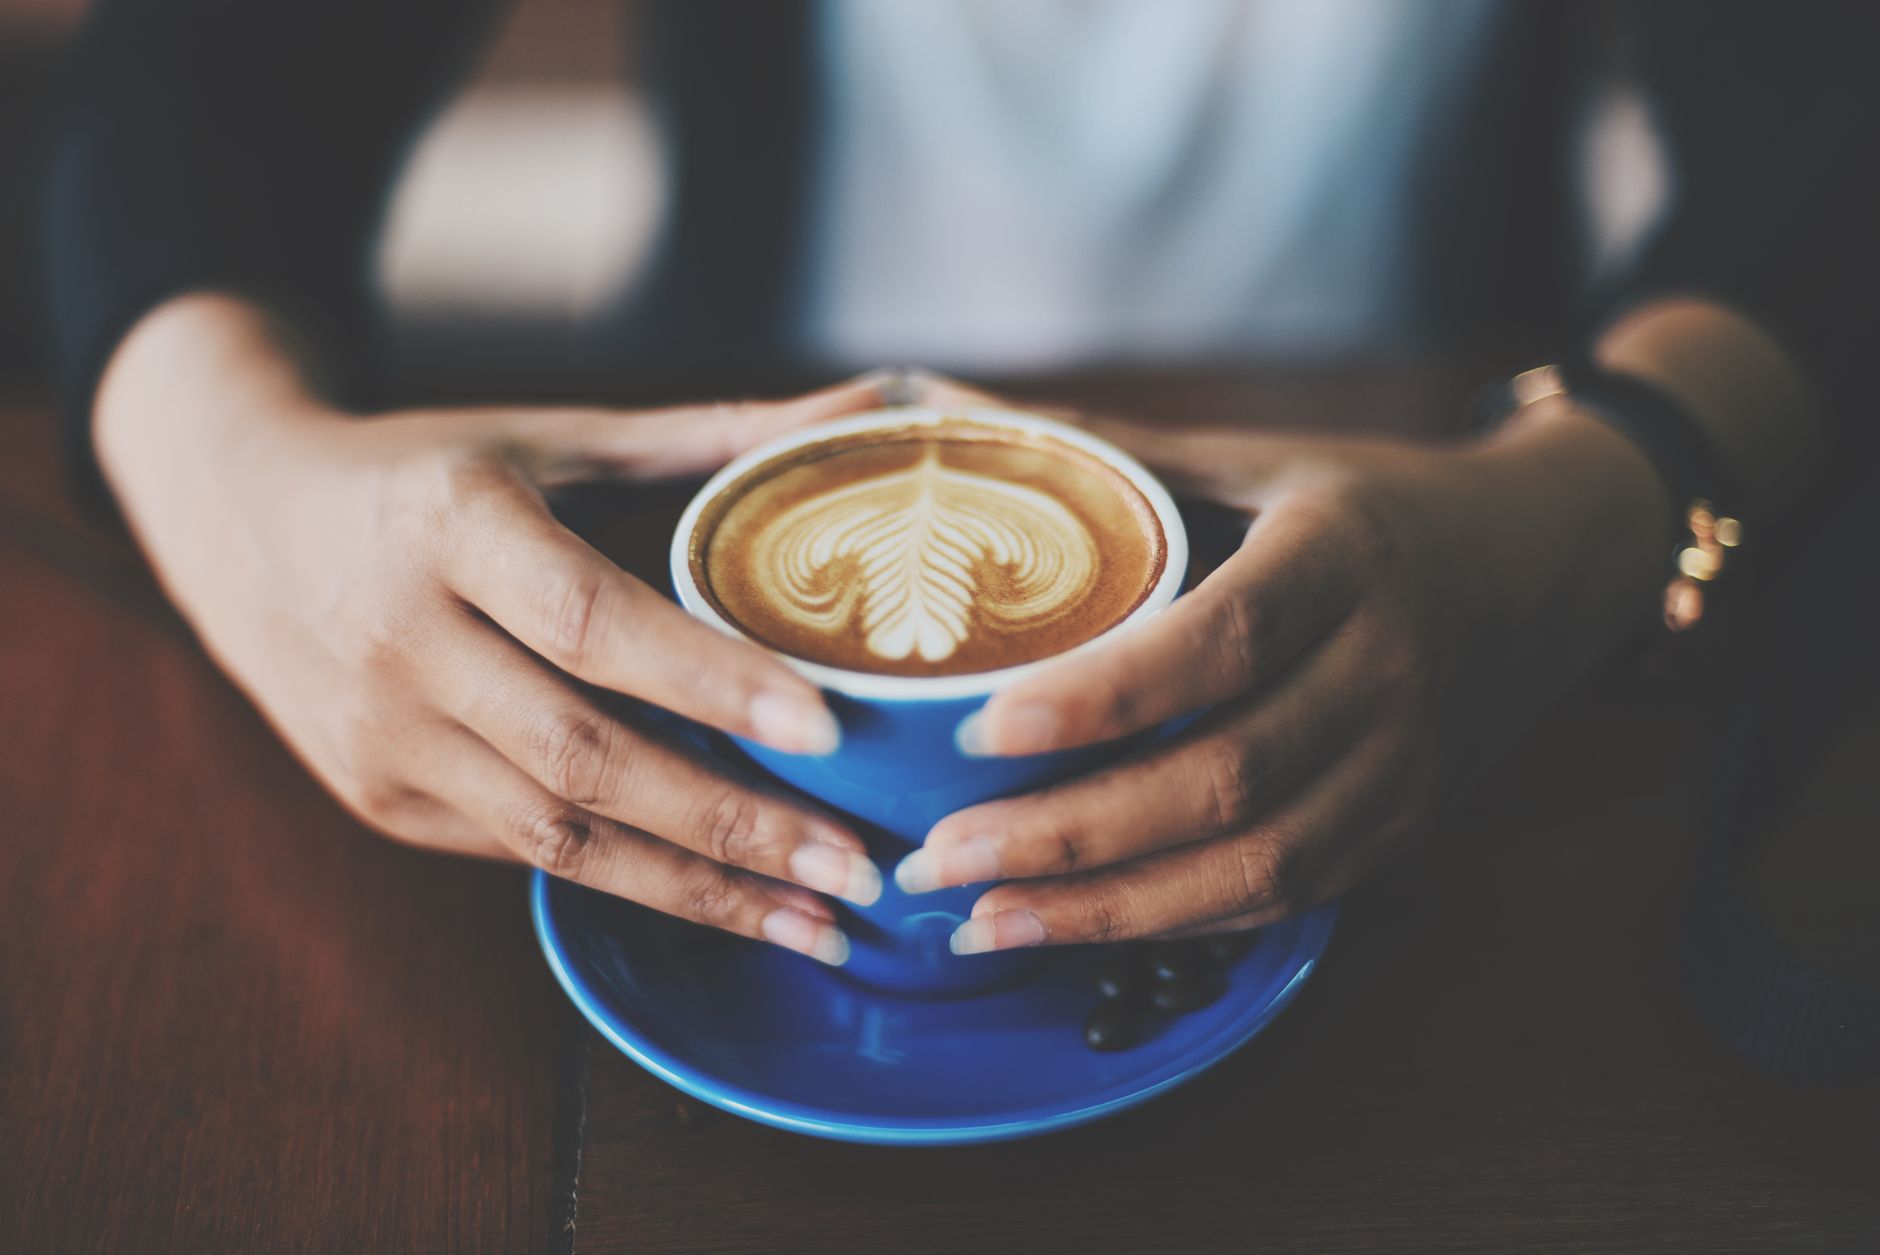
 Photo: emmanuel Lozano via Pexels
Extraction Parameters (Espresso Base)
| Parameter | Target |
|---|---|
| Dose | 18–20 g |
| Yield | 36–40 g |
| Ratio | 1:2 |
| Time | 25–30 seconds |
| Temperature | 93–94°C (199–201°F) |
| Pressure | 9 bar |
Puck prep: WDT to break clumps before dosing, level with a finger or distribution tool, tamp at 15–20 kg even pressure with no tilt. Pre-infusion at 3–4 bar for 5–8 seconds reduces channeling, which matters here because channeling produces a weak, watery crema that won’t hold a pattern.
Troubleshooting Matrix
| Symptom | Likely Cause | Fix |
|---|---|---|
| Pattern sinks immediately | Weak crema / over-extracted espresso | Check dose, grind finer, confirm temp |
| Leaves merge into a blob | Wiggle too slow or pitcher too high | Drop spout lower, increase wiggle frequency |
| No leaves visible at all | Milk too hot or foam separated | Re-texture milk, keep under 65°C |
| Pattern forms but breaks apart | Milk poured too fast in base phase | Slow the base pour, build depth first |
| Cut destroys the pattern | Cut too wide or too slow | Narrow stream, single decisive forward stroke |
| Foam sits on top, won’t integrate | Air added too late in steam cycle | Stretch in first 3–4 seconds only |
→ See also
- How to Dial In Espresso: Step-by-Step Decision Tree — the crema quality that underlies every art pour starts here
- Espresso Extraction Explained: Under, Over, and Perfect — identify if channeling or extraction issues are killing your canvas
- How to Tamp Espresso Correctly (Pressure, Technique, Tools) — even tamp = even extraction = consistent crema
FAQ
How long does it take to learn the latte art rosetta? Most baristas with access to a steam wand and consistent practice hit a recognizable rosetta between 15–40 hours of focused pours. That’s not 40 hours spread over two years — concentrated daily practice over 4–8 weeks produces dramatically faster results than occasional attempts.
What’s the best milk to use for latte art? Whole dairy milk with 3.5%+ fat content is easiest — the fat helps microfoam maintain structure. Oat milk is the best non-dairy option; barista editions (Oatly Barista, Minor Figures) are formulated to texture similarly to dairy. Avoid rice milk and thin almond milks — they produce unstable foam.
Does pitcher shape affect latte art? Yes, significantly. A pitcher with a narrow, sharp spout gives you a more precise stream and better control over pour direction. Wide-mouth pitchers and round spouts scatter milk and make the cut phase nearly impossible to control. Invest in a proper latte art pitcher before blaming your technique.
Why does my rosetta look good in the pitcher but disappear in the cup? Usually one of two causes: (1) You’re pouring from too high — the impact speed disrupts surface tension and breaks the pattern. Drop the spout to 1–2 cm above the surface. (2) Milk temperature is too high — above 68°C, foam becomes unstable and patterns sink within seconds of pouring.
Can you make a rosetta with a portafilter machine under 9 bar? Yes, but crema will be thinner and less stable, which makes the pattern harder to hold. At 6–7 bar you can still pour a rosetta, but you’ll need to move faster (the crema window is shorter) and your milk texture needs to be perfect. Moka pots and Aeropresses produce no crema — latte art on those requires an entirely different approach (not rosetta-suited).
Is the rosetta or the heart easier to learn first? Heart, then tulip, then rosetta — that’s the standard progression for a reason. The heart requires only a single forward cut. The tulip introduces the layering concept. The rosetta adds the wiggle mechanic on top of both. Jumping straight to rosetta isn’t impossible, but you’ll build bad habits in your base pour if you skip the foundations.
Editorial methodology: Assessments are based on manufacturer specifications, published user reviews, and editorial research. Physical hands-on testing is noted explicitly where it occurred. Rankings reflect our editorial judgment and are not influenced by affiliate commission rates. Full editorial policy · Affiliate disclosure