Contents
Latte Art for Beginners: Heart, Rosetta, Tulip Tutorial
TL;DR: Latte art for beginners starts with two things — a properly pulled espresso with thick crema, and milk steamed to a silky, paint-like consistency. Master those, and the heart, tulip, and rosetta are all variations of the same pour. No barista course required.
What You Actually Need Before You Pour
Direct Answer: You need an espresso machine with a steam wand, a 20oz (600ml) pitcher, whole milk, and a well-pulled double shot. Latte art is 70% milk quality, 20% pour angle, 10% wrist movement. Get the milk right first — everything else follows.
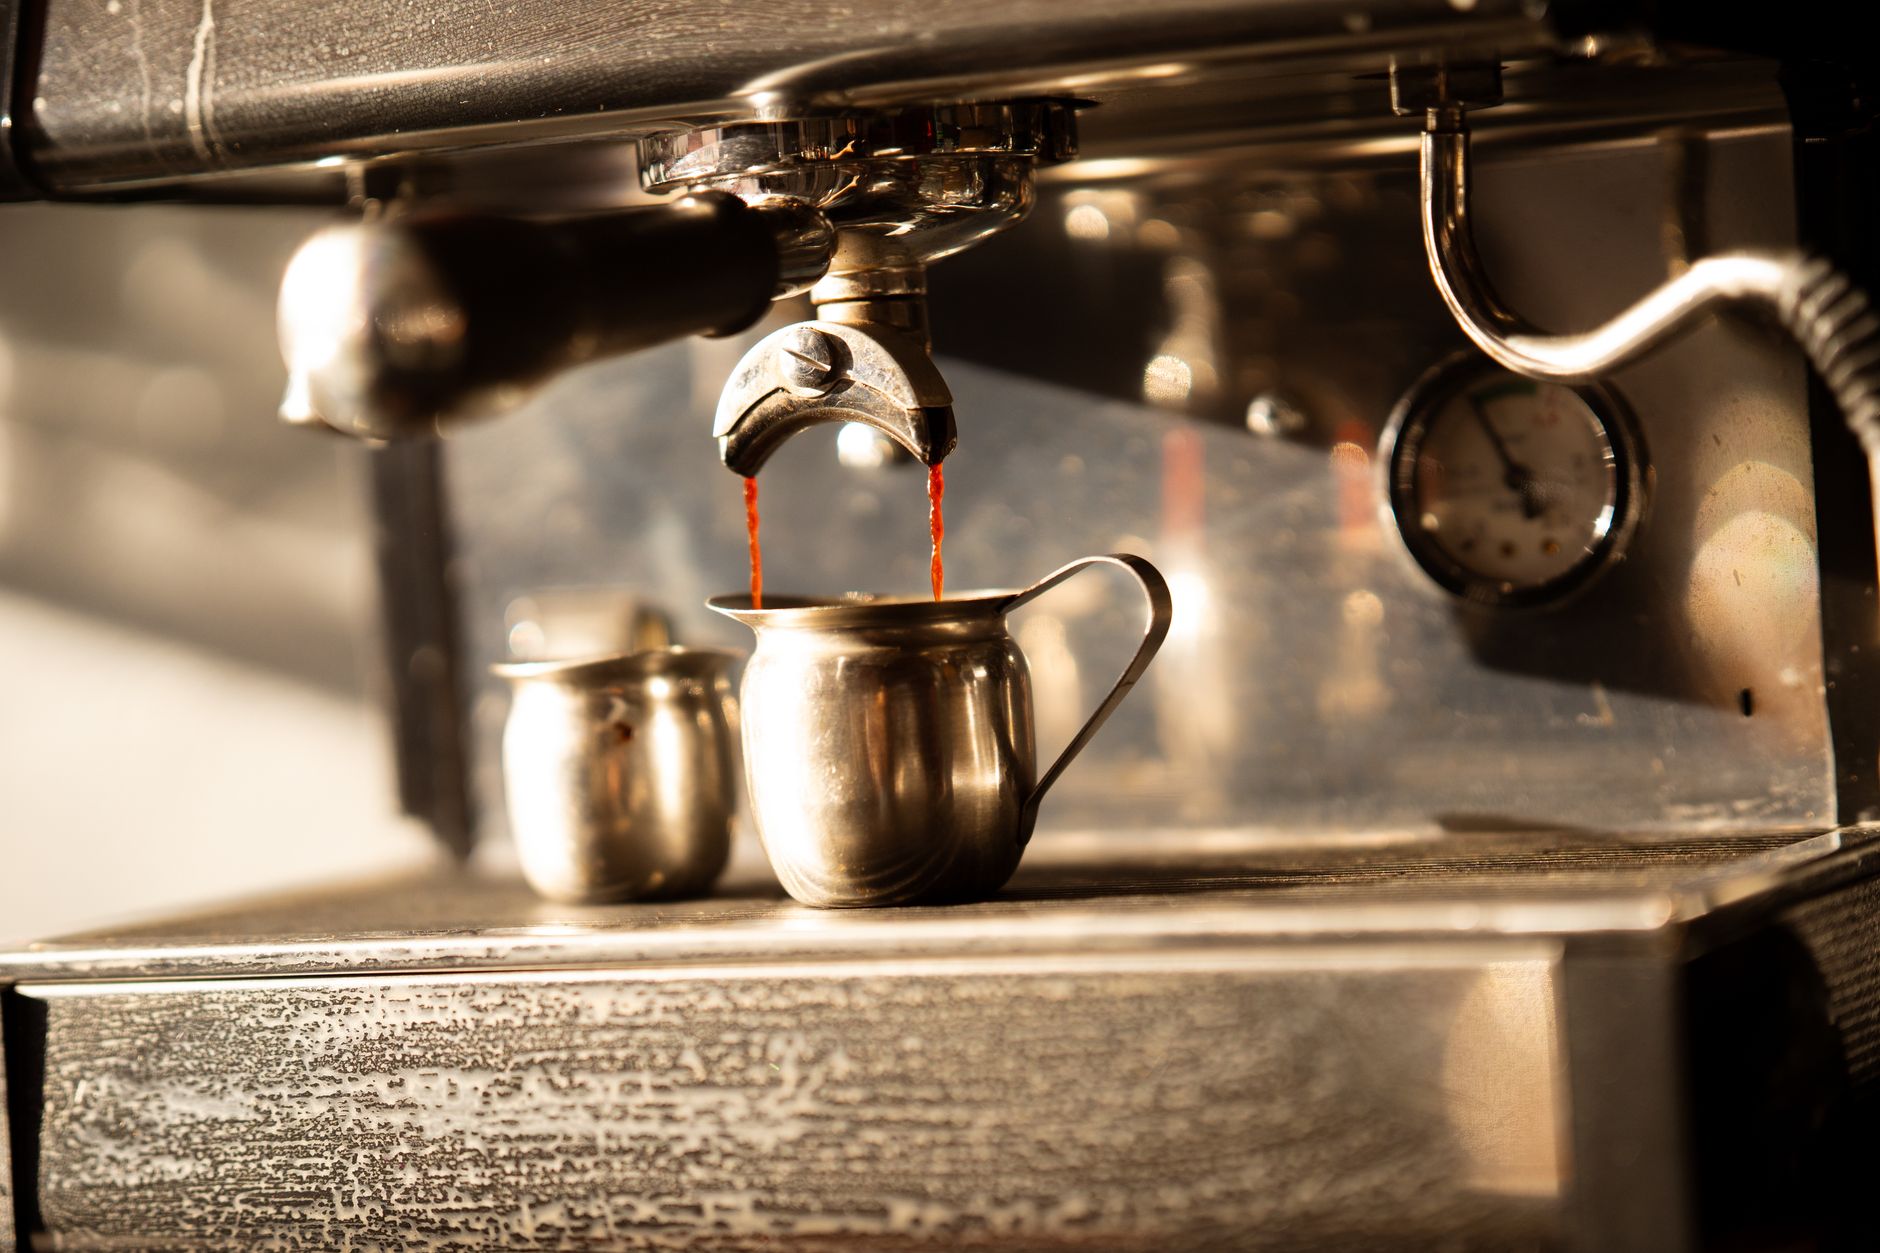 Photo: Mike C via Pexels
| Equipment | Minimum Spec | Why It Matters |
|---|---|---|
| Espresso machine | Any machine with a live steam wand | Dead steam = bubbly foam, not microfoam |
| Pitcher | 20oz stainless, tapered spout | Taper controls flow width |
| Milk | Whole milk, cold (1–4°C / 34–39°F) | Fat and protein structure microfoam |
| Cup | 5–6oz ceramic | Wide mouth, short walls = visible canvas |
| Shot | Double ristretto or standard double | Thick crema resists sinking |
Skim and oat milks work but behave differently — oat milk (full-fat barista blend) comes closest to dairy for latte art. Skim milk produces tight foam but no body; patterns break up quickly.
How to Steam Milk for Latte Art
Direct Answer: Purge the steam wand, submerge the tip just below the surface at a slight angle, open steam fully, and introduce air for the first 3–5 seconds only. Then submerge deeper and spin the milk until it reaches 60–65°C (140–150°F). You want texture like wet paint — not stiff peaks, not thin liquid.
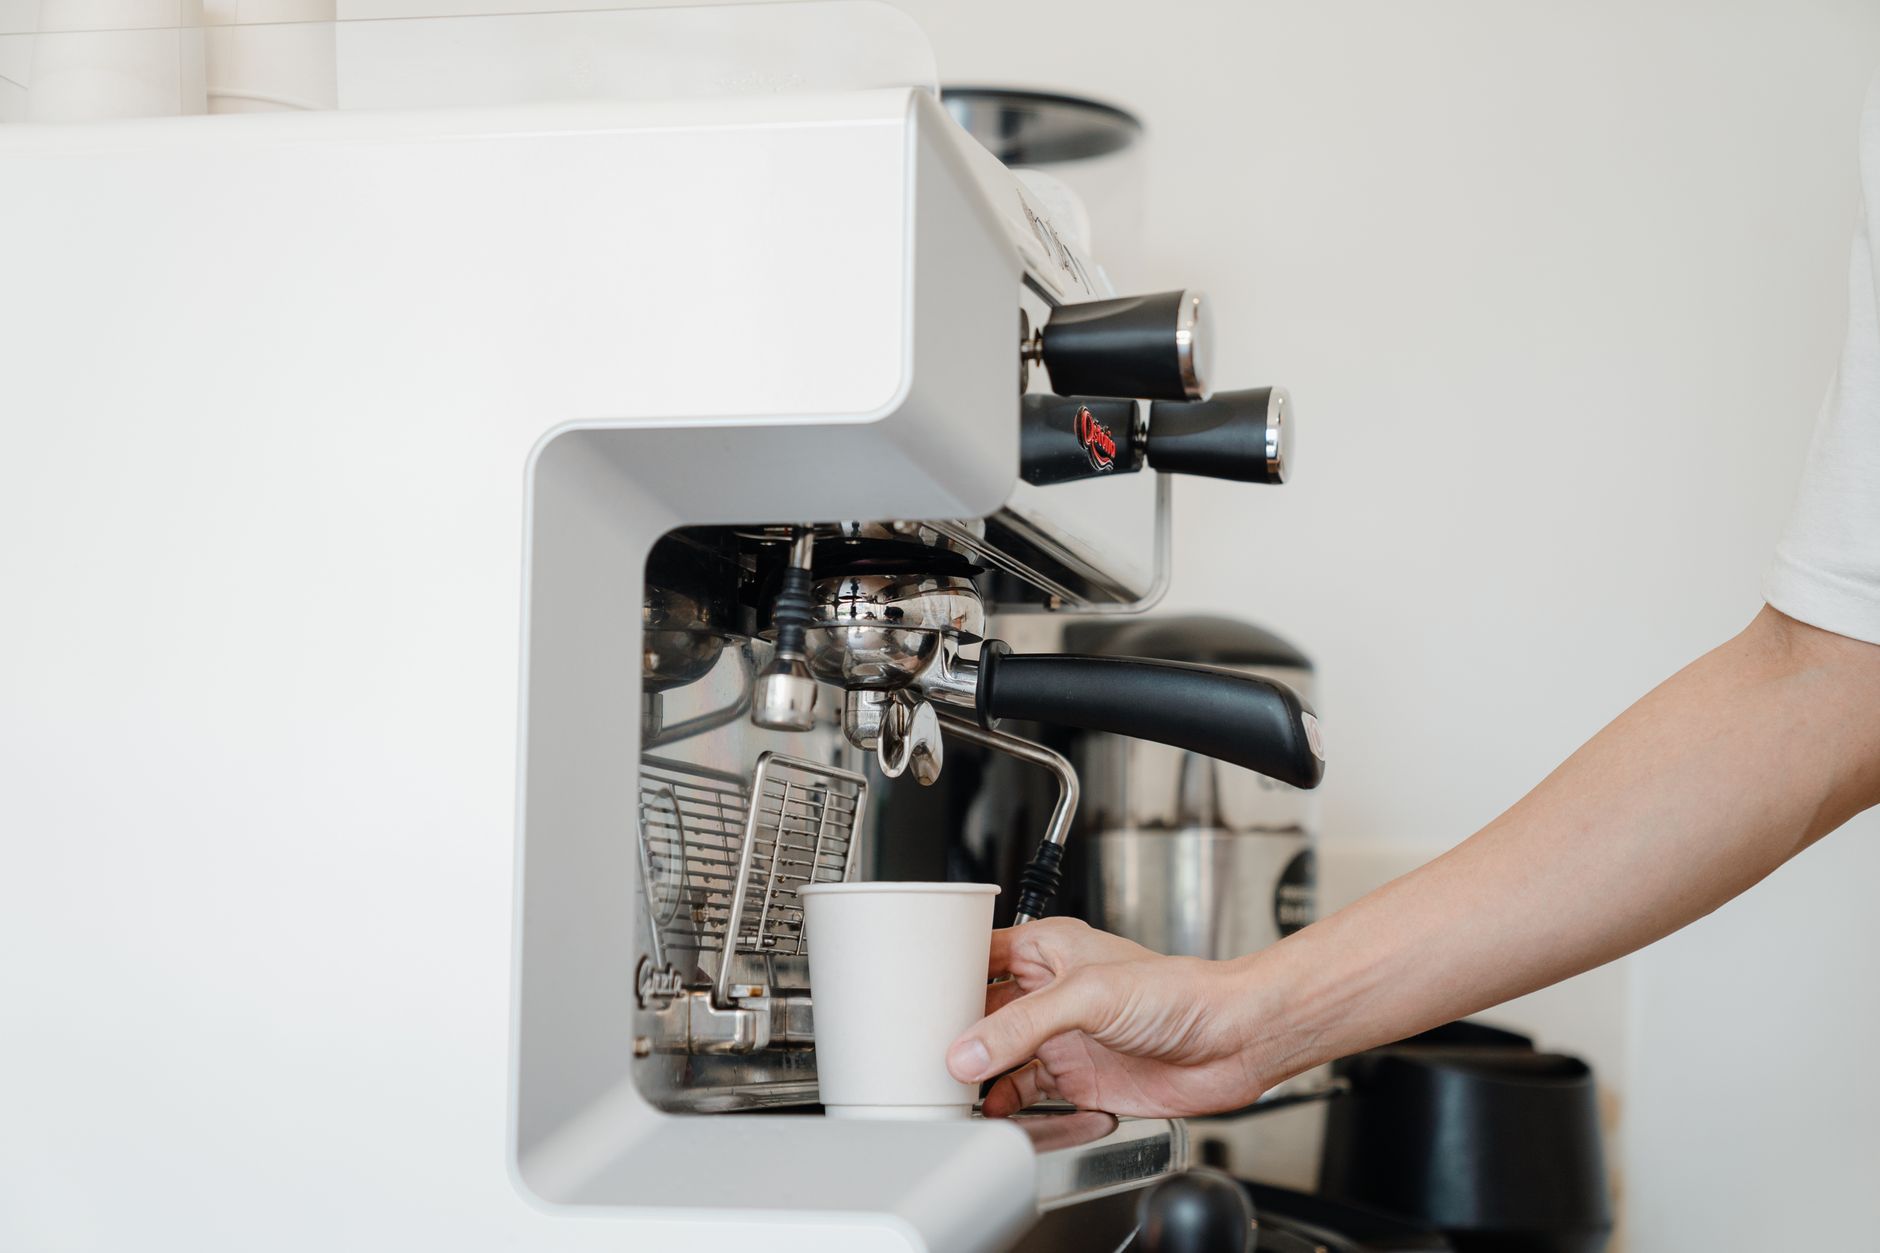 Photo: Ketut Subiyanto via Pexels
The Steaming Sequence
- Purge — blast steam for 1 second to clear condensation
- Position — tip at 1–2cm depth, wand off-center to create a vortex
- Air phase — open valve fully; keep the tip just breaking the surface (listen for a soft paper-tearing sound, not loud hissing)
- Texture phase — drop the tip deeper; let the vortex incorporate the foam and heat the milk
- Stop at 65°C — use a thermometer or palm-test (too hot to hold = stop)
- Polish — tap the pitcher firmly on the counter, then swirl 10–15 seconds to pop large bubbles
Common mistake: steaming too long in the air phase. Three to five seconds of air is enough for a 12oz drink. More than that and you’re making a cappuccino.
The Foundation Pour: How to Free Pour Latte Art
Direct Answer: Tilt the cup toward you at 45°, start the pour high (8–10cm) to sink milk under the crema, then drop the pitcher low and close to the surface — this is when the foam rises and the pattern begins. All three designs start from this identical setup.
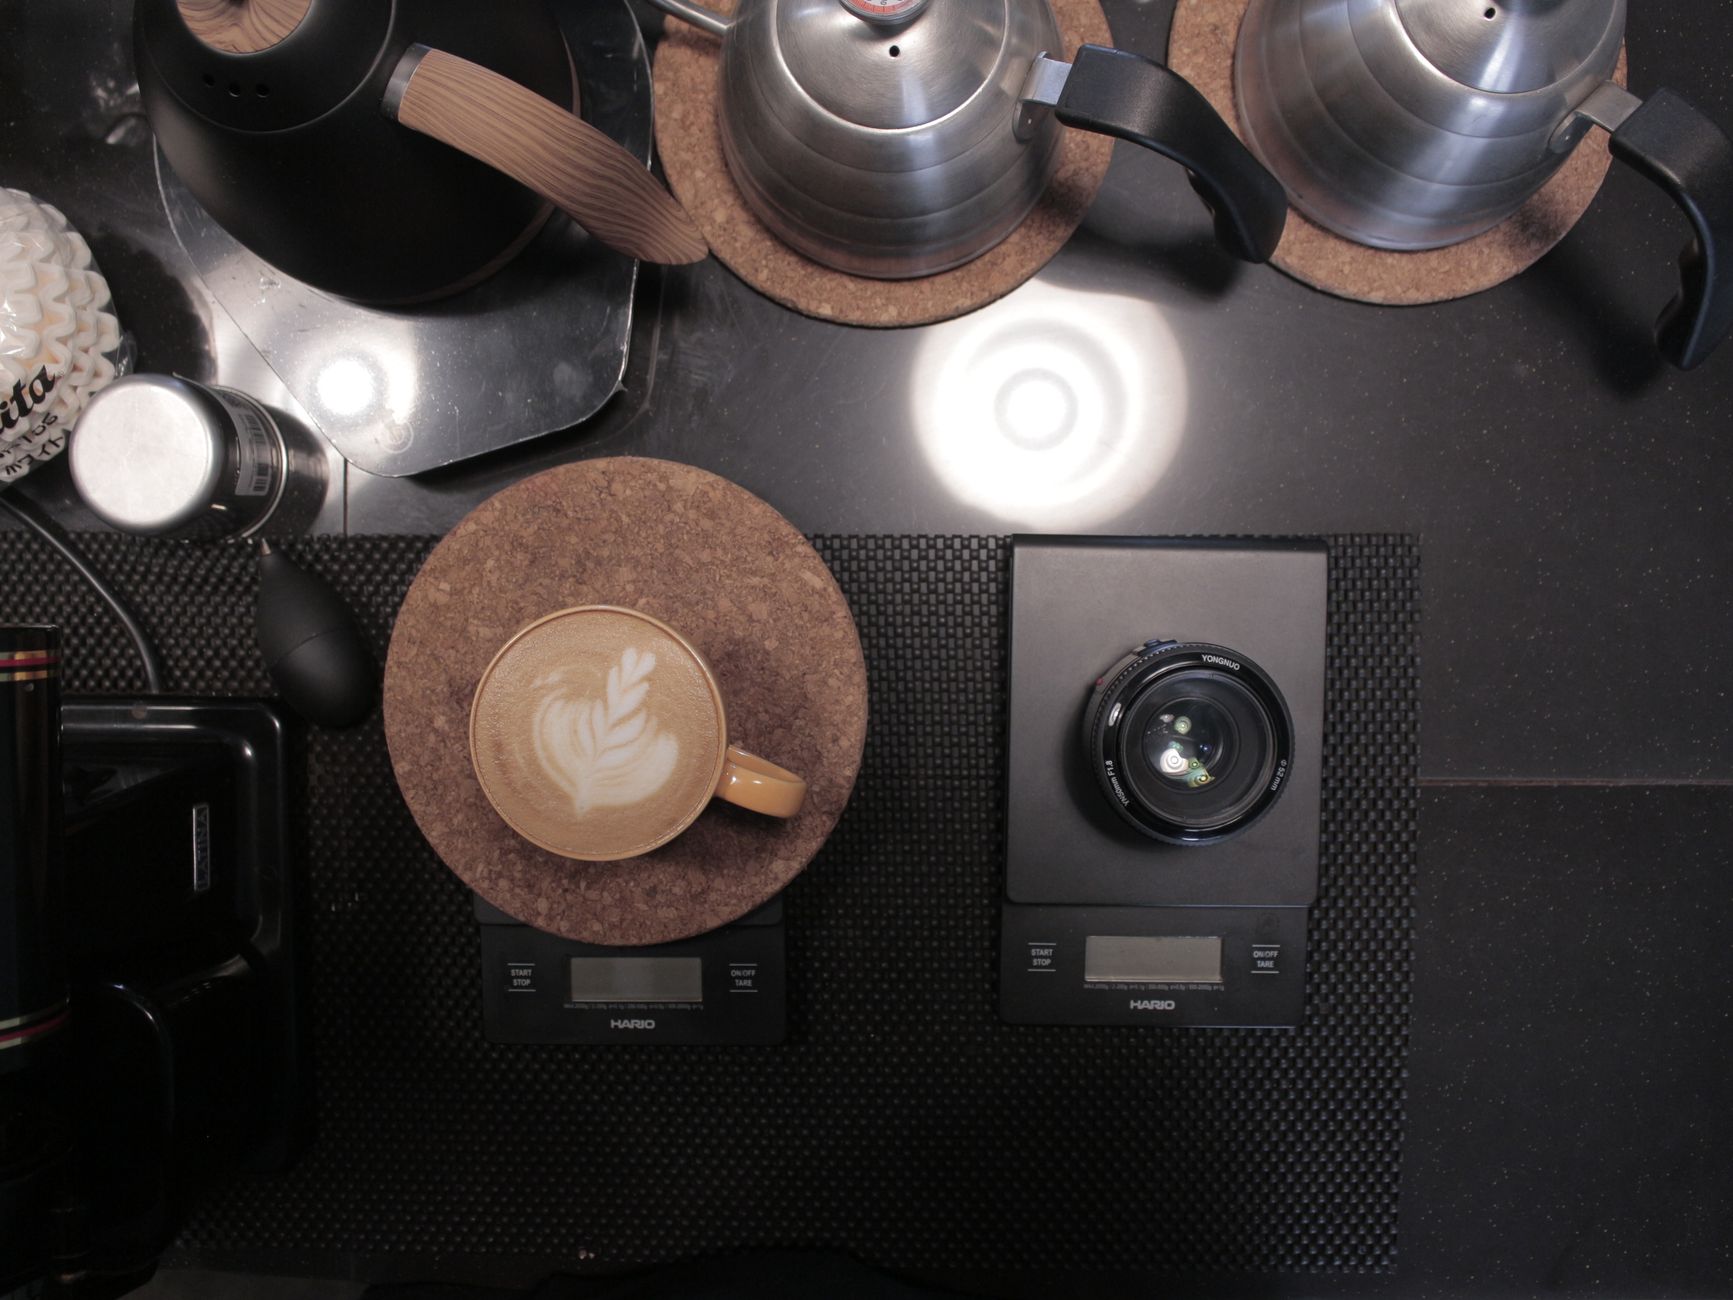 Photo: nurwaldi iswara via Pexels
Pitcher Position and Cup Tilt
- Cup tilted 45° throughout the pour
- Start 8–10cm above the rim — high pour keeps milk below crema
- Drop to 1–2cm above the surface once the cup is ~½ full
- Pour rate: steady and continuous, not pulsed (except for the tulip)
Latte Art for Beginners: The Three Core Designs
Heart
The heart is the entry point. One motion, one shape.
- Pour high until cup is half full
- Drop pitcher low; aim at the center back of the cup
- Wiggle the pitcher left–right slightly to build a white dot
- When the dot is coin-sized, cut through it by lifting the pitcher and pulling forward in one fast straight motion toward the near rim
- The forward cut bisects the dot into the two lobes of the heart
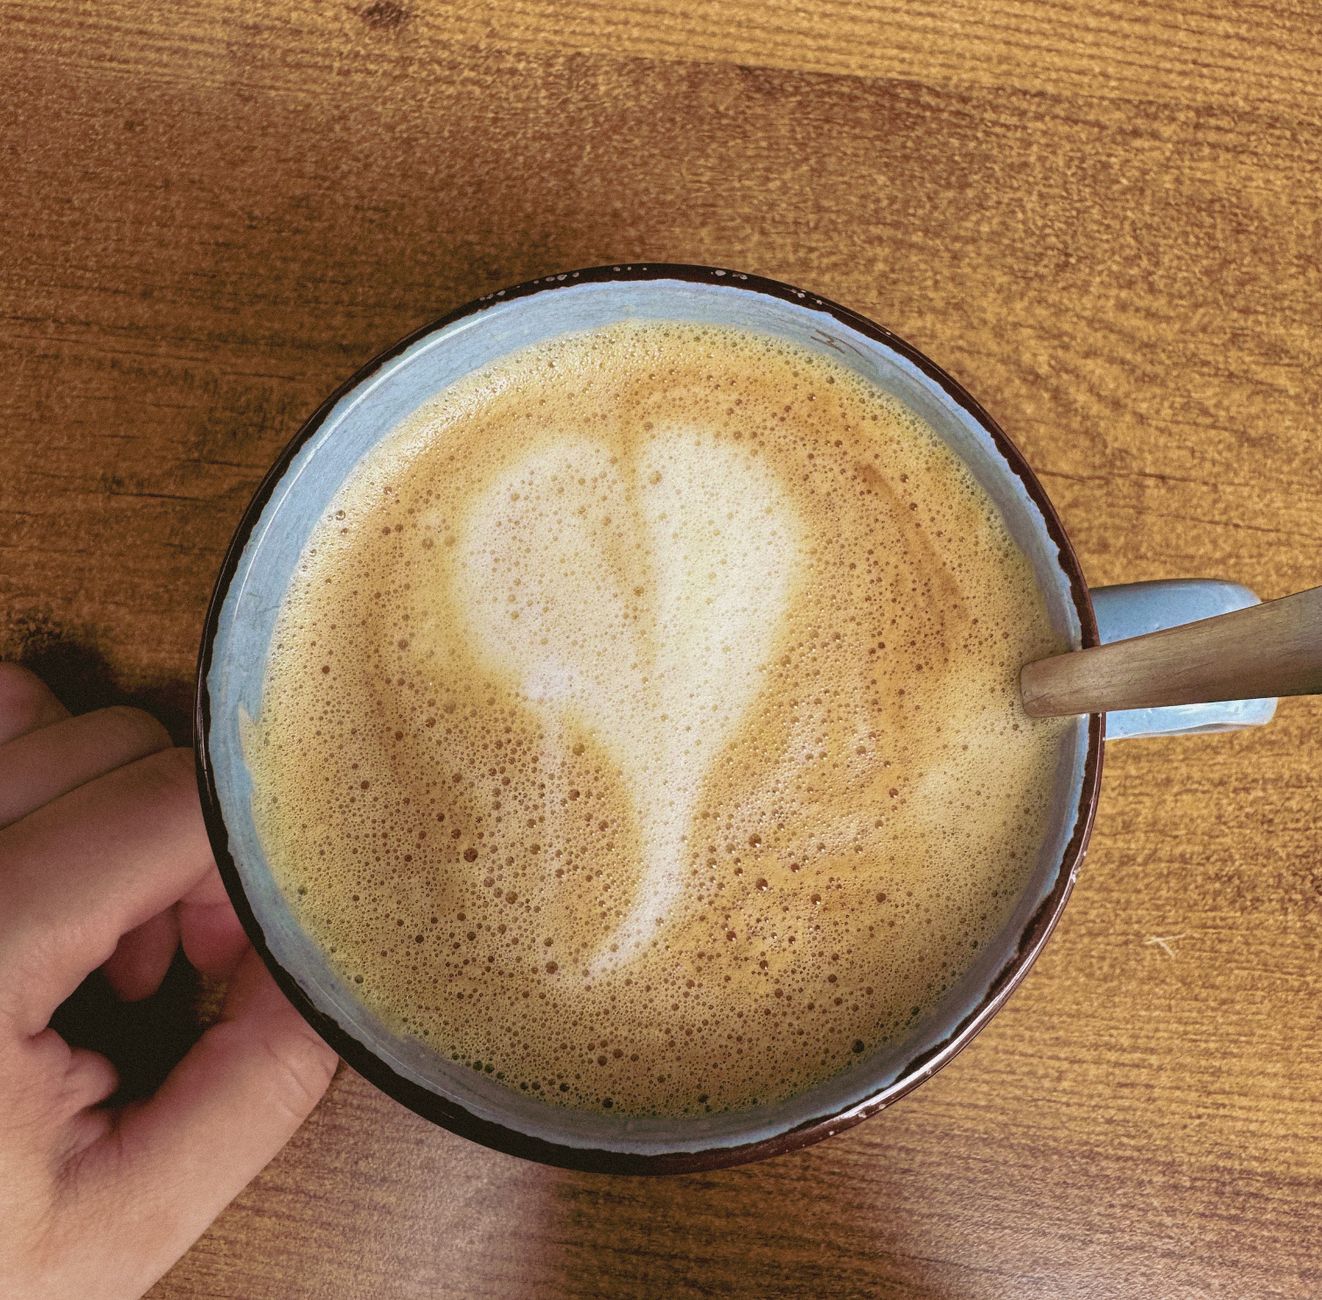 Photo: Andreas Schnabl via Pexels
Where it goes wrong: Cutting too slowly flattens the heart into an oval. The finish move should be one quick, deliberate drag — not a hesitant arc.
Tulip
The tulip is a stacked pattern — it teaches the pulse motion used in every multi-layer design.
- Pour high until cup is 40% full
- Drop low; push a small white blob into the center (first layer)
- Lift slightly, move back, push a second blob that pushes the first away (second layer)
- Repeat once more for a third layer if desired
- Finish with the same forward cut through all layers as the heart
Each pulse: stop, reposition, pour again. The milk from each new layer physically pushes the previous blob forward and stretches it into the petal shape.
Timing: 3-layer tulip should take 6–8 seconds total once you’re low and pouring. Slow tulips collapse.
Rosetta
The rosetta is the most technical of the three — it adds a side-to-side rocking motion while moving forward.
- Pour high until cup is half full
- Drop low; start a left–right wiggle at the far end of the cup
- Slowly draw the pitcher toward you while maintaining the wiggle (wiggle frequency: about 2 oscillations per centimeter of travel)
- When you reach the front edge of the cup, execute the forward cut — same as the heart finish
 Photo: K via Pexels
The key variable is the ratio of forward travel speed to wiggle speed. Slow travel + fast wiggle = tight, dense leaves. Fast travel + slow wiggle = stretched, thin leaves. Start with slow and deliberate — you can speed up once the muscle memory is there.
Practice tool: Pour into a dark bowl of water with a drop of dish soap. No espresso needed — you’ll see your pattern immediately.
Extraction Params and Puck Prep
Dose: 18–20g in Yield: 36–40g out (1:2 ratio) Time: 27–33 seconds Temperature: 93–95°C (200–203°F) Pressure: 9 bar (standard) Pre-infusion: 3–5 seconds at 2–4 bar recommended
Puck Prep Sequence
- Dry the basket — wipe portafilter with a dry cloth
- WDT — use a WDT tool or fine needle to break up clumps after dosing; 10–15 seconds of stirring
- Level — NSEW taps or a distribution tool to settle grounds flat
- Tamp — 15–20kg of even, level pressure; no rocking
- Channeling check — if shots consistently blonde fast on one side, your distribution is uneven
Troubleshooting Matrix
| Symptom | Likely Cause | Fix |
|---|---|---|
| Milk foam is bubbly, not silky | Too much air or not enough swirl | Reduce air phase to 3 sec; swirl longer after steaming |
| Pattern sinks immediately | Crema too thin; shot pulled too fast | Dial in finer grind; check dose and yield |
| White dot won’t form | Pitcher too high when starting pattern | Drop closer to surface — 1cm max |
| Rosetta leaves bleed together | Milk too hot or too thin | Stop steaming at 60–62°C; use whole milk |
| Heart looks like a circle | Cut move too slow | Speed up the finish drag dramatically |
| Foam pours in clumps | Milk overheated, proteins denatured | Keep under 68°C; steam fresh cold milk each shot |
→ See also
- How to Dial In Espresso: Step-by-Step Decision Tree
- Espresso Extraction Explained: Under, Over, and Perfect
- How to Tamp Espresso Correctly (Pressure, Technique, Tools)
FAQ
Do I need an expensive espresso machine to do latte art? You need a machine with a functional steam wand that produces consistent, dry steam — not a pressurized pod machine. Entry-level machines like the Breville Bambino
Why does my latte art disappear as soon as I pour it? The two main causes: milk that’s been steamed too hot (above 68°C breaks the foam structure) and espresso crema that’s too weak to support the pattern. Fix your milk temperature first, then look at your espresso extraction if patterns still sink.
Can I practice latte art without wasting espresso? Yes. Fill a cup with hot water and a few drops of dish soap to simulate crema, and use your steamed milk to practice pours. You’ll see your pattern shape clearly. Once your pour mechanics are consistent, move to real shots.
How long does it take to learn latte art? A heart is achievable within a week of daily practice (15–20 minutes per session). A tulip typically takes 2–4 weeks. A consistent rosetta is a 1–3 month skill depending on how much you practice. The milk steaming plateau is the main bottleneck — once microfoam is reliable, pattern progress accelerates fast.
Does the cup shape matter for latte art? Yes, meaningfully. A wide, shallow tulip-shaped cup with a curved bottom is easiest — it slows the milk flow and gives you more visible canvas. Narrow cylindrical cups compress the pattern and require much more precision. Start with a 5–6oz wide-mouth ceramic cup.
What milk temperature is best for latte art? 60–65°C (140–149°F) is the sweet spot. This is hot enough to drink comfortably but cool enough that the milk proteins haven’t broken down. At this temperature, well-steamed whole milk has the viscosity and surface tension needed for clean patterning.
Editorial methodology: Assessments are based on manufacturer specifications, published user reviews, and editorial research. Physical hands-on testing is noted explicitly where it occurred. Rankings reflect our editorial judgment and are not influenced by affiliate commission rates. Full editorial policy · Affiliate disclosure