Contents
Oat Milk Steaming Guide: Perfect Microfoam Every Time
TL;DR: To steam oat milk for espresso, start cold (under 5°C/40°F), keep the steam wand just below the surface at a slight angle, stretch for the first 3–4 seconds only, then submerge and spin until 60–65°C (140–150°F). Oat milk scorches fast and collapses if over-stretched — temperature control is everything.
Why Oat Milk Behaves Differently From Dairy
Oat milk lacks the casein proteins and butterfat that give dairy its structural resilience. Instead, it relies on added emulsifiers (usually sunflower lecithin or acacia gum) and beta-glucan starches. These create foam that’s initially convincing but collapses within 60–90 seconds if the technique isn’t precise — and scorches at lower temperatures than whole milk.
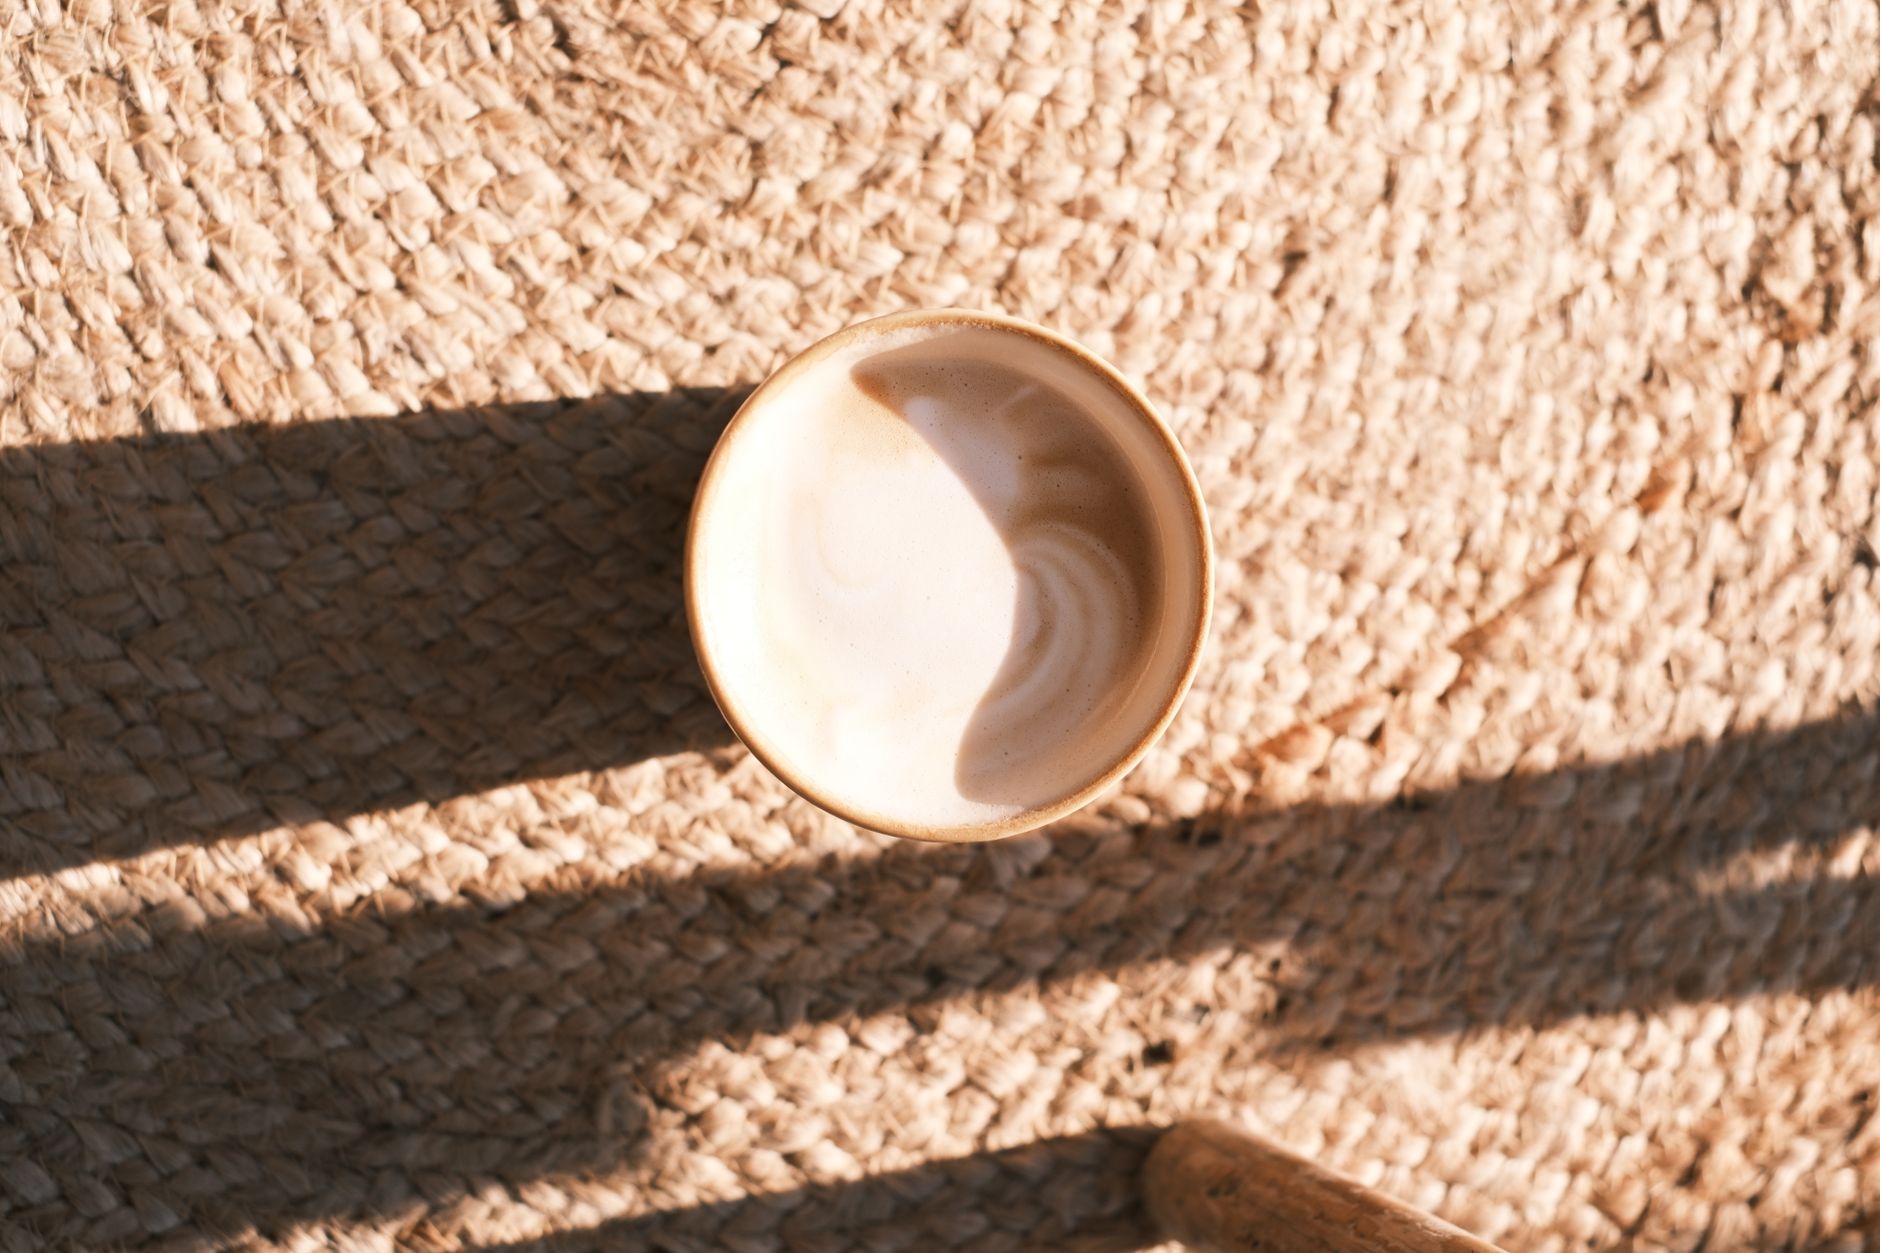 Photo: Mehmet Demiral via Pexels
Dairy foam holds because casein proteins denature and form stable cross-linked networks. Oat milk’s starchy structure is more fragile: too much air and the bubbles are too large to hold; too much heat and the emulsifiers break down, leaving you with a sweet, flat liquid.
The practical upshot: your margin for error is narrower. A dairy flat white forgives 5°C of overshoot. Oat milk doesn’t.
Barista-Grade vs. Standard Oat Milk
Not all oat milks behave the same under steam. Look for products labeled “barista edition” or “barista blend” — these have higher protein content and stabilizer ratios formulated for steaming.
| Product Type | Foam Quality | Max Temp | Notes |
|---|---|---|---|
| Barista oat milk | Excellent | 65°C / 150°F | Consistent microfoam |
| Standard oat milk | Mediocre | 60°C / 140°F | Collapses quickly |
| Low-fat oat milk | Poor | 58°C / 136°F | Watery, no texture |
| Homemade oat milk | Unpredictable | 55°C / 131°F | No emulsifiers |
Oatly Barista and Minor Figures are the two most consistent barista oat milks for latte art. Both hold microfoam long enough to pour.
How to Steam Oat Milk for Espresso: Step-by-Step
Position the wand at the edge of the pitcher, angled slightly off-center so the milk spins. Tip of the wand 1–2 cm below the surface. One short burst to purge the wand, then open the valve fully. Stretch (air injection) for 3–4 seconds max, then drop the wand tip deeper to spin without adding more air. Pull off at 65°C.
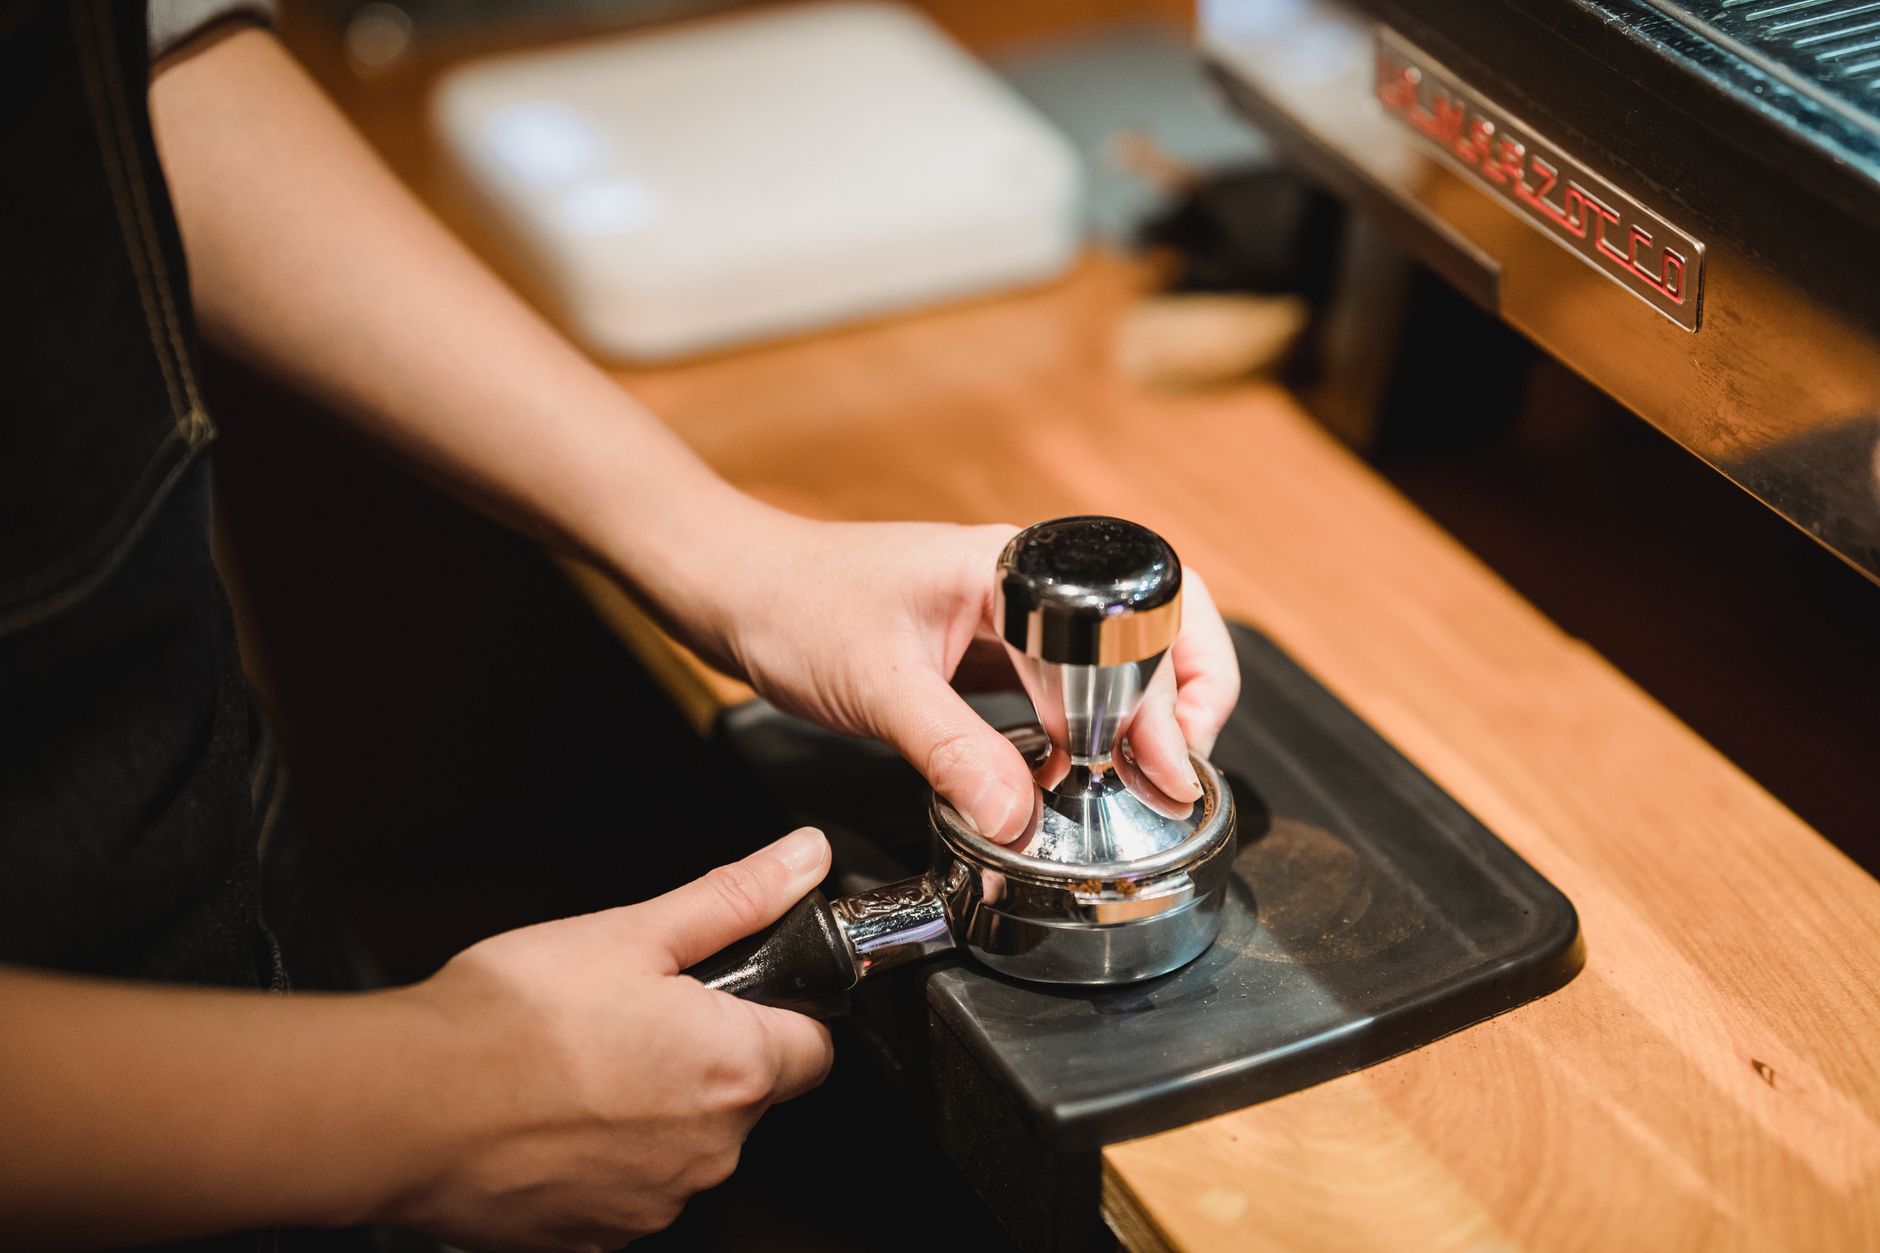 Photo: Mizuno K via Pexels
Equipment
You need a steam wand that delivers consistent, dry steam. Single-hole wands (common on entry-level machines) work but require more patience. Multi-hole wands on mid-range machines like the Breville Barista Express
A 350–400ml (12oz) stainless pitcher gives you enough volume to build momentum without struggling on small doses. A thermometer clip is worth using until you can read temperature by touch reliably — oat milk’s narrow window makes this non-negotiable for beginners.
The Stretch Phase
This is where most mistakes happen. The stretch phase (wand tip near the surface, adding air) should be brief:
- Start with the tip just breaking the surface
- You should hear a soft “chirping” or “kissing” sound — not a loud ripping or hissing
- Stop adding air once the volume has increased by roughly 20–25%
- For a flat white or cortado: even less — 15% max
Loud hissing = wand too high, adding too much air too fast. Silent steaming with no spin = wand too deep, spinning without incorporating air. Both produce unusable foam.
The Spin Phase
Once stretching is done, push the wand tip deeper (3–4 cm) and hold it off-center to keep the rotational spin going. The goal is a tight vortex that folds the larger bubbles back into the milk, creating uniform microfoam.
 Photo: Yunus Tuğ via Pexels
Keep spinning until your hand on the base of the pitcher is too hot to hold — roughly 60–65°C. Then seal immediately.
Tap the pitcher on the counter twice and swirl to integrate any remaining surface bubbles before pouring.
Brewing Guide: Oat Milk Espresso Drinks
Extraction Parameters
| Parameter | Value |
|---|---|
| Dose | 18–20g (double basket) |
| Yield | 36–40g (1:2 ratio) |
| Ratio | 1:2 |
| Time | 25–30 seconds |
| Temperature | 93–94°C / 200°F |
| Pressure | 9 bar |
Pull a slightly longer ratio (1:2.2) if your oat milk is sweet — the additional extraction balances sweetness without bitterness.
Puck Prep
- WDT: Stir grounds with a needle tool after dosing to break up clumps
- Leveling: Settle with a light tap, then level with a finger or leveler
- Tamping: 15–20kg even pressure, no wrist rotation
- Channeling prevention: Ensure the basket is evenly filled before tamping; WDT is your best insurance
- Pre-infusion: 3–5 seconds at 2–3 bar if your machine supports it — reduces channeling risk on finer grinds
Troubleshooting Matrix
| Symptom | Likely Cause | Fix |
|---|---|---|
| Foam collapses immediately | Over-stretched, or non-barista oat milk | Reduce stretch time; switch to barista-grade product |
| Large bubbles on surface | Stretch phase too aggressive | Lower wand, reduce air injection speed |
| Milk tastes scorched/sweet | Exceeded 65°C | Use thermometer; remove at 63°C (carries over) |
| No vortex forming | Wand angle wrong | Reposition off-center; try slightly more off-axis |
| Thin, watery texture | Under-stretched | Add 1–2 more seconds in stretch phase |
| Latte art breaks up | Microfoam too stiff | Pour slightly earlier; check milk isn’t over-spun |
 Photo: Madison Inouye via Pexels
→ See also
- How to Dial In Espresso: Step-by-Step Decision Tree
- Espresso Extraction Explained: Under, Over, and Perfect
- How to Tamp Espresso Correctly (Pressure, Technique, Tools)
FAQ
Does oat milk foam as well as dairy? Barista-grade oat milk comes close but isn’t identical. The foam is slightly less glossy and has a shorter hold time — about 60–90 seconds before it begins to separate. For latte art, it works well; for drinks that sit, it shows its limits faster than whole milk.
What temperature should I steam oat milk to? Stop at 65°C (150°F). Unlike dairy, which tolerates up to 70°C, oat milk’s emulsifiers begin breaking down above 65°C, producing a gritty sweetness and collapsing foam. If you’re reading temperature by hand, pull off when the pitcher is too hot to hold comfortably.
Why does my oat milk foam keep collapsing? Usually one of three causes: the milk wasn’t cold enough at the start (always start below 5°C), you over-stretched (too much air), or you’re using a standard oat milk rather than a barista formula. Barista oat milks contain additional stabilizers specifically to solve this.
Can I steam oat milk twice? No. Reheating or re-steaming breaks down whatever foam structure was created on the first steam. Always start fresh with cold milk, and discard any leftover steamed oat milk.
Which oat milk is best for latte art? Oatly Barista and Minor Figures are the most consistent for pour work. Both hold their texture long enough to execute tulips and rosettas. Califia Farms Barista performs well on lighter espresso profiles. Avoid anything not labeled for barista use — the texture won’t hold through the pour.
Does a single-hole steam wand work for oat milk? Yes, but it requires more active technique. Single-hole wands produce a more concentrated steam jet, which makes controlling the stretch phase harder. Keep the wand angled more aggressively off-center and work the stretch phase a little slower. The result is achievable — it just has less room for error than a four-hole wand.
Editorial methodology: Assessments are based on manufacturer specifications, published user reviews, and editorial research. Physical hands-on testing is noted explicitly where it occurred. Rankings reflect our editorial judgment and are not influenced by affiliate commission rates. Full editorial policy · Affiliate disclosure