Contents
How to Pull the Perfect Espresso Shot
TL;DR: To pull the perfect espresso shot, grind fresh, dose 18–20g, tamp level at 30 lbs, and target a 1:2 ratio (18g in → 36g out) in 25–30 seconds at 93°C/200°F. Dialing in is iterative — taste drives every adjustment.
What “Perfect” Actually Means
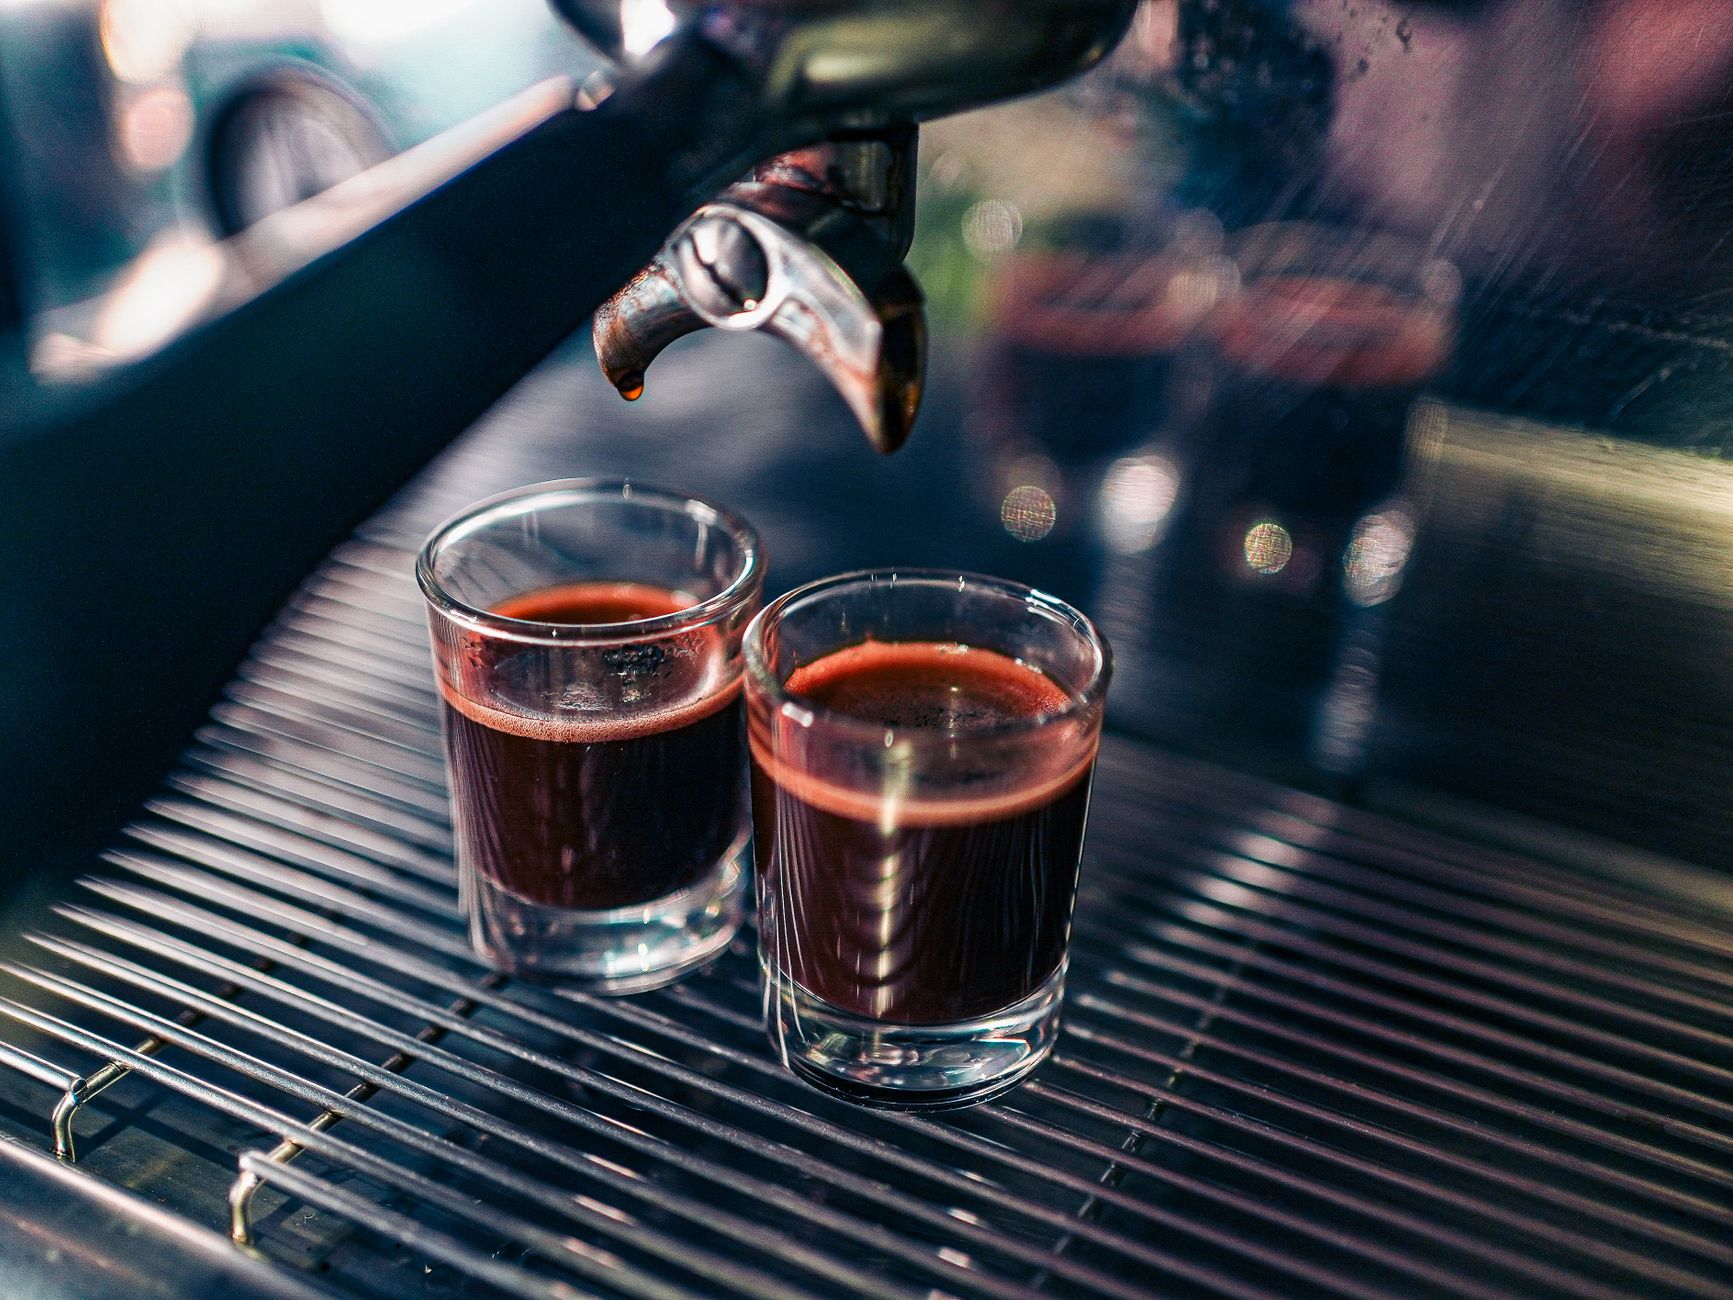
Direct Answer: A perfect espresso shot hits a 1:2 brew ratio in 25–30 seconds, tastes balanced (sweet, slightly acidic, no harsh bitterness), and shows golden-brown crema. Perfection is repeatable, not lucky.
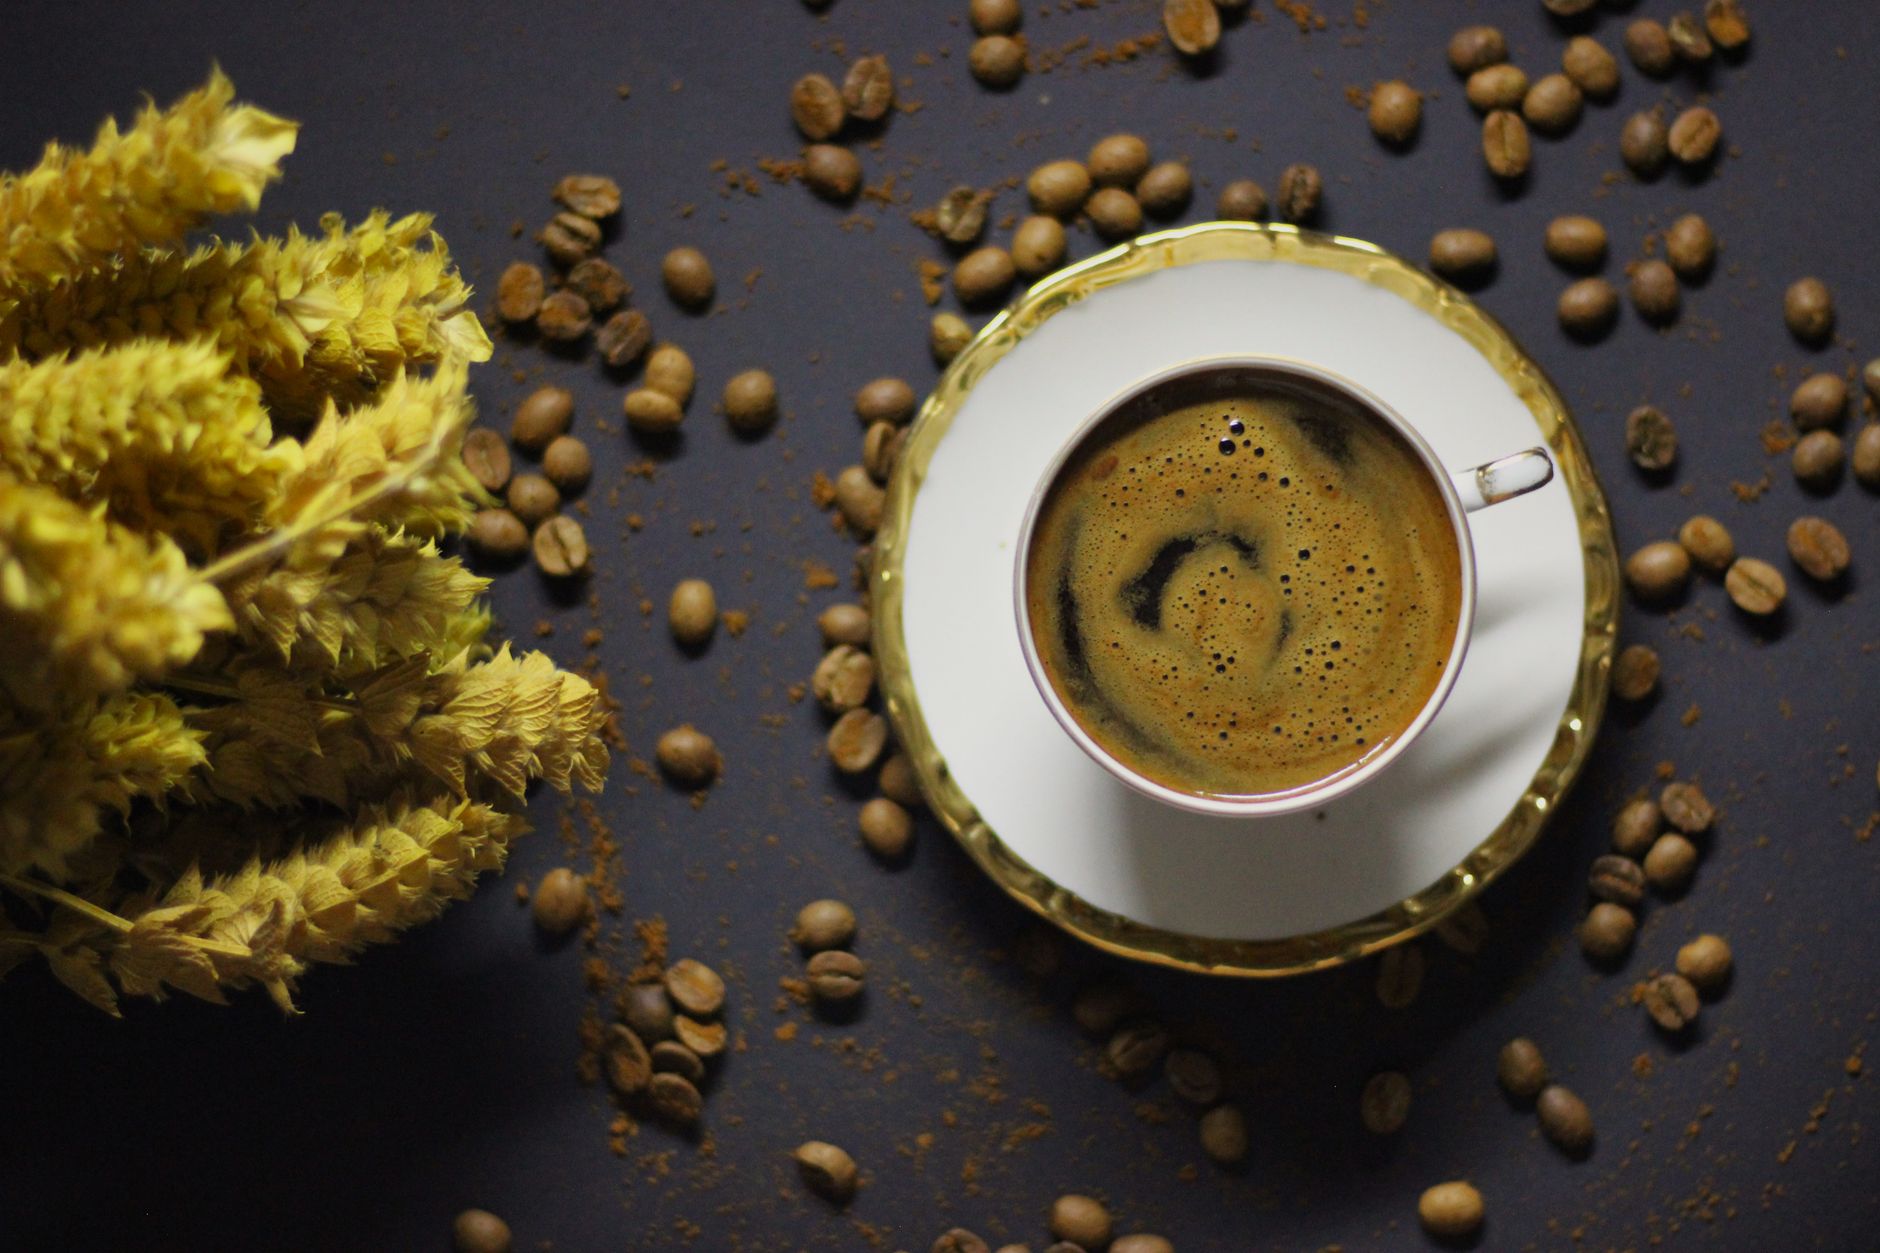 Photo: Hatice Esma DEMİREL via Pexels
Every variable in pulling an espresso shot connects to every other. Grind size sets flow rate; flow rate determines extraction time; extraction time drives flavor. Pull the wrong lever and you’re chasing a ghost. Know the system first.
The five pillars: dose, grind, distribution, tamp, extraction. Change one at a time or you’ll never know what fixed it.
Equipment You Actually Need
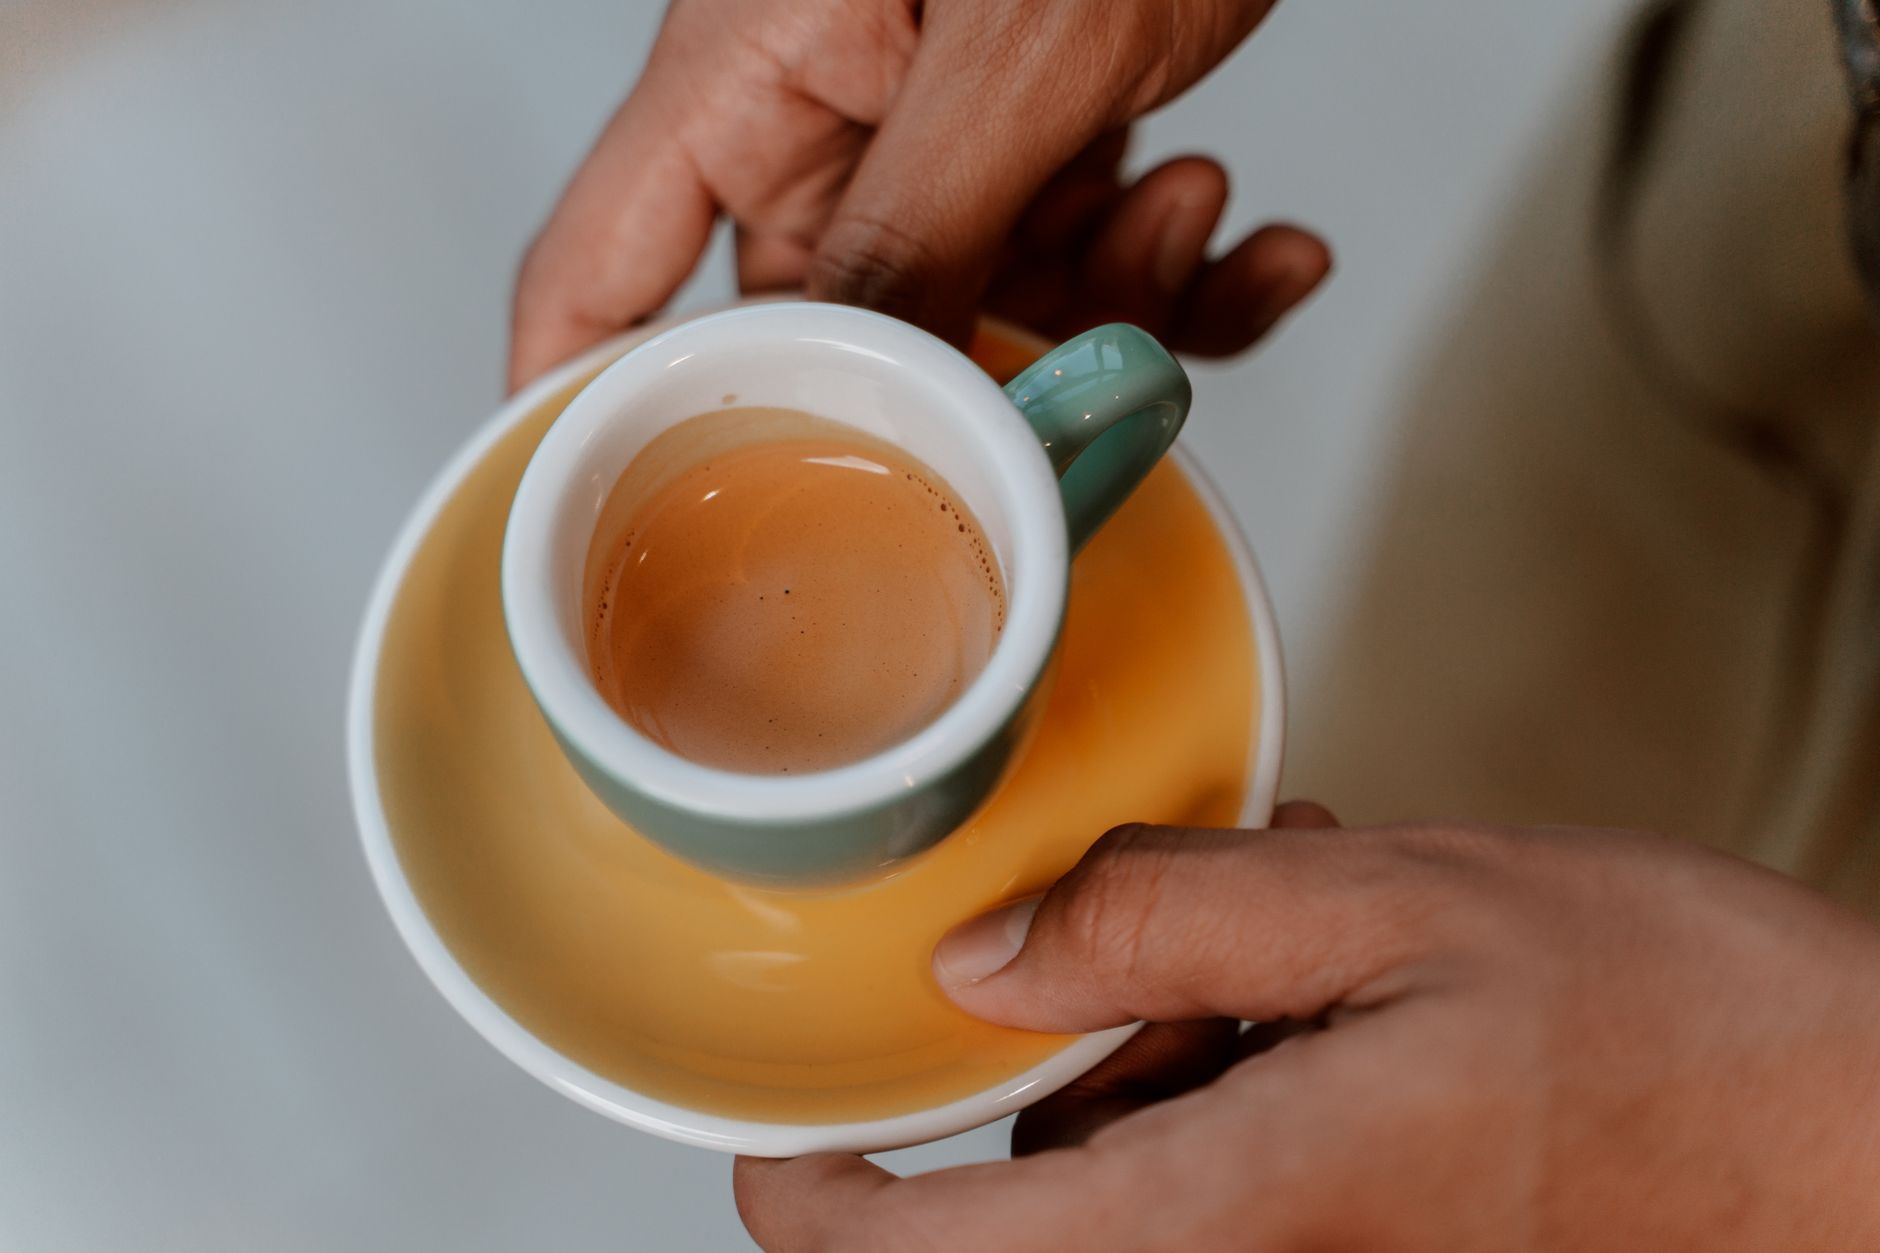
Direct Answer: You need an espresso machine capable of 9 bars of stable pressure, a burr grinder with consistent particle distribution, a calibrated tamper, and a scale. Anything less and you’re fighting the gear, not dialing in technique.
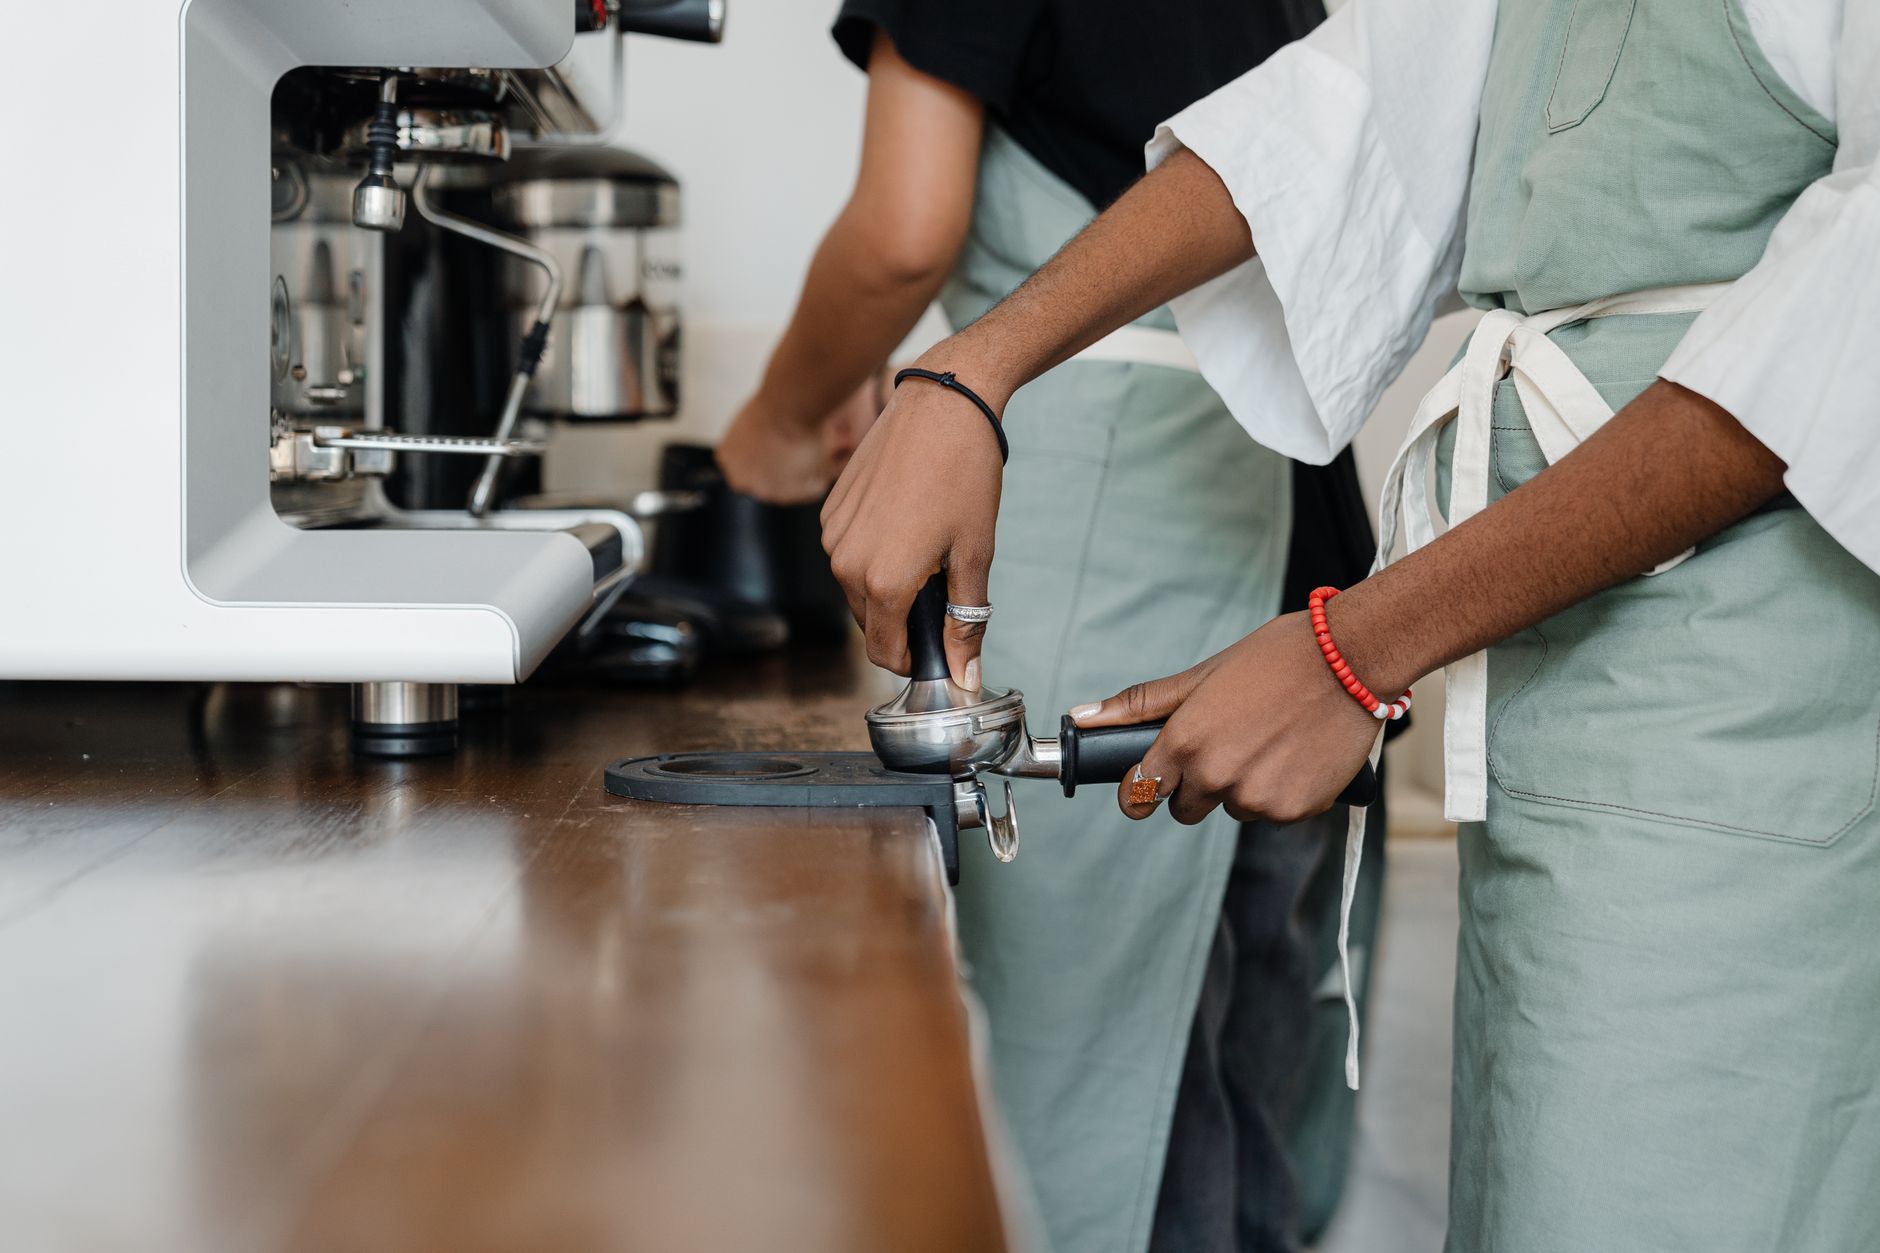 Photo: Ketut Subiyanto via Pexels
| Equipment | Minimum | Recommended |
|---|---|---|
| Machine | 9-bar pump, PID-controlled boiler | E61 group head, dual boiler |
| Grinder | Burr grinder, 0.1g repeatability | Flat burr, stepless adjustment |
| Tamper | 58.5mm, calibrated 30 lbs | Leveling tamper |
| Scale | 0.1g resolution | Bluetooth, real-time flow |
| Basket | IMS or VST precision basket | Ridgeless portafilter |
A pressurized portafilter basket hides grind inconsistency. Switch to a precision (non-pressurized) basket as soon as possible — it gives you accurate feedback.
The Extraction Parameters Block
Dose / Yield / Ratio / Time / Temperature / Pressure
| Parameter | Standard | Ristretto | Lungo |
|---|---|---|---|
| Dose | 18–20g | 18–20g | 18–20g |
| Yield | 36–40g | 20–24g | 48–60g |
| Ratio | 1:2 | 1:1.1–1:1.3 | 1:2.5–1:3 |
| Time | 25–30 sec | 20–25 sec | 35–45 sec |
| Temperature | 93°C / 200°F | 91°C / 196°F | 94°C / 201°F |
| Pressure | 9 bar | 9 bar | 6–8 bar |
These are starting points, not dogma. Light roasts often want higher temp (94–96°C) and a longer ratio (1:2.5). Dark roasts pull faster at lower temp.
Puck Prep: The Step-by-Step
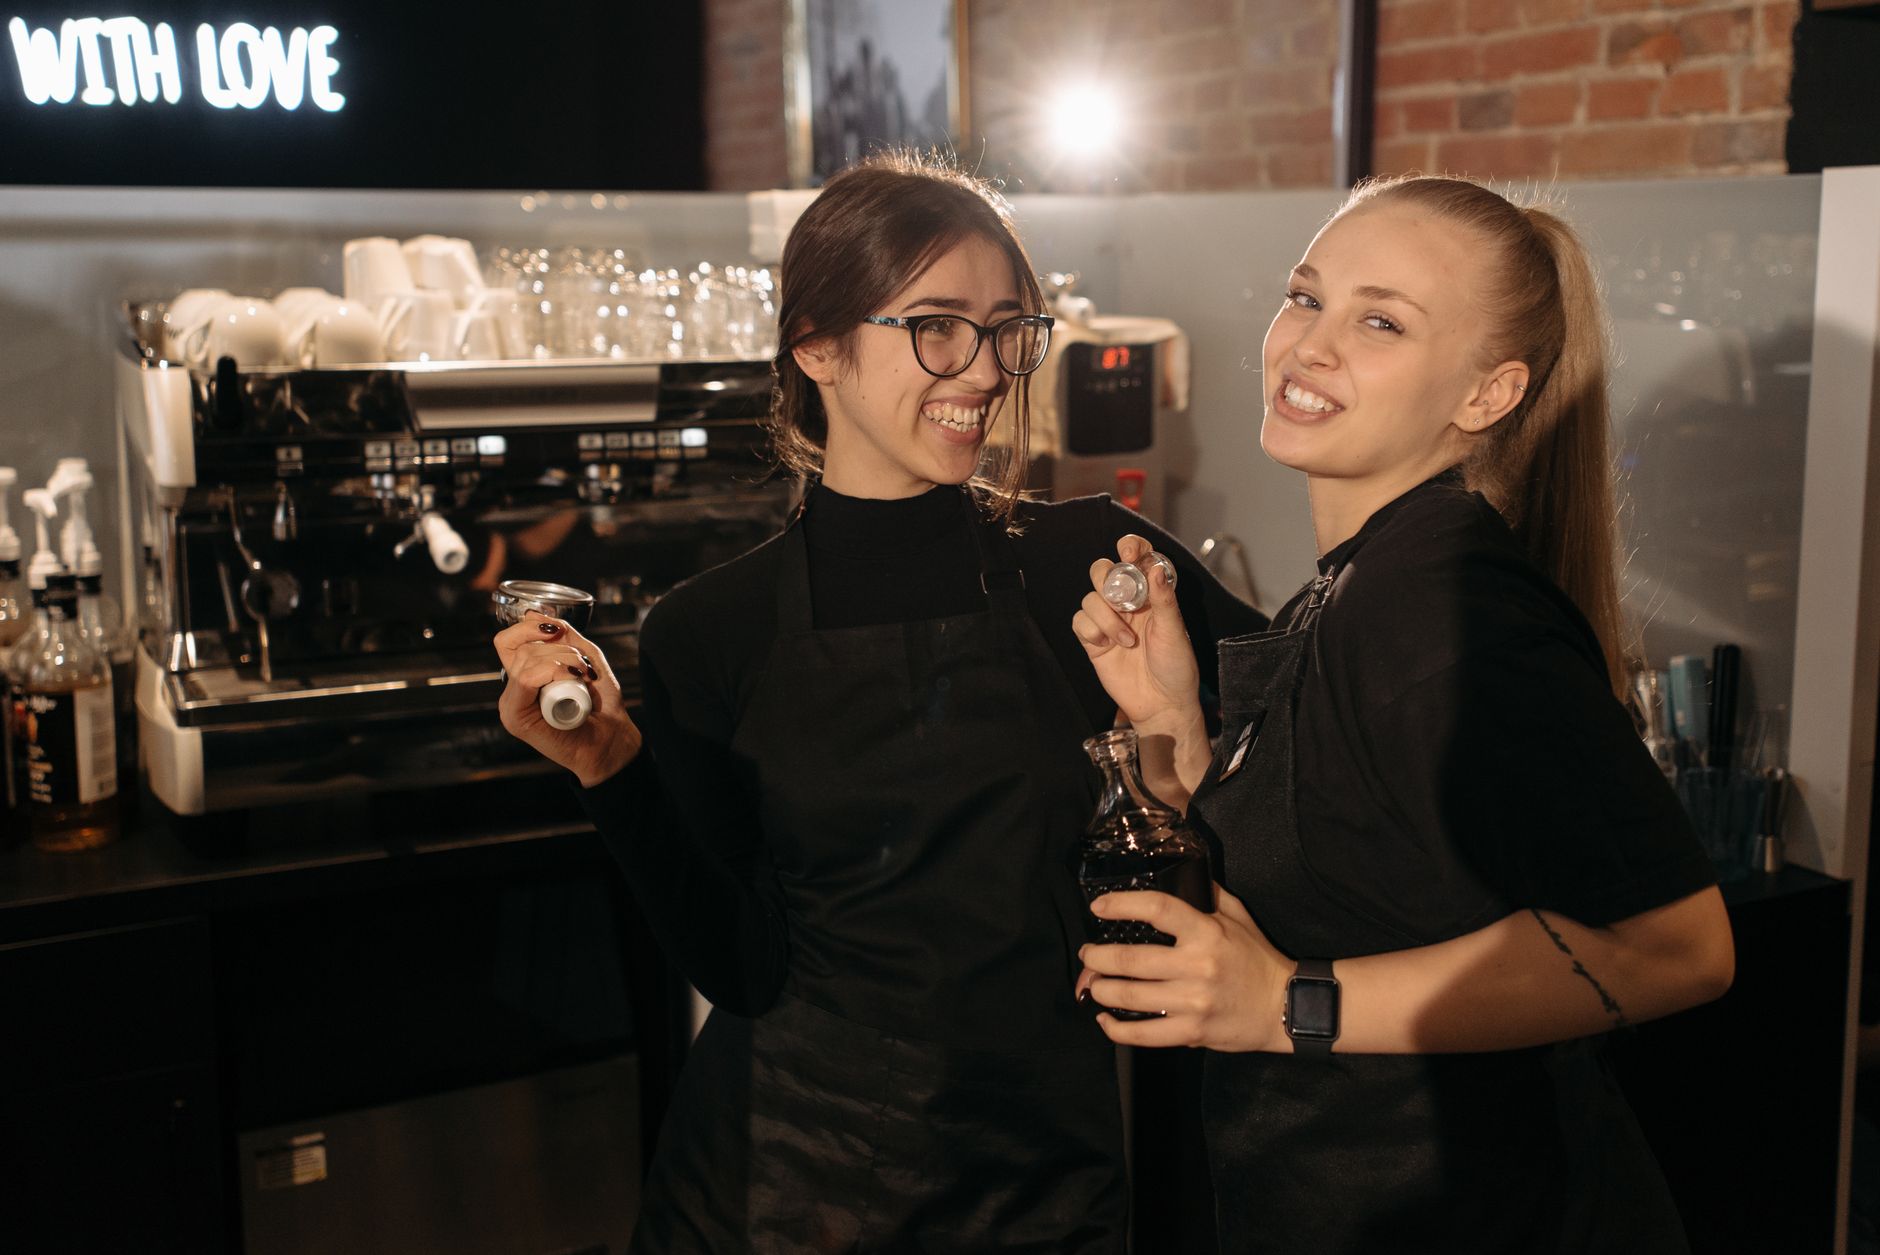
Direct Answer: Puck prep prevents channeling — the single biggest cause of sour, bitter, or uneven shots. WDT, leveling, and consistent tamping eliminate 90% of extraction problems before water ever touches coffee.
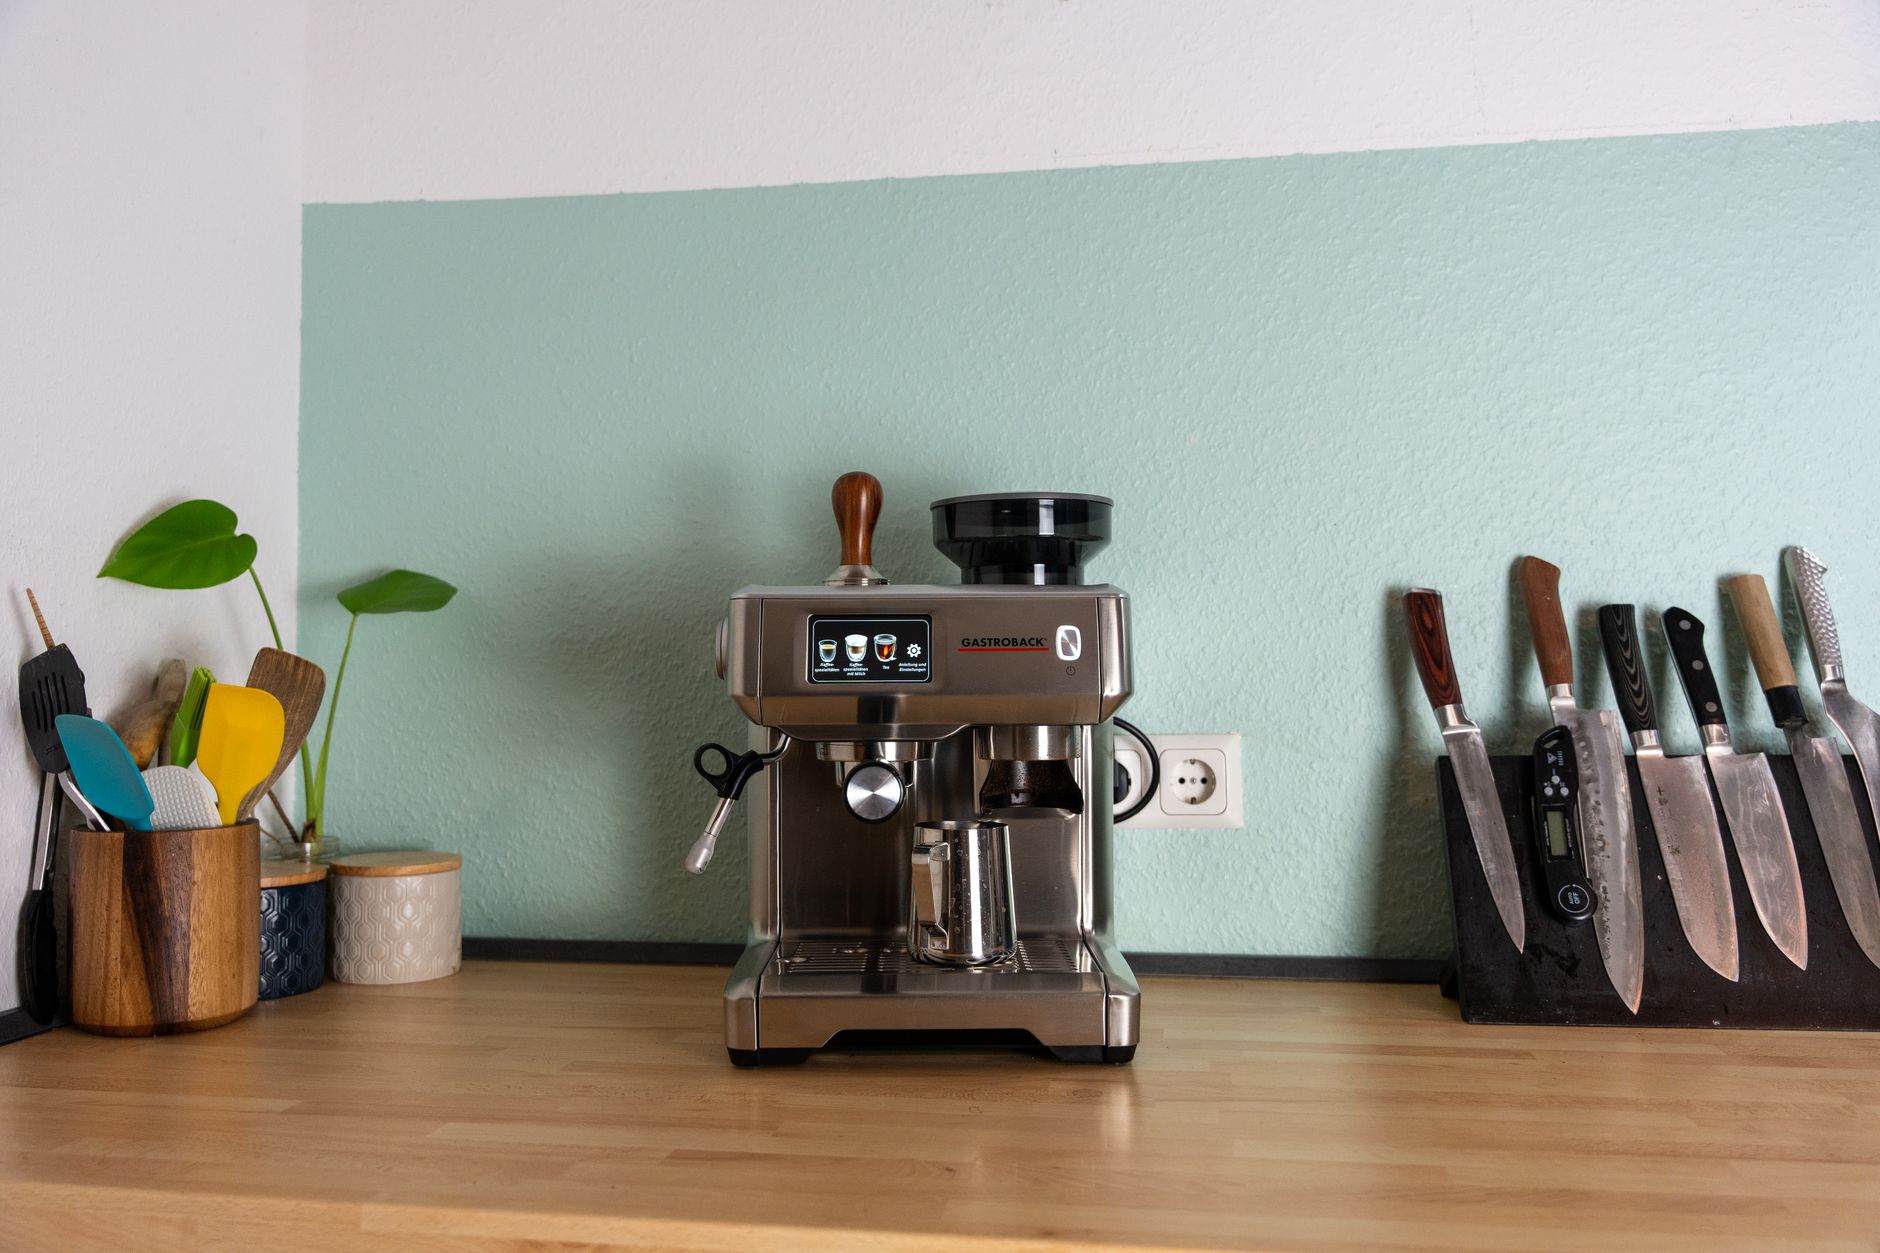 Photo: valverdesupport via Pexels
Step 1 — Grind Fresh
Grind directly into the portafilter or a dosing cup. Stale grounds lose CO₂ and produce flat, inconsistent extraction.
Step 2 — WDT (Weiss Distribution Technique)
Use a thin needle tool or dedicated WDT to break up clumps and homogenize the coffee bed. Stir in a spiral pattern, 5–10 seconds. This single step eliminates dry clumps more reliably than any dosing technique.
Step 3 — Level the Bed
Tap the portafilter gently on the counter (Stockfleth move or palm tap) to settle grounds. Surface should be flat before tamping.
Step 4 — Tamp
Press straight down at 30 lbs (13–15 kg) of force. Use a calibrated tamper that clicks at the target pressure — removes guesswork and ensures consistency shot to shot. The tamp angle matters more than the pressure: any lean creates a high and low point that water exploits.
Step 5 — Pre-infusion
If your machine supports it, pre-infuse at 2–4 bar for 5–8 seconds before ramping to full extraction pressure. This wets the puck evenly and dramatically reduces channeling on dry or unevenly distributed grounds.
Step 6 — Lock In and Pull
Purge the group head for 2–3 seconds to flush stale water. Lock in the portafilter and start your scale before you start the pump. Watch the yield, not the clock — the clock is a diagnostic tool, not the target.
Channeling Prevention
Channeling is when water finds a low-resistance path through the puck instead of percolating evenly. The result: over-extracted bitter water mixed with under-extracted sour water in the same cup.
Signs of channeling: Blonding (pale yellow stream) before 20 seconds, split streams from the portafilter spouts, a shot that tastes sour and bitter simultaneously.
Fix checklist:
- WDT before tamping (nearly always the root cause)
- Check basket for damage or uneven holes
- Confirm tamp is level — use a mirror or a self-leveling tamper
- Reduce dose slightly if using a tight basket with a coarse grind
Troubleshooting Matrix
| Symptom | Likely Cause | Fix |
|---|---|---|
| Shot runs fast (<20 sec) | Grind too coarse / under-dosed | Grind finer; increase dose 0.5g |
| Shot runs slow (>35 sec) | Grind too fine / over-dosed | Grind coarser; decrease dose 0.5g |
| Sour, thin flavor | Under-extracted | Grind finer; raise temp; extend ratio |
| Bitter, harsh flavor | Over-extracted | Grind coarser; lower temp; shorten ratio |
| Blonding early | Channeling | WDT; check tamp level; reduce dose |
| No crema / watery | Stale coffee / too coarse | Fresh beans; grind finer |
| Inconsistent shot to shot | Grinder retention / doser | Purge grinder; use single-dose workflow |
| Crema dissipates instantly | Very fresh beans (degassing) | Rest beans 7–14 days post-roast |
Dialing In: The Iterative Loop
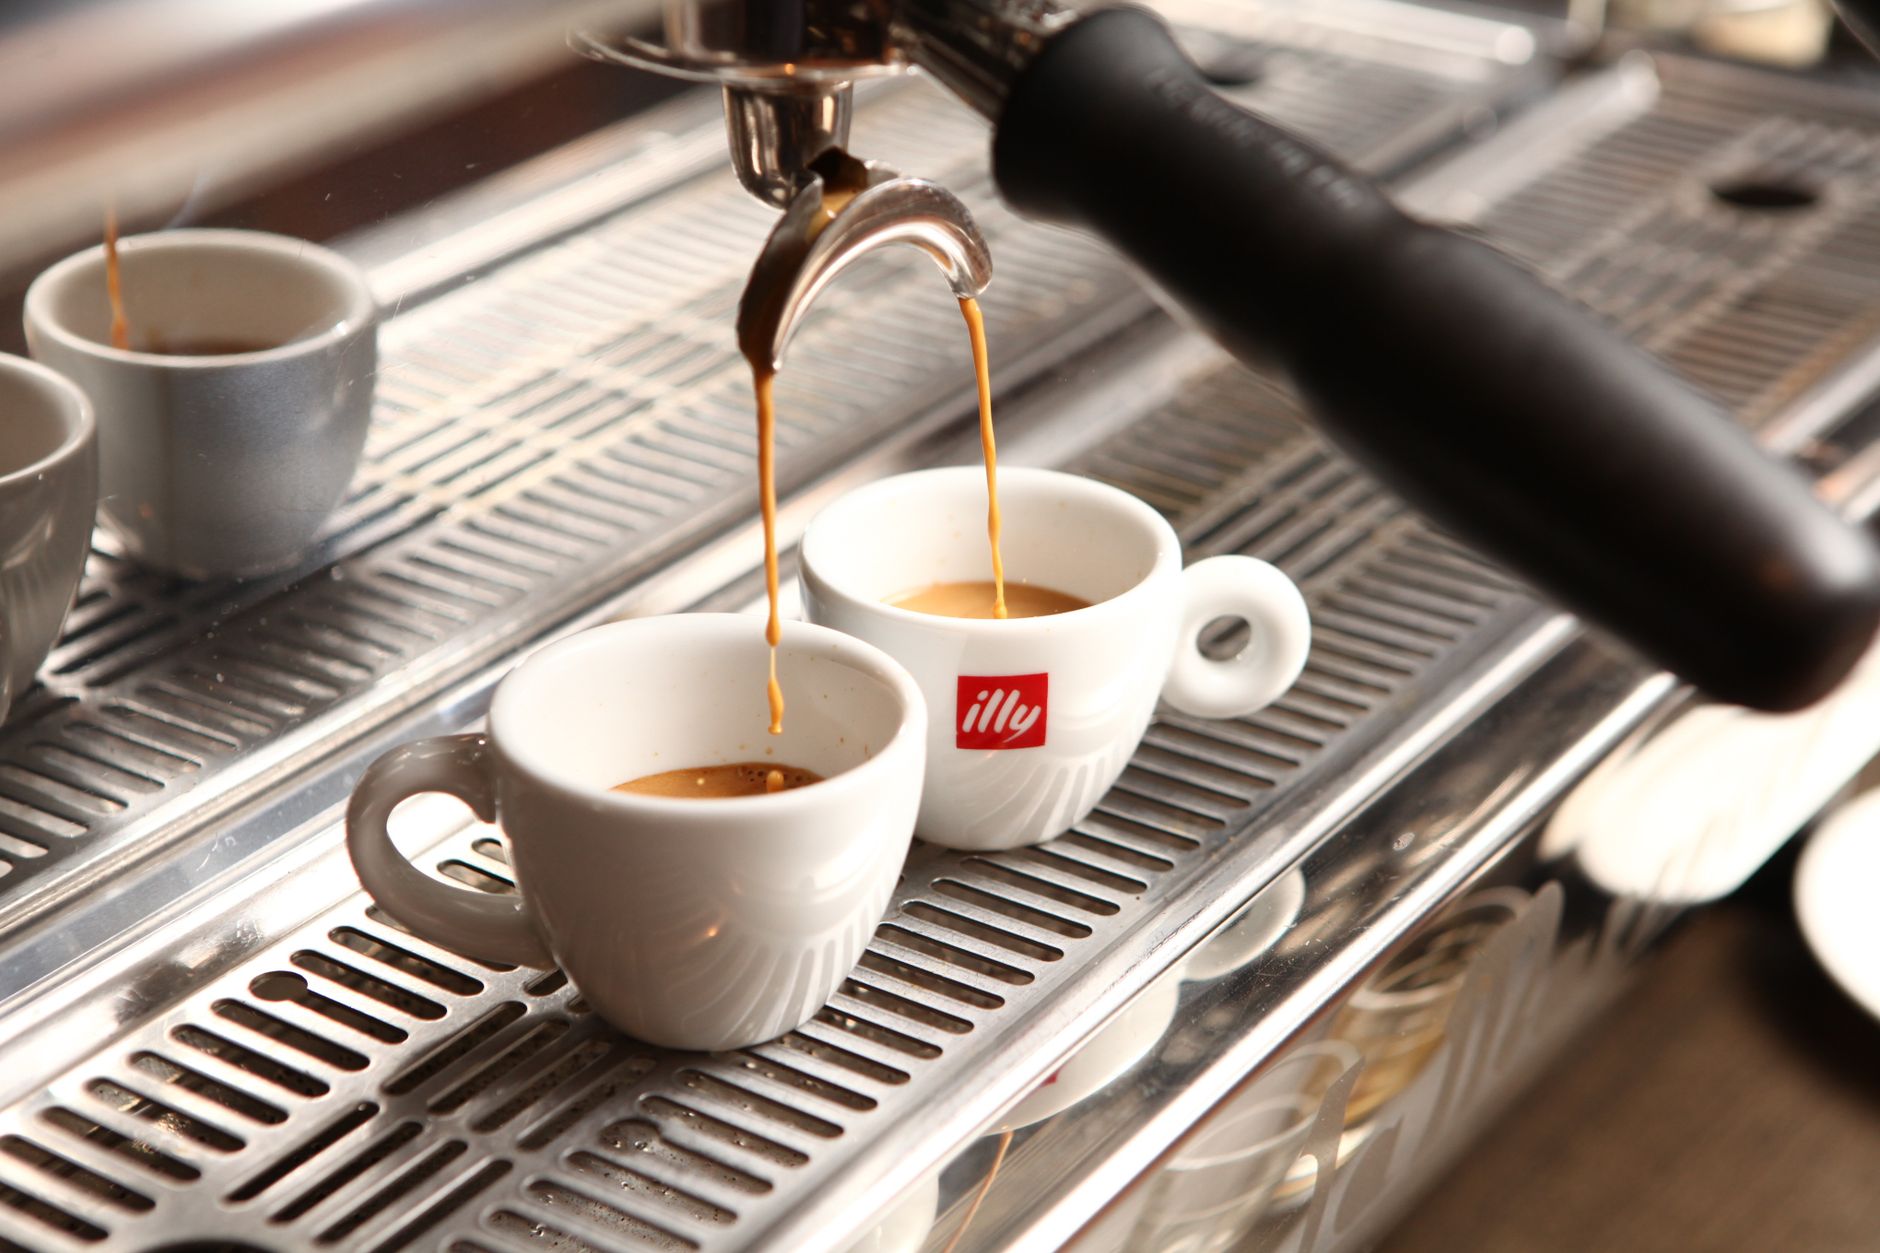
Direct Answer: Change one variable per session. Grind size first — it’s the fastest lever for time and extraction. Only touch dose, temperature, or ratio once you’ve exhausted grind adjustments. Taste every shot.
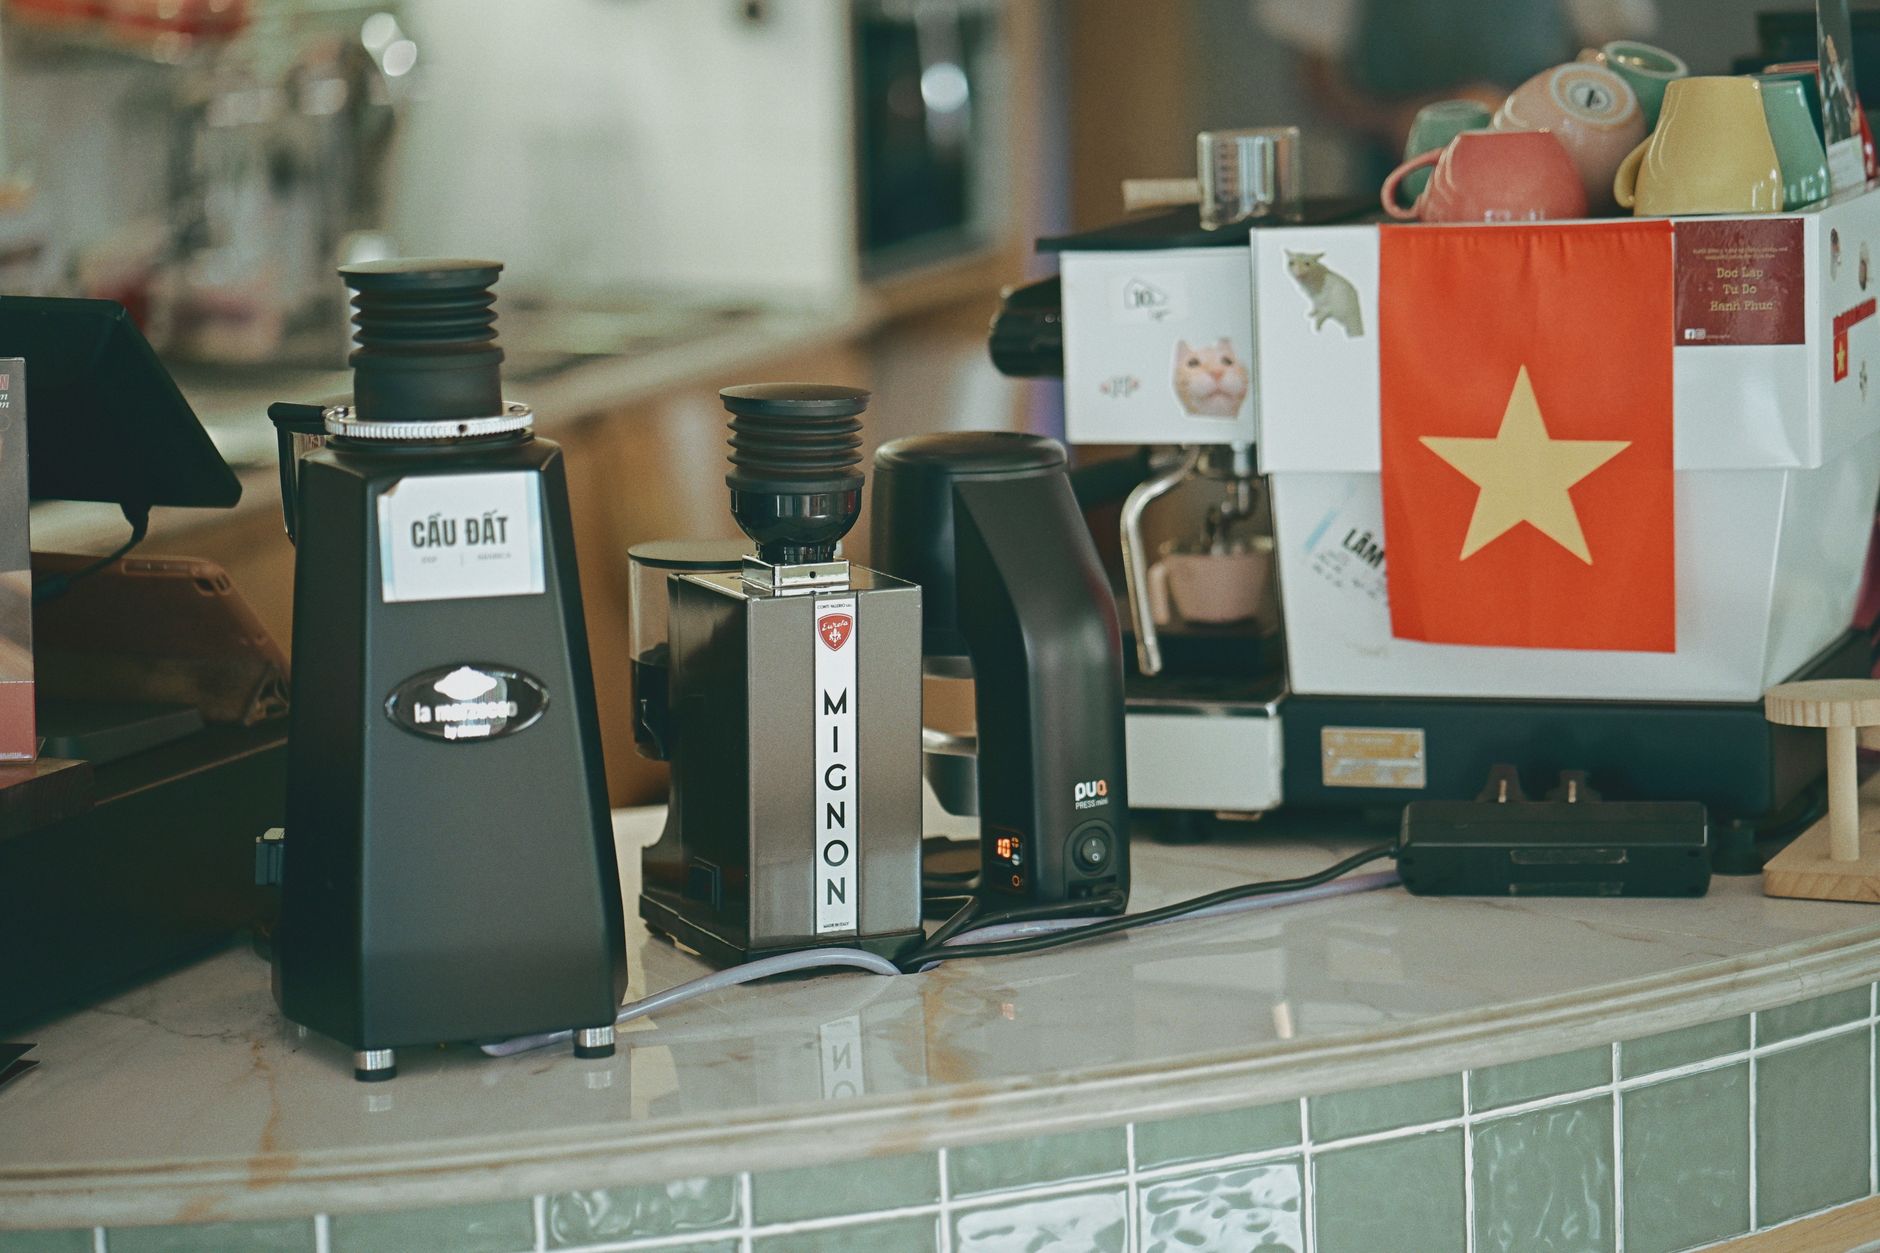 Photo: 🇻🇳🇻🇳 Việt Anh Nguyễn 🇻🇳🇻🇳 via Pexels
The dialing-in sequence:
- Set dose to your basket’s rated capacity (most 58mm baskets: 18–20g)
- Set target yield to 2× your dose (36–40g for 18–20g in)
- Pull a shot — note time and taste
- If too fast and sour → grind finer
- If too slow and bitter → grind coarser
- Repeat until you hit the time window and it tastes right
- Only then adjust temperature or ratio for flavor refinement
Keep a shot log. One week of notes beats one hour of guessing.
Common Beginner Mistakes
- Grinding the night before. Stale grounds won’t pull evenly regardless of dose or technique.
- Using a bathroom scale for force. Bathroom scales max out at >50 lbs. A postal scale or calibrated tamper are better.
- Changing two variables at once. You’ll never know what fixed it.
- Ignoring yield. Timing a shot without weighing output is like baking without measuring flour.
- Skipping machine warm-up. A cold group head drops extraction temperature 2–4°C. Flush it thoroughly first.
→ See also:
- How to Dial In Espresso: Step-by-Step Decision Tree
- Espresso Extraction Explained: Under, Over, and Perfect
- How to Tamp Espresso Correctly (Pressure, Technique, Tools)
FAQ
How long should it take to pull an espresso shot? Target 25–30 seconds from first drop to hitting your yield. The timer starts when the pump turns on, not when coffee appears. Shots that run outside this window without tasting right need a grind adjustment, not a time adjustment — time is the symptom, grind is the cause.
What is the correct espresso dose? For a standard double shot in a 58mm basket, 18–20g is the industry norm. Dose is constrained by your basket’s rated capacity — overfilling compresses the headspace and causes flow restriction; underfilling creates an uneven puck with channeling risk.
Why does my espresso taste sour? Sour espresso is under-extracted — water passed through without dissolving enough solubles. The primary fix is grinding finer, which slows the shot and extracts more. If the shot is already slow, raise brew temperature by 1°C or extend your yield ratio to 1:2.5.
Why does my espresso taste bitter? Bitterness is over-extraction — too many solubles pulled, including the harsh ones. Grind coarser first. If that doesn’t resolve it, lower brew temperature by 1–2°C or shorten the ratio slightly. Check that you’re not leaving the shot running past your target yield.
Does tamping pressure really matter? Pressure matters less than consistency and levelness. Anywhere from 20–40 lbs produces comparable extraction if the puck is level and evenly distributed. A crooked tamp at any pressure creates a channel. If you’re inconsistent, use a self-leveling calibrated tamper — it removes the variable entirely.
What water temperature should I use for espresso? 93°C / 200°F is the consensus starting point for medium roasts. Light roasts benefit from 94–96°C to drive extraction of harder-to-dissolve acids. Dark roasts pull better at 91–92°C to suppress bitterness. PID-controlled machines dial this in precisely; machines without PID require flush-based temperature surfing.
Can I pull a good espresso without an expensive grinder? The grinder matters more than the machine up to a point. A mediocre grinder produces inconsistent particle size (fines + boulders), which causes simultaneous under- and over-extraction you can’t fix with any machine setting. Spend proportionally more on the grinder before upgrading the machine.
Editorial methodology: Assessments are based on manufacturer specifications, published user reviews, and editorial research. Physical hands-on testing is noted explicitly where it occurred. Rankings reflect our editorial judgment and are not influenced by affiliate commission rates. Full editorial policy · Affiliate disclosure