Contents
How to Dial In a New Bag of Coffee (Step-by-Step)
TL;DR: When you open a new bag of coffee, start with the roaster’s recommended dose and a 1:2 ratio, then adjust grind size first before touching anything else. Most bags dial in within 5–10 shots. The how-to-dial-in-new-coffee-bag process is always grind → taste → adjust — never change two variables at once.
Why Every New Bag Needs Dialing In
Every bag of coffee is different — even the same roast from the same roaster varies batch to batch. Density, moisture content, roast development, and rest time all shift how a bean grinds and extracts. Starting from scratch each time isn’t obsessive; it’s the only way to avoid 10 wasted shots chasing a problem you introduced yourself.
 Photo: Tolga deniz Aran via Pexels
Grind size is the single biggest variable between bags. A medium roast from Ethiopia and one from Colombia will grind differently even at the same setting. Darker roasts are more brittle and grind finer at equivalent settings; lighter roasts are denser and grind coarser.
The good news: if your previous bag was dialed in, your new starting point is one or two clicks from there — not zero.
Step 1: Check the Roast Date, Then Wait (or Don’t)
Espresso needs rest. Fresh-off-the-roaster beans (under 5 days) off-gas CO₂ aggressively, causing uneven extraction and unpredictable channeling. Filter coffee is more forgiving — 2–3 days off roast is usable. For espresso, 7–14 days post-roast is the sweet spot for most medium and dark roasts; light roasts often peak at 14–21 days.
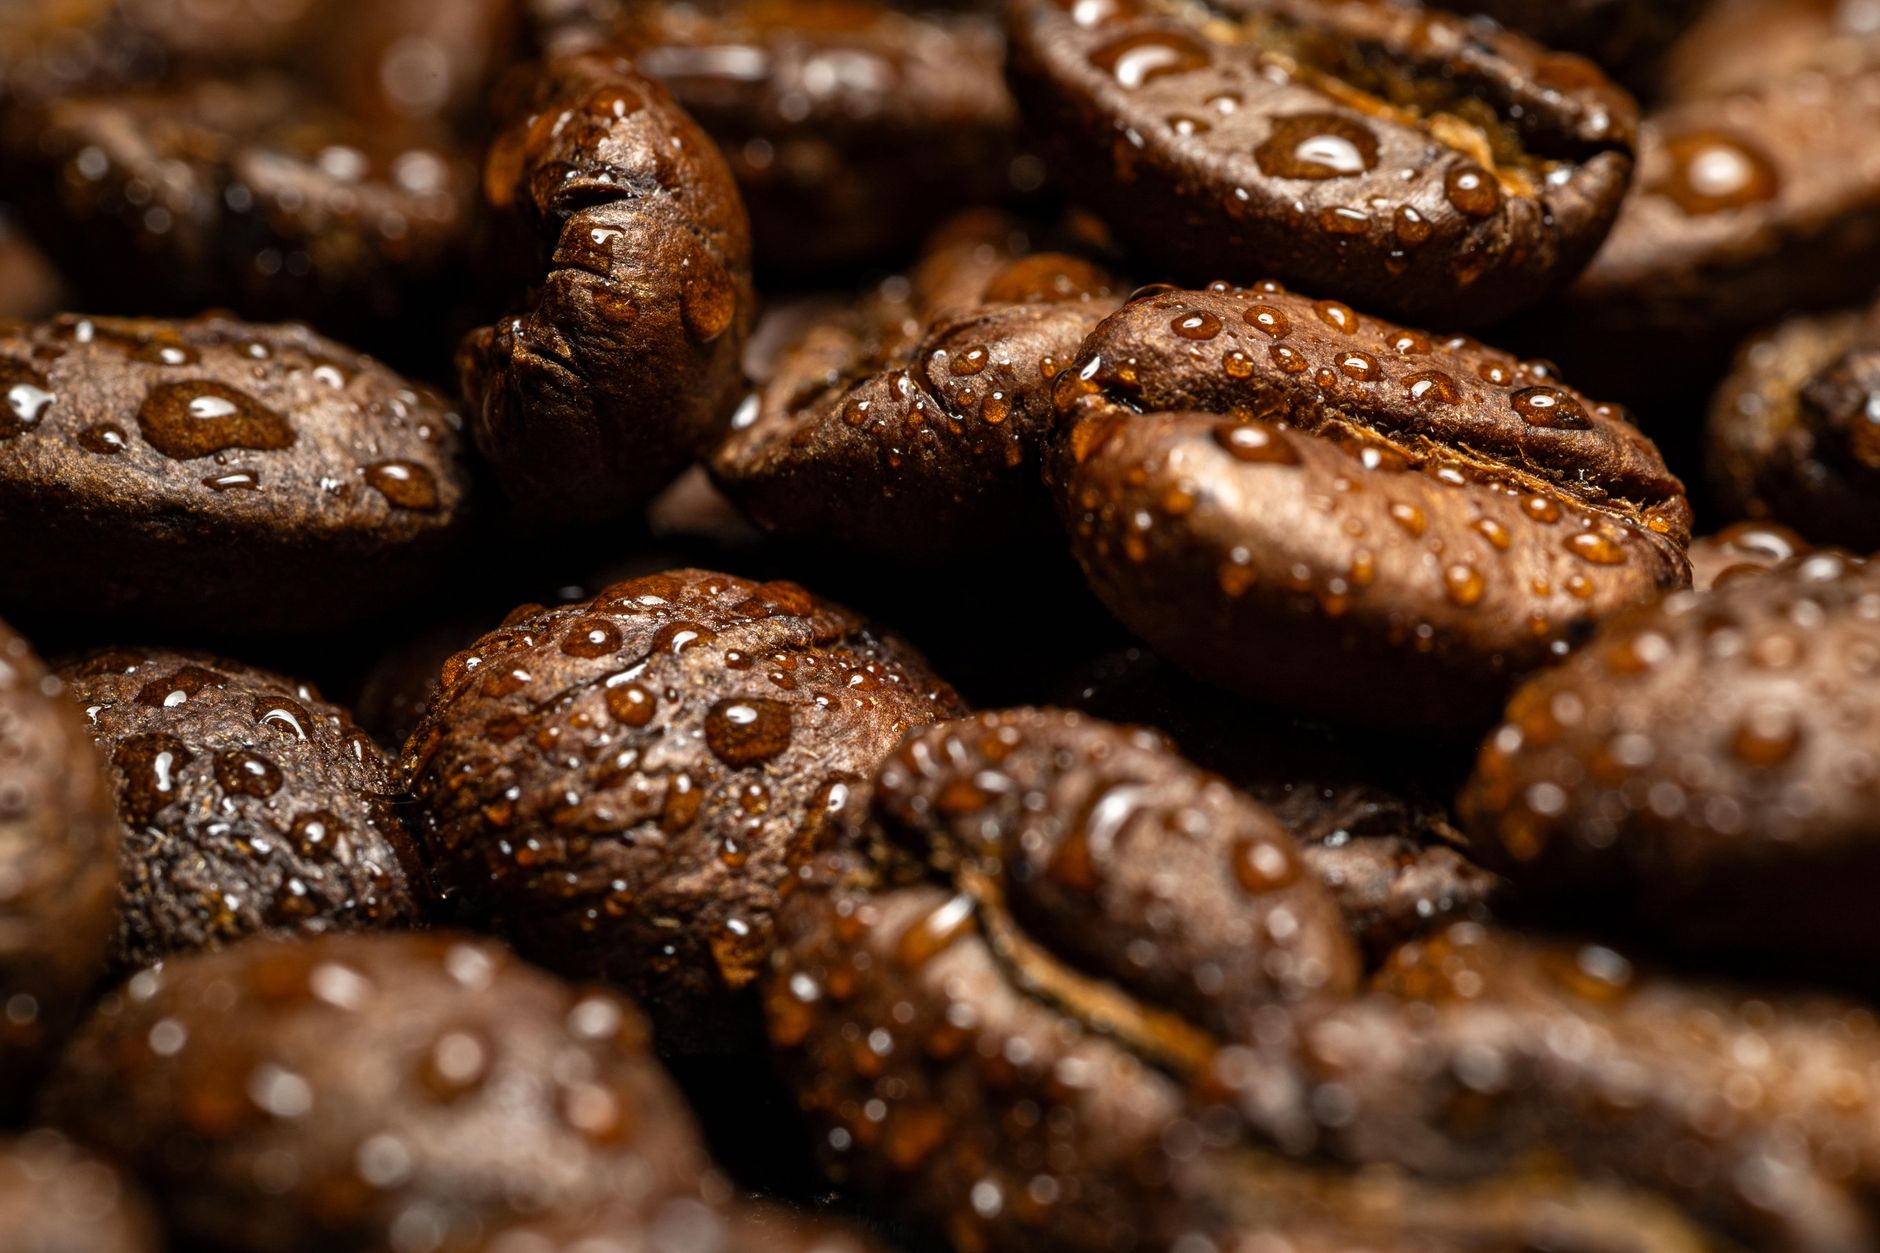 Photo: Ignacio Vazquez via Pexels
If the bag has no roast date, treat it as unknown-age and expect inconsistency. Most specialty roasters print the date clearly; if yours doesn’t, find a roaster that does.
Resting by Roast Level
| Roast Level | Filter (days off roast) | Espresso (days off roast) |
|---|---|---|
| Light | 5–10 | 14–21 |
| Medium | 3–7 | 7–14 |
| Dark | 2–5 | 5–10 |
| Blend | 3–7 | 7–12 |
Step 2: Set Your Starting Parameters
Start with the roaster’s recommendation if one is printed. If not: 18g dose, 36g yield (1:2 ratio), 27–30 second extraction, 93°C (200°F), 9 bar pressure. This isn’t magic — it’s a known baseline that lands you in the extractable range for most commercial espresso blends and single origins.
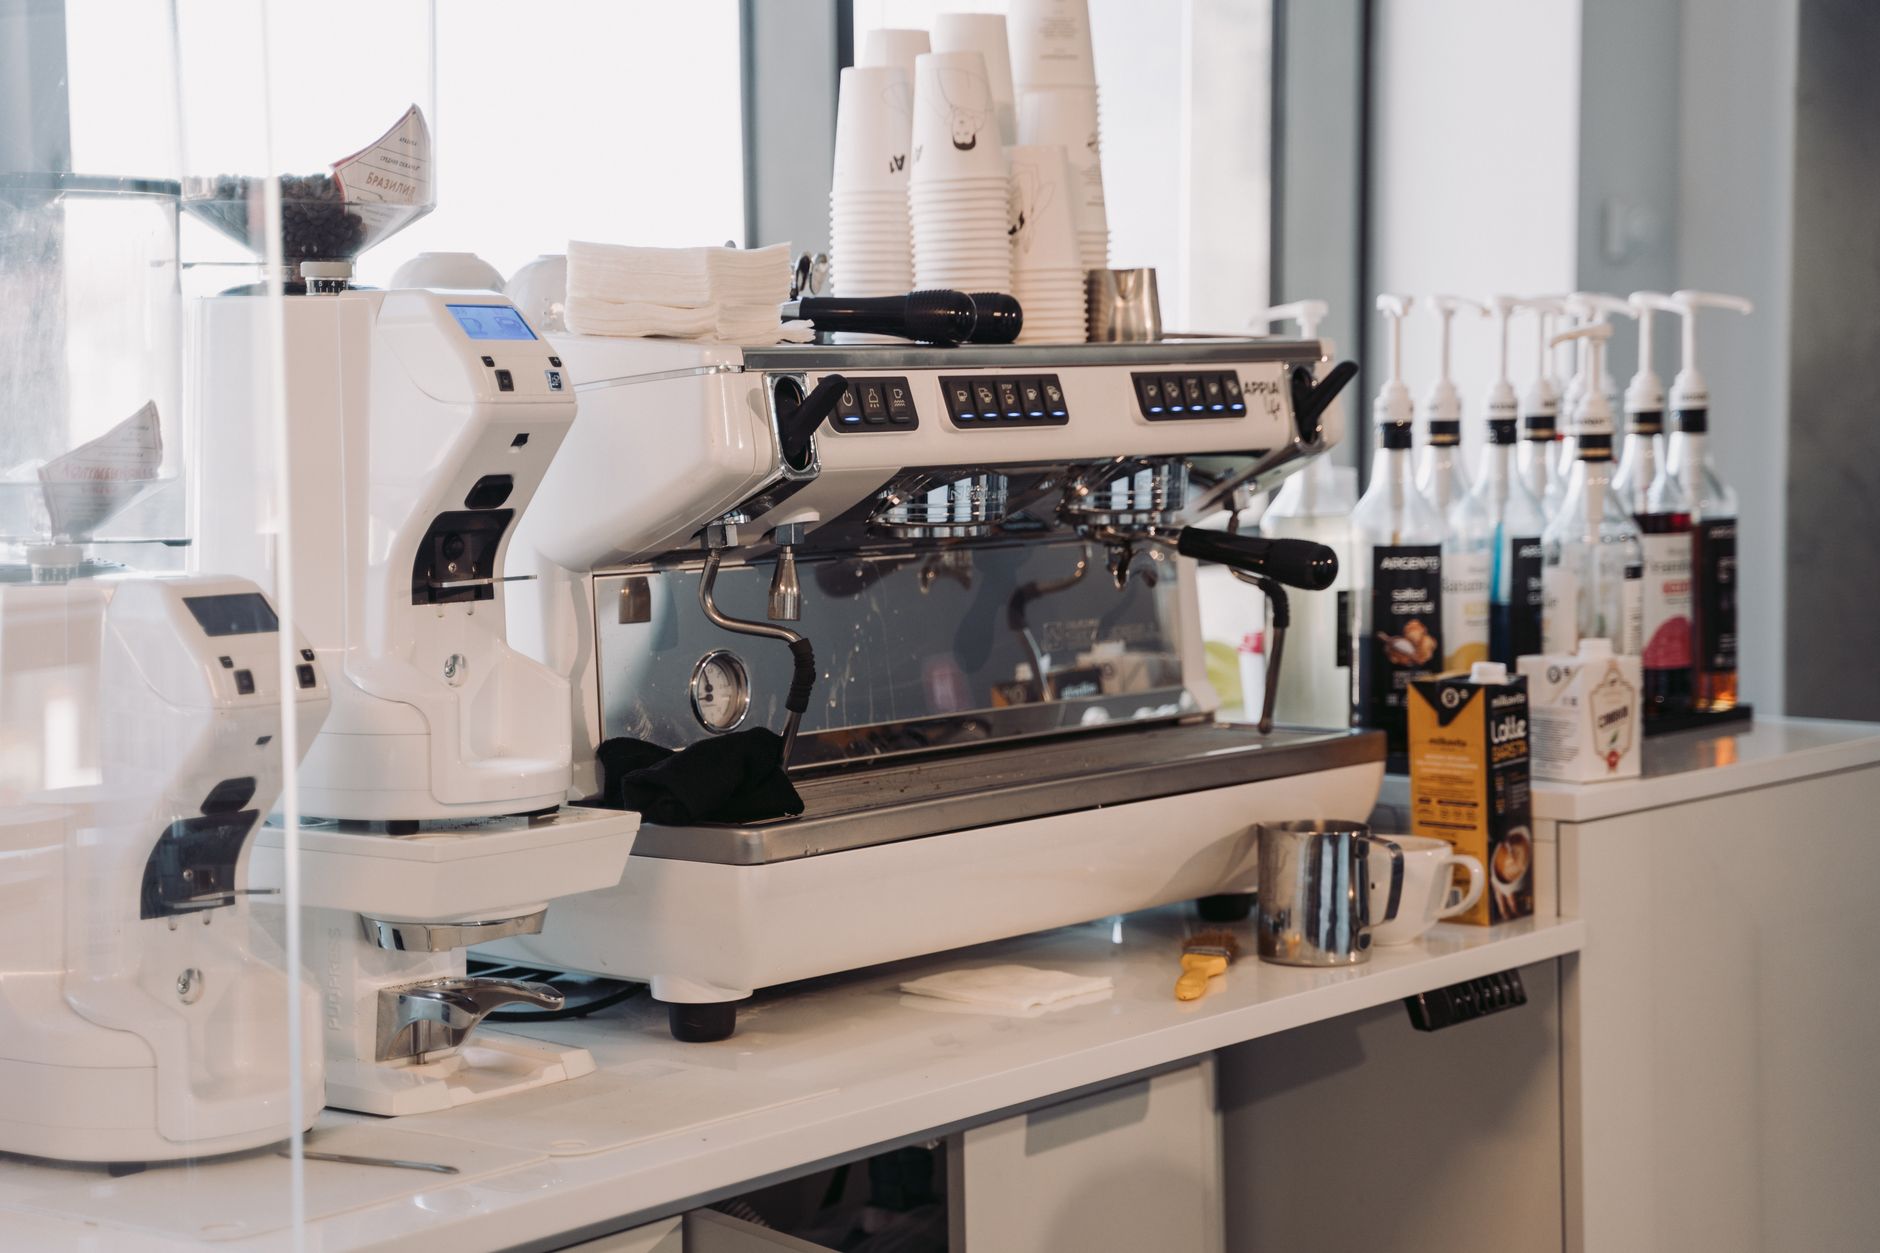 Photo: MART PRODUCTION via Pexels
Don’t guess. Weigh everything from shot one. A kitchen scale that reads to 0.1g costs less than the beans you’ll waste guessing.
Extraction Parameters — Starting Baseline
| Parameter | Espresso | Filter (Pour-over) | AeroPress |
|---|---|---|---|
| Dose | 18 g | 15 g | 15 g |
| Yield / Water | 36 g | 250 g | 200 g |
| Ratio | 1:2 | 1:16.7 | 1:13 |
| Time | 27–30 s | 3:00–3:30 | 1:30–2:00 |
| Temperature | 93°C | 94°C | 85–94°C |
| Pressure (espresso) | 9 bar | — | Manual |
Step 3: Adjust Grind Size First — Nothing Else
Grind size controls extraction speed. If your shot runs fast and tastes sour or thin, go finer. If it runs slow, chokes, or tastes bitter and dry, go coarser. Change grind size by one step at a time. Don’t touch dose, yield, or time until grind is in range.
 Photo: ClickerHappy via Pexels
This is where most people go wrong: they pull a sour shot and add more coffee. Dose affects body and strength, not extraction speed. A sour shot with more coffee is still a sour shot — just bigger.
Troubleshooting Matrix
| Symptom | Likely Cause | Fix |
|---|---|---|
| Sour, thin, watery | Under-extracted / grind too coarse | Go finer one step |
| Bitter, dry, ashy | Over-extracted / grind too fine | Go coarser one step |
| Shot runs in <20s | Too coarse or dose too low | Finer grind first |
| Shot chokes / no flow | Too fine or tamp too hard | Coarser grind first |
| Channeling, uneven | Poor puck prep | Fix WDT + tamp, then retest |
| Inconsistent shot to shot | Grinder retention / stale purgings | Purge 2–3g before dosing |
Step 4: Puck Prep for a New Bag
Good puck prep matters more with an unfamiliar coffee. New bags often have more fines distribution variability until your grinder settles into the new bean’s density.
Puck prep sequence:
- Purge your grinder — 2–3g of the new coffee before your first real dose. This clears retained stale grounds and calibrates the grinder to the new bean’s density.
- WDT (Weiss Distribution Technique) — Stir the grounds in the portafilter with a thin needle or WDT tool before tamping. Breaks up clumps that cause channeling.
- Level — Finger-swipe or use a distribution tool to get a flat, even bed.
- Tamp — 15–20 kg of pressure, perfectly level. Calibrate with a tamping mat or bathroom scale once; muscle memory takes over after that.
- Pre-infusion — If your machine supports it, 5–8 seconds at low pressure wets the puck evenly before full pressure hits. Especially useful with very fresh or very light-roasted coffees.
Step 5: Taste and Adjust Iteratively
Pull shot. Taste it. Decide one thing to change.
If the shot is in time but tastes off:
- Sour + bright but right time → grind slightly finer, or raise temperature 1°C
- Bitter + long finish but right time → grind slightly coarser, or drop temperature 1°C
- Flat, low sweetness → check ratio — try pulling slightly longer (1:2.2)
- Too intense, harsh → pull slightly shorter (1:1.8) or drop dose 0.5g
Light roasts often need higher temperature (94–96°C) and longer ratios (1:2.5) to fully extract. Don’t force a light roast into a dark-roast recipe.
Step 6: Lock In and Document
Once you have a shot that tastes right, write it down: dose, yield, grind setting, time, temperature. A notes app works. A sticky note on the grinder works better.
When the bag runs out, these numbers are your starting point for the next bag of the same coffee. For a different coffee, start at Step 1 — but your baseline will be closer.
→ See also:
- How to Dial In Espresso: Step-by-Step Decision Tree
- Espresso Extraction Explained: Under, Over, and Perfect
- How to Tamp Espresso Correctly (Pressure, Technique, Tools)
FAQ
How many shots does it take to dial in a new bag of coffee? Most bags dial in within 5–8 shots when you change one variable at a time. If you’re still chasing it after 10 shots, reset to the baseline parameters — you’ve likely overcorrected in multiple directions.
Should I change dose or grind size first? Grind size first, always. Dose affects strength and body; grind affects extraction rate. Fix the extraction first, then adjust dose if the shot tastes right but is too strong or too weak.
Why does my new bag taste different even at the same grind setting? Beans from different harvests, origins, or roast batches extract differently. Even the same coffee from the same roaster can vary by 1–2 clicks batch to batch due to moisture content and roast development changes.
Can I use the same dial-in process for filter coffee? Yes, with simpler adjustments. For pour-over or AeroPress, grind coarser or finer based on flow rate and taste. The same rule applies: one change at a time, taste between adjustments.
What’s the fastest way to dial in a new espresso bag? Pull your first shot at baseline (18g in / 36g out / 28 seconds), taste it, and go one grind step in the right direction. Most coffees land in 3–4 shots when you start from a solid baseline rather than copying last bag’s settings blindly.
Does roast date affect how I dial in? Yes. Very fresh coffee (under 7 days for espresso) will often run faster than expected and taste hollow — this is CO₂ off-gassing disrupting extraction, not a grind problem. Wait before dialing in, or expect to re-dial as the coffee degasses over the first week.
Editorial methodology: Assessments are based on manufacturer specifications, published user reviews, and editorial research. Physical hands-on testing is noted explicitly where it occurred. Rankings reflect our editorial judgment and are not influenced by affiliate commission rates. Full editorial policy · Affiliate disclosure