Contents
Espresso Puck Prep: WDT, Leveling, and Tamping Order
TL;DR: Espresso puck prep is the sequence of steps between grinding and brewing that determines whether water flows evenly through your coffee. Do them in this order: distribute with WDT → level → tamp. Skip or rush any step and you invite channeling, which tanks extraction quality regardless of how dialed-in your recipe is.
What Is Espresso Puck Prep (and Why Does It Matter)?
Puck prep is everything that happens to ground coffee after it leaves the grinder and before you lock the portafilter into the machine. Done right, it produces a dense, flat, crack-free puck that water saturates evenly. Done wrong, the water finds the path of least resistance — a channel — and you get sour, uneven espresso.
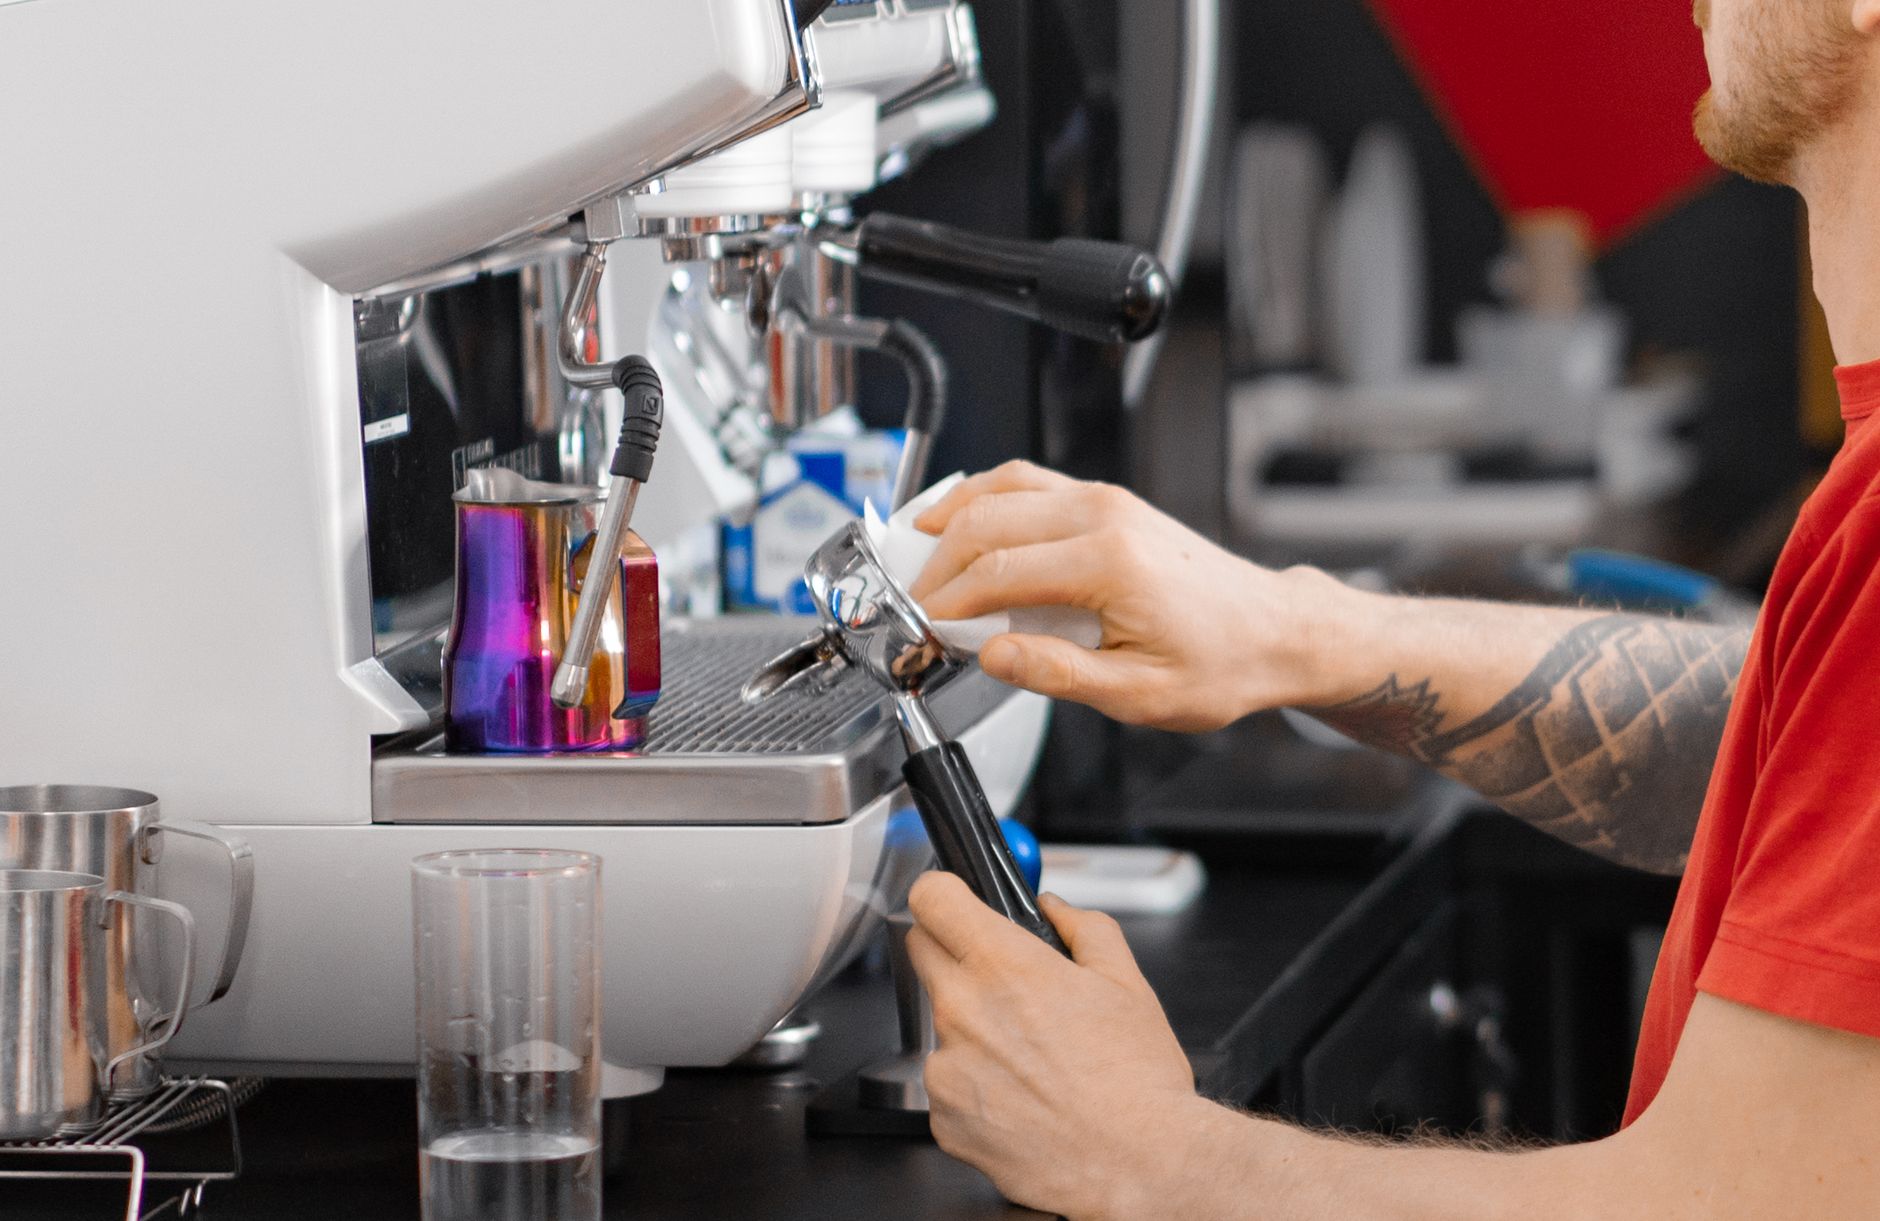 Photo: Mikhail Nilov via Pexels
Espresso is uniquely sensitive to puck quality because it forces water through coffee at 9 bars of pressure. Drip coffee is forgiving; espresso is not. A clump the size of a pea can reroute enough water to make a shot taste hollow.
The steps below are sequenced deliberately. Each one sets up the next. Changing the order doesn’t just produce slightly worse results — it makes earlier steps pointless.
Step 1: Distribute with WDT
WDT (Weiss Distribution Technique) uses a fine needle tool to stir ground coffee inside the portafilter basket, breaking clumps and distributing grounds evenly before any leveling or tamping occurs. It takes 10–15 seconds and is the highest-leverage step in the entire puck prep sequence.
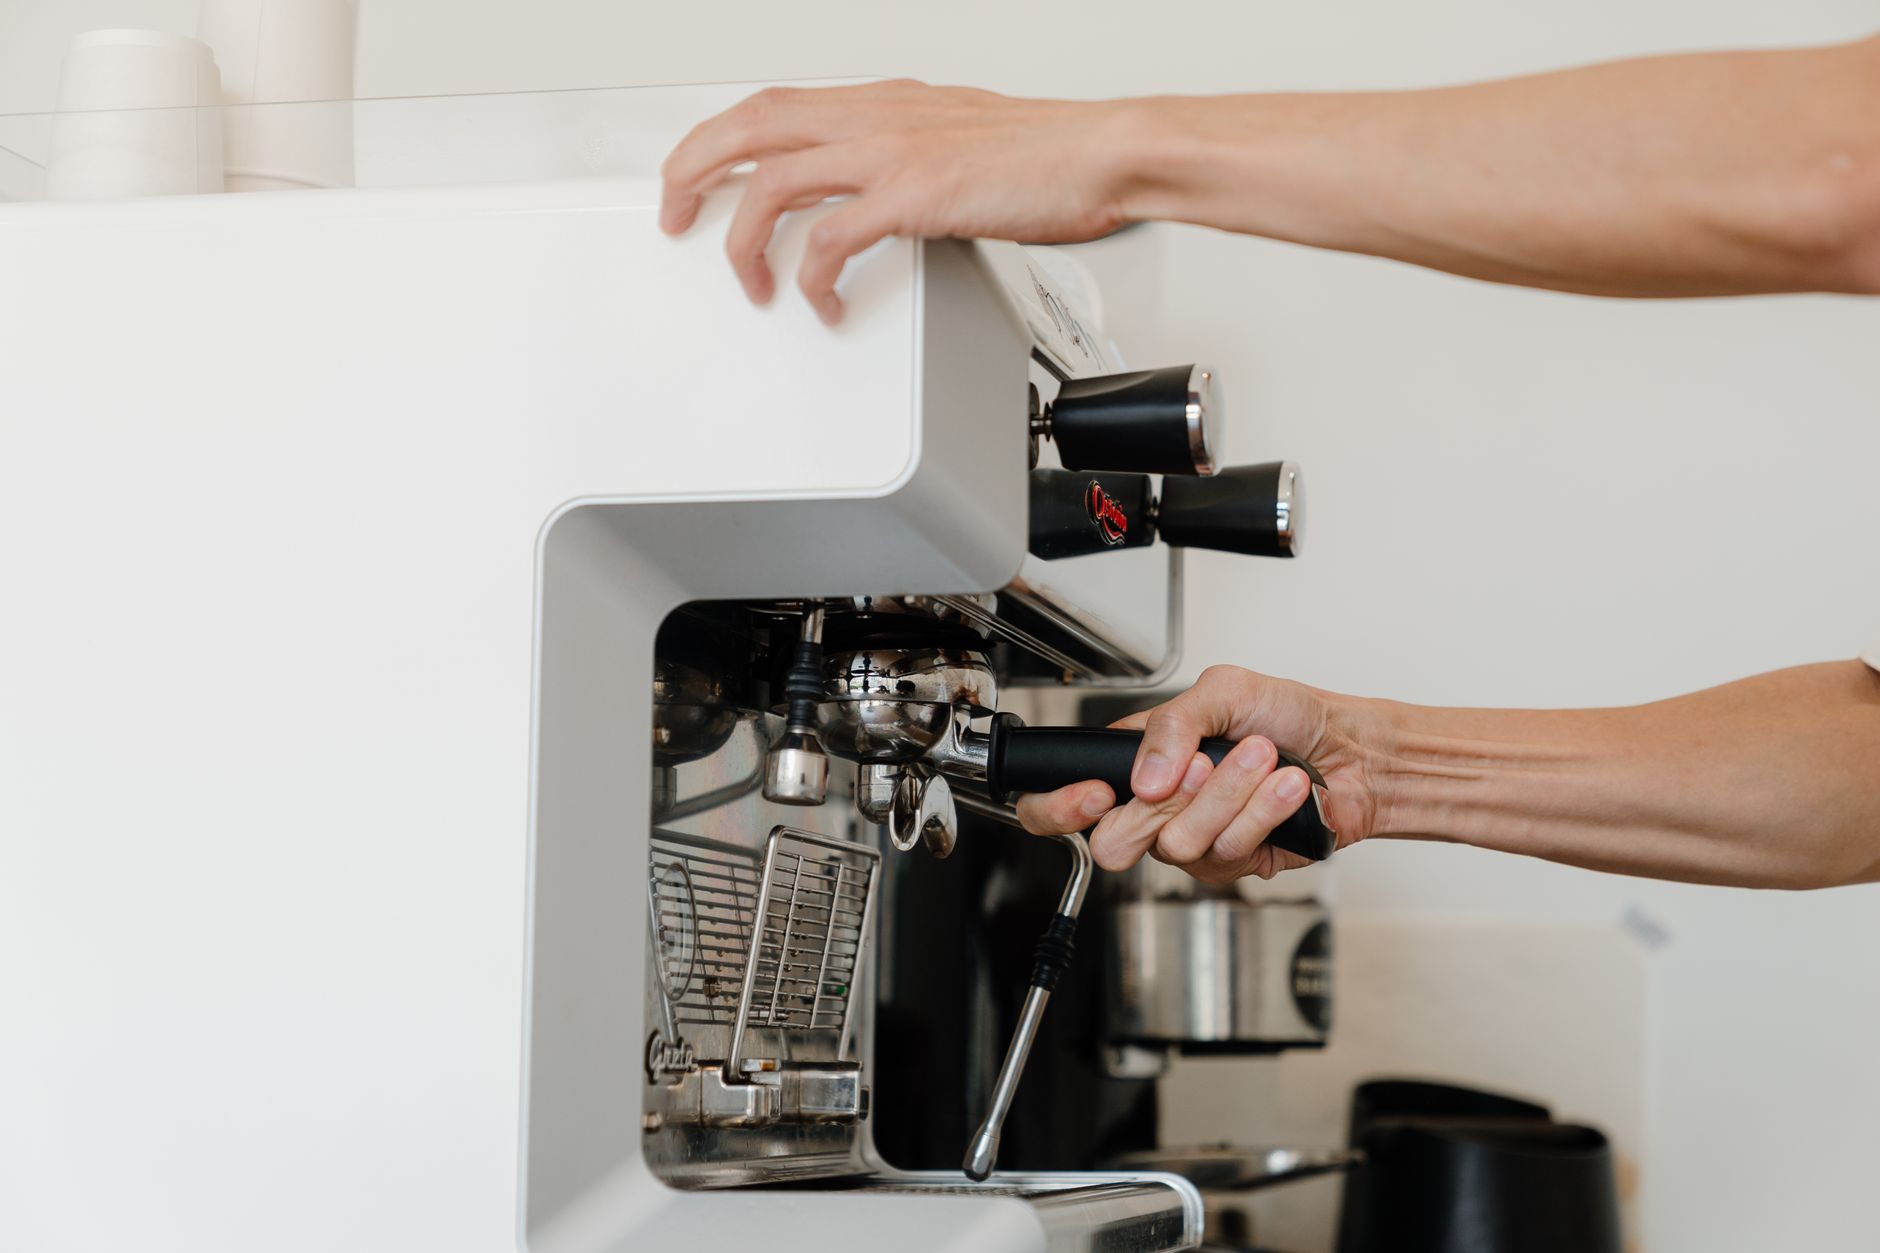 Photo: Ketut Subiyanto via Pexels
Why Clumps Form
Coffee grounds carry electrostatic charge, especially from fast grinders with steel burrs. Grounds clump on the way down the chute and land unevenly in the basket. Without intervention, those clumps compact differently than the surrounding coffee — creating density variation that channels water.
How to Do WDT Properly
Use a tool with needles 0.4–0.6mm in diameter. Thicker needles create their own disturbance. Thinner ones work but clog. Place the portafilter on a scale or flat surface. Stir in overlapping circles, reaching all the way to the basket wall and down to the bottom. Aim for 10–15 deliberate passes.
The WDT tool doesn’t need to be expensive. A 3D-printed handle with acupuncture needles does the same job as a $60 machined piece.
| WDT Done | WDT Skipped |
|---|---|
| Grounds loose, even, no visible clumps | Clumps visible or buried in puck |
| Consistent density top to bottom | Density varies — soft spots under hard crust |
| Tamp pressure transfers uniformly | Tamp pressure skips soft areas |
Step 2: Level the Grounds
After WDT, the surface of the grounds is fluffy and uneven. Leveling compresses the top of the mound into a flat, even layer before tamping. This step ensures the tamp applies consistent pressure across the entire puck surface, not just the high spots.
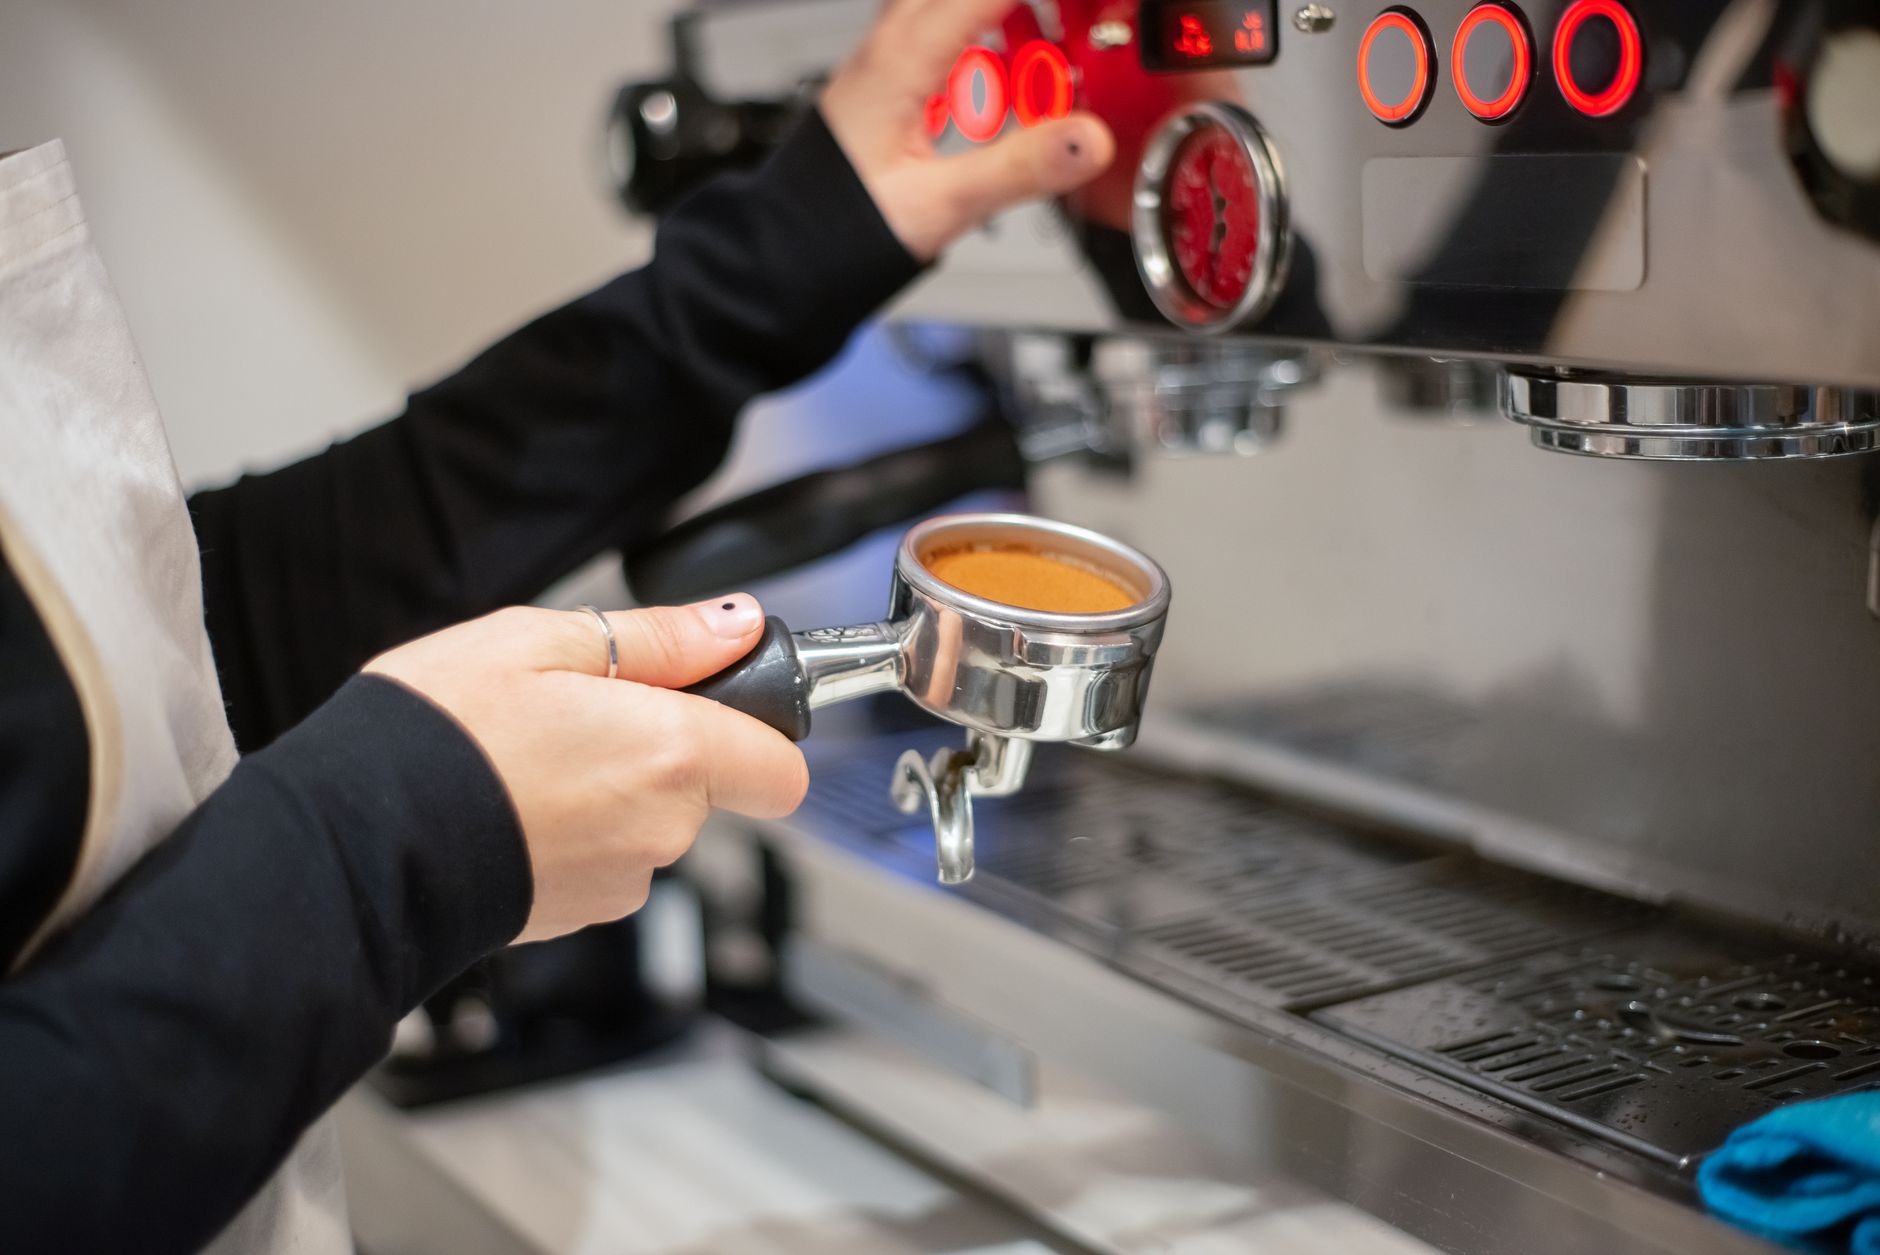 Photo: Kampus Production via Pexels
Palm Swipe vs. Leveling Tool
The palm swipe (Stockfleth method) involves rotating your palm across the top of the basket rim in one motion to shear excess grounds level with the basket edge. It works with practice but is technique-sensitive.
A leveling tool (also called a distribution tool or OCD tool) sits on the basket rim and uses adjustable fins to sweep grounds to a consistent depth. The Ona Coffee Distributor and similar tools are repeatable and beginner-friendly.
What you want to avoid: pressing down hard with a leveling tool. That pre-compresses the puck unevenly and turns leveling into a partial tamp. The leveling step should move grounds laterally, not compress them vertically.
Headspace
After leveling, you should have 5–8mm of headspace between the top of the grounds and the basket rim. Too little headspace and the shower screen presses into the puck during lock-in. Too much and the puck has room to crack on the first bar of pressure before full saturation.
Step 3: Tamp
Tamping compresses the leveled, distributed grounds into a single dense puck. The goal is consistent, level pressure — not maximum force. 15–20kg of pressure on a flat, calibrated tamper is sufficient; what matters more is that the tamper face meets the grounds perfectly parallel.
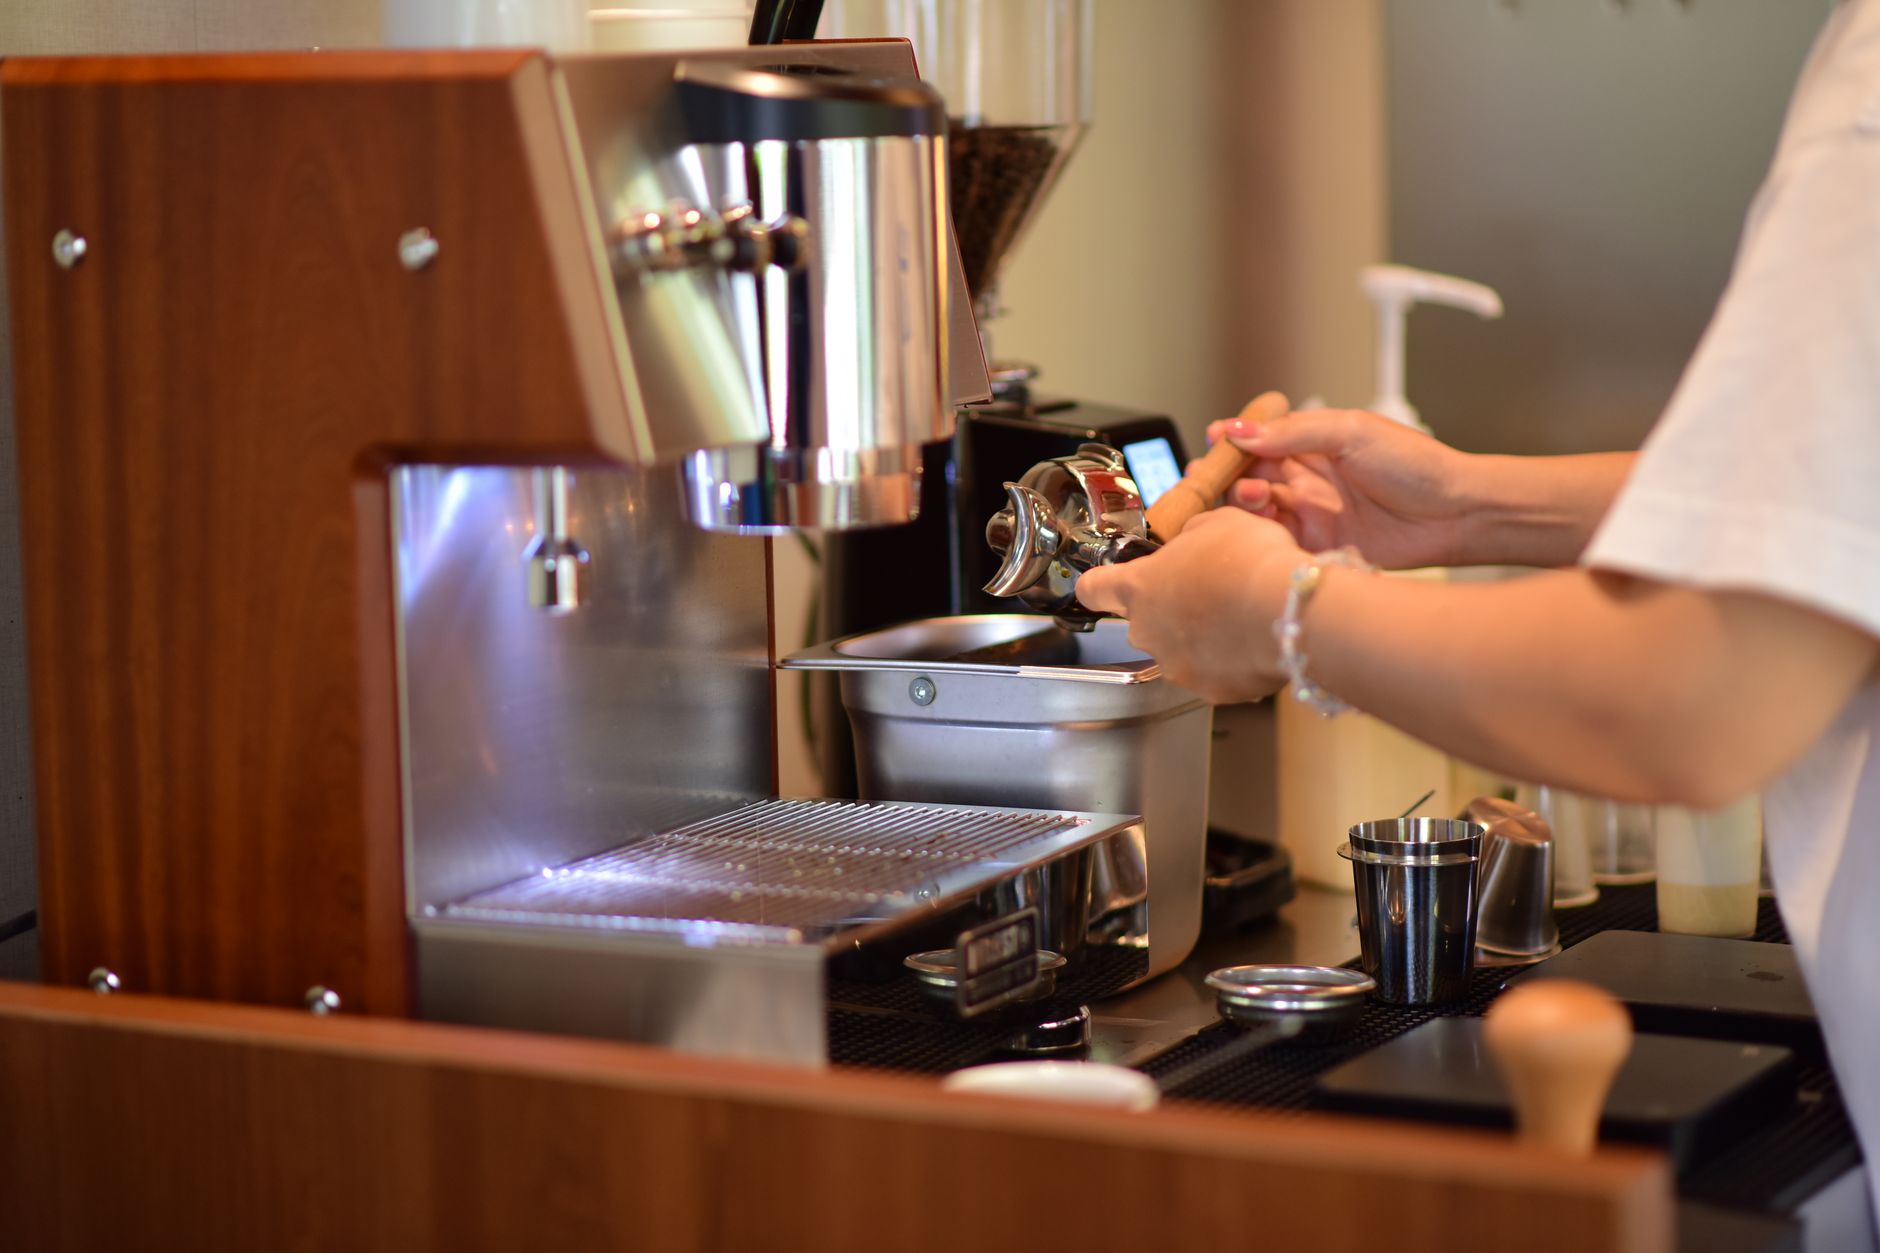 Photo: Sóc Năng Động via Pexels
Calibrated vs. Uncalibrated Tampers
A calibrated tamper (like the Normcore V4 or Decent Espresso tamper) clicks or releases at a preset pressure, typically 15–30kg. This removes the guesswork and makes the step repeatable between users and sessions.
An uncalibrated tamper works fine with practice. The key is locking your elbow, keeping your wrist straight, and driving pressure straight down — not tilting. A tilted tamp creates a ramp across the puck face that channels water toward the low side.
The Polish
A single rotation at the end of the tamp — the “polish” — smooths the surface and closes any micro-cracks from the compression. It is not mandatory, but it costs nothing and the resulting surface is cleaner.
Full Espresso Puck Prep Workflow
Extraction Parameters
| Parameter | Value |
|---|---|
| Dose | 18–20g (basket dependent) |
| Yield | 36–40g |
| Ratio | 1:2 |
| Time | 25–30 seconds |
| Temperature | 90–96°C |
| Pressure | 9 bar (6 bar for pre-infusion) |
Puck Prep Sequence
- Grind into portafilter or RDT-moistened dosing cup
- WDT: 10–15 passes with 0.4–0.6mm needles, full basket coverage
- Level: palm swipe or leveling tool, lateral movement only
- Verify headspace: 5–8mm
- Tamp: 15–20kg, level face, single polish rotation
- Lock in immediately — don’t let the puck sit
Troubleshooting Matrix
| Symptom | Likely Cause | Fix |
|---|---|---|
| Fast shot, sour taste | Channeling, low density | Check WDT thoroughness; verify dose weight |
| Slow shot, bitter taste | Over-compressed or too fine | Reduce tamp pressure; coarsen grind one step |
| Uneven wet puck (ridges, holes) | Uneven tamp angle | Use calibrated tamper; check elbow lock |
| Blonde streak in shot | Channel in specific spot | WDT to basket edges; check grinder retention clumps |
| Puck stuck to shower screen | Too much headspace or pre-infusion pressure | Increase dose; reduce pre-infusion bar |
| Grounds under basket rim seal | Overfilled basket | Reduce dose by 0.5–1g |
Common Mistakes That Ruin Puck Prep
Most puck prep failures come from one of three sources: skipping WDT on “fluffy” grinders (clumps are still there, just smaller), pressing down during leveling instead of sweeping, or tamping at an angle without realizing it.
The other underrated mistake is inconsistent dose weight. Puck prep technique is repeatable; dose weight that swings ±0.5g is not. Weigh every shot. A scale under the portafilter during grinding is the fastest way to fix this.
→ See Also
- How to Dial In Espresso: Step-by-Step Decision Tree
- Espresso Extraction Explained: Under, Over, and Perfect
- How to Tamp Espresso Correctly (Pressure, Technique, Tools)
FAQ
What order should I do WDT, leveling, and tamping? Always WDT first, then level, then tamp. WDT breaks clumps in loose grounds — doing it after leveling disrupts the flat surface you just created, and doing it after tamping is pointless. The sequence is irreversible in the sense that each step depends on the prior one.
Can I skip WDT if my grinder produces fluffy, non-clumpy grounds? You can, but it rarely helps as much as you expect. Even grinders with low static retention produce clumps at the microscopic level. WDT costs 15 seconds and the downside risk is zero. If your shots are already dialing in well without it, it won’t be transformative — but it won’t hurt.
How much tamping pressure is actually needed for espresso puck prep? Fifteen to twenty kilograms is the functional range. Studies and practical testing both show that pressure beyond 20kg produces diminishing improvement in puck density while increasing the risk of angled tamp error. Consistency and levelness matter more than force.
Does the type of WDT tool matter? Needle diameter matters more than brand. Needles between 0.4–0.6mm break clumps without creating turbulence. Too thick and you’re moving grounds in large masses, not dispersing them. Beyond that, a cheap DIY tool performs identically to a premium one.
Why does my puck have a wet channel or hole after pulling a shot? A hole or wet track through the puck indicates channeling — water found a low-resistance path through the coffee and followed it exclusively. The most common causes are a clump that survived WDT, a void created by uneven leveling, or a tilted tamp that left one side of the puck less dense. Work backward through the sequence to find the step that introduced the weak point.
Should I use a dosing funnel during puck prep? A dosing funnel clips onto the portafilter rim and prevents grounds from spilling during WDT and leveling. It’s a quality-of-life tool, not a performance one. If you’re losing grounds over the rim during stirring, it’s worth the cost. If you’re not, skip it.
Editorial methodology: Assessments are based on manufacturer specifications, published user reviews, and editorial research. Physical hands-on testing is noted explicitly where it occurred. Rankings reflect our editorial judgment and are not influenced by affiliate commission rates. Full editorial policy · Affiliate disclosure