Contents
Pressure Profiling Espresso: Beginner to Advanced Guide
TL;DR: Espresso pressure profiling means varying extraction pressure over time rather than pulling a flat 9-bar shot. It gives you precise control over flavor development — reducing bitterness, amplifying sweetness, and rescuing difficult coffees. You don’t need a high-end machine to start, but understanding the basics changes how you taste every shot.
What Is Espresso Pressure Profiling?
Pressure profiling is the practice of dynamically controlling pump pressure during extraction — typically from 0–4 bar at pre-infusion up to 6–9 bar peak, then stepping or declining toward the end. It separates extraction phases so you can target sweetness early and avoid bitterness late.
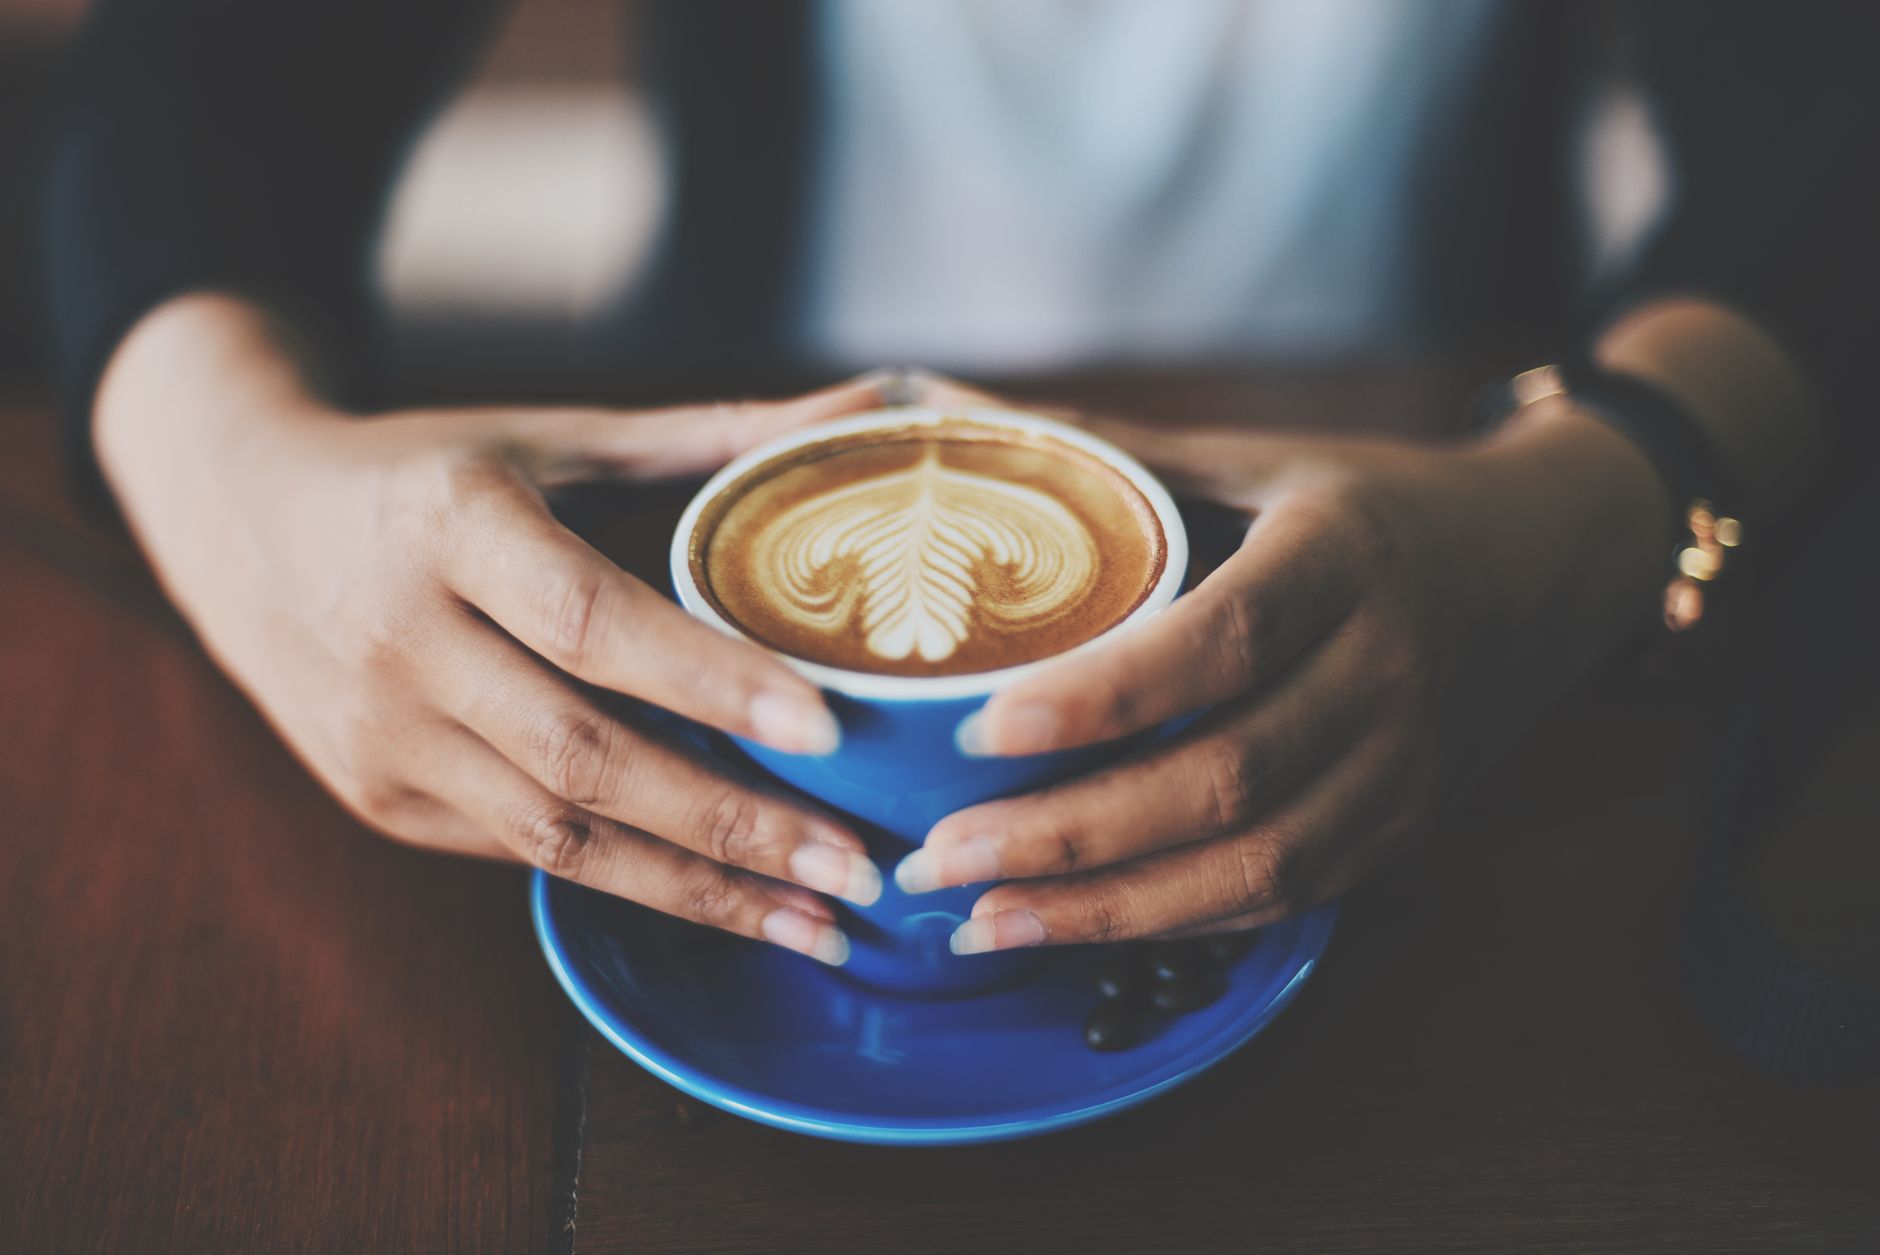
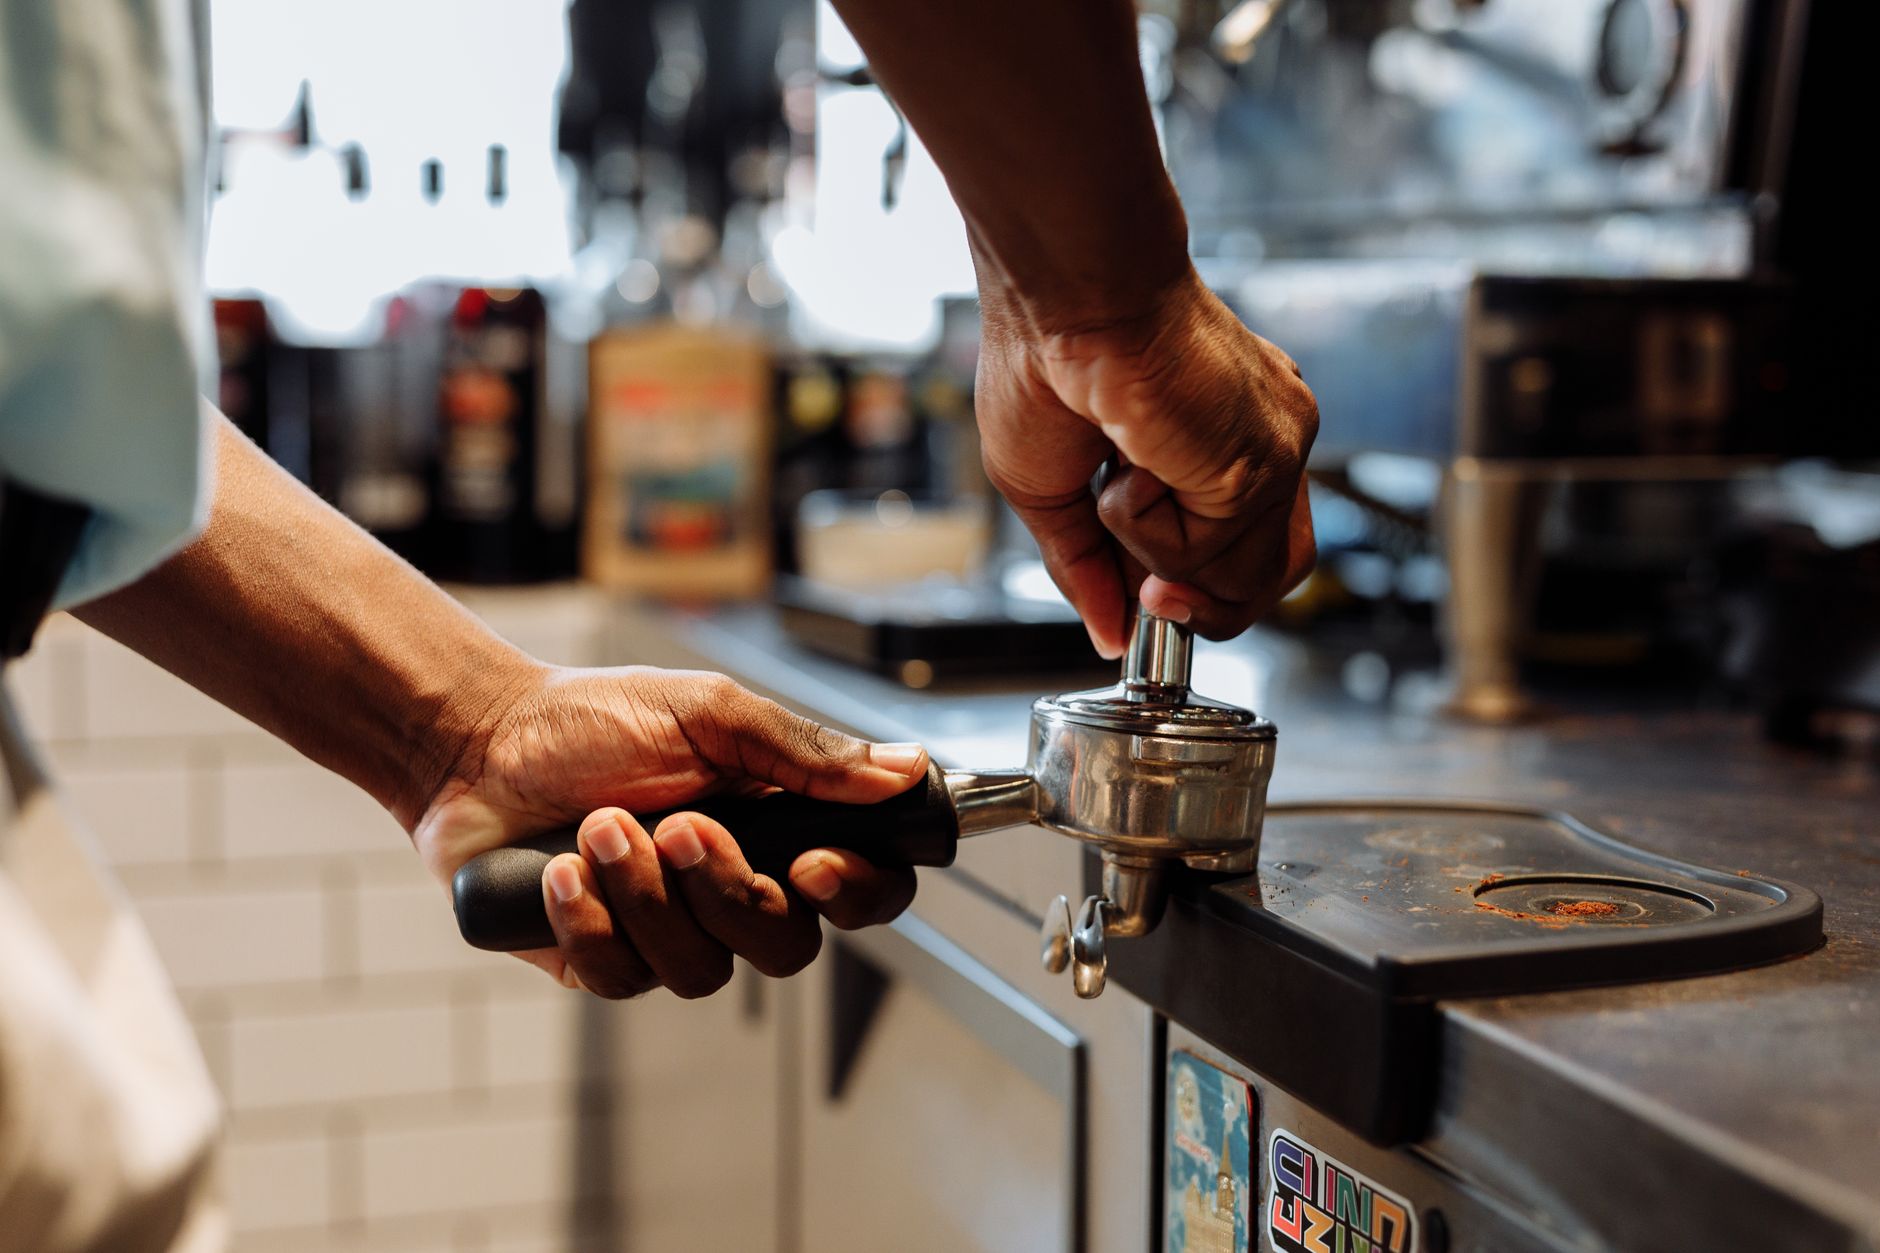 Photo: Thirdman via Pexels
Traditional machines lock you into a fixed pressure — usually 9 bar for the entire shot. That number was standardized in mid-20th century Italy and works well for a narrow range of medium-roast coffees. The moment you step outside that window — light roasts, naturals, aged beans, high-altitude Ethiopians — 9 bar becomes a liability.
Pressure profiling solves this by treating extraction as a sequence of distinct phases, each with its own job.
The Three Phases That Matter
Pre-infusion (0–4 bar, 5–15 sec): Low pressure saturates the puck evenly before full extraction begins. Reduces channeling, particularly critical for lighter roasts that resist wetting.
Ramp and peak (6–9 bar): The main extraction window. This is where most solubles move from puck to cup. Peak pressure and duration determine body and intensity.
Decline or hold (4–6 bar): Dropping pressure in the final third softens bitterness and lengthens the shot without over-extraction. Many profiles skip this and simply cut flow at target yield.
Why Flat 9-Bar Falls Short
Nine bar works until it doesn’t. Light roasts pull tight and channel easily. Washed Yemenis and Ethiopian naturals need slower, gentler saturation or the shot tastes hollow in the middle and sharp at the finish. Pressure profiling is corrective surgery for coffees that 9 bar brutalizes.
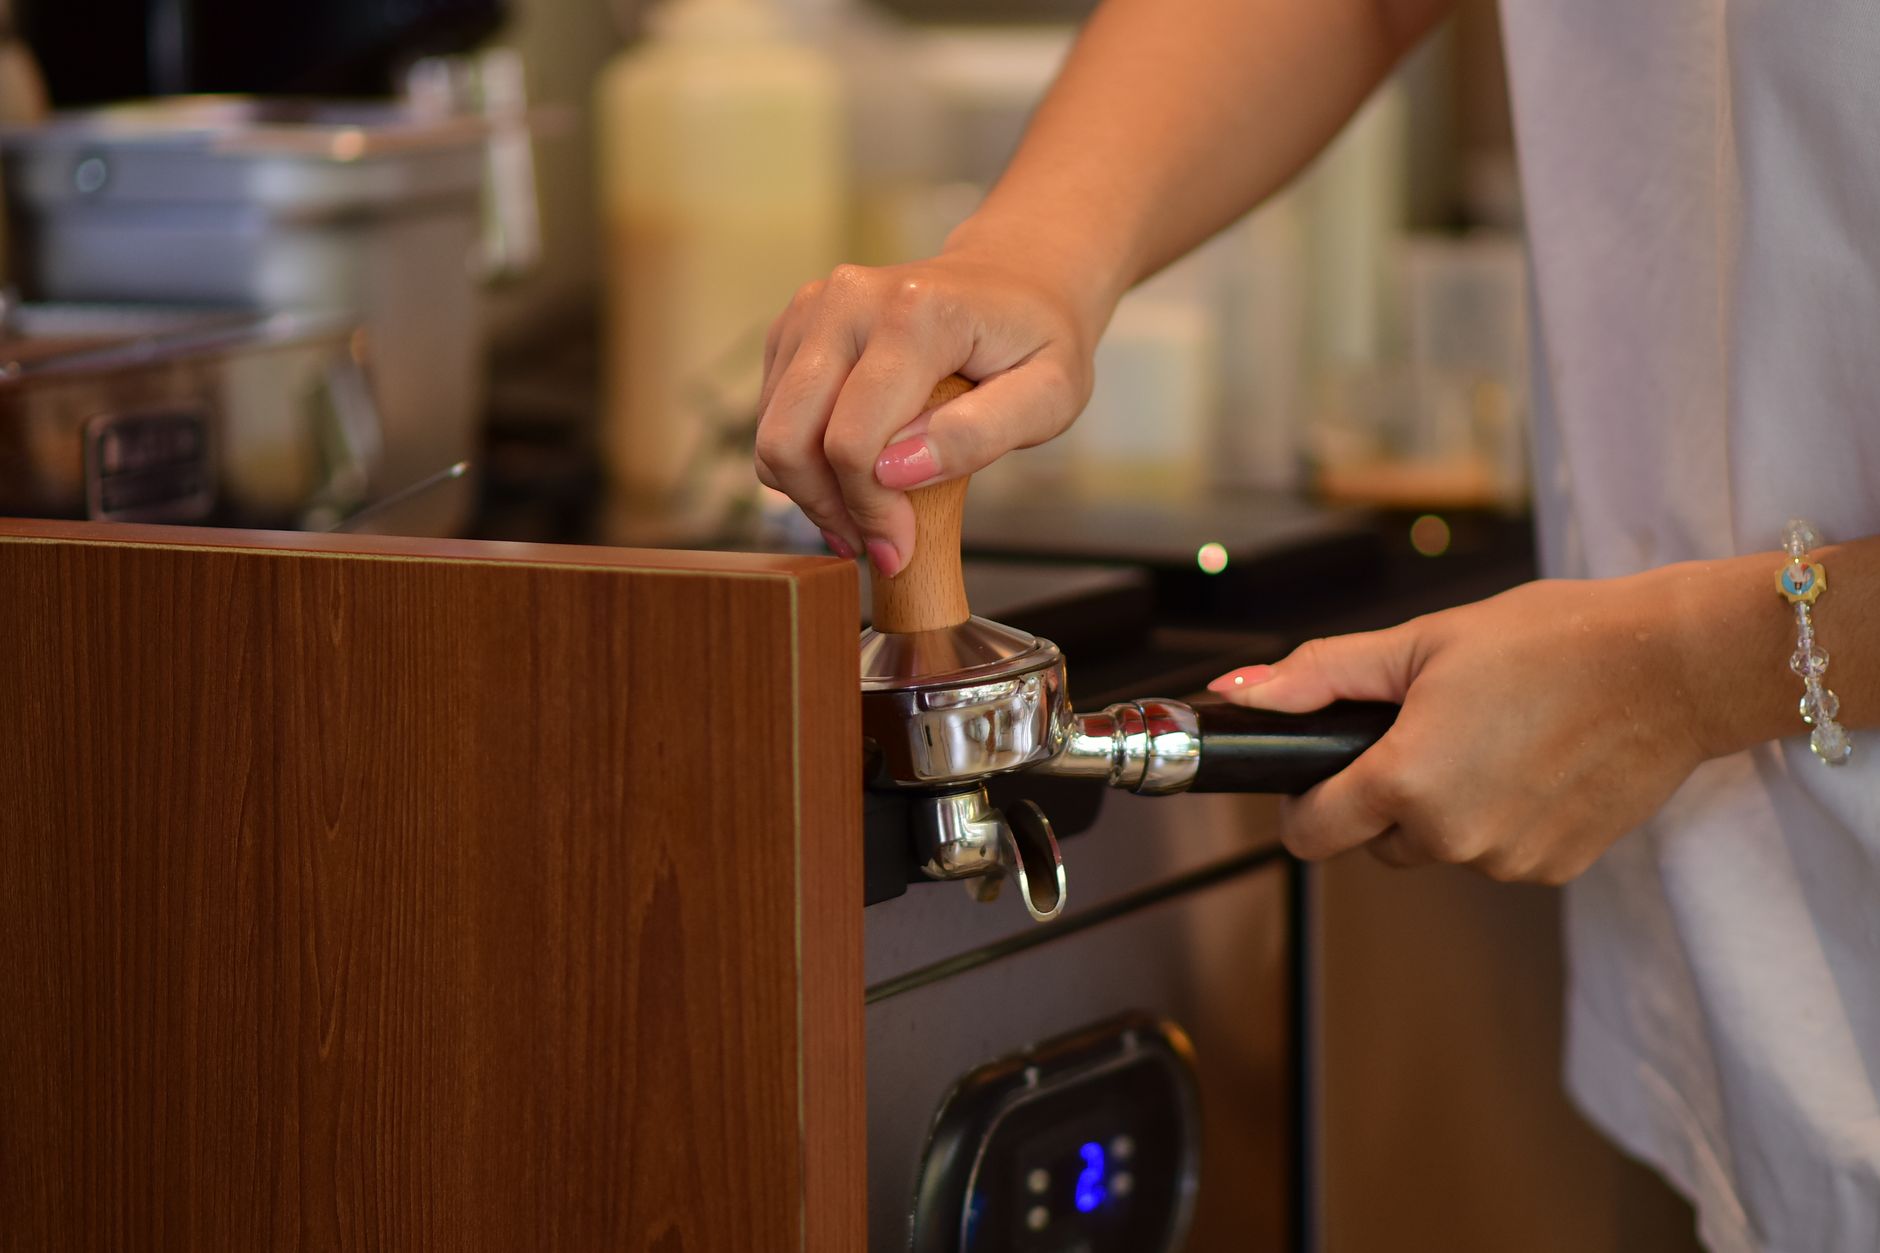 Photo: Sóc Năng Động via Pexels
The physics: higher pressure extracts faster but also forces flow through the path of least resistance. Any unevenness in the puck — density variation, slight tamp tilt, a clump — becomes a channel. At 9 bar that channel opens within seconds. Drop to 4 bar during pre-infusion and you get even saturation before pressure climbs.
For dark roasts and espresso blends designed around 9 bar, the impact of profiling is subtler but still measurable — mainly in body control and shot-to-shot consistency.
Equipment: What You Actually Need
You need either a machine with electronic pressure control (E61 with a flow-control kit, paddle machines, or dedicated profiling machines) or a lever machine. Budget E61 machines with a flow-control valve start around $800–1,200. True electronic profiling starts at the Decent DE1 price point.
| Machine Type | Pressure Control | Profile Precision | Entry Cost |
|---|---|---|---|
| Standard pump (OPV-set) | Fixed, OPV-adjustable | None | $200–600 |
| E61 + flow-control kit | Manual via needle valve | Medium | $800–1,400 |
| Profitec / Lelit paddle | Manual paddle | Medium-high | $1,200–2,500 |
| Decent DE1 | Full electronic | High | $2,400+ |
| La Marzocco GS3 MP | Manual paddle | High | $7,000+ |
| Lever (spring) | Fixed spring curve | Medium | $600–3,000 |
The flow-control kit route is the lazy entry point — you retrofit an E61 machine you may already own. A needle valve replaces the standard valve and gives you manual flow restriction. It’s not electronic profiling, but it replicates most profiles that matter.
Core Pressure Profiles (Ranked by Usefulness)
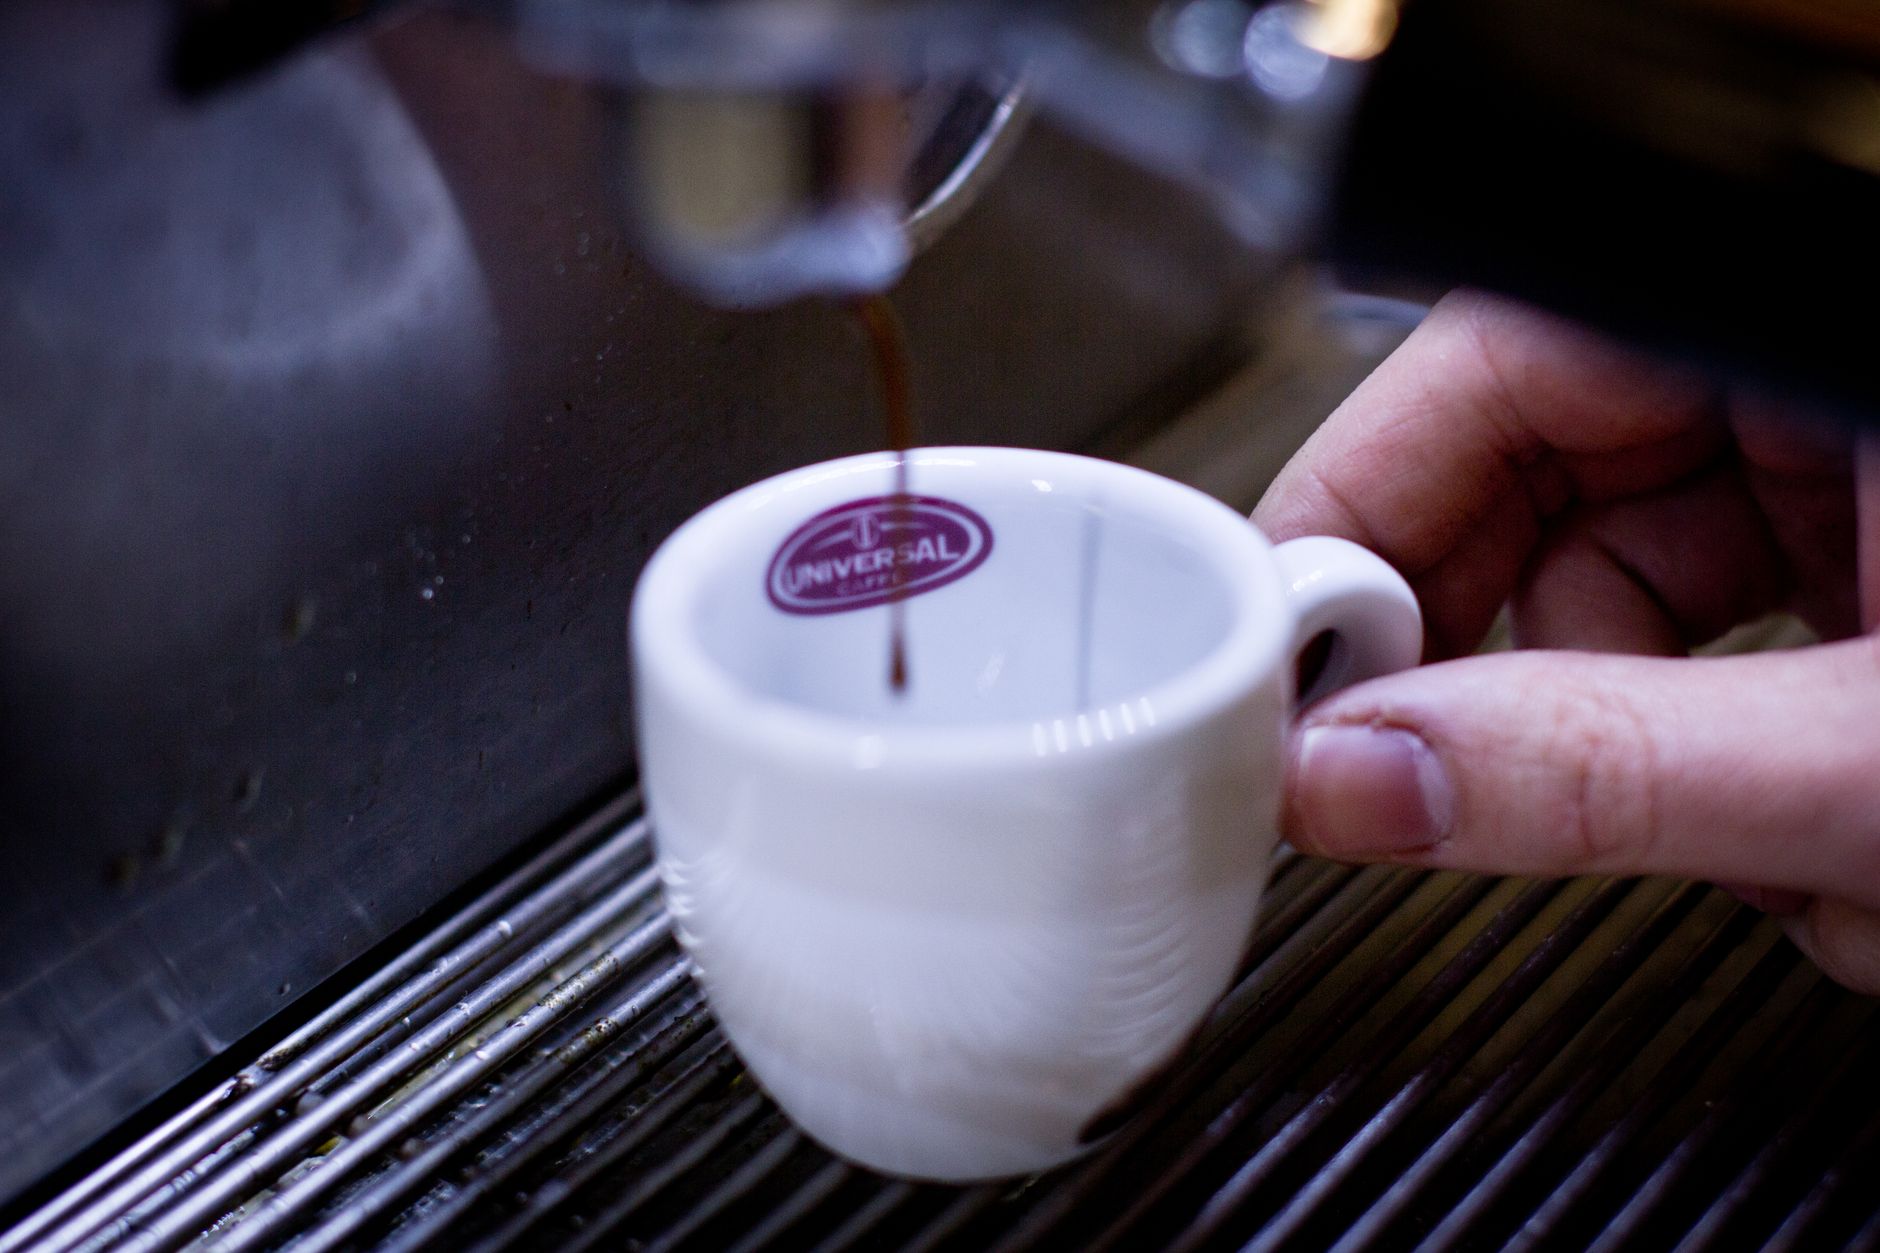
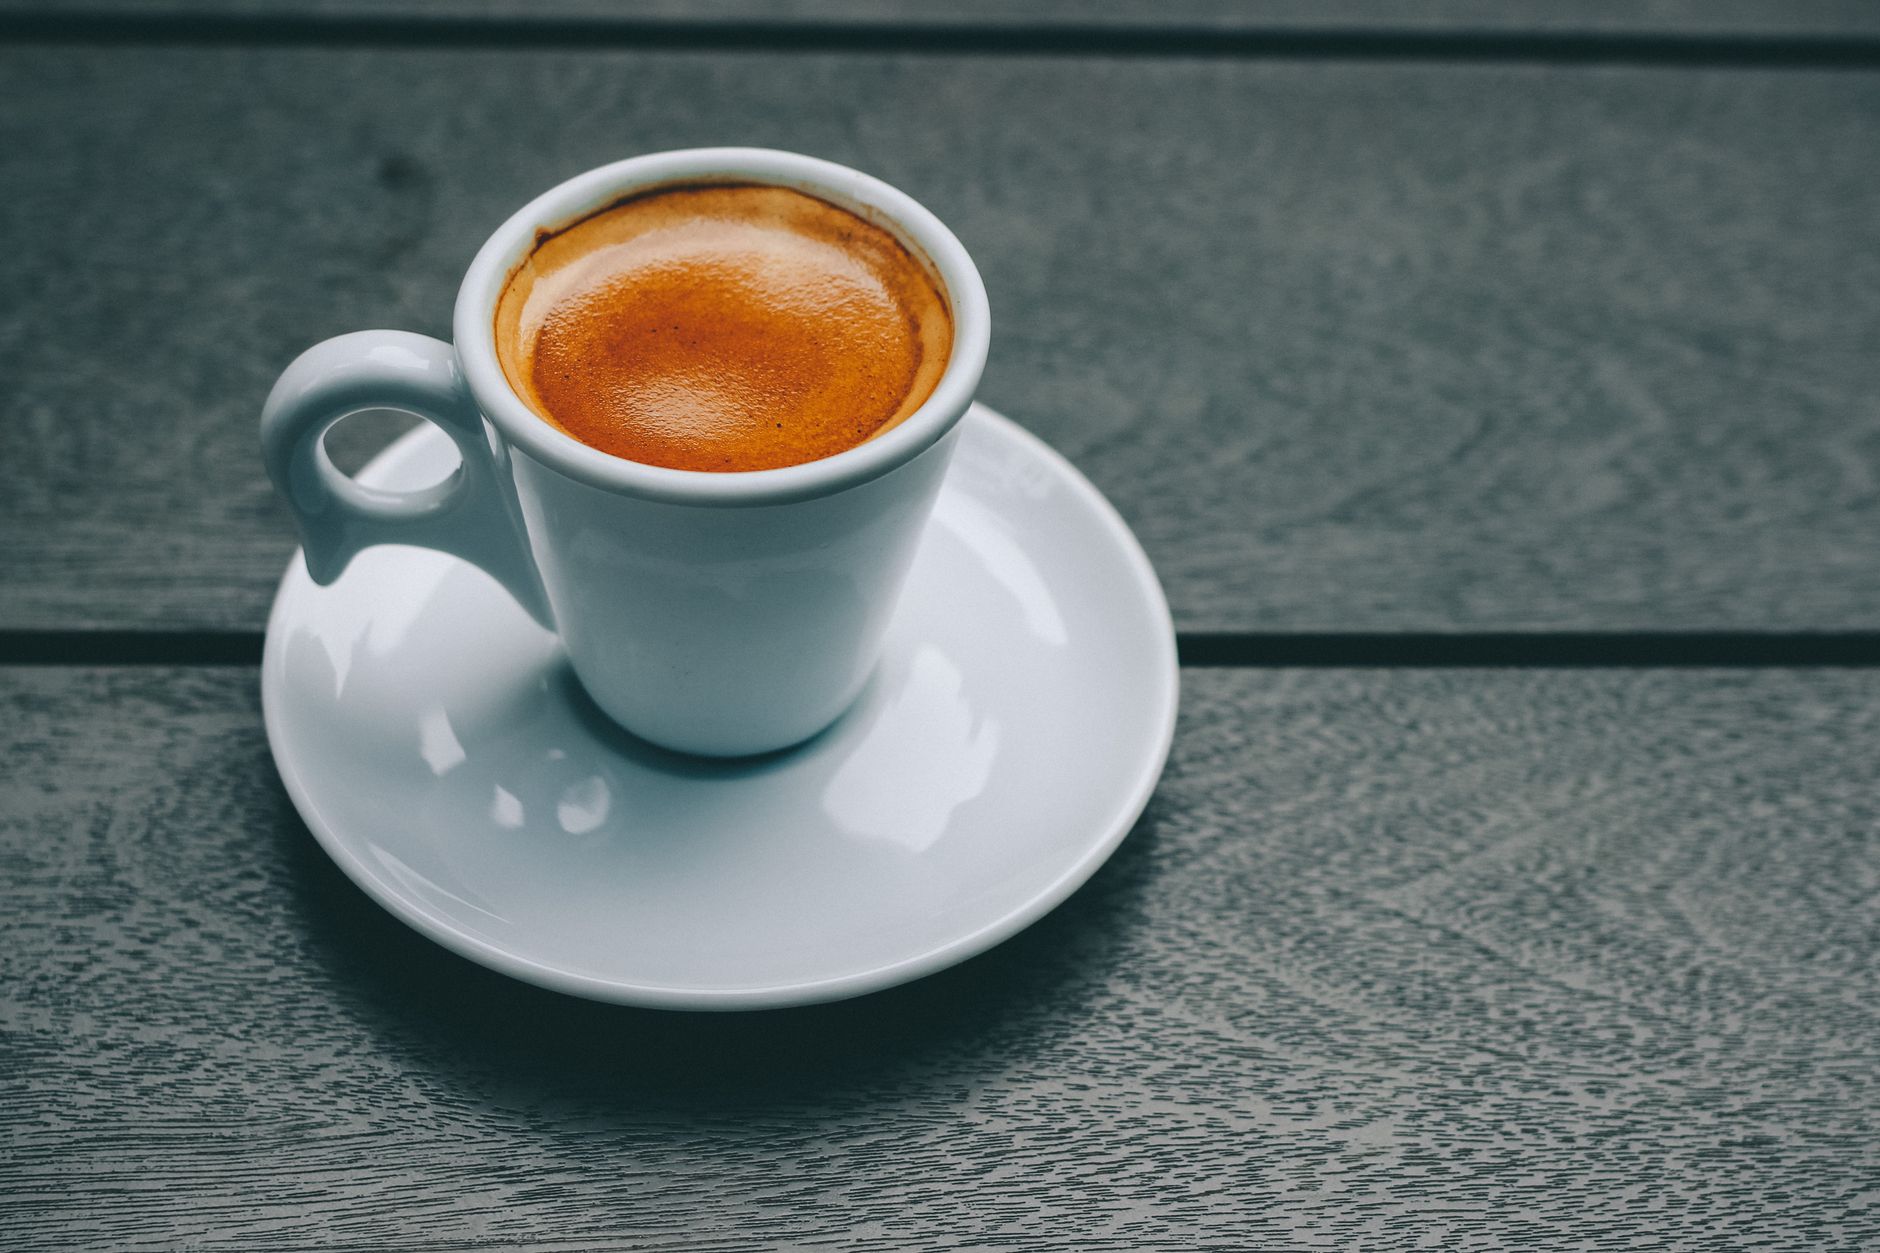 Photo: Victor Freitas via Pexels
Flat 6-Bar
Drop your OPV from 9 to 6 bar and pull every shot at that pressure. Counterintuitively, this is the single most impactful change most home baristas can make. Slower extraction, less channeling, more forgiving on light roasts — and it requires zero additional hardware.
Pre-infusion + 9-Bar Hold
Most modern machines offer some form of timed pre-infusion. Five to eight seconds at line pressure (1–3 bar) before the pump ramps to full. This is the baseline for reducing channeling.
Declining Profile (5-to-3 Bar)
Start at 5 bar, hold through peak extraction, then ramp down to 3 bar in the final quarter. Common for naturals and anaerobic processed coffees — captures the fruit notes early, avoids the syrupy thickness that becomes cloy at sustained high pressure.
Blooming Shot
Extended low-pressure pre-infusion (20–45 seconds at 1–2 bar) followed by a hard ramp to 8–9 bar. Developed specifically for very light, dense Nordic-style roasts. The long bloom allows even saturation of resistant particles before pressure climbs. Takes patience — total shot time can reach 60–80 seconds.
Brewing Guide: Pressure Profile Reference
Extraction Parameters
| Parameter | Standard Baseline | Light Roast Profile | Natural/Anaerobic |
|---|---|---|---|
| Dose | 18–20g | 18–20g | 16–18g |
| Yield | 36–40g (1:2) | 40–46g (1:2.2) | 36–42g |
| Ratio | 1:2 | 1:2–2.3 | 1:2.1–2.3 |
| Time | 27–32 sec | 35–50 sec | 28–36 sec |
| Temperature | 93–94°C | 94–96°C | 91–93°C |
| Peak Pressure | 9 bar | 6–7 bar | 5–6 bar |
| Pre-infusion | 5–8 sec @ 3 bar | 10–20 sec @ 2 bar | 15–30 sec @ 1.5 bar |
Puck Prep
WDT is non-negotiable when profiling — clumps that 9 bar might blast through will stop a 4-bar pre-infusion cold. Use a fine-needle stirrer, 10–15 rotations post-dose.
Level before tamp. At lower extraction pressures, even a 1-2° tilt in the puck creates uneven flow paths that 9 bar would overcome by sheer force but lower pressures cannot.
Tamp pressure matters less than you’ve been told. 15–20 kg is sufficient. What matters is level contact. Use a self-leveling tamp if repeatability is your bottleneck.
Pre-infusion is built into the profile — do not add an additional chamber pre-infusion on top of a machine doing its own.
Troubleshooting
| Symptom | Likely Cause | Fix |
|---|---|---|
| Sour, fast, thin | Pre-infusion too short / peak pressure too high | Extend bloom to 15 sec, reduce peak to 6–7 bar |
| Bitter, hollow finish | Decline phase too sharp or too late | Start pressure drop earlier, around 50% yield |
| Channeling visible in cup | Uneven puck prep | Enforce WDT + leveling before tamp |
| Flat, no sweetness development | Bloom too short for dense roast | Extend to 20–30 sec at 1.5–2 bar |
| Over-long shot with weak body | Pressure declining too early | Hold peak pressure through 60% of yield |
| Inconsistent shot to shot | Manual flow valve drift | Mark needle valve position, use repeatable reference marks |
→ See Also
- How to Dial In Espresso: Step-by-Step Decision Tree
- Espresso Extraction Explained: Under, Over, and Perfect
- How to Tamp Espresso Correctly (Pressure, Technique, Tools)
FAQ
Does pressure profiling make a noticeable difference on a home machine? Yes, particularly if you’re pulling light roasts or single origins. A simple pre-infusion addition or OPV reduction to 6 bar is audible in the cup within your first few shots. The difference is less dramatic on commercial Italian blends roasted dark, which were calibrated for 9 bar.
Do I need a Decent or Synesso to pressure profile? No. A flow-control kit on any E61 machine runs under $200 and lets you replicate most profiles manually. Electronic profiling on machines like the Decent DE1 adds repeatability and logging — valuable for dialing in, less critical once you’ve found a profile you like.
What pressure profile should I start with for a light roast? Start with a 15-second bloom at 2 bar, then ramp to 6 bar and hold to yield. This single change handles 80% of the problems people encounter with light roasts — channeling and bitterness primarily. Adjust bloom duration before touching peak pressure.
Can you over-extract with a declining pressure profile? Yes. A long bloom followed by a full 9-bar ramp can over-extract by pulling aggressively after the puck is already fully saturated. The bloom increases extraction efficiency — if you then run full pressure and time, you’ll push past the sweetness window into bitterness. When extending pre-infusion, reduce peak pressure or shorten total brew time to compensate.
Is spring lever pressure profiling the same as electronic profiling? Mechanically similar in outcome but less adjustable. A spring lever produces a natural declining curve — high initial pressure as the spring releases, declining as it decompresses. This happens to work well for many coffees. You can adjust it by varying lever speed during the pull, but you can’t program it or reproduce exact curves.
Why does temperature matter alongside pressure? Pressure and temperature are co-variables in extraction rate. Dropping peak pressure to 6 bar slows extraction — running at 96°C compensates and maintains total dissolved solids. Most light roast profiles combine higher temperature with lower pressure for this reason. Changing one without adjusting the other often produces confusing results during dial-in.
Editorial methodology: Assessments are based on manufacturer specifications, published user reviews, and editorial research. Physical hands-on testing is noted explicitly where it occurred. Rankings reflect our editorial judgment and are not influenced by affiliate commission rates. Full editorial policy · Affiliate disclosure