Contents
Espresso Channeling: What It Is and How to Prevent It
TL;DR: Espresso channeling happens when water finds a path of least resistance through your puck instead of flowing evenly — the result is sour, weak, or unbalanced shots. Fix it by improving distribution before tamping, using a WDT tool, and tamping level. Most channeling is caused in prep, not by the machine.
What Is Espresso Channeling?
Espresso channeling is when pressurized water bores through a weak spot in the coffee puck rather than saturating it uniformly. That one fast lane extracts aggressively while the rest of the puck sits underextracted — you get both over and underextraction in the same shot.
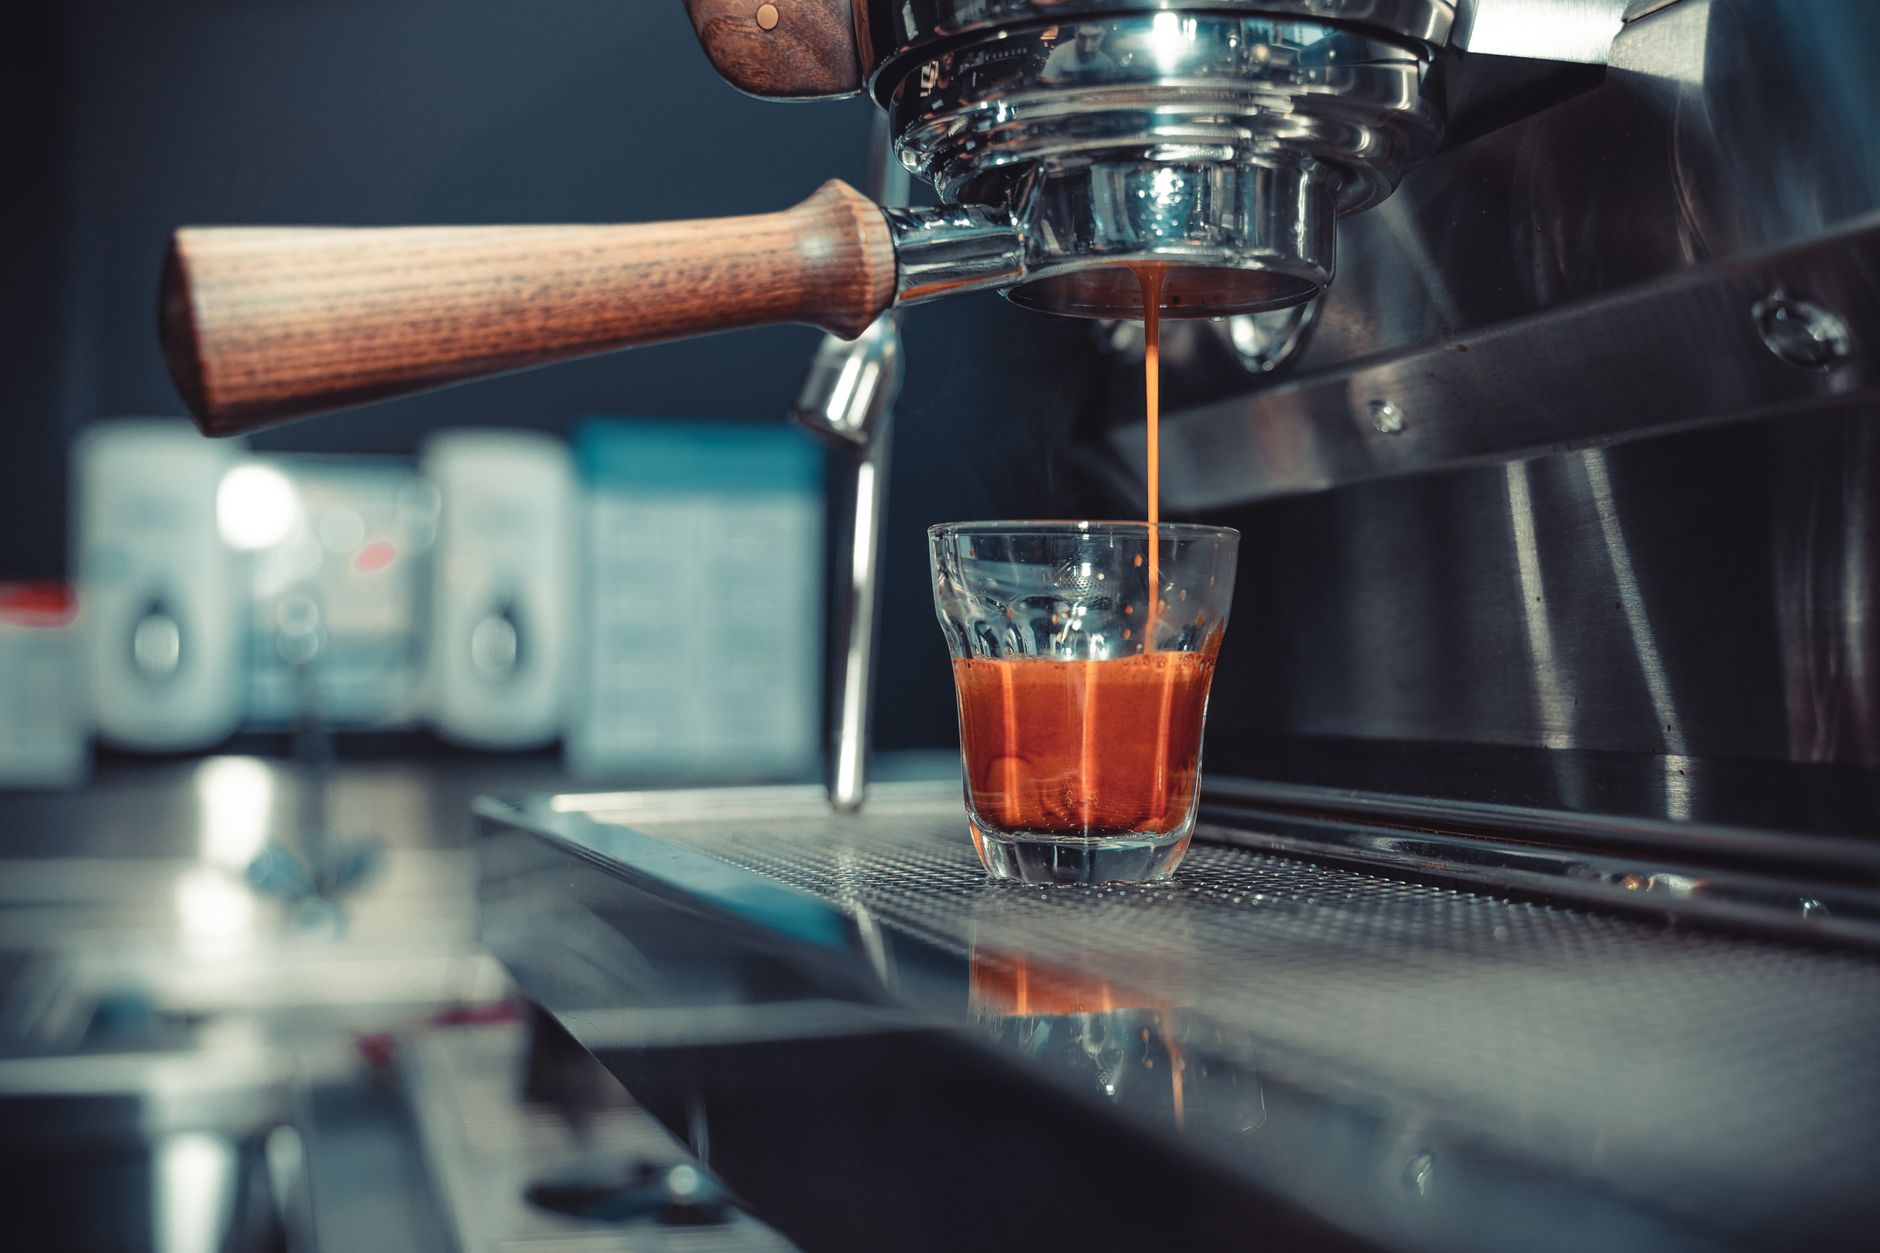 Photo: Denys Gromov via Pexels
The puck is essentially a 58mm filter of compacted coffee. Under 9 bars of pressure, water will always exploit any gap — a crack, a void, a clump, a poorly sealed edge. Once a channel opens, it widens. Water prefers it over the denser coffee around it.
What you taste: sour leading into bitter, a thin or watery body, a shot that runs fast but doesn’t taste extracted. On a bottomless portafilter, you’ll see spraying or uneven distribution from the underside — the most honest diagnostic tool you own.
Why Channeling Happens
The cause is almost always in puck prep. Uneven distribution, clumps from static, a tilted tamp, or a low-dose puck with headspace to crack — any of these creates the pressure differential that opens a channel.
 Photo: Cihan Yüce via Pexels
Common triggers:
| Cause | What It Creates |
|---|---|
| Clumped grounds (static) | Dense pockets surrounded by gaps |
| Uneven distribution | High and low spots tamp unevenly |
| Tilted tamp | One side more compressed than the other |
| Underdosing | Puck too thin to hold pressure; cracks |
| Tamping too hard on loose grounds | Seals the top layer, traps air below |
| Worn or damaged basket | Holes clog unevenly, causing pressure imbalance |
A side note on dose: a puck that doesn’t touch or nearly touch the shower screen has room to expand, shift, and crack under initial pressure. A proper dose with appropriate headspace (1–2mm below the shower screen) matters.
How to Prevent Espresso Channeling
Prevention comes down to one principle: give water no reason to deviate. That means uniform density across the entire puck before the pump starts.
 Photo: FOX ^.ᆽ.^= ∫ via Pexels
Step 1: Break Up Clumps with WDT
The Weiss Distribution Technique (WDT) uses a thin needle or multi-needle tool to stir grounds in the basket or dosing cup before tamping. It breaks static clumps that form during grinding and gives you a uniformly loose bed to work with.
A DIY WDT tool — 0.4mm acupuncture needles in a wine cork — works as well as anything sold commercially.
Step 2: Level Before You Tamp
After WDT, use a distribution tool or the NSEW method (finger sweeps north, south, east, west) to level the surface. The goal isn’t perfection — it’s eliminating high spots that get over-compressed when you tamp.
A dosing funnel keeps grounds from clinging to the basket walls, which causes uneven density at the edges — a frequent source of side channeling.
Step 3: Tamp Level and Consistent
A crooked tamp is one of the most common channeling causes. The tamper base should contact the grounds fully, perpendicular to the basket. If you tamp with a twist or at an angle, one side compresses more than the other.
Calibrated tampers (set at 10–15kg) remove the guesswork around pressure. More important than the pressure number is the levelness. A self-leveling tamper like the Normcore V4 handles this mechanically.
Step 4: Check Your Basket
A worn or clogged basket causes channeling that no amount of prep will fix. If you’re doing everything right and still seeing uneven extraction, inspect the basket for blocked holes or warping. IMS and VST precision baskets have tighter tolerances than standard OEM baskets and reduce edge channeling significantly.
Brewing Guide: Dialing In to Minimize Channeling
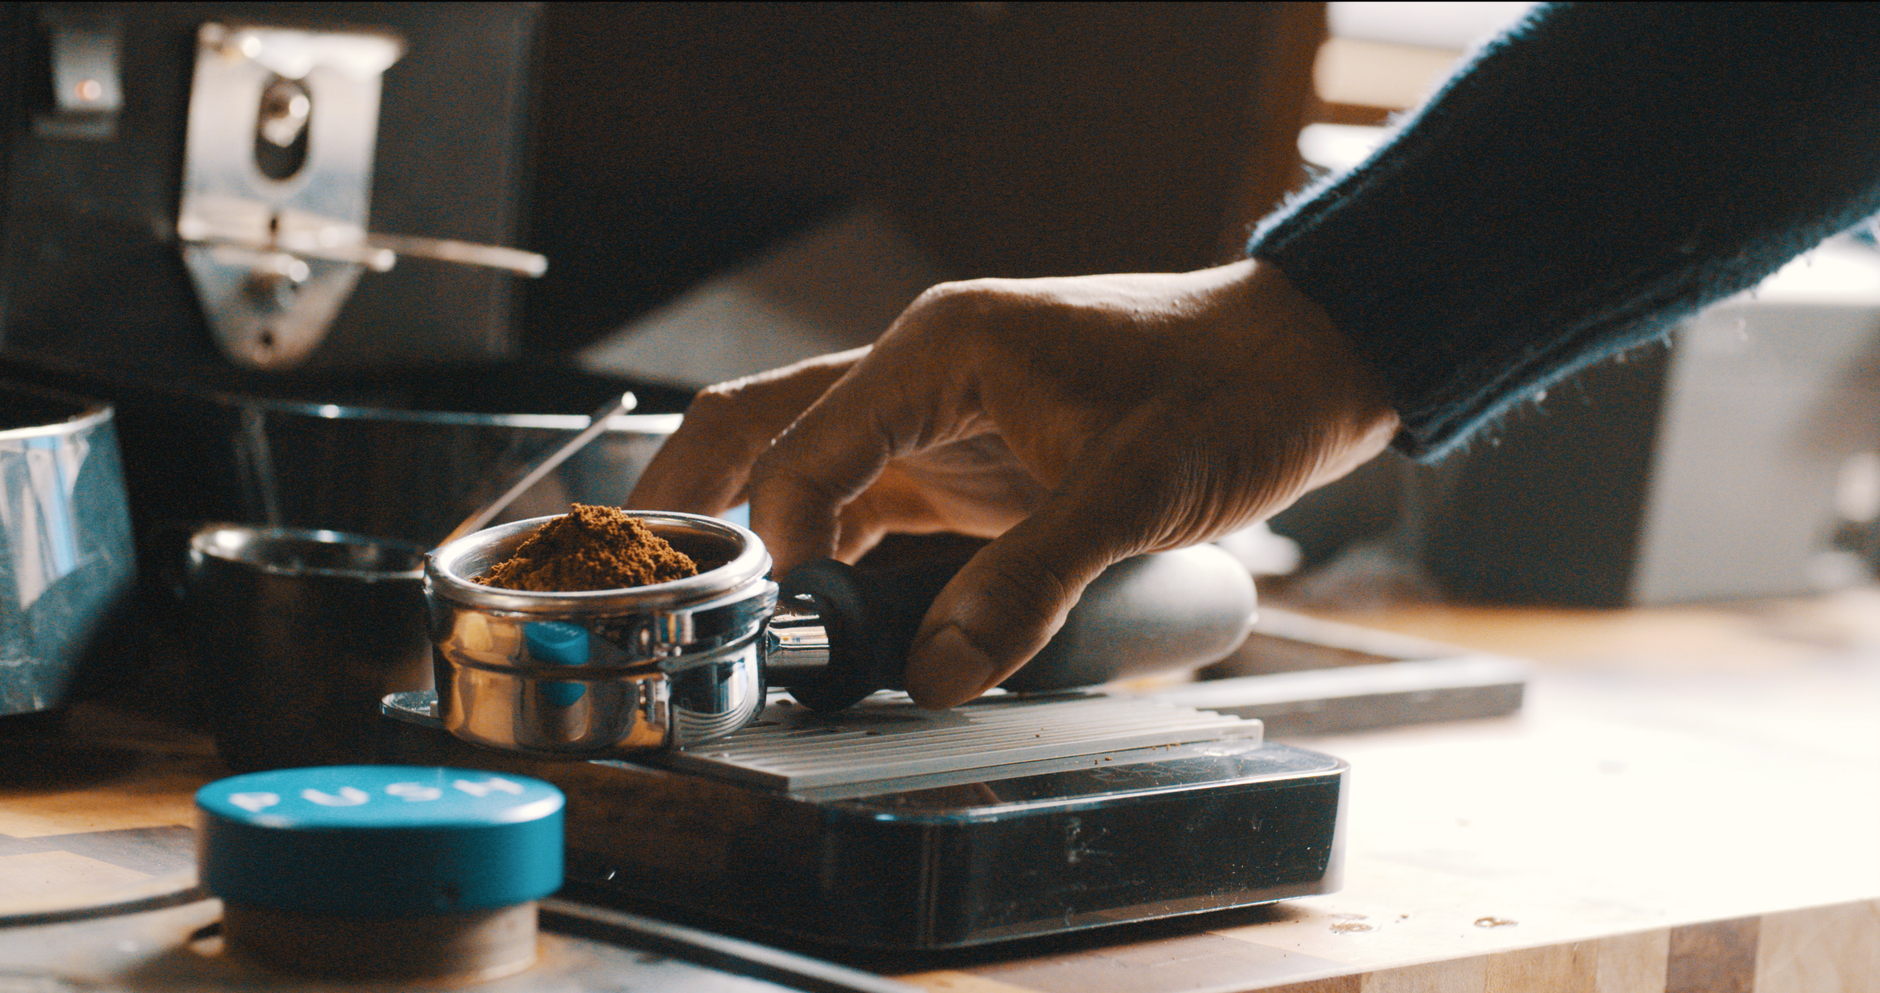 Photo: K via Pexels
Extraction Parameters
| Parameter | Target Range |
|---|---|
| Dose | 18–20g (match to basket rating) |
| Yield | 36–40g (1:2 ratio) |
| Ratio | 1:2 |
| Time | 25–32 seconds |
| Temperature | 90–94°C |
| Pressure | 9 bar (or 6 bar for pressure profiling) |
Puck Prep Sequence
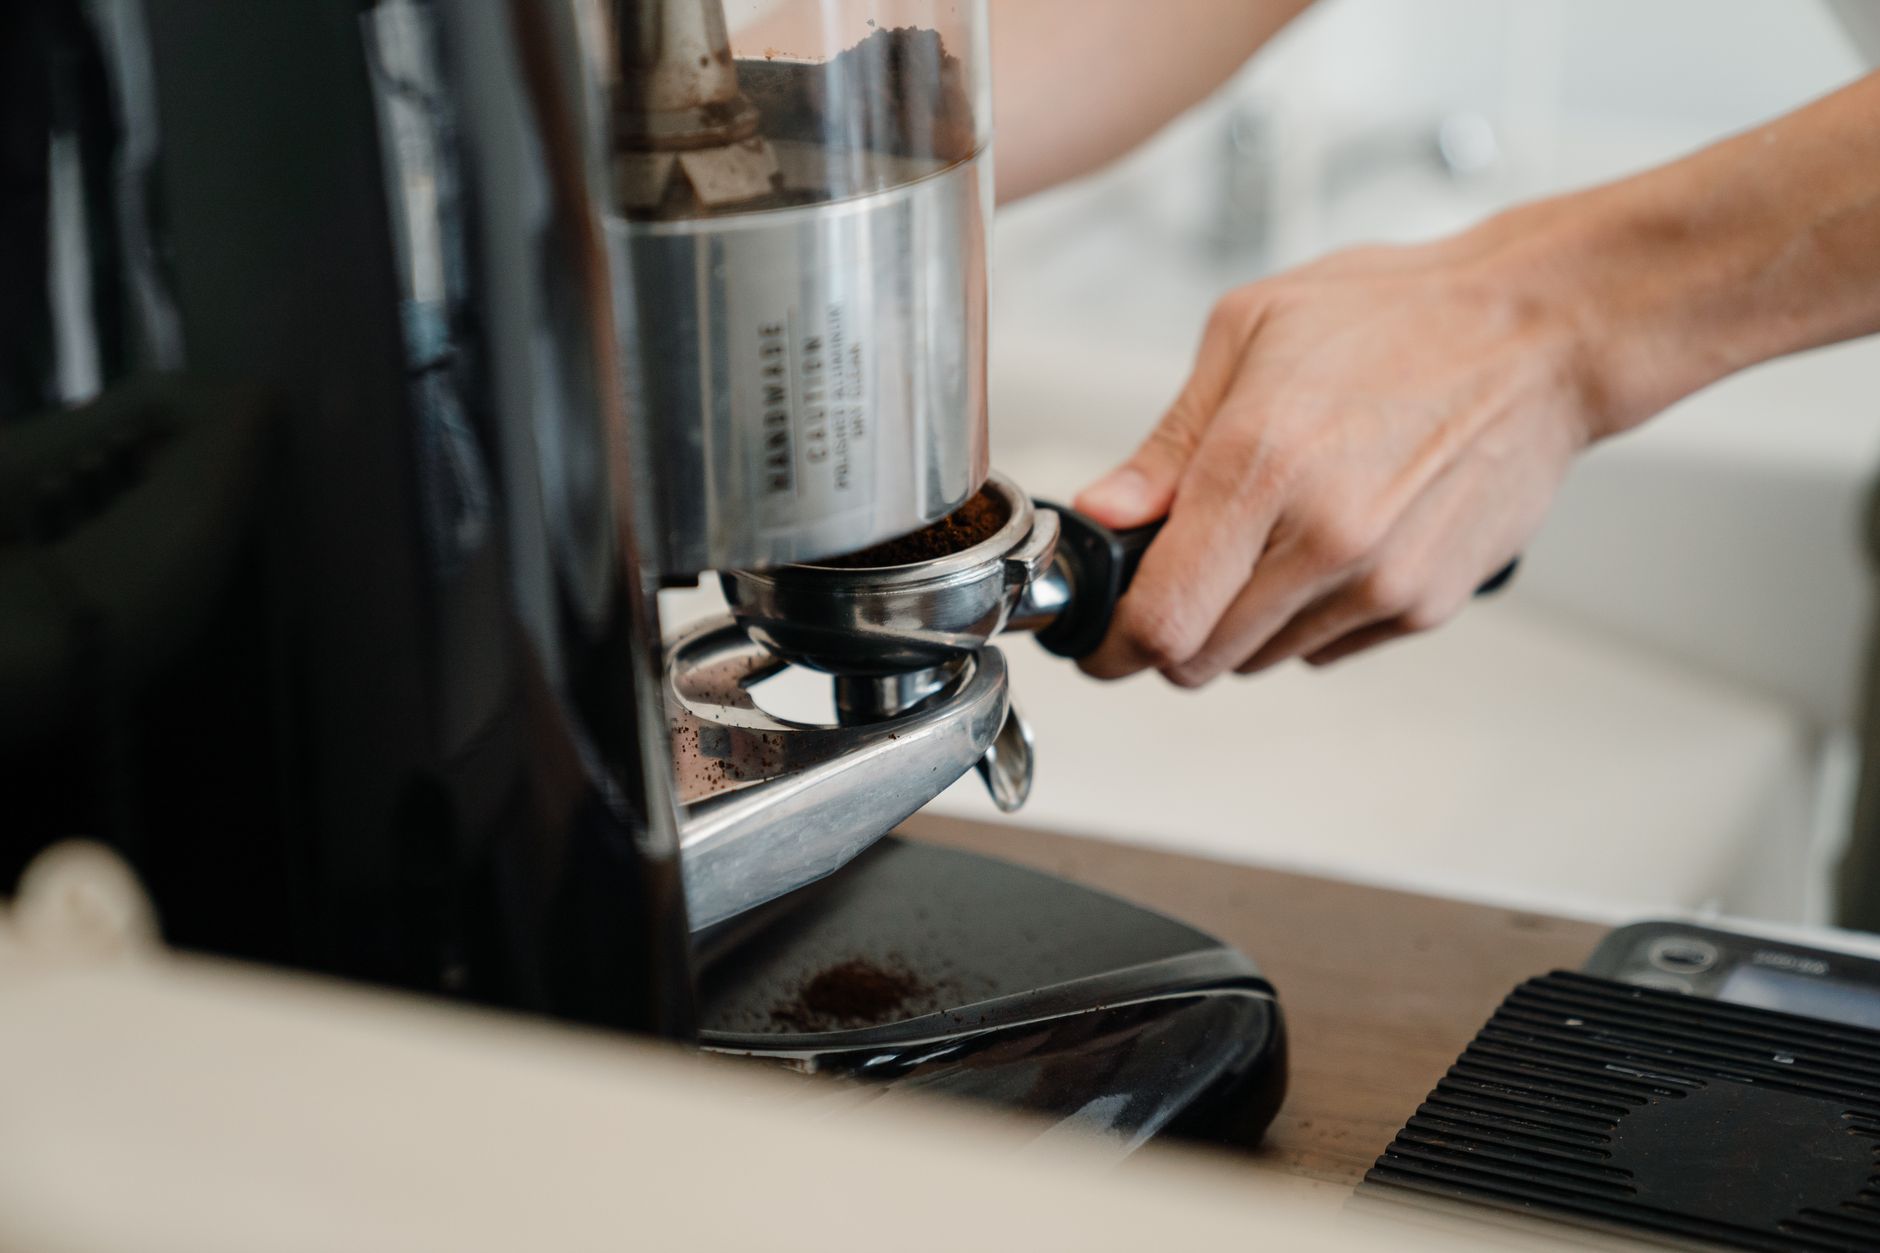
- Grind directly into basket or dosing cup — minimize transfer steps that re-clump grounds
- WDT — 5–10 seconds of stirring breaks all clumps
- Settle/level — light tap or NSEW leveling
- Tamp — straight down, full contact, hold 2–3 seconds
- Inspect — surface should be flat, no dips or raised edges
- Lock in and run — pre-infusion at low pressure (3–4 bar for 5–8 seconds) before full pressure wets the puck gradually, reducing channel initiation
Troubleshooting Matrix
| Symptom | Likely Cause | Fix |
|---|---|---|
| Shot runs fast, tastes sour/thin | Active channeling | WDT + re-level, check tamp angle |
| Spray from bottomless PF | Side channeling | Dosing funnel, better edge distribution |
| Uneven extraction visible through glass | Clumps or tilt | WDT before every shot |
| Slow start then sudden gush | Dry puck cracking | Increase dose, use pre-infusion |
| Channeling despite good prep | Basket issue | Swap to IMS/VST basket |
| Inconsistent results shot to shot | Grinder clumping | Better grinder, static mitigation (RDT) |
→ See also:
- How to Dial In Espresso: Step-by-Step Decision Tree
- Espresso Extraction Explained: Under, Over, and Perfect
- How to Tamp Espresso Correctly (Pressure, Technique, Tools)
FAQ
What does espresso channeling look like? On a bottomless portafilter, channeling appears as a jet or spray shooting sideways from the puck, or as an asymmetric flow pattern — one side running faster than the other. In the cup, the shot often runs short on time but tastes thin, sour, or salty without the sweetness of a well-extracted espresso.
Can a cheap grinder cause channeling? Yes. Entry-level grinders often produce uneven particle distribution and clump-heavy grounds due to static and less precise burrs. Grinding finer to compensate can pack the puck unevenly. A grinder upgrade is one of the highest-leverage changes for channeling-prone setups — more than the machine itself.
Does tamping harder fix channeling? No — and it often makes it worse. Higher pressure on an unevenly distributed bed amplifies the density differences already there. Consistent, level tamping on a well-distributed puck prevents channeling far more reliably than any particular pressure number.
What is the RDT method and does it help? RDT (Ross Droplet Technique) adds a single drop of water to beans just before grinding to reduce static. Less static means fewer clumps, which means more uniform distribution and less channeling. It costs nothing and works. Spray bottles sold as “RDT kits” are unnecessary — a fingertip dipped in water and wiped across the beans achieves the same result.
Does pre-infusion prevent channeling? Pre-infusion reduces channeling by wetting the puck gradually at low pressure before full 9-bar extraction begins. This closes micro-voids before they become channels. It doesn’t replace good prep — it provides a margin for minor prep inconsistencies. Machines with pressure profiling capability or a three-way solenoid valve can implement this effectively.
Editorial methodology: Assessments are based on manufacturer specifications, published user reviews, and editorial research. Physical hands-on testing is noted explicitly where it occurred. Rankings reflect our editorial judgment and are not influenced by affiliate commission rates. Full editorial policy · Affiliate disclosure