Contents
Cold Foam for Cold Brew: How to Make It at Home
TL;DR: To make cold foam for cold brew, froth 2–3 oz of cold milk (2% or non-fat works best) in a handheld frother or blender for 20–30 seconds until thick and spoonable. Pour your cold brew over ice, then spoon the cold foam on top — it floats, stays separate, and slowly melts into the coffee as you drink.
What Is Cold Foam and Why Does It Work on Cold Brew?
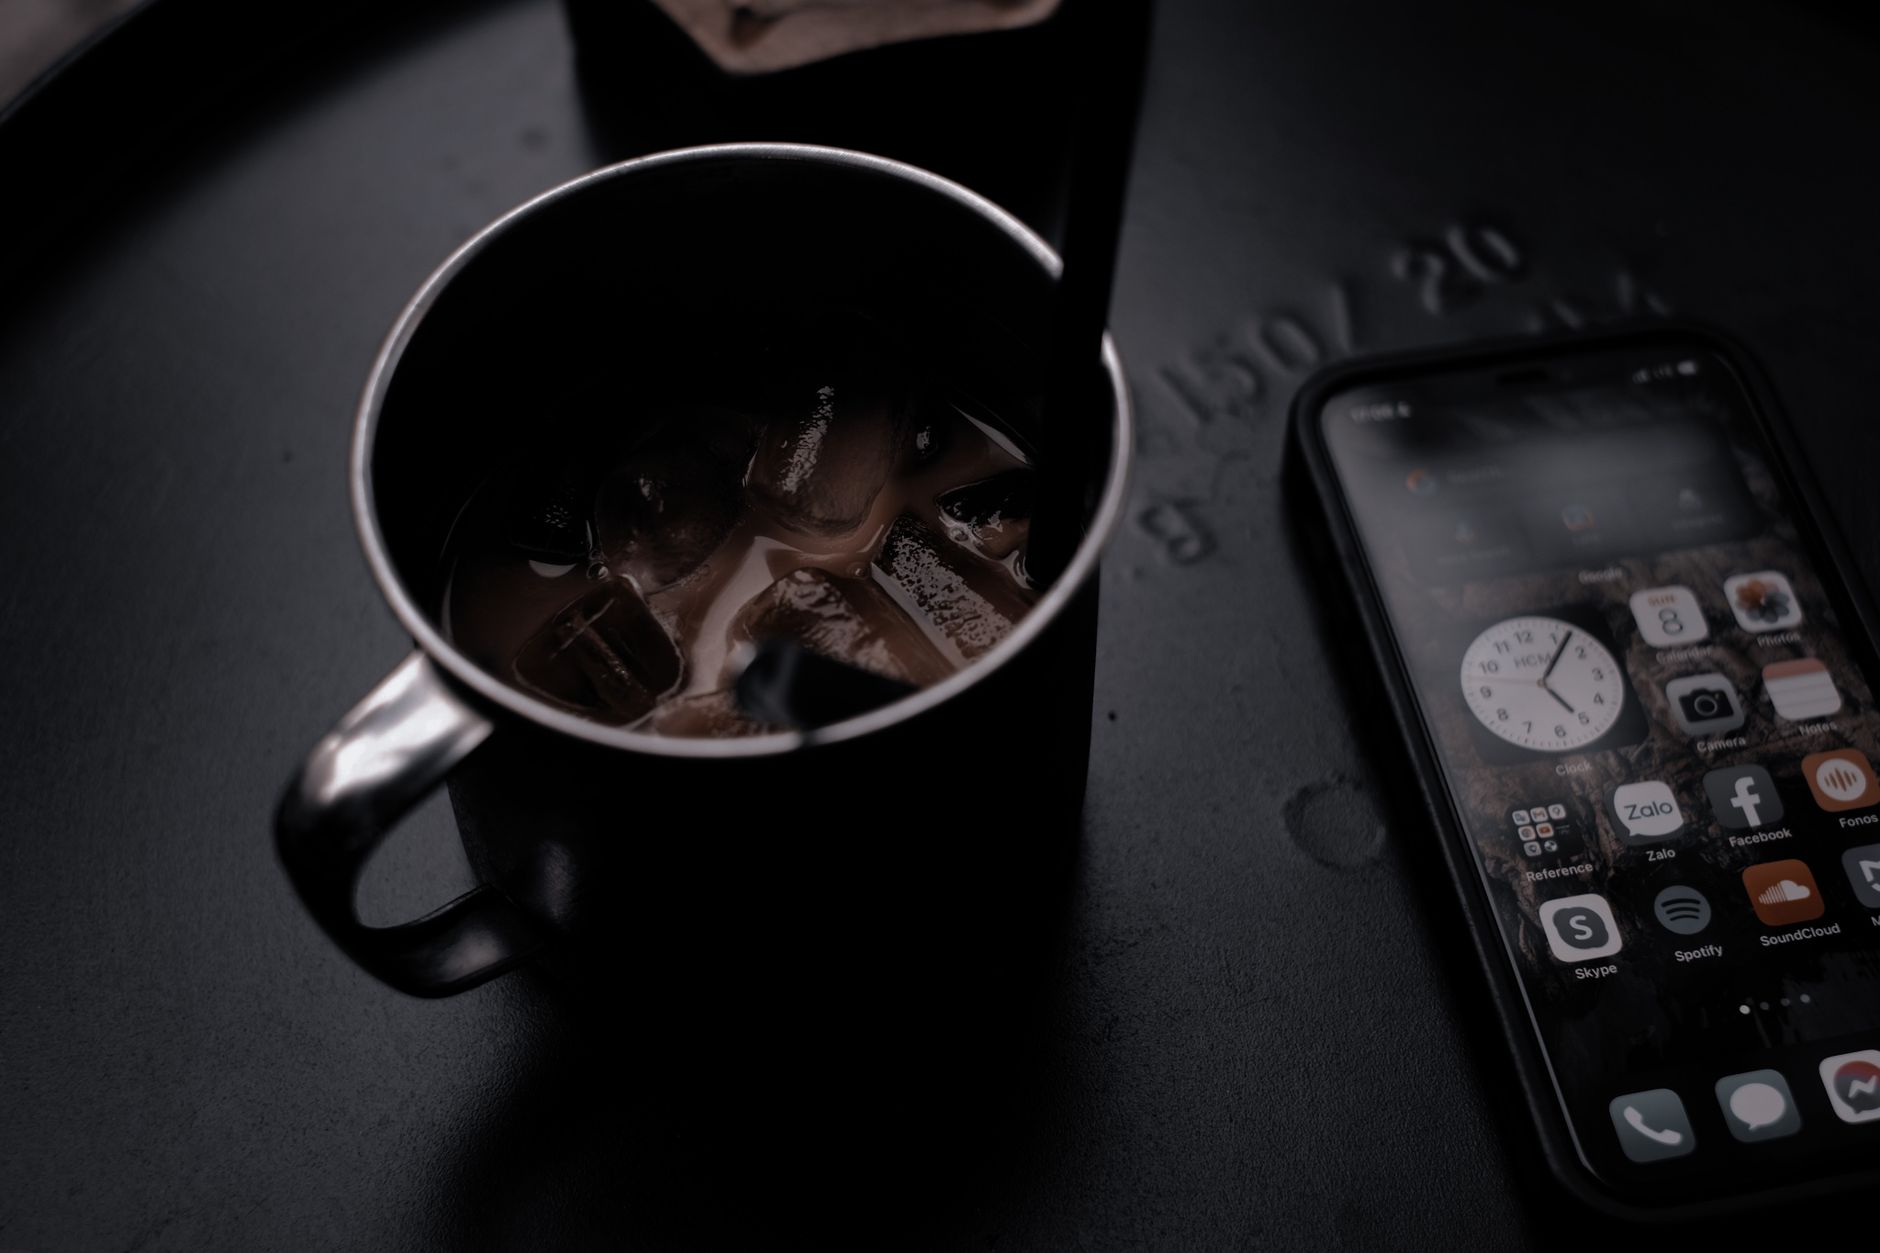
Cold foam is frothed cold milk — no heat, no steam wand. It creates a thick, creamy layer that sits on top of cold brew coffee instead of mixing in. The fat and protein structure in milk traps air bubbles when agitated rapidly, producing a dense foam that’s stable enough to float on an iced drink for several minutes.
 Photo: Marcelo Verfe via Pexels
Unlike steamed milk foam, cold foam is made entirely at refrigerator temperature. The result is noticeably thicker — almost whipped cream–adjacent — and it doesn’t melt instantly. It adds a creamy, slightly sweet contrast to cold brew’s natural bitterness without diluting it the way cream would.
Cold brew’s low acidity and smooth flavor profile make it the ideal base. The foam sits as a distinct layer, so your first sip through the foam delivers creaminess before the coffee hits — a layered tasting experience you don’t get from just stirring in milk.
The Cold Foam for Cold Brew Recipe
Use 2–3 oz of cold 2% or non-fat milk per serving. Froth for 20–30 seconds with a handheld frother until the volume roughly doubles and the texture is thick and spoonable — not watery, not stiff like whipped cream. Spoon immediately over your cold brew; don’t pour it.
 Photo: Pixabay via Pexels
What You Need
| Item | Recommendation |
|---|---|
| Milk | Non-fat or 2% (froths best) |
| Frothing method | Handheld frother, blender, or mason jar |
| Cold brew | Concentrate diluted 1:1, or ready-to-drink |
| Glass | Tall glass, 12–16 oz |
| Ice | Standard or large cubes |
Step-by-Step
- Chill everything. Cold milk froths better than room-temperature milk. Keep it in the fridge until the moment you froth.
- Measure 2–3 oz milk into a small jar or cup. Non-fat milk produces the most voluminous foam; 2% gives better flavor with slightly less volume; whole milk gives rich flavor but thinner foam.
- Froth for 20–30 seconds. With a handheld frother, keep the whisk just below the surface and move it up and down slightly. Stop when the foam is thick and holds its shape briefly when you lift the frother.
- Build your drink. Fill your glass with ice, pour in cold brew (4–6 oz concentrate + water, or 8 oz ready-to-drink).
- Spoon the foam on top. Use a spoon to scoop and pour the foam gently over the back of the spoon onto the cold brew surface. This preserves the layered effect.
- Optional: Dust with cinnamon, vanilla powder, or cocoa.
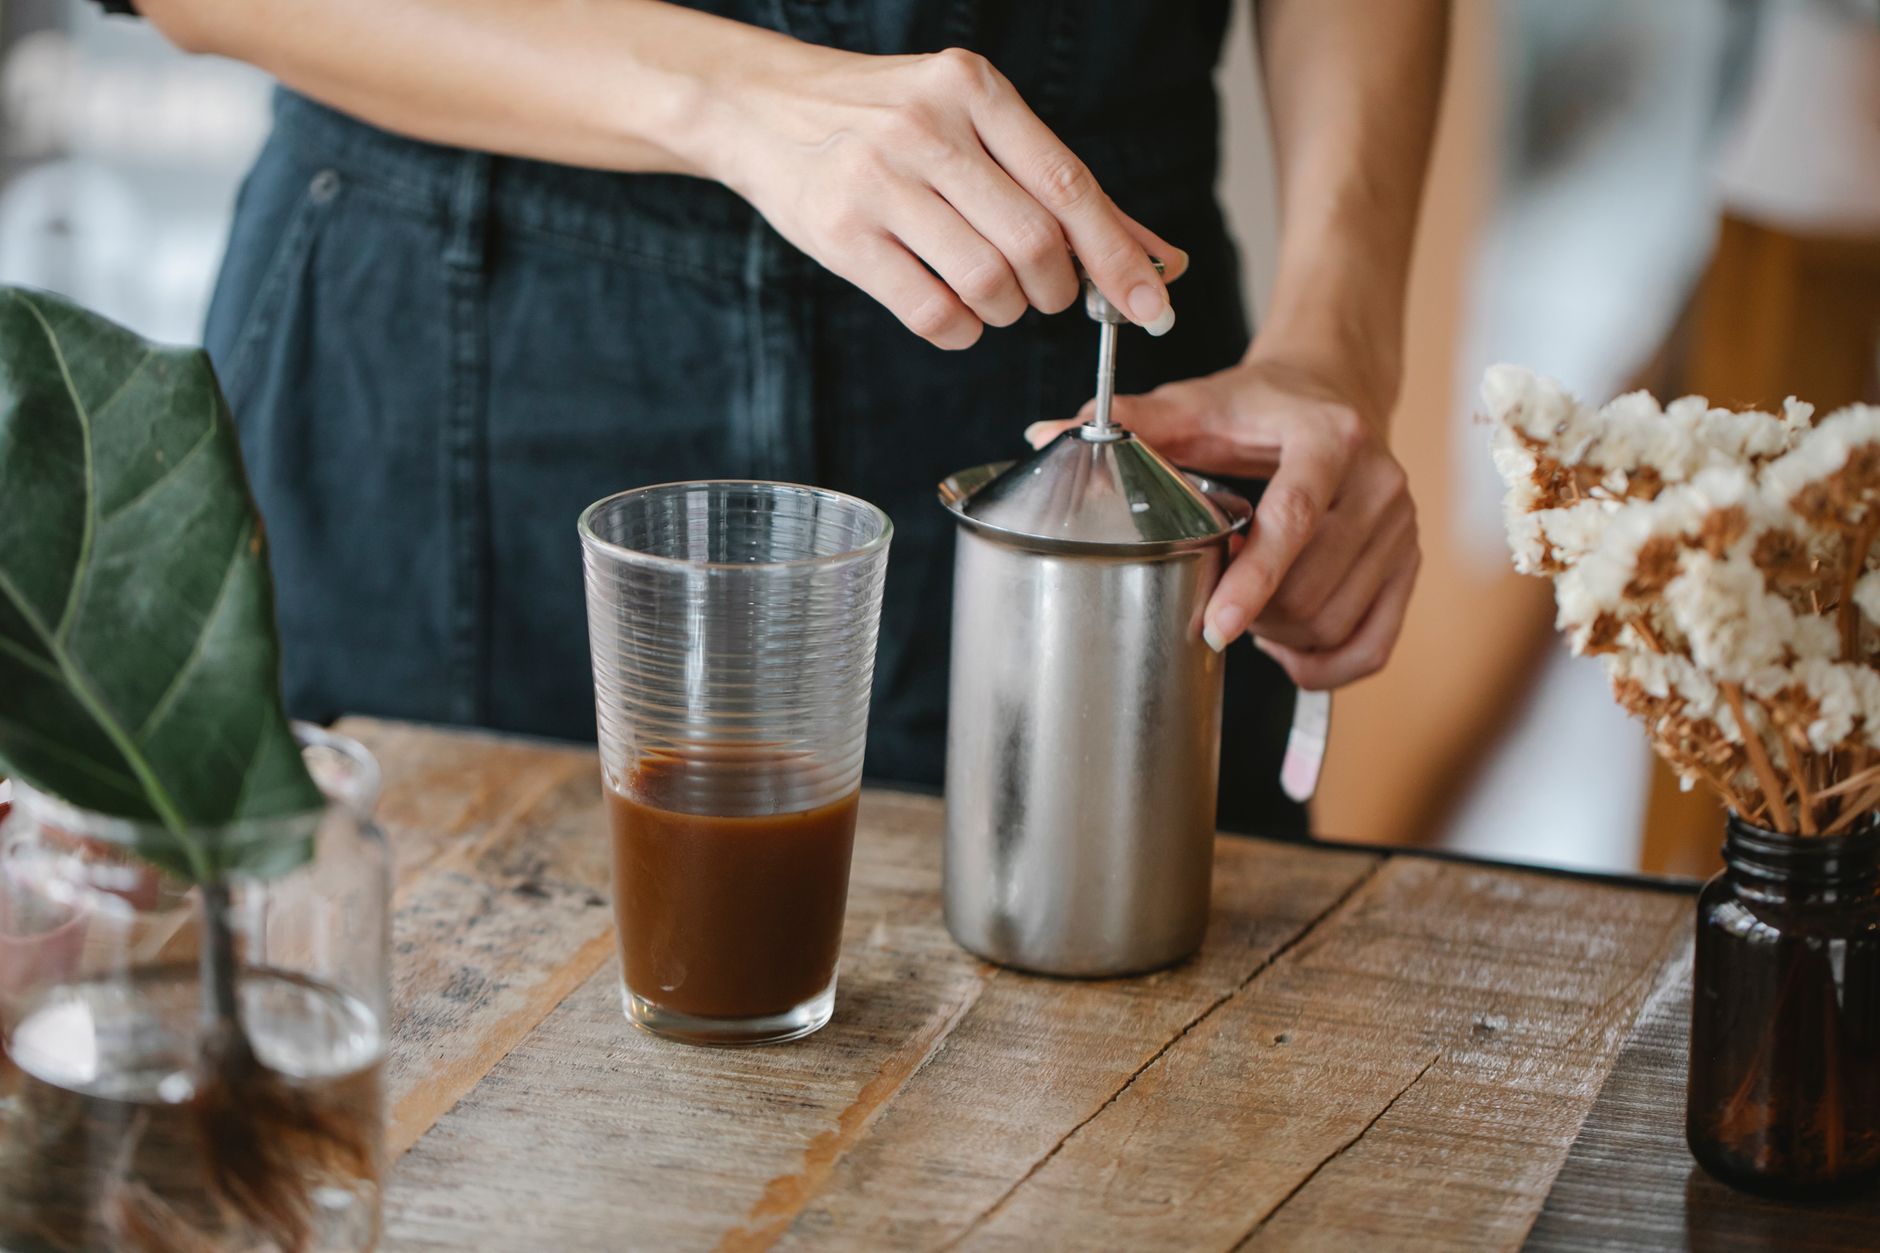 Photo: Charlotte May via Pexels
Best Milk Options for Cold Foam
Non-fat and 2% dairy milk are the top performers — lower fat means more protein relative to fat, which creates a more stable foam structure. Oat milk works well as a non-dairy option. Heavy cream froths but produces more of a whipped cream texture than proper cold foam.
| Milk Type | Foam Volume | Stability | Flavor |
|---|---|---|---|
| Non-fat dairy | ★★★★★ | High | Neutral |
| 2% dairy | ★★★★☆ | High | Mild creamy |
| Whole dairy | ★★★☆☆ | Medium | Rich |
| Oat milk (barista) | ★★★★☆ | Medium-high | Slightly sweet |
| Almond milk | ★★☆☆☆ | Low | Nutty |
| Heavy cream | ★★★☆☆ | Very high | Very rich |
 Photo: Fikri Hidayatullah via Pexels
For oat milk, use a barista-edition formulation — these contain added stabilizers that significantly improve frothing performance over standard oat milk.
Frothing Methods Compared
Handheld Frother
The fastest and most consistent method. A basic battery-powered frother (under $15) produces excellent cold foam in under 30 seconds. Keep the whisk submerged to avoid splashing; move it slowly up through the milk as it thickens.
Blender or Immersion Blender
Works well for larger batches — froth enough for 2–4 servings at once. Use the lowest setting, blend 30–45 seconds. Slightly more airy and less dense than frother foam, but perfectly usable.
Mason Jar Shake Method
Add cold milk to a jar (fill no more than halfway), seal, and shake vigorously for 45–60 seconds. Produces reasonable foam with no equipment. The texture is less consistent — more bubbles, less density — but it works when nothing else is available.
French Press
Pour cold milk into the carafe, pump the plunger rapidly 20–30 times. Produces foam with a texture close to the handheld frother. Takes slightly more effort but yields good volume.
Sweetening and Flavoring Cold Foam
Add sweetener and flavoring directly to the milk before frothing — it incorporates more evenly than stirring in afterward.
- Vanilla cold foam: ½ tsp vanilla extract + 1–2 tsp simple syrup per serving
- Brown sugar cold foam: 1–2 tsp brown sugar syrup (dissolve brown sugar in equal parts warm water, cool before using)
- Salted cream foam: pinch of fine sea salt + 1 tsp condensed milk
- Lavender cold foam: 1 tsp lavender simple syrup
Keep sweetener additions under 2 tsp per serving — heavier sugar content can inhibit frothing.
→ See also:
- Cold Brew Coffee: The Complete Guide (Ratio, Method, Storage)
- Cold Brew Coffee Ratio Calculator
- How to Make Cold Brew Coffee at Home
FAQ
Can I make cold foam without a frother? Yes. The mason jar shake method requires no equipment — fill a jar halfway with cold milk, seal it tightly, and shake hard for 45–60 seconds. A French press also works: add milk and pump the plunger 20–30 times rapidly. Neither method matches the density of a frother, but both produce usable foam.
Why is my cold foam watery instead of thick? The most common causes are whole milk (too much fat relative to protein), warm milk, or insufficient frothing time. Switch to non-fat or 2% milk straight from the fridge and froth for the full 20–30 seconds — the foam should hold a slight peak when you lift the frother.
How long does cold foam stay on top of cold brew? Well-made cold foam holds its layered structure for 3–5 minutes before it begins to melt into the coffee. Non-fat milk foam lasts longer than whole milk foam. Drink it within that window if you want the full layered experience; otherwise stir it in and enjoy it as a creamy cold brew.
Can I make cold foam ahead of time? Not really. Cold foam is best made fresh and used immediately — it deflates within 5–10 minutes at room temperature. If you need to prep in advance, keep frothed milk sealed in the fridge for up to 20 minutes and give it a quick re-froth before using.
Does the type of cold brew affect the cold foam? Not the foam itself, but the overall drink balance matters. Cold brew concentrate (undiluted) is too strong and bitter to complement foam well — dilute it 1:1 with water first. Nitro cold brew already has its own creamy texture, so cold foam adds richness rather than contrast; reduce the foam amount to 1–2 oz in that case.
Can I use sweetened condensed milk for cold foam? Yes, and it produces an exceptionally rich, stable foam. Replace ½–1 oz of your regular milk with condensed milk and froth together. The extra sugar and fat create a foam that’s denser and slower to melt — closer to the Starbucks sweet cream cold foam style.
Editorial methodology: Assessments are based on manufacturer specifications, published user reviews, and editorial research. Physical hands-on testing is noted explicitly where it occurred. Rankings reflect our editorial judgment and are not influenced by affiliate commission rates. Full editorial policy · Affiliate disclosure